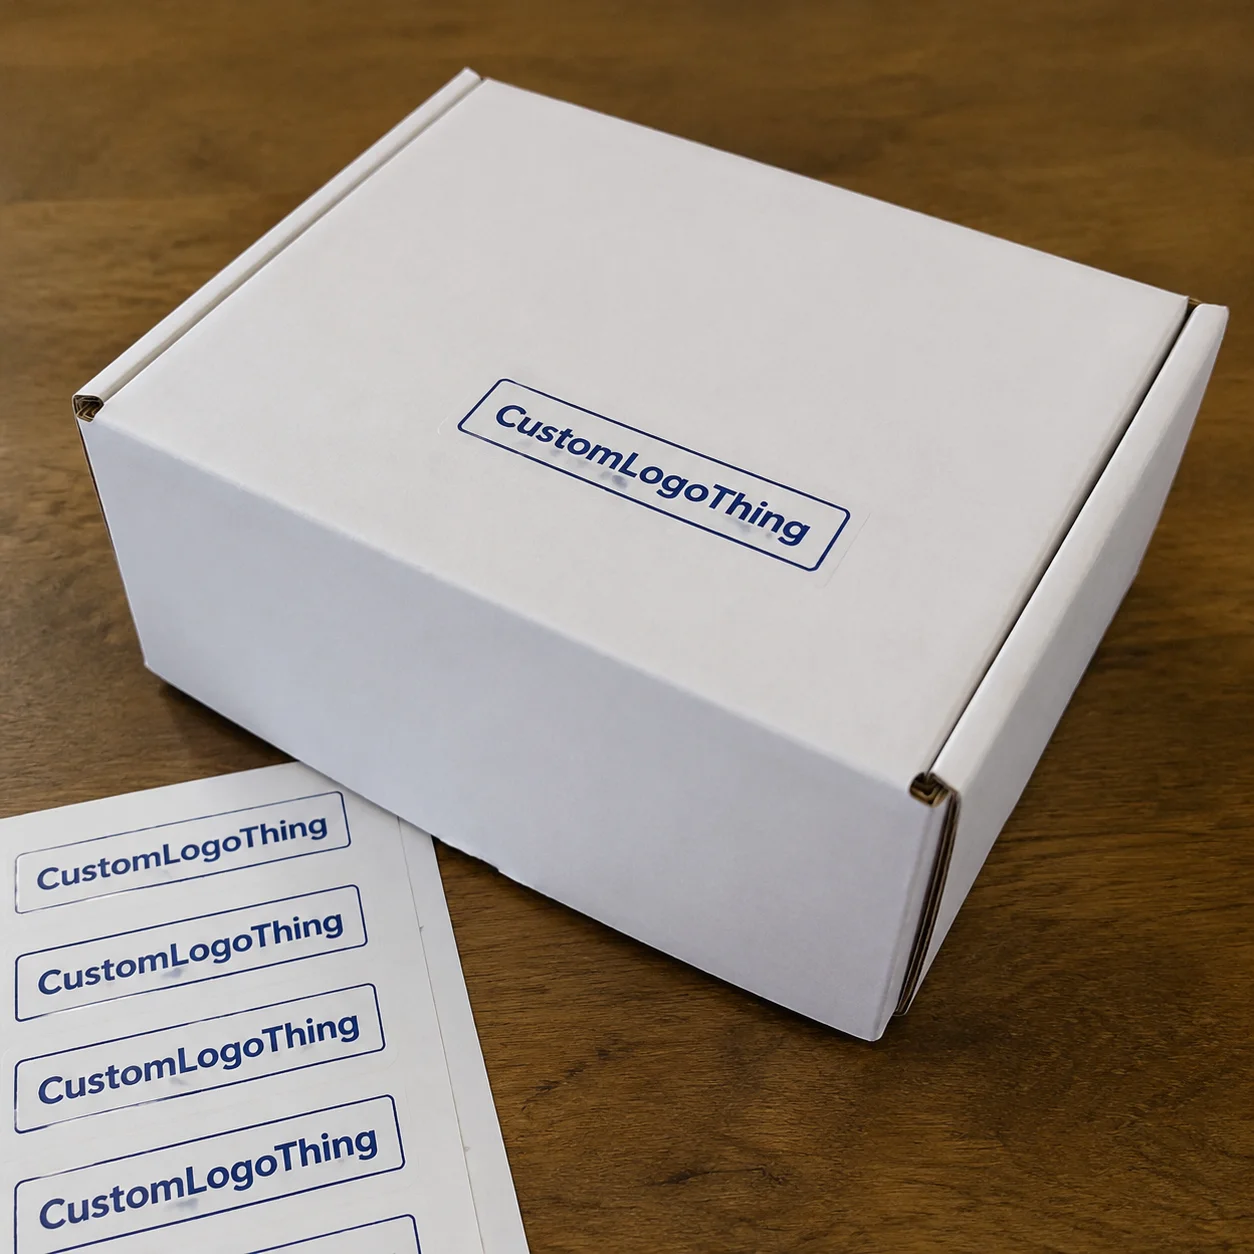
A custom stickers printer can make packaging look finished in one move. A clean logo seal on a mailer, a durable label on a jar, or a sharp sticker on a retail pouch changes how customers read the package before they touch the product.
Buyers should look past artwork alone. Finish, adhesive, cut quality, and substrate affect whether a sticker supports branded packaging or weakens it. The difference shows up quickly on shelves and during fulfillment, where handling exposes shortcuts.
Custom stickers printer basics: why the right print setup changes everything
A custom stickers printer turns brand artwork into stickers, labels, and seals sized for the packaging they will actually live on. Office printers and basic label makers may work for shipping labels or internal use, but they are not built for rich ink coverage, custom die-cuts, waterproof films, or adhesion that survives transit, refrigeration, and repeated handling.
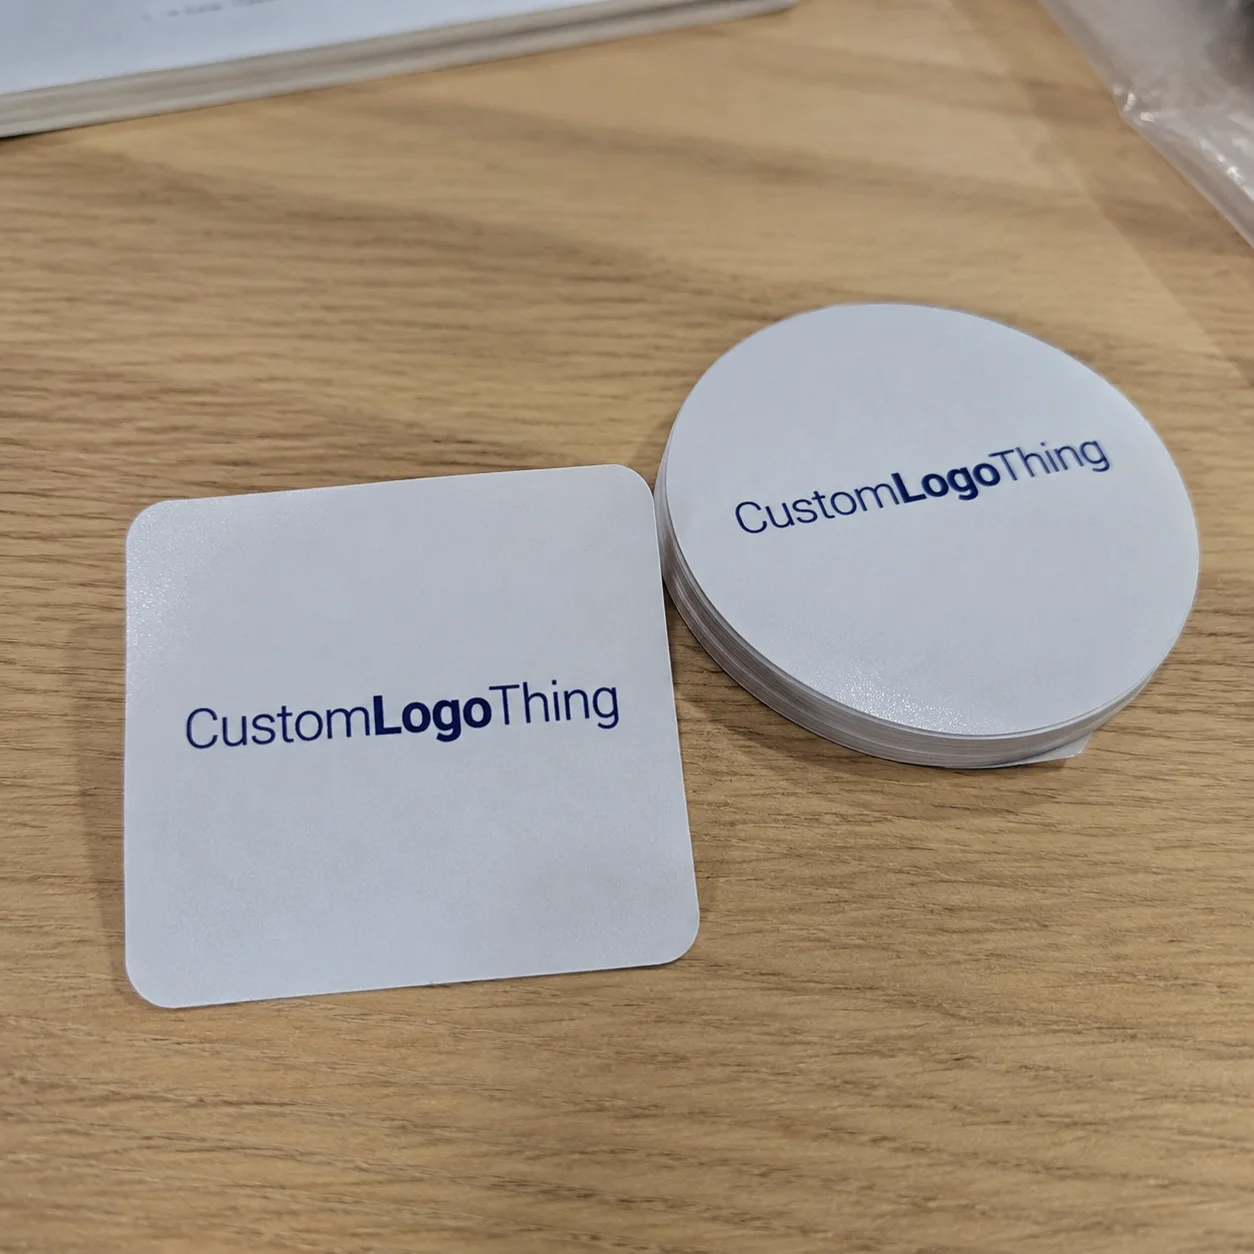
Most sticker orders fall into three groups. Decorative stickers create visual impact on tissue wrap, inserts, thank-you cards, and box closures. Functional labels carry product details, barcodes, ingredients, or compliance information. Brand seals sit between the two: not always text-heavy, but important for retail packaging and direct-to-consumer orders.
The useful buyer question is not “Can it print?” It is “What has to happen after the sticker is applied?” If the sticker only needs to look good on a dry carton, paper stock may be enough. If it must survive condensation on a cold bottle or rubbing during shipping, the spec changes quickly. The sticker is part of the packaging system, not a decorative afterthought.
Finish, adhesive, and cut quality all affect the result. Matte can look restrained and premium. Gloss can push color and contrast. Clear film can look clean and modern, but it also shows application errors more easily. A weak adhesive can lift on textured kraft board, while an overly aggressive one can leave residue on a retail box. A crooked kiss-cut or uneven contour line makes good artwork look careless.
“A sticker is small, but its quality reads big. Customers rarely study the spec sheet; they notice whether the package feels finished.”
Better sticker printing can improve unboxing, reinforce repeat recognition, and create consistency across product packaging, mailers, and shelf displays. If your Custom Packaging Products already set a visual standard, stickers should support that system instead of fighting it.
How the printing process and timeline typically work
The workflow starts with artwork and specs. A buyer sends the file, size, material idea, quantity, and intended use. The supplier checks bleed, safe margins, resolution, and whether the cut path is usable. Proofing comes next, and this is where delays usually begin. Low-resolution files, missing cut lines, or incorrect color setup can add days.
Most sticker orders move through five stages: file review, proof approval, printing, cutting, and packing. Digital printing is common for short runs and variable designs because setup is lighter and version changes are easier. Die-cutting shapes the sticker to the outline, while lamination or coating adds protection. White ink, specialty varnish, tight color matching, or heavier finishing can add production and QC time.
Simple digital runs often land around 7-12 business days after proof approval. More complex jobs can stretch to 12-15 business days or more, especially when the order uses specialty adhesive, metallic effects, or strict brand-color requirements. Rush production exists, but it usually reduces options. You may gain speed and lose material or finish flexibility.
Shipping still needs planning. A fast print job can arrive late if freight timing is ignored, cartons are oversized, or the destination takes longer in transit. For launch calendars, build in proof review, a possible sample check, and a contingency buffer.
For brand owners working across Custom Printed Boxes, labels, and inserts, align sticker approval with the packaging schedule. It avoids a common problem: finished packaging arriving on time while the sticker order is still waiting on artwork corrections.
Cost, pricing, MOQ, and what really drives unit cost
Sticker pricing depends on size, shape, material, finish, print coverage, cut complexity, quantity, and freight. A small rectangular paper sticker with one-color artwork is very different from a waterproof, contour-cut vinyl label with white ink and matte laminate. The second can cost several times more per piece, even at the same quantity.
Minimum order quantity, or MOQ, changes the math. A lower MOQ makes testing easier, but unit price is usually higher because setup costs are spread across fewer pieces. Larger runs bring per-unit cost down. For example, a 5,000-piece run might land around $0.18-$0.28 per unit for a straightforward shape and modest coverage, while a 500-piece test order can be much higher per piece. Fixed setup costs do not disappear just because the order is small.
Use this comparison as a starting point:
| Sticker type | Typical use | Price tendency | Best fit |
|---|---|---|---|
| Paper sticker | Dry indoor packaging, inserts, seals | Lowest | Short-run promos and low-moisture use |
| Vinyl sticker | Durable labeling, shipping wear, handling | Medium | Ecommerce, retail packaging, bottles |
| Clear film sticker | Minimal branding, transparent surfaces | Medium to higher | Clean layouts and subtle package branding |
| Waterproof laminated sticker | Cold, wet, or abrasive environments | Higher | Food, beverage, and outdoor exposure |
Special options can push cost up fast. White ink may require extra passes or specialized equipment. Custom shapes also matter; a simple rectangle costs less to cut than a tight contour with small interior details. Specialty laminates, foil effects, and multiple artwork versions add handling time. Freight can also distort comparisons if one quote excludes shipping and another includes it.
To compare suppliers fairly, standardize the request. Use the same size, material, finish, quantity, artwork setup, and deadline with each vendor. Ask whether die-cutting, proofing, laminate, setup, and shipping are included. That is the cleanest way to compare one quote against another without getting trapped by a low headline number.
Material, adhesive, and finish choices that affect performance
Material choice should start with the environment, not the mood board. Paper stickers are usually fine for dry, indoor use and short-life applications. Vinyl and film hold up better to handling, moisture, and abrasion. Clear film works when you want the surface behind the sticker to stay visible, which can be useful on jars, bottles, and sleek retail packaging. For moisture-heavy or temperature-sensitive products, waterproof materials are safer.
Adhesive matters because packaging surfaces are not uniform. Permanent adhesive is right when the sticker must stay put on cartons, bottles, pouches, or e-commerce mailers. Removable adhesive makes sense for temporary promotions, QR campaigns, or reusable containers. Freezer-safe adhesive is a separate category designed for cold-chain conditions where standard glue can fail.
Finish influences both look and function. Gloss tends to boost color saturation and sharpen dark artwork. Matte softens glare and often reads more premium on certain packaging systems. Soft-touch lamination gives a velvety feel, but it is not automatically the best choice. If the sticker will face rubbing, greasy hands, moisture, or shipping wear, a protective laminate is usually better.
For buyers managing package branding across several formats, match the sticker to the surface and environment first, then refine the look. A beautiful finish on the wrong substrate is still a bad purchase. Packaging standards and testing bodies such as ISTA matter because packages fail in transit, storage, and handling more often than teams expect.
Outdoor exposure and temperature swings deserve attention. A label that looks good on a shelf can curl in a warehouse or fade under sun exposure. If that risk exists, ask for spec guidance, a test sample, or a finish rated for the intended conditions. This is especially important for retail packaging that may sit under lights, get handled by shoppers, and travel through distribution before reaching a shelf.
Step-by-step buyer workflow: from artwork to approved proof
Start with the job, not the design. Define what the sticker needs to do, where it will sit, what surface it will touch, and how many pieces you need. A tissue seal does not need the same spec as a label for a chilled beverage bottle. Once the use case is clear, the rest of the process gets easier.
Prep the file properly. Vector art in AI, EPS, or print-ready PDF is usually best because it keeps edges clean and preserves cut accuracy. If raster files are all you have, keep them high resolution and avoid tiny type. Add bleed if requested, and keep important text inside a safe zone. For real packaging, 6-point text may be technically printable but still too small to read once applied.
Proof review is where disciplined buyers save money. Check cut accuracy first; if the outline is off, the order will not look right no matter how good the color is. Then compare the proof color to your brand standards. Exact match is difficult because substrate and finish affect appearance, so the goal is usually controlled consistency. If the sticker will sit beside Custom Labels & Tags or another printed component, align specs before approving production.
When possible, compare samples or spec sheets before full approval. A small material test can expose adhesion problems, color shifts, or finish issues that a screen proof will hide. This matters most for product launches, seasonal packaging, or campaigns that will be repeated. It is easier to fix a sample than a thousand finished stickers.
Build a simple launch checklist. Know your reorder point, store stock in a dry place, and keep the approved specs in one file for future runs. If the artwork sits inside a broader packaging design system, document the sticker version alongside box, insert, and shipping materials. Reorders go faster when the information is clean.
Common mistakes that create waste, delays, and weak branding
The most expensive mistake is ordering the wrong adhesive for the surface. Curved bottles, textured kraft cartons, and coated mailers all behave differently. A sticker that seems fine on a flat sample can lift on a rounded container or fail on dusty recycled board. Match the adhesive to the actual application, not the mockup.
Color confidence is another trap. Buyers often expect screen artwork to translate perfectly, but printed color shifts with material, finish, and ink coverage. A matte stock will read differently from a glossy one, even with the same file. If brand color precision matters, request a proof or sample run. That is standard practice in serious product packaging programs.
Small type and busy layouts create trouble at sticker scale. What looks legible on a laptop can collapse on a two-inch label. Thin strokes, intricate logos, and low-contrast text are common failures, especially on textured or reflective surfaces. If the sticker has to carry product information, simplify the layout before production.
Finish compatibility gets ignored more often than it should. A glossy finish can look strong, but if the sticker sits near moisture, grease, or rough shipping conditions, it may need more protection. A delicate soft-touch surface might suit a presentation box but not a warehouse environment. The finish should support use, not just aesthetics.
Vague specs slow everything down. If you send “need stickers for boxes” instead of exact size, material, finish, quantity, and deadline, the quote will be loose and revisions will take longer. A good supplier can guide you, but it cannot guess your packaging environment. Precision up front saves time later.
For buyers aligning sustainability goals with print choices, the EPA sustainable materials guidance is useful context. If your program needs certified fiber or responsible sourcing, FSC is worth checking for paper-based components. Those standards will not choose the sticker for you, but they make the decision less fuzzy.
Expert buying tips and next steps for a better sticker order
Start with one hero size and one proven material before building a larger sticker line. That keeps inventory cleaner and makes it easier to understand what performs. Many brands want five versions before validating one. That usually creates waste, not flexibility.
Compare total landed cost, not just sticker price. Ask what is included in the quote: proofing, cutting, lamination, shipping, setup, and rush fees. A cheaper quote can become the expensive option once freight or rework enters the picture. The best custom stickers printer is often the one that explains the cost structure clearly, not the one with the lowest number at the top of the page.
If you are launching a new SKU, order a test batch when timing allows. If you are planning seasonal packaging, test the design on the actual box or pouch before placing a full run. If your ecommerce team uses stickers as inserts, thank-you seals, or promotional branding, keep a simple spec sheet so repeat orders stay consistent.
The practical process is straightforward: define the use case, collect clean artwork, compare sample specs, and ask how the sticker will behave on the exact packaging surface. That is faster than guessing and cheaper than fixing a bad run. For teams building strong branded packaging, a sticker supplier is not just a commodity vendor; it is part of the customer’s first physical impression.
FAQ
What should I ask a custom stickers printer before ordering?
Ask about materials, adhesives, finishes, turnaround, proofing, and MOQ. Confirm whether the quote includes cutting, lamination, setup, and shipping. If you are unsure which sticker suits your surface, ask for guidance based on the actual packaging environment.
How do I know which sticker material is best for my product?
Match the material to the exposure level. Paper works for dry indoor use, while vinyl or film is better for handling, moisture, and durability. If the sticker needs to stay on permanently or peel cleanly, confirm the adhesive type before ordering.
Why does sticker pricing vary so much between suppliers?
Pricing changes with quantity, size, finish, cut complexity, substrate, and freight. Specialty effects, rush service, and custom adhesive options can push unit cost up quickly. Some vendors also quote low upfront and add fees later for setup, proofs, or shipping.
What file format should I send to a custom stickers printer?
Vector files such as AI, PDF, or EPS are usually best because they keep edges crisp and help with accurate cutting. High-resolution PNG or TIFF files may work for simpler jobs if the printer accepts them. Include bleed, safe margins, and cut lines if requested.
How long does a typical sticker order take from proof to delivery?
Simple digital sticker orders often take about 7-12 business days after artwork approval, while complex jobs can take 12-15 business days or more. Timeline depends on proof revisions, print method, finishing, QC, and shipping distance. Rush orders are possible, but they may reduce material and finish options.