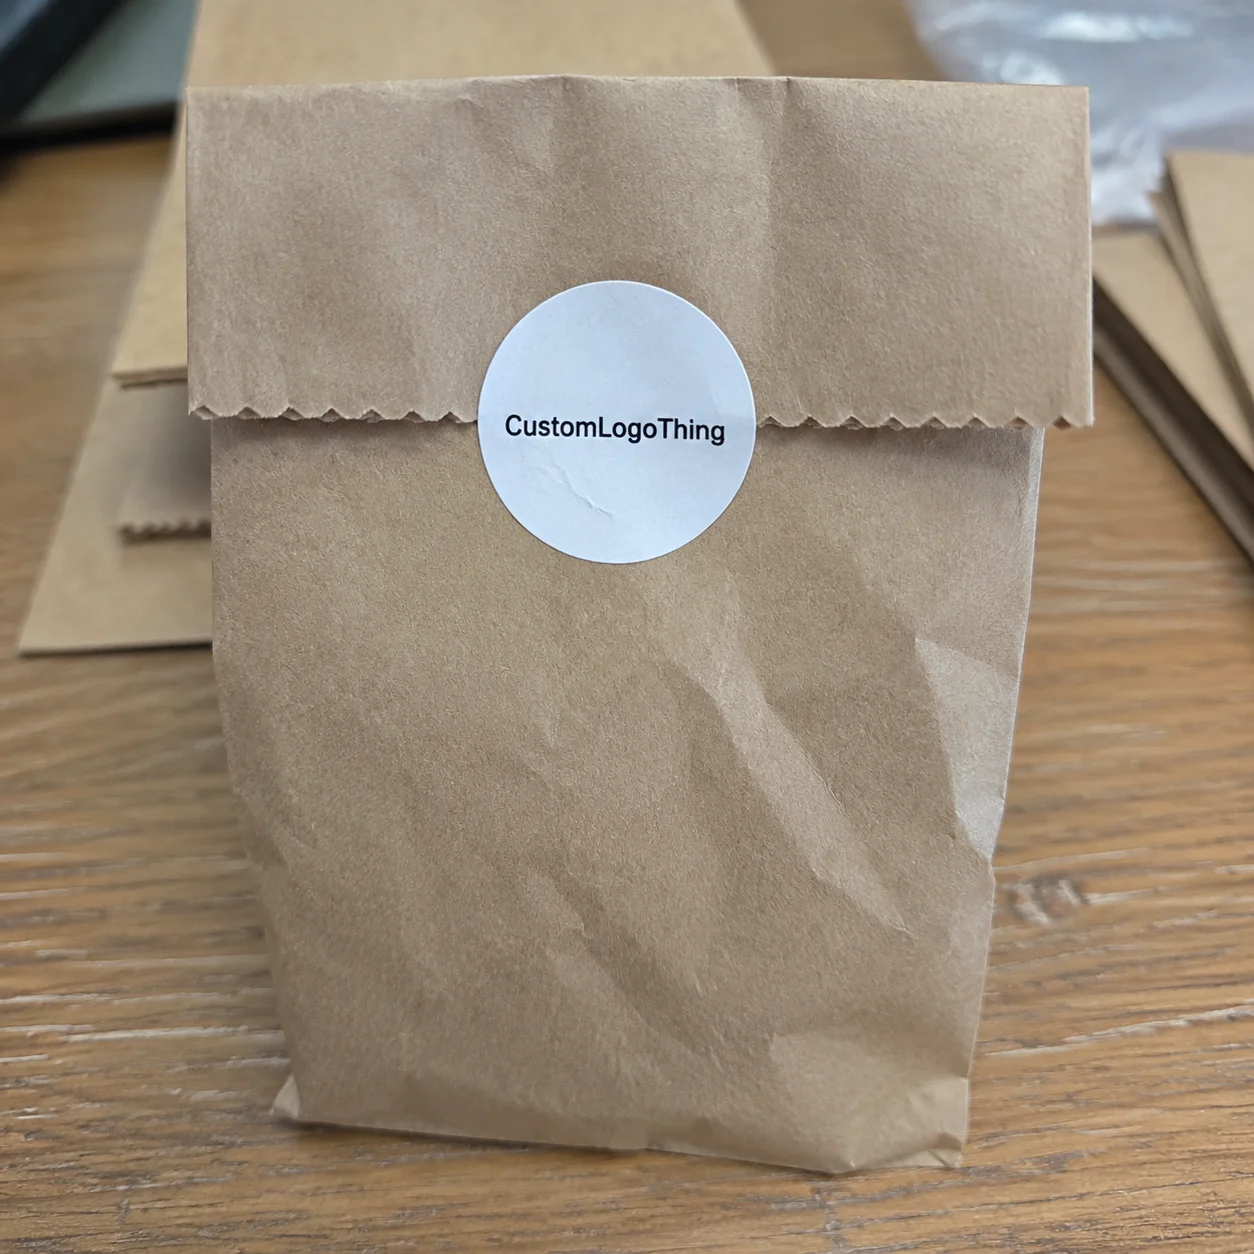
A plain kraft mailer lands on a kitchen counter. The product may be excellent. The box may be sturdy. But the small rectangle sticker across the flap is often the first visible cue that tells a buyer whether the brand feels careful and intentional—or thrown together five minutes before shipping.
That is why custom stickers rectangle designs are such a common packaging upgrade. They are small, flexible, relatively inexpensive, and useful across more surfaces than most label shapes. Not glamorous. Useful. Packaging teams tend to like useful.
Why Custom Rectangle Stickers Do More Than Decorate
Rectangles are packaging workhorses because they waste little label stock and fit an awkwardly large number of surfaces: jars, folding cartons, rigid boxes, pouches, envelopes, shipping cartons, laptop cases, candle lids, retail shelf edges, sample kits, and thank-you cards. A circle can look friendly. A die-cut logo can stand out. A rectangle gives you room to communicate.
That extra room matters because packaging gets judged quickly. A compact label can carry a logo, product name, barcode, QR code, batch number, scent name, size variant, warning note, tamper cue, or limited-edition message. Tiny surface. Real commercial weight.
The first mistake is treating every sticker as if it has the same job. A decorative sticker is built for delight. A product label has to inform. A packaging seal has to stay put across a fold or flap. A warning label has to remain readable after handling. A promotional insert sticker should feel good enough for someone to put it on a laptop, notebook, water bottle, or storage bin. Same broad category. Different performance requirements.
For brands comparing Custom Labels & Tags, rectangle labels are usually a practical place to start because they support both branding and operations. A 2 x 3 inch logo sticker can work on mailers first, then the same visual system can extend to retail packaging, product packaging, Custom Printed Boxes, inserts, and seasonal bundles.
Packaging reality check: a sticker is not “just decoration” if it affects scanability, tamper evidence, shelf recognition, customer trust, or whether the package gets photographed before it hits the recycling bin.
Rectangle stickers also help when packaging changes faster than the core product. A brand can update a scent, batch code, promo message, compliance note, or QR destination without reprinting every carton. That does not make stickers a magic fix for bad packaging. It does make them a smart tool when used with some restraint.
How Rectangle Sticker Materials, Adhesives, and Finishes Work
A sticker is a layered product. The face stock is the visible material. The adhesive is the glue system underneath. The liner is the backing sheet or roll carrier. Ink adds the design. A coating or laminate may sit on top to protect against moisture, oil, abrasion, or UV exposure.
Paper is usually the economical choice for short-term indoor use: bakery boxes, thank-you seals, dry retail bags, sample cards, and low-contact inserts. It prints well, looks familiar, and keeps costs down. It also hates water, oil, condensation, and rough handling. Paper will not politely overcome physics because the artwork is pretty.
White vinyl and BOPP film cost more, but they handle moisture and rubbing better. They are common for bath products, refrigerated jars, cosmetic bottles, drink labels, cleaning products, and items that may be handled with wet hands. Clear film is useful for a “no-label” look on glass or clear plastic, though it often needs white ink behind light artwork. Without that white ink layer, pale logos can look weak or disappear completely on amber glass, dark liquid, or colored plastic.
Kraft paper supports handmade, natural, apothecary, and small-batch branding. It can look excellent on simple packaging. It can also dull colors and reduce contrast. Holographic film, metallic stocks, foil, and specialty textures create impact, but they add proofing complexity because reflective surfaces change how color is perceived under different lighting.
Adhesive choice is less glamorous and more important. Permanent adhesive grips hard and is common for boxes, jars, and retail labels. Removable adhesive peels away more cleanly, useful for temporary promotions, reusable containers, rental items, or short-term retail messaging. Freezer-grade adhesive is designed for cold storage and condensation. High-tack adhesive helps on textured kraft, corrugated board, low-energy plastics, rough pouch surfaces, or containers that flex.
Surface energy is the detail that surprises people. Smooth glass usually behaves better than certain plastics. Coated paperboard may accept a label nicely. Matte pouches can be stubborn. Textured mailers can reduce contact between adhesive and surface. If the sticker has to survive shipping, refrigeration, bathroom storage, or oily fingers, the adhesive needs to be chosen for that reality.
Finishes change both appearance and survival. Matte reduces glare and photographs well for ecommerce. Gloss makes color look sharper. Soft-touch feels premium on cosmetics and gift packaging, though it can show fingerprints and scuffing. UV coating adds abrasion resistance. Laminate generally improves durability, especially for bath products, oil-based cosmetics, refrigerated food jars, and shipping boxes that rub against other parcels during transit.
Compliance-sensitive categories need extra review. Food, supplements, candles, children’s products, and personal care items may require specific label durability, warning language, ink suitability, or migration considerations. For fiber-based sustainability claims, buyers often check certification frameworks such as the Forest Stewardship Council. Not every sticker stock is certified, recyclable, compostable, or suitable for direct food contact. Ask before ordering, not after 5,000 labels arrive.
Key Specs That Decide Size, Shape, Readability, and Fit
Start with the package, not the logo file. Measure the flat panel, curve, seam, lid, pouch gusset, or mailer flap before designing the label. A 3 x 2 inch sticker may look balanced on a screen and cramped on a curved 4 oz jar. A 6 x 2 inch seal may look elegant on a folding carton and wrinkle badly across a soft pouch seam.
Common rectangle formats include horizontal logo labels, vertical product labels, narrow sealing strips, barcode labels, address-style labels, safety panels, ingredient labels, and oversized promotional decals. Long, thin rectangles read as seals or banners. Square-ish rectangles feel like primary product labels. Tall rectangles work well for ingredients, instructions, supplement facts, or candle safety panels.
Four artwork specs prevent a depressing number of expensive mistakes:
- Bleed: extra artwork extending past the trim line, often around 0.0625 to 0.125 inch, so no white edge appears after cutting.
- Safe zone: the inner margin where critical text, QR codes, and logos should stay, usually at least 0.0625 inch from the cut line.
- Corner radius: rounded corners reduce lifting on high-touch surfaces and look softer on premium packaging.
- Trim tolerance: the normal cutting variation that can shift slightly from piece to piece, especially on very small labels.
Typography needs ruthless editing. Six-point type can technically print, but that does not mean it reads on matte kraft, textured paper, or a curved bottle. Thin lines disappear. Low contrast fails first. White text on clear film may need a backup layer. A delicate serif font can look refined in a PDF and useless on a 1-inch-wide label.
QR codes deserve more space than designers want to give them. They should usually be at least 0.8 x 0.8 inch for comfortable scanning, larger if the label is textured, glossy, distorted by a curve, or placed somewhere the customer will scan quickly. Test the code before proof approval. Test it from more than one phone. Yes, really.
Format matters too. Rolls suit higher-volume hand application and machine labeling because the labels dispense in sequence. Sheets are practical for small batches, mixed designs, office storage, and slow hand application. Individually cut stickers work best as inserts, event giveaways, retail promotional pieces, and customer freebies.
If you plan to use a labeling machine, roll direction, core size, outside diameter, label gap, and unwind orientation are not optional details. A beautiful roll of labels wound the wrong direction is still wrong. Production teams have colorful words for that situation.
My favorite low-cost test is almost embarrassingly simple: print the label at actual size on office paper, tape it to the product, photograph it from arm’s length, then check the photo. If the main message does not read there, it probably will not read in an ecommerce thumbnail or on a crowded shelf.
Cost, Pricing, MOQ, and Unit Cost Drivers
Sticker pricing is shaped by quantity, size, material, adhesive, finish, die-cut setup, artwork complexity, version count, and supply format. The broad pattern is predictable: unit cost drops as quantity rises because setup, proofing, tooling, machine time, and finishing labor are spread across more pieces.
For a simple paper rectangle label, a small test run may feel expensive per unit but useful for validation. A larger production run can bring the unit price down sharply. As a rough buying frame, simple paper labels might land around $0.05 to $0.18 per piece at moderate quantities, while waterproof film labels with laminate might sit around $0.12 to $0.35 per piece depending on size, coverage, and order volume. Specialty foil, holographic stock, spot UV, soft-touch coating, or many small artwork versions can push costs higher.
| Option | Best Use | Typical Cost Impact | Buyer Watchout |
|---|---|---|---|
| Paper rectangle labels | Dry indoor packaging, bakery boxes, mailer seals | Lowest cost in most standard sizes | Weak choice for condensation, oil, or heavy handling |
| White vinyl or BOPP | Bath products, jars, refrigerated goods, outdoor use | Moderate increase over paper | Adhesive still needs to match the surface and temperature |
| Clear film | Glass jars, clear bottles, minimalist packaging design | Moderate to premium | White ink may be needed under logos or light text |
| Specialty finishes | Cosmetics, gifts, limited editions, premium retail packaging | Higher due to extra process steps | Proof carefully because shine and texture affect color perception |
MOQ, or minimum order quantity, is not a moral test. Low minimums help when testing package size, scent names, seasonal campaigns, subscription box inserts, or early demand. Larger runs make sense after the packaging dimensions, reorder rhythm, and artwork are stable. Ordering 10,000 labels before confirming the jar supplier, carton size, or barcode placement is how brands end up with very organized boxes of regret.
Hidden costs are usually less obvious than material price. Rush fees. Split shipments. Variable data. Five scent versions instead of one. Hand-applied labels that slow packing from 500 units per hour to 180. Redesigns after proof approval. Replacement labels after a material fails in a cold chain test. Durable labels can look more expensive on the quote and cheaper in practice if they reduce returns, relabeling, and customer complaints.
Ask for price breaks at three levels: a test run, a first production run, and a reorder volume. For example, request quotes for 250, 1,000, and 5,000 pieces. Compare total landed cost, not just sticker price, especially if your production line needs rolls, a specific core size, or labels that survive refrigerated shipping.
Production Process, Timeline, and Turnaround Expectations
The typical process is straightforward: Request a Quote, choose material and size, submit artwork, receive a digital proof, approve the proof, print, cut, finish, inspect, pack, and ship. The trouble starts when one of those steps gets treated as paperwork.
Digital proofing checks layout, cut line, colors, spelling, barcode placement, quantity, and basic production notes. It does not perfectly simulate every screen-to-print color shift. Bright RGB blues, neon greens, and deep blacks can behave differently once converted to CMYK or printed over kraft, clear film, or metallic stock. If color matching is critical, ask about printed samples, press proofs, or drawdowns.
Physical samples are worth the extra time for premium product packaging, waterproof use, curved containers, clear labels, specialty finishes, and high-volume roll labels. The same design can behave differently on a rigid glass jar and a flexible pouch. Edge lift often appears after the label rests overnight, especially across curves, seams, textured surfaces, or containers exposed to temperature changes.
Quality control should cover more than whether the sticker “looks nice.” Check dimensions against the approved spec. Scan every barcode or QR code used in the design. Inspect trim consistency, color shifts, laminate bubbles, missing white ink, adhesive transfer, liner release, and roll winding direction. On roll labels, confirm the labels dispense cleanly and do not tear at normal application speed.
Standard sticker orders may move quickly, but lead time depends on artwork readiness, material availability, proof approval speed, finish complexity, and order size. Simple labels can sometimes be produced within a few business days after approval. Specialty finishes, custom dies, roll-label setups, sample-first projects, or large orders often need more time. Any estimate is conditional until the specifications are locked and the proof is approved.
For shipping performance, larger brands often think about transit testing and distribution stress. Standards from groups such as the International Safe Transit Association focus on packaged-product testing. A small sticker order may not require formal ISTA testing, but the mindset helps: rubbing, compression, humidity, temperature, and handling all expose weak label decisions.
To avoid timeline surprises, confirm size, material, quantity, finish, format, delivery address, and deadline before asking for a firm schedule. Build in buffer time for product photography, retailer onboarding, subscription box packing, trade shows, influencer mailers, and seasonal promotions. A sticker that arrives two days after the packing window is not late by much on paper. Operationally, it can be very late.
Step-by-Step Ordering Guide for Better Rectangle Labels
Ordering custom stickers rectangle labels gets easier when the brief is specific. Suppliers can price faster, proof better, and flag problems earlier when they know how the sticker will be used.
- Define the job. Decide whether the sticker is for branding, sealing, product identification, instructions, QR engagement, warning information, barcode scanning, or promotional giveaway use.
- Measure the surface. Check the usable flat area, seams, curves, lid edges, mailer flap width, and any area that might rub during packing or shipping.
- Choose material and adhesive. Match the sticker to the environment: indoor, outdoor, refrigerated, oily, wet, frequently handled, disposable, reusable, or removable.
- Select the format. Use rolls for speed and applicators, sheets for small-batch hand labeling, or individually cut pieces for inserts, events, and customer freebies.
- Prepare artwork. Send vector logos where possible, outline fonts, give CMYK color guidance, include bleed, mark the safe zone, and clarify the cut line.
- Request a detailed quote. Include exact size, quantity, material, adhesive, finish, format, delivery location, and deadline. Vague quote requests usually produce vague pricing.
- Review the proof slowly. Check spelling, dimensions, barcode and QR scans, color expectations, quantity, shipping address, and roll orientation before approval.
For brands building a broader packaging system, rectangle labels should not be treated as isolated artwork. They need to coordinate with mailers, cartons, wraps, inserts, and other Custom Packaging Products. Consistency matters. A matte black label on a gloss white box can look deliberate. A random mix of finishes, font weights, and shades of white can make even strong product packaging feel patched together.
One practical point for multiple SKUs: decide whether each version truly needs separate artwork. Sometimes one base label plus a smaller variable rectangle sticker for scent, flavor, size, batch, or promo code is cheaper and cleaner than printing twelve full label versions. Not always. Price both ways before committing.
Also think through application labor. A label that takes six seconds to place cleanly might be fine for 200 units. At 8,000 units, that same label becomes a staffing issue. Large labels, ultra-thin films, clear stocks, and narrow seals can all require more careful handling. The unit price on the quote does not include the time your team spends fighting wrinkles.
Common Mistakes, Expert Fixes, and Your Next Ordering Moves
The most common mistake is choosing a sticker because it looks good on screen rather than because it survives the actual packaging environment. Screens do not show adhesive failure. They do not show glare from ecommerce lighting. They do not show whether a customer’s damp hand will scuff the ink on a lotion jar.
Watch for undersized text, insufficient contrast, missing bleed, and sharp square corners on high-touch labels. Glossy finishes can create hard reflections in product photos. Matte finishes can mute colors. Kraft stock can make white areas vanish unless white ink or a separate design adjustment is planned. Clear labels can look elegant on glass but muddy on amber bottles if contrast is weak.
Do not assume one adhesive works everywhere. Glass, coated cardboard, matte pouches, plastic jars, metal tins, and textured kraft mailers all behave differently. Low-energy plastics are especially tricky. So are frosted surfaces and flexible packaging that bends after application.
Test with real conditions before scaling. Apply the sticker. Leave it overnight. Rub it with a thumb. Chill it if it will go in a fridge. Wet it if condensation is likely. Expose it to oil if the product is a balm, serum, sauce, or candle fragrance. Check for edge lift, ink scuffing, wrinkles, and barcode scan failure.
- Use rounded corners if the label will be handled often or placed near an edge.
- Reserve white ink under clear labels when logos or text need opacity.
- Keep QR codes generous and test them from multiple phones before approval.
- Confirm roll orientation if labels will run through a dispenser or applicator.
- Keep one master spec sheet listing size, material, adhesive, finish, supplier notes, and reorder quantity.
The best next move is concrete. Choose one target package. Measure the usable label area. Shortlist two materials. Decide a first-run quantity. Gather vector artwork, barcode files, and any required warning copy. Then request quote tiers so you can compare test quantity, launch quantity, and reorder quantity side by side.
Rectangle sticker orders work best when the boring decisions come first: size, surface, material, adhesive, finish, format, and timeline. Once those are settled, the design has a real job to do. The finished label is much more likely to look sharp, stay attached, scan correctly, and support the package instead of merely decorating it.
Rectangle Sticker FAQs
What size should I choose for custom rectangle stickers?
Measure the flat usable area first, then leave space around edges, seams, curves, and handles. Print a paper mockup at actual size and view it from arm’s length. Larger rectangles work better for product information, while smaller narrow rectangles suit seals, logo marks, QR prompts, and short batch messages.
Are rectangle stickers better on rolls or sheets?
Rolls are better for larger runs, fast hand application, and machine labeling. Sheets are practical for small batches, mixed designs, office storage, and slower hand application. Individually cut stickers work best for giveaways, package inserts, trade show handouts, and retail promotional pieces.
How do I make custom rectangular stickers waterproof?
Choose vinyl, BOPP, or another water-resistant film instead of standard paper. Add a laminate or protective coating if the sticker will face rubbing, condensation, oils, or frequent handling. Also confirm that the adhesive is suitable for wet, cold, bathroom, freezer, or outdoor conditions.
What affects the price of custom stickers in rectangle shapes?
The biggest drivers are size, quantity, material, finish, adhesive type, format, and artwork variation count. Specialty options such as foil, holographic film, clear stock, spot UV, or soft-touch finishes usually increase cost because they add materials and process steps. Request multiple quantity breaks before choosing the final order size.
How long does it take to produce custom rectangle labels?
Timeline depends on artwork readiness, proof approval speed, material availability, finish complexity, order size, and shipping method. Simple paper or vinyl orders usually move faster than specialty finishes, custom roll setups, or sample-first projects. Build in extra lead time for launches, retailer deadlines, trade shows, seasonal campaigns, and subscription box packing.