Domed Stickers Custom: Buy Durable Labels That Last
What Domed Stickers Custom Labels Actually Are
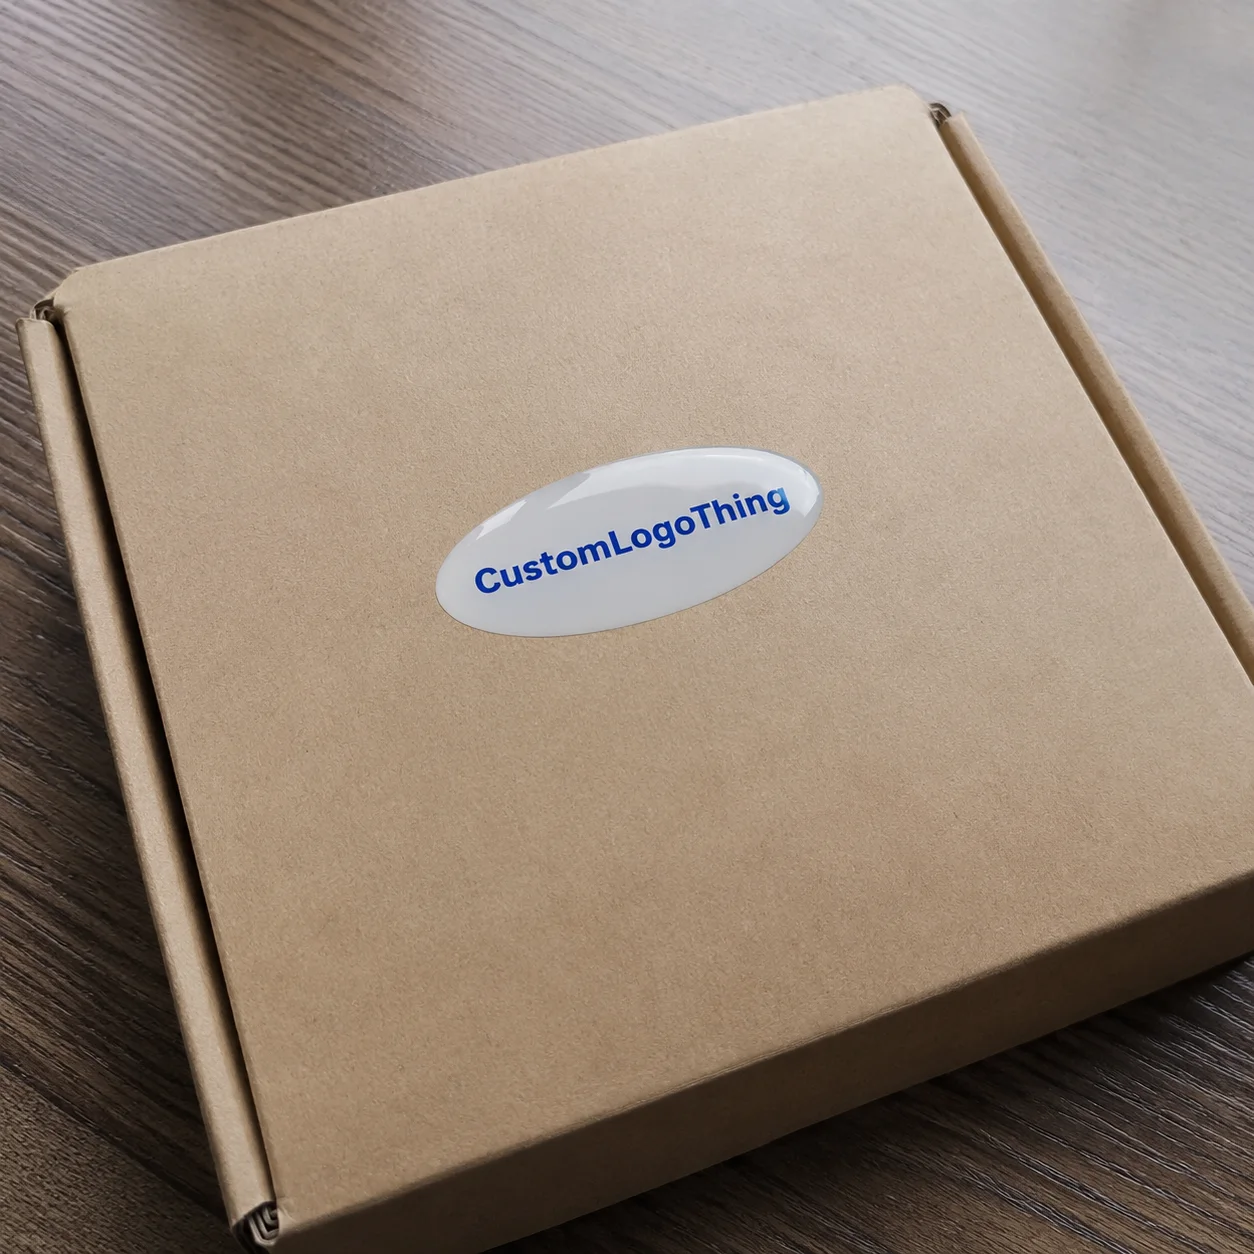
A flat logo sticker can look fine on a design proof, then disappear on a metal case, bottle cap, equipment panel, or retail display once glare, handling, and surface texture get involved. Domed stickers custom projects solve that by adding a raised clear resin lens over the printed label, giving the logo more depth, gloss, and physical presence.
A domed sticker is a printed adhesive label covered with polyurethane resin or a similar clear resin system. The resin cures into a rounded, lens-like surface that sits above the print. Think of it as a soft badge effect without paying for a molded emblem, die-cast plate, or injection-molded part. Still a sticker. Just not the sad paper kind from a trade show bowl.
Buyers will see these sold as domed decals, resin stickers, 3D stickers, bubble labels, raised logo stickers, gel stickers, and polyurethane domed labels. The names change. The structure does not: printed face stock, adhesive backing, cut shape, and a clear raised dome on top.
The visual effect is the draw. The dome boosts color, adds gloss, and gives the mark a premium tactile finish. It works well on electronics, tools, cosmetics, drinkware, automotive accessories, appliance branding, outdoor gear, promotional products, packaging seals, and branded merchandise. On retail packaging, a small raised label can make a plain box or insert feel more finished, especially when paired with Custom Labels & Tags.
Domed labels are not ideal everywhere. They struggle on highly flexible squeeze surfaces, fabrics, tight compound curves, dirty powder-coated finishes, rubberized coatings, and areas exposed to constant scraping. If the surface flexes hard, the dome can lift. If the surface is oily, dusty, waxy, or heavily textured, the adhesive may fail. Adhesive is chemistry, not witchcraft.
The right order starts with the unglamorous details: Material, Adhesive, Artwork, surface, exposure, price, lead time, and quality checks. Miss one and the “premium” label can become an expensive little disappointment.
How the Resin Dome Works on a Printed Sticker
The production stack is simple on paper. A supplier prints the artwork on a base film, uses or applies an adhesive backing, cuts the sticker shape, deposits clear resin onto the face, lets the resin self-level to the edge, cures it under controlled conditions, then inspects the finished sheets or individual pieces.
The resin is the part buyers often underestimate. Quality polyurethane resin is usually clearer, more flexible, and better suited for outdoor use than bargain hard resin. Cheap resin can yellow, crack, shrink, cure unevenly, or trap bubbles. Shocking, I know. Cheap shortcuts behave cheaply.
The dome forms because liquid resin flows across the printed sticker and stops near the cut edge through surface tension. That is why clean cut lines, smooth contours, and enough border spacing matter. Sharp spikes, skinny tails, tight internal corners, and tiny gaps make resin control harder. You may see pooling, pullback, thin spots, or a lumpy edge instead of a clean badge effect.
The lens also magnifies the artwork. Colors can look richer, which helps bold logos. Small text can become harder to read, especially on a label under one inch wide. Tiny registration errors may also look more obvious under the dome. Resin does not hide weak artwork. It puts a shiny hat on it.
Adhesive choice should match the product surface. Standard permanent adhesive works for many smooth plastics, glass, painted metal, and coated paperboard. High-tack adhesive may be needed for textured plastics, powder-coated metal, and low-surface-energy materials such as polypropylene or polyethylene. Outdoor adhesive is useful for sunlight, temperature swings, and moisture. Removable adhesive exists, but it is usually the wrong choice for product badges that need to stay put.
Thickness varies by supplier, sticker size, and resin flow, but many domed labels land around 1.5 to 2.5 mm thick at the center. That feels raised without turning the edge into a snag point. Taller is not automatically better. If the dome catches on hands, sleeves, packaging inserts, shipping trays, or equipment panels, it is more likely to lift.
Durability can be strong when the specs match the job. Good domed decals resist water, UV exposure, light scratches, and normal handling better than many flat labels. They are not armor. Constant abrasion, harsh solvents, deep freezer abuse, steam cleaning, and badly prepared surfaces can still beat them.
Key Specs That Decide Whether Raised Logo Stickers Look Premium
Size is the first spec to settle. Small domed decals work best for logos, icons, product marks, and simple badges. A practical range for many products is about 0.5 to 3 inches wide. Below that, fine details get risky. Above that, resin control, surface flatness, and placement accuracy matter more.
Shape matters more than most buyers expect. Circles, ovals, rounded rectangles, and smooth custom contours dome cleanly because the resin can flow evenly. Tight points, hairline gaps, sharp internal corners, and thin extensions are where designs go to suffer. If the logo has a lightning bolt, starburst, ornate crest, or complicated mascot, consider printing the detail inside a smoother outside shape.
Artwork should be vector whenever possible. Send AI, EPS, SVG, or production-ready PDF files with fonts outlined. Add bleed if the print runs to the edge. Keep important details away from the cut line. For many domed stickers, 1.5 to 2 mm of safe spacing between critical artwork and the edge is a good starting point, though the final tolerance depends on size, shape, and supplier equipment.
High-contrast colors work better than subtle tone-on-tone designs. The dome adds gloss and depth, but it also reflects light. Pale gray text on silver film may look tasteful in a PDF and useless on a shelf. Beautiful and unreadable is still unreadable.
Gloss doming is standard because it gives the strongest 3D effect. Matte domed effects exist, but they are less common, can cost more, and may soften the raised look. If the goal is a shiny badge-like mark on product packaging, branded packaging, or promotional gear, gloss is usually the safer pick.
Base film changes the final appearance. White vinyl gives strong color and opacity. Clear film can create a transparent effect on glass, bottles, and smooth colored surfaces. Metallic film creates chrome, brushed, or foil-like effects without using a metal badge. Specialty films can look excellent on premium packaging, but they add cost and need tighter proofing because resin can shift the way metallics read under light.
Exposure should be part of the brief, not a late-stage panic item. Sunlight, moisture, cleaning chemicals, freezer conditions, heat, and abrasion all affect material and adhesive choices. If the label goes on packaging that will face rough distribution, ask how the supplier evaluates transport and handling. Organizations such as ISTA publish transport testing standards that are useful when packaging has to survive vibration, compression, and handling instead of just looking good in a mockup.
Practical rule: if the domed label goes on a premium product, outdoor item, or customer-handled surface, order samples or a pilot batch first. Finding an adhesion problem at 50 pieces is annoying. Finding it after 5,000 units ship is a meeting nobody enjoys.
Quality checks should cover more than “does it look shiny?” Inspect dome clarity, edge consistency, bubbles, dust, color shift, registration, cut accuracy, adhesive coverage, liner release, and packaging condition. A few tiny bubbles may be within tolerance on some jobs. A cloudy dome, sticky surface, or resin overflow should not be waved through as character.
Process, Timeline, and Lead Time for Domed Decal Production
A normal domed decal order starts with size, shape, quantity, artwork, surface type, use environment, and deadline. From there, the supplier quotes the job, prepares a proof, receives approval, starts production, cures the resin, checks quality, packs the order, and ships it.
The proof is not decoration. It confirms dimensions, cut line, color setup, bleed, spacing, and whether the design is dome-safe. A digital proof cannot perfectly show resin depth, final gloss, or the way the sticker will look under store lighting, but it should catch size mistakes and artwork problems before production starts.
Simple repeat orders often move faster because the art, cut path, material, and resin behavior are already known. A straightforward order may take around 7 to 12 business days after proof approval, depending on quantity and shop capacity. New custom shapes, metallic bases, outdoor adhesives, sampling, or larger runs can push production closer to 12 to 20 business days. Rush jobs may be possible, but resin still needs time to settle and cure.
Curing is not a cute technical detail. It is the difference between a clean, clear dome and cloudy edges, trapped bubbles, tacky resin, or soft surfaces. Rushing the process is a great way to buy a tiny science experiment. Nobody needs that on a product launch.
Sampling adds time but cuts risk. A prototype or short run is useful when the sticker goes onto an expensive device, outdoor tool, retail-facing package, or product customers handle daily. If the order is tied to custom printed boxes, retail displays, or a full Custom Packaging Products rollout, sample the label on the actual surface. Screens do not show how resin gloss behaves next to matte paperboard, soft-touch lamination, brushed metal, or molded plastic.
Shipping deserves attention too. Domed stickers should be packed so sheets do not crush, rub, or bend hard enough to stress the resin. Bulk pieces may need dividers, release liners, or careful stacking. Heat during transit can matter, especially with fresh resin or aggressive adhesives. If the labels arrive curled, blocked together, dented, or dusty, the application team gets a problem they did not create.
Buyers can speed things up by submitting vector artwork, confirming exact dimensions, approving proofs quickly, choosing common materials, and avoiding design changes after production starts. That last one is unpopular but true. Once resin production begins, edits are not edits. They are reprints.
Cost, Pricing, MOQ, and Quote Factors Buyers Should Expect
Pricing for domed stickers custom orders depends on quantity, size, shape complexity, material, adhesive, resin type, print method, color setup, finishing, sampling, and shipping. Anyone giving one universal price without those details is guessing, and guessing is not a procurement strategy.
Small simple domed labels in larger quantities can be inexpensive per unit. Oversized custom shapes, metallic bases, specialty adhesives, and low quantities push the unit cost up fast. As a rough buying range, a simple 1-inch domed logo might land around $0.20 to $0.60 each at several thousand pieces, while smaller runs can be $1.00 to $3.00 each or more after setup. Larger badges, specialty films, outdoor specs, or complex shapes can go higher.
Minimum order quantity exists because the supplier has to set up printing, cutting, resin application, curing space, handling, and quality control. Setup costs do not vanish because someone wants 37 labels. Very small runs are possible with some suppliers, but the per-piece cost will look rude compared with a 1,000-piece run.
| Order Scenario | Typical Use | Practical Price Behavior | Buyer Tradeoff |
|---|---|---|---|
| 100 to 250 pieces | Samples, prototypes, small product batch | Higher unit cost because setup is spread over fewer labels | Good for testing fit, color, and adhesion before scaling |
| 500 to 1,000 pieces | Small retail run, promotional products, branded merchandise | Unit cost usually improves, especially with simple shapes | Better value, but only if the spec has been checked |
| 2,500 to 5,000 pieces | Product packaging, equipment labels, repeat branding | Often the most sensible unit-cost zone for standard sizes | Inventory risk rises if artwork or adhesive is untested |
| 10,000+ pieces | Established product line or national retail packaging | Lowest unit cost, but shipping and storage matter more | Best after a pilot run proves the sticker works |
Quotes may ask for the application surface and environment because those details affect cost. A label for smooth glass in a bathroom kit may use a different adhesive than a badge for textured plastic outdoor gear. A logo on powder-coated metal may need high-tack adhesive. A label on a cosmetic jar cleaned with alcohol-based sprays may need chemical-resistant materials.
Hidden cost mistakes are common. Paying for a beautiful decal that fails on textured plastic is not value. Ordering oversized labels that waste resin is not premium. Printing tiny type nobody can read under the dome is not branding. It is expensive clutter with a shine layer.
Ask for pricing breaks at two or three quantities. Also ask what changes would lower cost. Sometimes reducing the size by 3 mm, changing a sharp custom shape to a rounded rectangle, or choosing white vinyl instead of metallic film saves real money without hurting the result. Confirm whether proofing, sampling, freight, and taxes are included. Boring details, yes. Expensive if ignored, also yes.
Common Mistakes That Make 3D Stickers Fail
The first mistake is using artwork designed for flat print without adjusting it for the resin lens. Tiny type, thin strokes, detailed icons, and low-contrast colors can all get worse once the dome adds gloss and magnification. For a 1-inch label, skip the paragraph of micro-copy. Your customer is not bringing a jeweler’s loupe to admire your SKU story.
The second mistake is choosing a bad shape. Sharp points, skinny extensions, and complicated internal corners make resin harder to control. A smoother outline usually looks more intentional and produces fewer rejects.
The third mistake is ignoring the surface. A sticker that bonds beautifully to smooth glass may fail on textured plastic, rubberized coatings, or powder-coated metal. Surface energy matters. Polypropylene and polyethylene are especially picky compared with glass, painted metal, and many coated papers.
The fourth mistake is bad application prep. Domed stickers need clean, dry, oil-free surfaces. Dust, mold release agents, fingerprints, silicone, wax, and fresh paint can ruin adhesion. Adhesive is not a cleaning service. Use the supplier’s prep instructions, and test any cleaner before applying it across a production line.
The fifth mistake is choosing the cheapest resin or adhesive for harsh use. Outdoor gear, tools, vehicle accessories, and products cleaned with chemicals need better specs. The cheapest line item on the quote can become the most expensive part of the project if labels start lifting in customers’ hands.
The sixth mistake is skipping samples for premium or retail-facing products. If the label sits on a $150 device, a cosmetic jar, a high-end tool case, or a display package, spend the extra time to see the actual finish. Photos help, but resin gloss changes with light and angle.
The seventh mistake is making the sticker too large for the surface. Oversized labels can lift at the edge, trap air, or look like an afterthought. A smaller, well-placed dome often looks more expensive than a giant badge fighting the product geometry.
If domes yellow, lift, bubble, or crack, the likely causes are material mismatch, rushed curing, poor storage, dirty application, rough handling, or wrong adhesive. Some failures show up immediately. Others appear after heat, sunlight, moisture, or repeated cleaning. Testing beats optimism every time.
Next Steps Before You Order Raised Custom Stickers
Before requesting a quote, measure the application area with real dimensions, not vibes. Photograph the product surface from straight-on and at an angle. Decide whether the sticker will be used indoors or outdoors. Estimate how often it will be handled. Note heat, moisture, sunlight, freezer exposure, cleaning chemicals, and abrasion.
Prepare artwork properly. Send a vector logo with outlined fonts, Pantone or CMYK references if color matters, desired size, preferred shape, and any brand rules. If the label needs to coordinate with Custom Printed Boxes, inserts, sleeves, or other branded packaging, share those files too. Good package branding works as a system, not a pile of unrelated shiny things.
Choose two or three quantity tiers for quoting. For example: 500, 1,000, and 2,500 pieces. That gives you the unit-cost curve instead of one lonely price. If you are testing a new product, the lowest unit price may not be the smartest choice. Bigger quantity lowers cost per piece, but it also increases inventory risk if the size, artwork, or adhesive is wrong.
- Confirm the resin: ask whether the supplier uses polyurethane resin and whether it is recommended for outdoor use.
- Match the adhesive: tell the supplier if the surface is plastic, glass, metal, painted, powder-coated, textured, or curved.
- Ask for lead time: separate proofing time, production time, curing time, and shipping time.
- Request samples: use physical samples for premium products, outdoor applications, and customer-handled surfaces.
- Check tolerances: confirm expected variation for size, color, registration, and dome edge behavior.
During proof approval, review the dimensions, cut line, bleed, border spacing, and readability at actual size. Print the proof at 100% if you need a quick gut check. Better yet, place a paper mockup on the product. It is not perfect, but it catches many sizing mistakes before money starts moving.
If sustainability claims matter to your product packaging, ask about paper components, liners, and responsible sourcing. For paperboard packaging around the product, certifications from groups such as FSC may be relevant, though the domed label itself will usually involve plastic film, adhesive, and resin. Do not let anyone blur those categories. Materials are materials.
The best orders are specific before they are cheap. Match the design, adhesive, surface, timeline, and inspection expectations before chasing the lowest unit price. Send artwork, product photos, size, quantity, surface type, use environment, and deadline so the quote reflects the real job, not a vague sticker fantasy.
Frequently Asked Questions
Are custom domed stickers waterproof?
Most quality domed stickers are water-resistant and suitable for normal outdoor exposure, spills, and cleaning moisture. Waterproof performance depends on the base material, adhesive, resin, and application surface. Do not treat them like permanent submerged labels unless the supplier confirms that use case and tests it.
What is the best size for domed logo stickers?
The best size depends on the product surface, but smaller logos often work well from about 0.5 to 3 inches wide. Avoid very tiny text because the resin lens can make fine details harder to read. Leave enough border area so the resin can settle cleanly without crowding the edge.
How long does production take for custom resin stickers?
Typical lead time depends on artwork approval, quantity, material, resin curing, and order complexity. Simple repeat orders are usually faster than first-time projects with sampling or specialty materials. Build in extra time if the stickers need outdoor adhesive, metallic film, unusual shapes, or physical samples.
Do domed stickers custom orders cost more than flat stickers?
Yes, domed stickers usually cost more because they require resin application, curing time, thicker handling, and extra quality control. The higher cost can be worth it when the label functions like a badge or premium product marker. Ask for quantity breaks because unit cost usually drops meaningfully as volume increases.
Can domed decals stick to plastic, metal, and glass?
Yes, they can stick to many plastics, metals, and glass when the correct adhesive is selected. Low-surface-energy plastics, textured finishes, and powder-coated surfaces may need high-tack adhesive or testing. Clean, dry, oil-free surfaces are critical for good adhesion, which is boring advice but unfortunately true.


