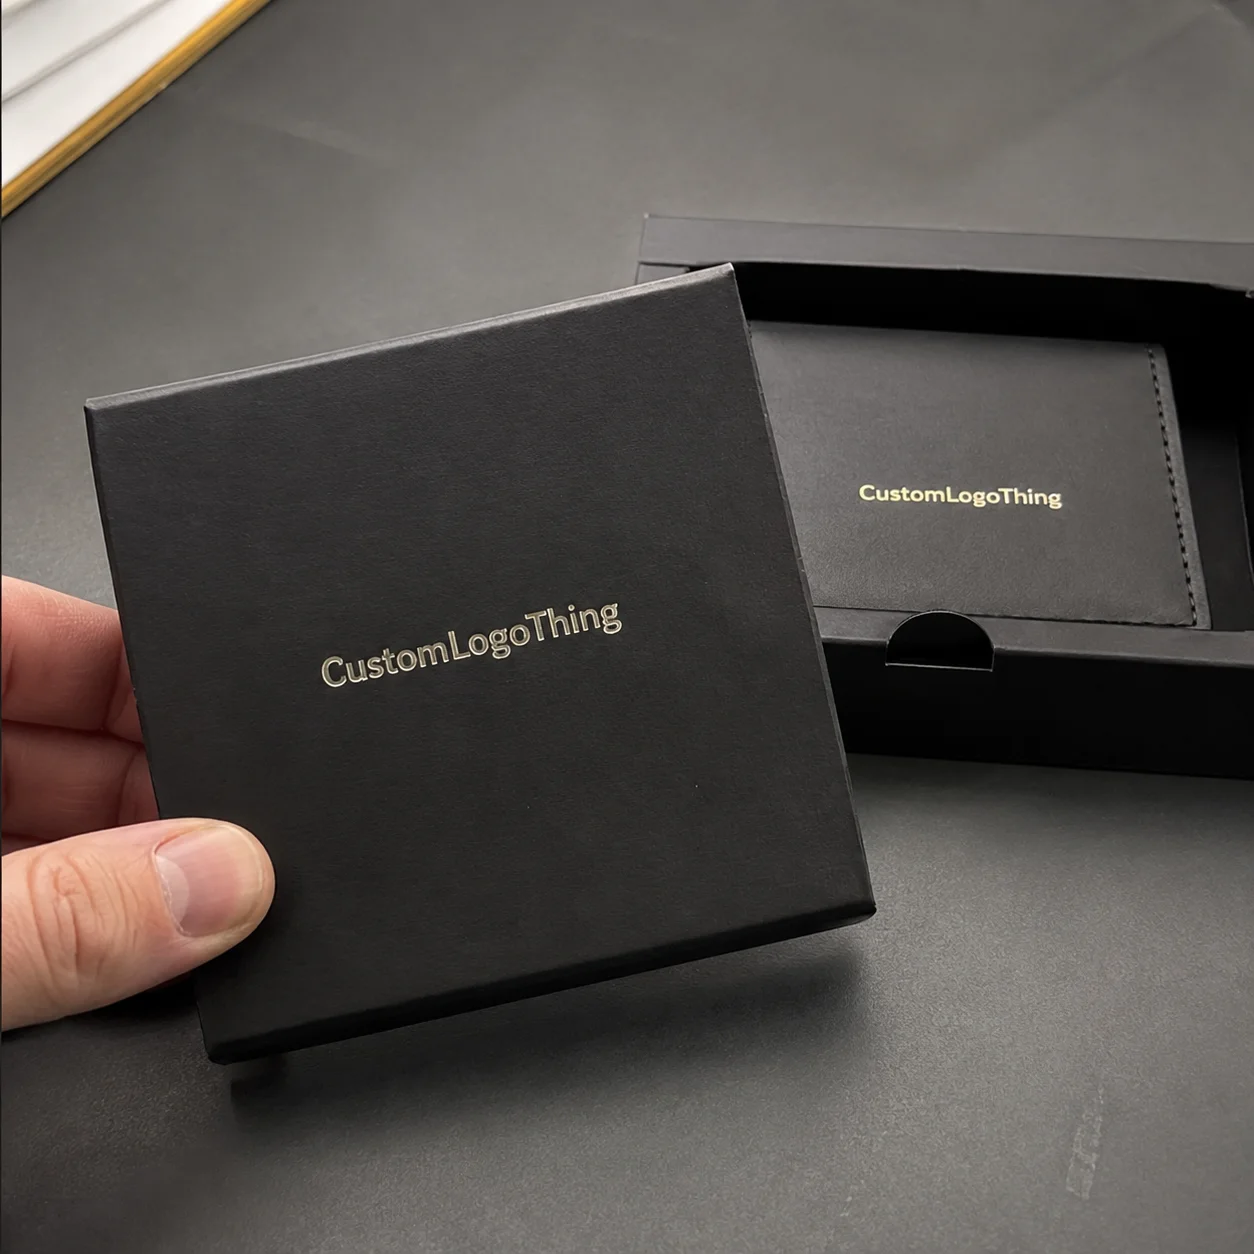
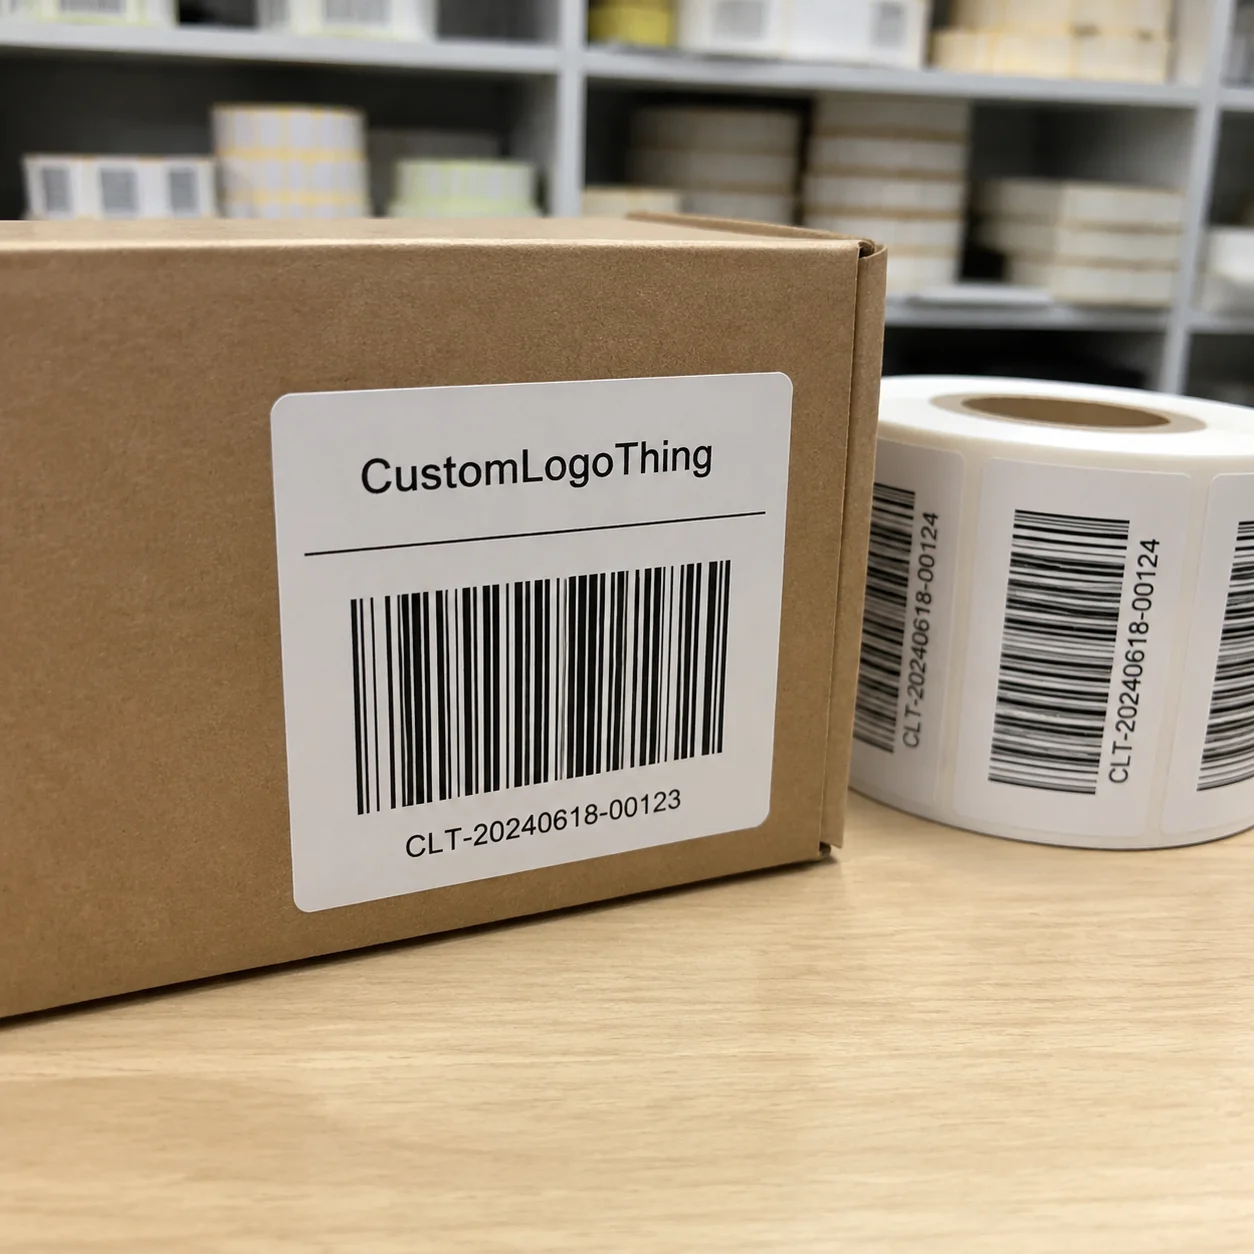
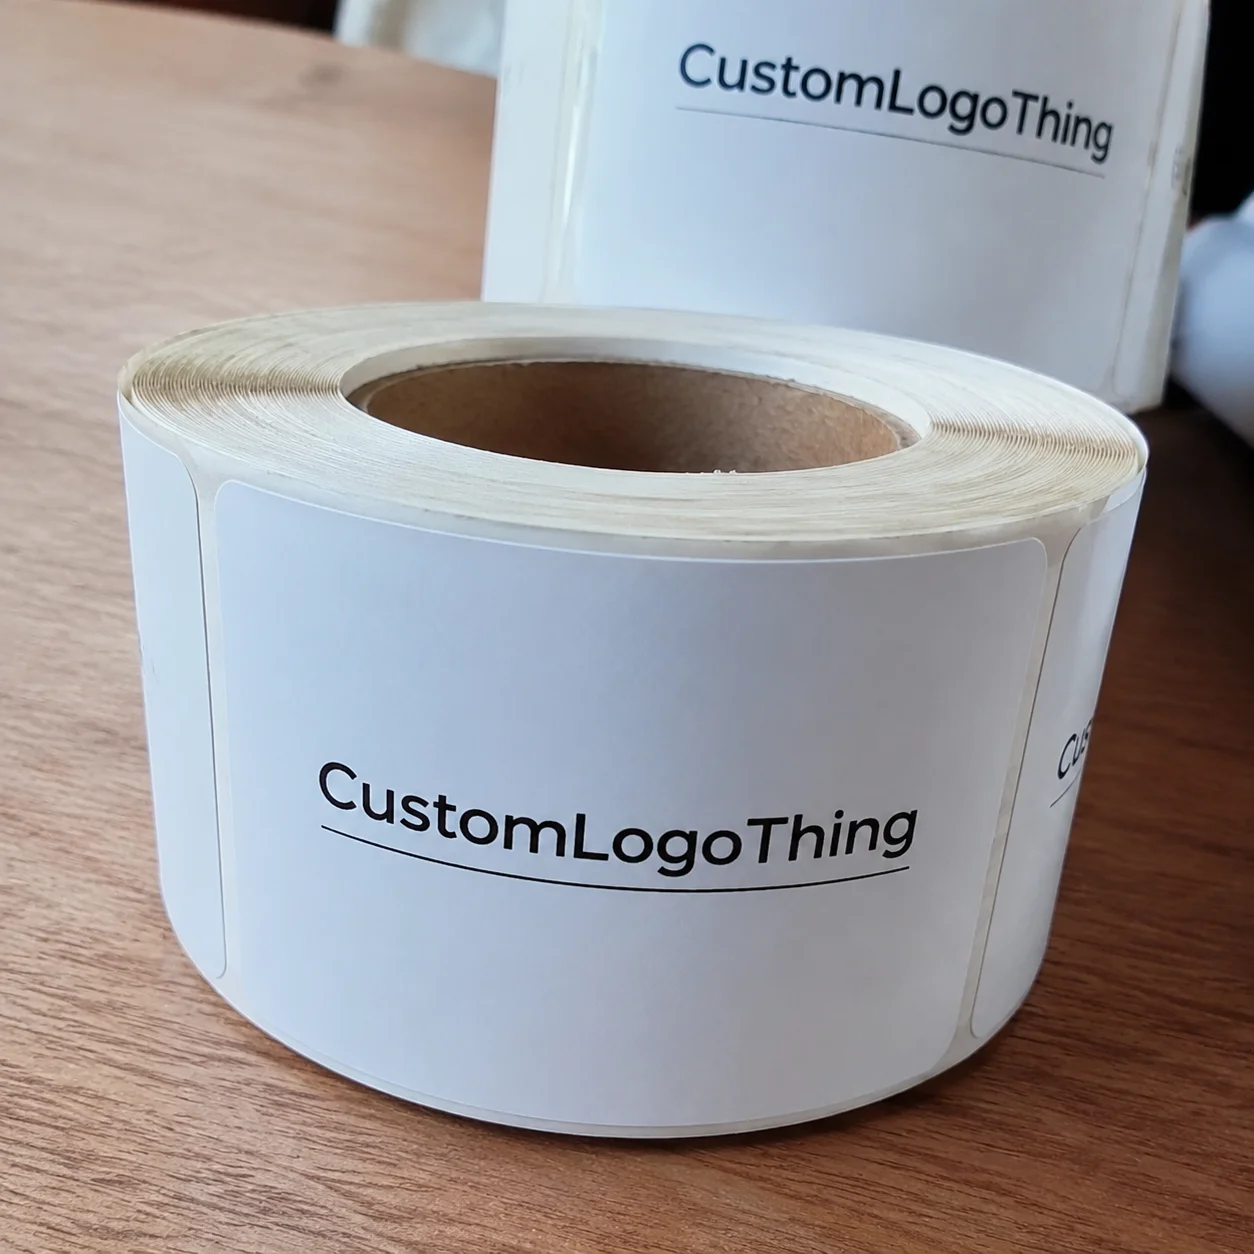
A label can look immaculate on screen, then arrive 2 mm off-center, too glossy for barcode scanning, and peeling from a cold bottle by lunchtime. Charming, if you enjoy preventable problems. A label stickers Sample Approval Checklist is the buyer-side review that catches those small failures before bulk printing turns one miss into 10,000 identical misses.
Custom label stickers do more than decorate. They carry product identity, barcode data, compliance copy, batch fields, warning text, recycling marks, and sometimes the first impression a shopper gets on a crowded shelf. That is a lot of responsibility for a thin piece of paper, BOPP, vinyl, or textured stock with adhesive on the back.
The sample approval stage should be practical, specific, and slightly skeptical. If the label has to survive refrigeration, curved glass, oily hands, shipping abrasion, or retail scanners, the sample needs to prove it. A PDF cannot do that job.
What Should a Label Stickers Sample Approval Checklist Include?
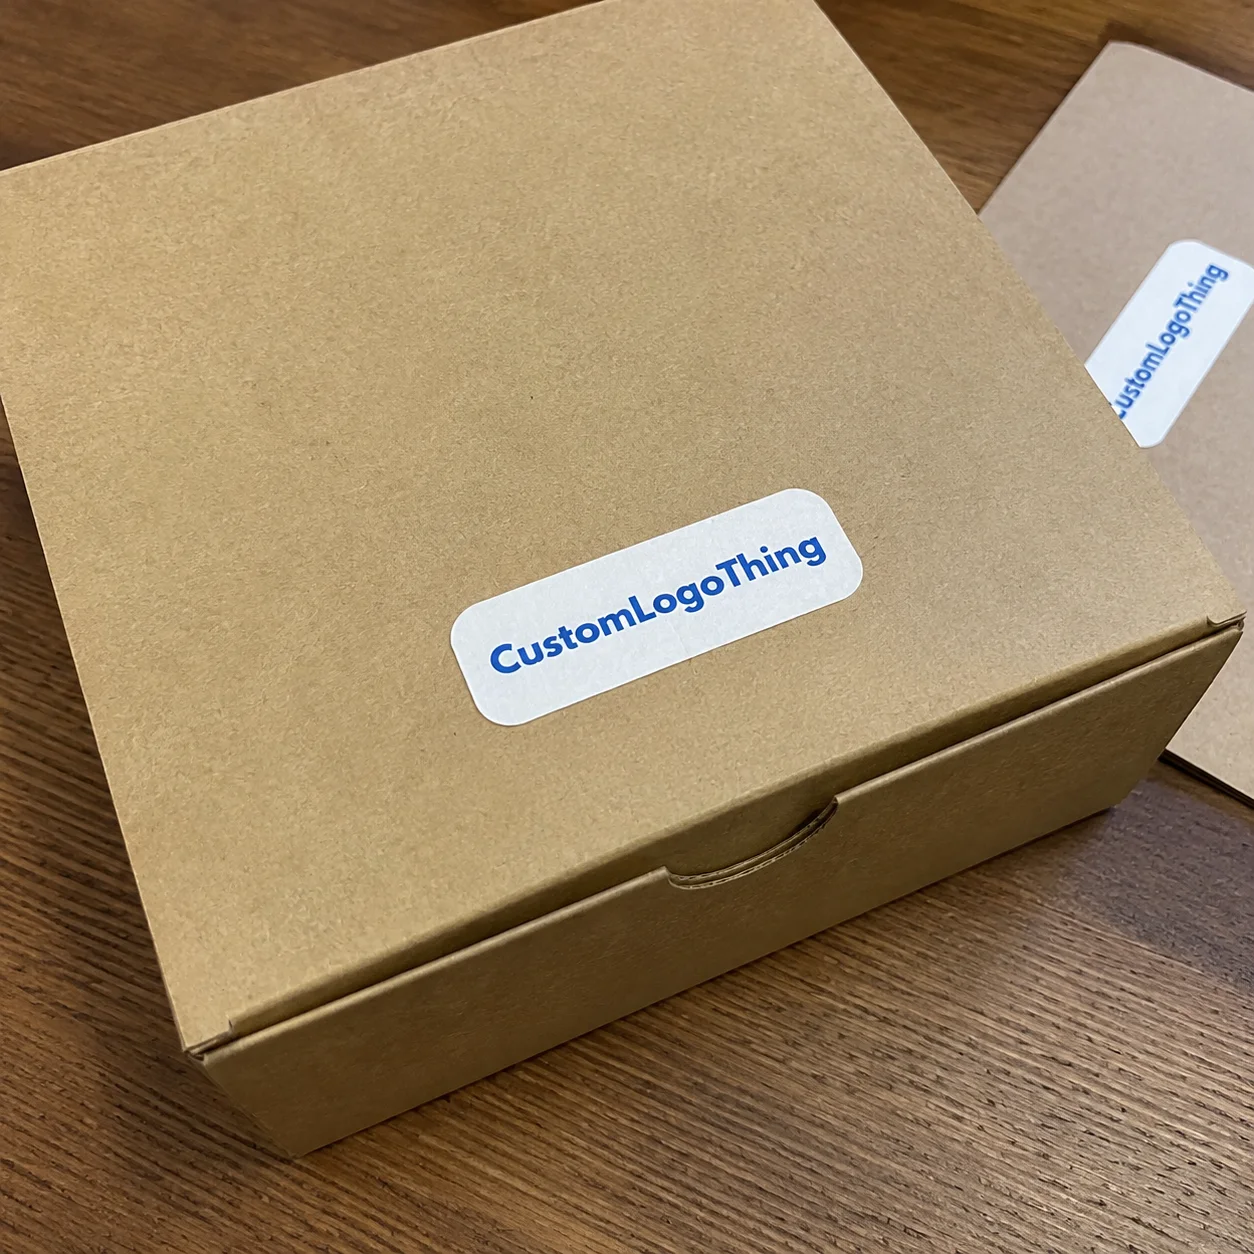
A label stickers Sample Approval Checklist should cover artwork accuracy, size, dieline, bleed, material, adhesive, finish, color, barcode verification, roll direction, packing format, and written approval tied to one proof version. It is not a mood board review. It is not three people deciding whether they “like the look.” That is how packaging errors get disguised as taste.
The approval step checks whether the label matches the intended use. A candle jar label, a mailer box sticker, a squeezable cosmetic tube label, a refrigerated drink label, and an oily food container label all have different failure modes. Paper may work beautifully on a dry box and fail quickly on a chilled bottle. Clear film may look elegant on a proof and disappoint on amber glass without a proper white ink layer.
Buyers often blur the approval stages. They are not interchangeable.
- Digital proof: A PDF or image proof showing layout, size, dieline, bleed, copy placement, and color intent. Useful for catching artwork errors. Useless for testing adhesive.
- Pre-production label sample: A physical sample made before the full run, often using the intended material and finish. Sensible for first-time orders, new packaging, or revised specs.
- Press proof: A proof produced on the actual press or production setup. More accurate for color, registration, and finish, but usually more expensive.
- Production sample: A sample pulled from the bulk run. Helpful for confirming consistency, but late if the material or size is wrong.
Sample approval matters most with new label sizes, specialty substrates, waterproof use, freezer storage, food or cosmetic packaging, retail barcodes, outdoor labels, textured papers, foil, embossing, or anything applied to a curved or tapered container. A flat proof can look centered. A label wrapped around a tapered jar can visually drift. Packaging has a cruel little sense of geometry.
The goal is not theoretical perfection. The goal is matching the approved spec under real use conditions before thousands of labels get printed, packed, shipped, and invoiced.
Sample Approval Process and Timeline Before Bulk Printing
The normal process is straightforward, but every shortcut has a cost. You send artwork. The printer checks file resolution, color mode, dieline, bleed, and basic print readiness. You confirm material, adhesive, finish, quantity, roll format, and any special handling requirements. The printer sends a digital proof. You approve that proof, then request the physical sample if the job requires one.
Typical timing is not mysterious. It is just often underestimated. Digital proofing commonly takes 1-2 business days. Physical label samples often take 3-7 business days after proof approval, depending on material and finishing. Shipping adds another 1-5 business days, based on method and location. For a first custom order, a realistic sequence might be 1-2 days for proofing, 5-8 days for sample production and shipping, and 1-2 days for buyer review. Bulk production starts after written approval, not after a hallway conversation.
Specialty materials, foil stamping, embossing, opaque white ink, custom shapes, lamination, Pantone matching, or weatherproof testing can add several days. These are production steps. They are not buttons hiding under the printer’s desk.
A photo or video sample can be enough for basic layout confirmation on a repeat order with unchanged specs. If adhesive, opacity, hand-feel, finish, color accuracy, or container fit matters, wait for the physical sample. The review becomes sharper once you can touch the label, apply it, scan it, rub it, chill it, and generally annoy it a little.
Buyers create bottlenecks too. Slow feedback, vague comments like “make it pop,” and artwork changes after sampling can turn a clean order into a revision loop. Approval should be written and tied to a proof version, sample date, material spec, and finish. No mystery approvals. No “I thought we approved the other file.” That sentence has ruined many calm mornings.
Artwork, Size, Dieline, and Bleed Checks
The artwork check is the first real approval gate. If the file is wrong, every premium material choice simply becomes a better-looking mistake. Start with the obvious items: final logo, spelling, ingredient text, net weight, QR code, barcode, batch fields, legal symbols, recycling marks, warning copy, and product claims.
Packaging claims need restraint. Environmental language is especially easy to overstate. The EPA publishes guidance around environmental topics, and buyers should avoid casual wording that sounds official but lacks support. “Eco-friendly” may feel harmless. It can also create compliance headaches. Very glamorous paperwork.
Dielines deserve more attention than they usually receive. Check the trim line, bleed, safe zone, corner radius, kiss-cut line, perforation, and the gap between labels on rolls. For roll labels, gaps often land around 2-3 mm, although applicator requirements and label dimensions can change that number.
Small print and cut movement is normal. A common tolerance is around 1-2 mm, depending on label type, equipment, material, and finishing method. Do not place tiny text, thin borders, or critical icons right at the edge. If a 1 mm shift ruins the design, the design is too fragile for production.
Bleed prevents white slivers from appearing along the edge after cutting. For many custom label stickers, 1.5-3 mm is a practical bleed range, though the printer’s template should override any general rule. Templates exist for a reason. Occasionally, that reason is saving your launch date.
Container shape matters as much as the flat dimensions. A 60 mm wide label may look balanced in a PDF, then wrinkle on a 45 mm diameter bottle or feel too tall on a tapered tube. Print a paper mockup at actual size and wrap it around the real container before approving the sample. Low-tech. Annoyingly effective.
Machine-applied labels need one more check: roll direction and unwind position. The wrong orientation can stop an application line cold. If your co-packer needs labels wound top-edge first, bottom-edge first, left-edge first, inside wound, or outside wound, document it before production. Guessing here is expensive.
Material, Adhesive, Finish, and Use-Case Tests
Label stickers are functional packaging. The material and adhesive have to survive the product environment, not the clean conference table where everyone nods at the sample for 90 seconds.
Common material choices behave differently:
- Paper labels: Good for dry indoor use, shipping labels, basic retail packaging, and low-moisture applications. Usually lower cost, with wide finish options.
- BOPP labels: A strong choice for waterproof, oil-resistant, and refrigerated packaging. White BOPP and clear BOPP are common in food, beverage, and cosmetics.
- Vinyl labels: Tougher option for outdoor use, equipment labels, and longer exposure to moisture or abrasion.
- Textured paper: Premium feel for wine-style labels, candles, gift products, and boutique retail packaging. Attractive, but tiny type and heavy ink coverage need testing.
- Clear film: Creates a no-label look on glass or plastic. It needs careful checks for adhesive clarity, trapped air, container color, and white ink backing.
Adhesive selection carries the same weight as the face stock. Permanent adhesive works for many retail applications. Removable adhesive helps with temporary labels or reusable containers. Freezer-grade adhesive is built for cold storage. High-tack adhesive helps on rough cardboard, low-energy plastics, and difficult surfaces. Low-tack adhesive fits projects where clean removal matters.
Test samples on the real container. Glass, PET, HDPE, aluminum, cardboard, coated paperboard, and squeezable tubes all behave differently. Condensation, dust, oil, cold fill conditions, and curved surfaces change adhesion. A useful checklist includes application, 24-hour set time, rub testing, moisture exposure, temperature checks, edge lift review, wrinkle checks, and normal handling.
Finish changes performance too. Gloss laminate can make color look punchier but may create glare on barcodes. Matte laminate feels more restrained, though some films scuff. Soft-touch has a pleasant hand-feel, but fingerprints and abrasion deserve review. UV coating, foil, embossing, and spot varnish can affect readability, color, and shelf appearance.
Transparent labels need their own reality check. Look at opacity, white ink backing, trapped air, adhesive clouding, and contrast against the filled container. Clear labels on dark liquid, amber glass, or colored plastic can look nothing like the proof. Screens lie. Clear film on the actual package tells the truth.
Color, Print Quality, and Barcode Approval Points
Color approval needs controlled expectations. Screens lie. Office printers lie harder. Printed samples are the adult in the room.
Most label printing uses CMYK, which is practical for full-color artwork and short to mid-size runs. If your brand color must stay tighter, ask about Pantone matching. Metallic, fluorescent, pastel, and very saturated colors may need special handling because CMYK cannot reproduce every color a designer can choose on a backlit screen.
Review samples under neutral lighting and normal selling conditions. Warm warehouse bulbs can make whites look cream. Bright desk lamps can hide low contrast. Retail lighting can exaggerate gloss. If the label will sit on a shelf, judge it like a shelf product.
Print quality checks should include logo sharpness, small text clarity, gradients, banding, ink density, registration, white ink coverage, foil alignment, and edge cleanliness. Reversed-out type under 5-6 pt can fill in, especially on textured stocks or dark backgrounds. Ultra-thin fonts are brave. Brave is not always profitable.
Barcode and QR code approval should never stay theoretical. Scan the printed sample with multiple phones or scanners. Check quiet zones, contrast, size, finish glare, and curved placement. A glossy barcode wrapped around a tight bottle radius may scan badly even when the artwork file is technically correct. That is why barcode verification belongs in the label stickers sample approval checklist, not in a separate “later” pile.
Batch codes, expiration fields, variable data, and writable areas need separate review. If a label will be stamped later, test the ink, printer, or thermal transfer ribbon on the actual finish. Some laminates reject marking. Some smudge. Some look fine until a fulfillment team handles 300 units in a humid room.
Keep one approved physical sample as the production standard for the bulk order and future reorders. Store it with the final proof version, material name, adhesive type, finish, roll direction, and order spec. That boring record can save hours later.
| Approval Area | What to Check | Typical Risk if Skipped | Practical Buyer Tip |
|---|---|---|---|
| Material | Paper, BOPP, vinyl, textured paper, clear film | Wrinkling, tearing, clouding, poor shelf feel | Match the substrate to moisture, oil, handling, and storage conditions. |
| Adhesive | Permanent, removable, freezer-grade, high-tack, low-tack | Edge lift, label sliding, residue, failed cold storage | Apply to the real container and wait 24 hours before judging. |
| Finish | Gloss, matte, soft-touch, UV, foil, embossing | Barcode glare, scuffing, color shift, unreadable small text | Scan codes and rub-test the sample after finishing. |
| Format | Roll direction, core size, sheet format, packing method | Applicator downtime or repacking labor | Confirm unwind direction with the person or machine applying the labels. |
Cost, Pricing, MOQ, and Revision Tradeoffs
Samples are not free just because they are small. Setup, material pulls, prepress, finishing, and labor still happen. Shocking concept, apparently.
Cost drivers include label size, substrate, adhesive, number of colors, Pantone matching, foil, embossing, lamination, custom dies, roll format, quantity, and shipping speed. Simple digital proofs may be included with the order. Specialty finish samples or press proofs cost more because they use actual production setup for a tiny quantity.
For rough planning, a basic digital proof is often bundled into a custom label order. A simple physical sample set may land in the low double digits, depending on shipping and setup. A press proof with foil, embossing, custom die cutting, or exact color matching can cost much more. Anyone pretending one sample price fits every label job is selling fantasy.
MOQ matters as well. Low MOQ is useful for testing but usually raises unit cost. Larger runs lower the unit price and punish bad approvals. A short run of 250-500 labels can make sense for a launch trial or packaging test. A 5,000-20,000 label run can improve unit economics once the spec is proven.
Revision timing changes cost. Artwork-only changes before sampling are usually cheaper. Changes after physical samples may require a new proof, new setup, new material, and more time. If the change affects dieline, barcode, material, finish, or color target, treat it as a new approval round.
Ask what the quote includes: proof rounds, sample type, shipping, die charges, plate or setup fees, and whether the sample cost credits toward bulk production. Buyers comparing options can start with the Custom Labels & Tags category to narrow format, material, and finish choices before requesting samples.
Do not choose the cheapest sample path if the label must survive moisture, refrigeration, oil, shipping abrasion, or retail scanning. Cheap approval can become expensive inventory. The math is rude, but reliable.
Common Sample Approval Mistakes That Delay Orders
Most label delays are not caused by printing. They are caused by unclear approvals, incomplete specs, and late changes. Printers get blamed anyway because the PDF was “basically final.” Dangerous words.
- Approving only from a screen proof: Fine for layout on repeat jobs, risky for material, finish, opacity, or adhesive performance.
- Checking color but ignoring fit: A pretty label that wrinkles on the actual bottle is still a failed label.
- Forgetting roll direction: Machine-applied labels need the correct unwind position, core size, and label orientation.
- Approving a barcode without scanning it: Scan the printed sample. Check glare, quiet zones, contrast, and curved placement.
- Using temporary compliance copy: Ingredient lists, net weight, warnings, and required symbols can affect layout and timing.
- Judging adhesive immediately: Many adhesives need up to 24 hours to build final bond strength.
- Not sharing the approved sample: Purchasing, operations, fulfillment, and the co-packer should work from the same approved version.
Each mistake affects cost or timing. Reprints, revised samples, missed launch windows, wasted inventory, and field failures all come from small approval gaps. A disciplined review keeps the process boring in the best possible way: fewer surprises, fewer opinions, fewer “who approved this?” meetings.
Assign one approval owner. Feedback from five people is fine; five conflicting approvals are not. The approval owner should collect comments, resolve conflicts, and send one clear written response tied to the proof version and sample date.
Next Steps Before You Approve the Final Sample
Before approving the final sample, gather the approved artwork file, container sample, product environment details, application method, order quantity, shipping deadline, and compliance requirements. If the label touches food, cosmetics, supplements, regulated claims, or child safety language, do not guess. Get the copy checked before sampling.
Use this label stickers sample approval checklist routine before giving written approval:
- Compare the sample against the latest digital proof and spec sheet.
- Apply it to the real package, not a random flat surface.
- Wait 24 hours and check adhesion, edge lift, wrinkles, and bubbles.
- Rub the label by hand and test moisture, cold, heat, or oil exposure if relevant.
- Scan every barcode and QR code on the printed sample.
- Check color under normal selling conditions and neutral light.
- Confirm roll direction, core size, packing format, and application method.
- Document changes in writing with the proof version and sample date.
Photograph the approved sample next to the container and save the approval version number for reorders. For paper-based packaging or sustainability claims, buyers may also ask about certified materials through organizations such as the FSC, depending on project requirements. Certification depends on the material and supply chain, so confirm it before printing, not after.
Request another sample if the color is off, the label lifts, the barcode fails, the finish hurts readability, the size feels wrong, or the production setup has changed materially. Approve and move on when minor differences are within tolerance, the label performs correctly, and all stakeholders agree on the same version.
For custom orders, Custom Logo Things can help buyers narrow the right material, finish, and format through Custom Labels & Tags before bulk production. The real value of sample approval is not ceremony. It is avoiding preventable reprints, launch delays, and awkward calls where everyone pretends the label peeling off is somehow normal.
FAQs
What should be included in a label stickers sample approval checklist?
A label stickers sample approval checklist should include artwork accuracy, label size, dieline, bleed, material, adhesive, finish, color, barcode scanning, roll direction, packing format, and written approval version. For functional packaging, test the sample on the real container under expected conditions such as moisture, cold storage, handling, or oil exposure.
Do I need a physical sample before approving custom label stickers?
Use a physical sample when adhesive, material, opacity, finish, color accuracy, barcode scanning, or container fit matters. A digital proof may be enough for simple reorder labels with unchanged specs, but it will not show how the label behaves in real use.
How long does label sticker sample approval usually take?
A typical timeline is 1-2 business days for digital proofing, 3-7 business days for physical sample production, plus shipping time. Specialty finishes, custom dies, Pantone matching, or multiple revision rounds can extend the schedule.
How much do label sticker samples cost before bulk production?
Cost depends on size, material, adhesive, finish, color matching, die cutting, sample type, and shipping speed. Simple digital proofs may be inexpensive or bundled into an order, while press proofs or specialty finish samples cost more because they use real production setup.
What happens if I approve a label sticker sample and then change the design?
Artwork changes after sample approval can trigger a new proof, new sample, revised pricing, and extra lead time. If the change affects size, dieline, color, finish, barcode, or material, treat it as a new approval round instead of a casual tweak.