Vinyl Stickers Material and Printing Guide: What Buyers Really Need to Know
Two stickers can look identical on a screen. Same logo. Same red. Same tidy mockup on a water bottle. Then one fades in a storefront window within months, while the other survives rain, sunlight, abrasion, and daily handling for years. That gap is why a vinyl stickers Material and Printing guide belongs before artwork approval, not after a quote comes back too cheap to question.
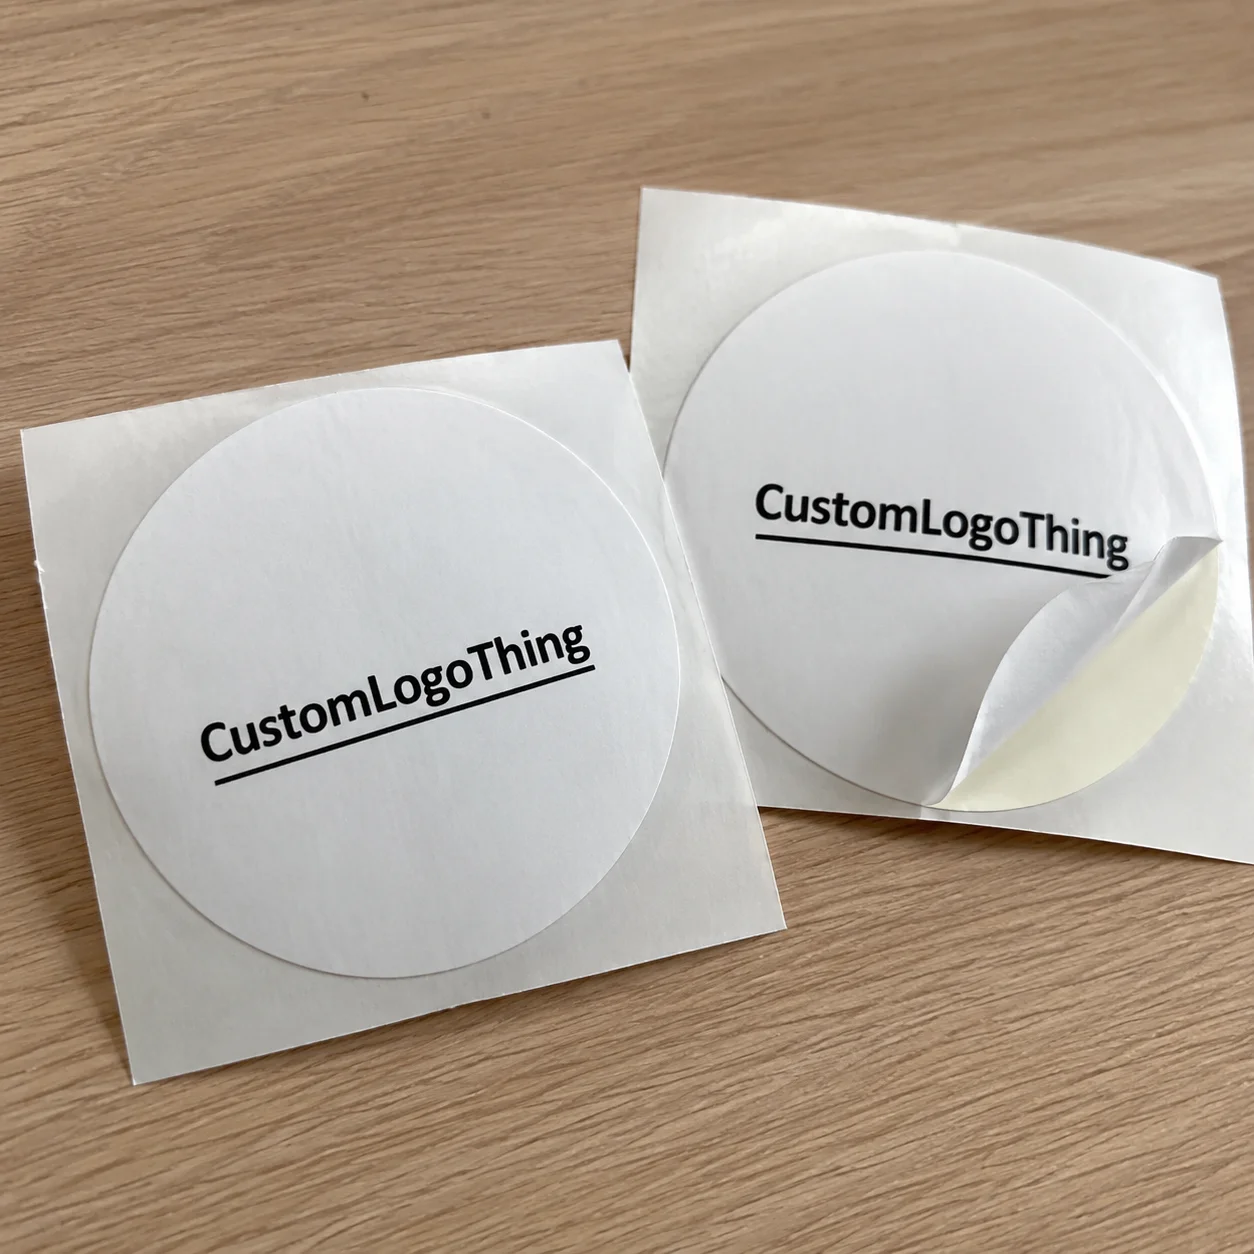
A vinyl sticker is not just printed plastic. It is a pressure-sensitive graphic built from a printable face film, adhesive layer, release liner, ink system, and often a laminate or coating. Most use PVC vinyl or related flexible films, but performance changes sharply with thickness, adhesive chemistry, print method, and finishing.
The word "sticker" hides too much. A decorative laptop sticker, product label, bumper sticker, equipment decal, window graphic, warning label, and promotional giveaway may all use vinyl. They do not need the same construction. A short-run event giveaway may be fine on standard white calendared vinyl. A warning decal on outdoor equipment may need a tougher film, stronger adhesive, UV-resistant ink, and protective laminate.
For packaging buyers, the first question is not shape. It is use. Will the sticker sit on glass, corrugated cardboard, painted metal, a cooler, a laptop, a plastic mailer, or retail packaging? Will it face moisture, freezer storage, sunlight, hand oils, abrasion, or repeated cleaning?
Outdoor exposure, UV light, moisture, surface energy, and abrasion often matter more than the logo file itself. Blunt, but true. A beautiful vector file cannot rescue the wrong adhesive on low-energy plastic. A bright print can still fail if it sits unlaminated in a high-touch setting.
This guide covers material choices, printing methods, pricing variables, production steps, common mistakes, ordering checks, and practical FAQs. Treat it as a pre-quote filter: fewer assumptions, fewer revisions, fewer expensive surprises.
What Should a Vinyl Sticker Buying Guide Cover?
A useful vinyl stickers Material and Printing guide should answer five questions before production begins: what surface the sticker will touch, how long it must last, which vinyl film and pressure-sensitive adhesive fit the job, how the artwork will be printed and protected, and what specifications the supplier needs to quote accurately.
That sounds simple. It is not.
A weatherproof sticker for outdoor equipment, a clear window decal, and a promotional laptop sticker may all be printed on vinyl, but they behave like different products once heat, sunlight, water, cleaning chemicals, or curved surfaces enter the picture. The right buying process connects the design file to the physical environment.
For buyers, the best shortcut is a controlled set of decisions: film, adhesive, print method, finish, cut style, and packing format. Get those right, and the rest of the order becomes easier to price, proof, produce, and inspect.
How Vinyl Sticker Materials Work From Film to Adhesive
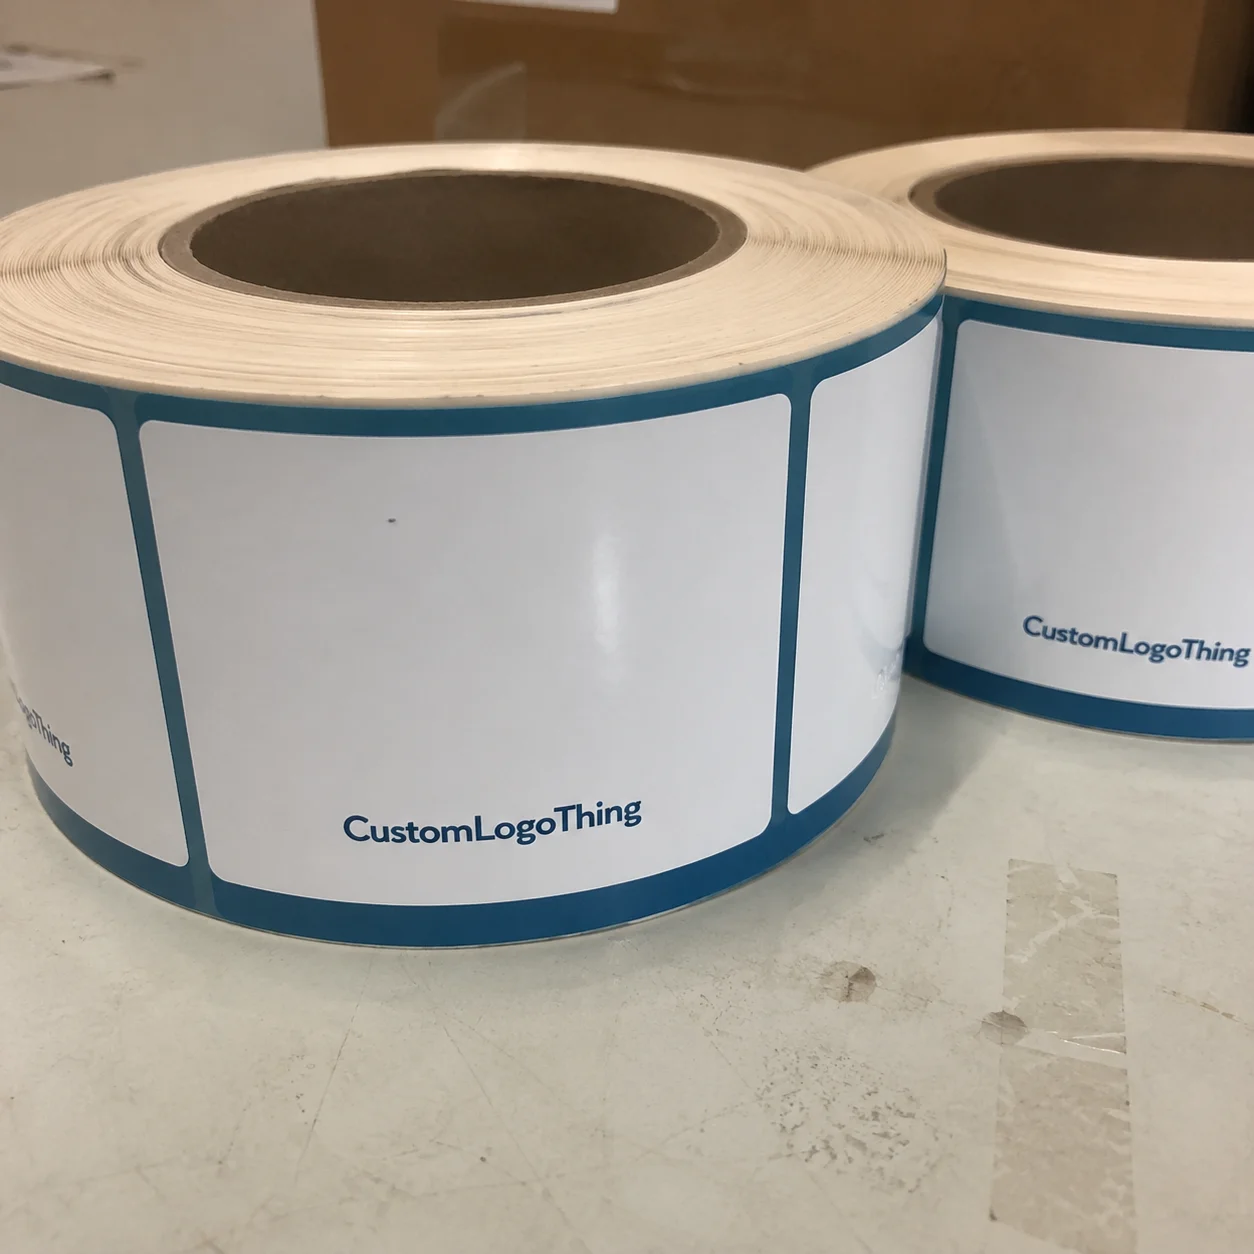
Most vinyl stickers are layered systems. The printable vinyl face stock carries the image. The adhesive bonds to the surface. The release liner protects the adhesive until application. Ink creates the design, and a laminate or coating protects the print from scratches, chemicals, sunlight, and handling.
White vinyl is the standard workhorse. It gives strong opacity and clean color reproduction for logos, QR codes, product stickers, and promotional decals. Clear vinyl works for glass, transparent packaging, or designs where the background should show through. It often needs white ink under selected areas so colors do not look weak or transparent.
Transparent window vinyl, holographic vinyl, metallic vinyl, static cling, removable vinyl, and textured specialty films all have a place. Each carries tradeoffs. Holographic film can make a promotional sticker stand out, but fine text may become harder to read. Metallic film can make a premium product label feel expensive, but brand colors may shift unless white ink sits under the design.
The biggest material split is calendared vinyl versus cast vinyl. Calendared vinyl is usually thicker, more economical, and common for general-purpose stickers. Cast vinyl is thinner, more conformable, and better for curves, vehicles, and longer outdoor use because it is less prone to shrinkage under stress. For many promotional runs, calendared material is enough. For compound curves or long exterior exposure, cast vinyl earns its higher price.
Adhesive choice deserves the same scrutiny as film choice. Permanent adhesive is common for packaging, equipment labels, and long-term branding. Removable adhesive suits temporary promotions, retail fixtures, and surfaces where residue is a problem. Repositionable adhesives help during application. High-tack adhesives grip rougher or harder surfaces. Low-tack adhesives release more easily. Freezer-grade pressure-sensitive adhesive is designed for cold-chain use, where ordinary adhesives can become brittle or fail to wet out.
Surface energy is the quiet technical issue behind many sticker failures. Glass and painted metal usually accept adhesive well. Some plastics, especially polyethylene and polypropylene, resist adhesive grip. A sticker that performs beautifully on a laptop may curl on a plastic pouch or flexible packaging film. Buyers should name the exact surface, not just say "plastic."
Finish changes both appearance and lifespan. Gloss adds shine and makes color look deeper. Matte reduces glare and fingerprints. Satin sits between the two. Soft-touch can feel premium, though it may not suit every high-abrasion use. UV coating adds surface protection, while laminate usually provides stronger defense against scratching, moisture, and outdoor exposure.
Buyer callout: choose the material by asking where the sticker will live, how long it must last, and what will touch it. Starting with the cheapest available film is how small savings become field failures.
Printing Methods, Color Matching, and Finish Choices
Digital printing is usually the most flexible option for short and medium runs. It handles full-color artwork, gradients, photographs, multiple versions, and fast proofing without the setup burden of screens or plates. For brands ordering 250, 1,000, or 5,000 mixed designs, digital often makes the most commercial sense.
Screen printing still matters. It can be a strong fit for larger runs, solid spot colors, high ink deposit, and certain outdoor or industrial applications. Setup takes more work, but the per-unit cost can become attractive at volume, especially when the design uses a limited number of colors.
UV printing cures ink with ultraviolet light and can deliver sharp, durable results on many films. Solvent and eco-solvent printing are widely used for outdoor graphics because the inks bond well with vinyl and handle weather exposure. Latex printing uses water-based latex inks and is common in signage and graphics workflows. Thermal transfer printing is often used for durable variable data, barcodes, rating plates, and industrial labels where resistance to heat, chemicals, or abrasion may be required.
Color language needs discipline. CMYK is the normal process-color model for full-color print. Spot color and Pantone targets help when brand consistency matters. Screen colors are not reliable proof standards because monitors vary widely. A brand red that looks perfect on a laptop may print too orange on metallic stock or too muted on clear vinyl without a white underprint.
White ink is a small detail with a large impact. On clear vinyl, metallic film, or holographic stock, white ink can sit under color areas to make the design more opaque and readable. Without it, light colors may disappear against dark surfaces, and transparent areas may change depending on the background.
Cut style also affects ordering. Kiss-cut stickers are cut through the face film but leave the backing intact around the sticker, making them easier to peel and useful for sheets. Die-cut stickers follow the final outside shape, so the backing is cut to match the sticker silhouette. Contour cutting requires clean vector cut lines, especially for custom vinyl decals, sticker singles, roll labels, and sheet stickers.
Finishing add-ons include laminate, varnish, rounded corners, back slits, perforations, roll orientation, and protective topcoats. A back slit can make hand application faster. Rounded corners reduce edge lifting on rectangular stickers. Roll orientation matters for machine-applied labels because the leading edge, unwind direction, gap, and core size all affect applicator performance.
| Sticker Use | Likely Material | Print Method | Finish Recommendation | Typical Buyer Watchout |
|---|---|---|---|---|
| Promotional laptop sticker | White calendared vinyl | Digital printing | Matte or gloss laminate | Fine text below 5 pt may fill in or become hard to read |
| Outdoor equipment safety decal | Durable vinyl with permanent adhesive | Screen, solvent, UV, or thermal transfer | Protective laminate | Abrasion and UV exposure are bigger risks than color alone |
| Clear window graphic | Clear vinyl or static cling | Digital or UV printing | White ink underprint where needed | Artwork visibility changes with background and lighting |
| Premium retail sticker | Metallic or holographic vinyl | Digital printing with white ink | Gloss or satin laminate | Brand colors can shift on reflective stock |
A promotional laptop sticker and a safety sticker on outdoor equipment may both be vinyl. Their requirements are completely different. That distinction is one reason a practical guide has to cover more than artwork upload instructions.
Key Specs to Decide Before Requesting a Quote
A good quote starts with specific answers. Size, shape, quantity, material, adhesive type, finish, indoor or outdoor use, and packaging format are the basics. Add surface, expected lifespan, and application method, and the quote becomes far more useful.
Size is not just a cost decision. Smaller stickers save material, but they can punish fine text, QR codes, and shelf visibility. A QR code that scans at 1 inch in a controlled office may fail after trimming, lamination glare, or curved placement on a bottle. For product and retail stickers, readable text often matters more than shaving another fraction of an inch from the layout.
Shape choices include square, rectangle, circle, oval, bumper sticker format, custom die-cut shapes, and sheet layouts. Simple shapes cut efficiently. Intricate shapes with thin points, tight interior spaces, or fragile extensions take longer and may be harder to peel. That affects cost and real usability.
Quantity planning should include more than the exact launch count. Buyers often need stickers for samples, spoilage, retail inserts, influencer kits, event giveaways, seasonal promotions, and replacements. Ordering 1,000 pieces when 1,150 are realistically needed can trigger an expensive reorder. Ask for price breaks at 1,000, 2,500, and 5,000 pieces when possible.
Artwork files should be built for production. Vector files such as AI, EPS, or print-ready PDF are preferred for logos, text, and cut paths. Raster images should be high resolution at final print size, often 300 dpi for typical close-viewed graphics. Fonts should be outlined or embedded. Bleed is usually 0.0625 to 0.125 inch, depending on the supplier, and safe zones should keep text away from trim edges.
Minimum readable text size depends on font, contrast, print method, and finish. As a practical rule, avoid tiny reversed text unless there is a strong reason to keep it. Thin lines and small knockout details can fill in, especially on textured or specialty films. Custom contour cuts also need enough material around narrow details so the sticker does not tear during peeling.
Application method changes the specification. Hand-applied stickers may need an easy-release liner, back slit, or sheet format. Machine-applied labels need roll direction, outside or inside wound orientation, gap, core size, label count per roll, and sometimes maximum roll diameter.
For Custom Logo Things buyers, stickers may also be bundled with boxes, mailers, tissue, hang tags, kraft paper wraps, or retail packaging programs. If the sticker needs to match Custom Labels & Tags or sit on corrugated cardboard inserts, say that early. Adhesive performance and color appearance can change across recycled materials, coated paperboard, and plastic films.
Clearer specs reduce quote revisions. They also prevent the worst kind of assumption: the one nobody notices until the finished stickers arrive.
Cost, Pricing, MOQ, and Unit Cost Drivers
Vinyl sticker pricing is driven by material, size, quantity, print method, number of artwork versions, finish, cut complexity, proofing requirements, and packing format. Freight and timing can also move the final number more than buyers expect.
Unit cost usually falls as quantity rises because setup, artwork checking, proofing, press setup, nesting, cutting, and packing time are spread across more pieces. A short digital run of 250 die-cut stickers might cost several times more per piece than a 5,000-piece run of the same design. The press does not care that a small order feels simple; someone still has to check the file, set the cut path, print, finish, count, and pack it.
MOQ depends on the job. Small digital runs are common, especially for standard white vinyl. Specialty films, custom tooling, unusual adhesives, screen printing, or complex finishing can require higher minimums. Clear, holographic, metallic, reflective, removable, high-tack, and laminated outdoor vinyl often cost more than standard white vinyl because the film, waste factor, or handling process is more demanding.
Die-cut complexity is a quiet cost driver. A 3-inch circle cuts quickly. A detailed logo with thin spikes, tight inside corners, and delicate negative spaces takes longer to cut, weed, and inspect. It may also create more scrap if pieces lift from the liner during finishing.
Multiple artwork versions can affect pricing too. Ten designs at 500 pieces each are not always priced like one design at 5,000 pieces. Each version may need separate prepress checks, nesting, proof approval, color review, and finishing coordination. Digital printing reduces some of that friction, but it does not erase it.
Hidden costs deserve a line on the checklist. Rush production, split shipments, individually bagged stickers, back printing, physical sample proofs, Pantone matching, special roll packing, and expedited freight can all shift the budget. For event deadlines, freight may become the largest avoidable risk.
A practical buyer rule: ask for two or three quantity breaks instead of quoting only the exact number needed. The difference between 1,000 and 2,500 pieces can be surprisingly small on a per-piece basis, especially when the setup work is already being done.
Price should be treated as a risk equation, not just a line item. The cheapest sticker becomes expensive if it curls on polyethylene packaging, fades in a window, leaves residue on retail fixtures, or fails before the product reaches the customer. A useful vinyl stickers material and printing guide makes that tradeoff visible before purchasing signs off.
Production Steps, Proofing, and Lead Time
The production path is usually straightforward: inquiry, spec review, artwork check, quote, proof, approval, printing, drying or curing, finishing, quality control, packing, and shipping. Trouble starts when buyers assume that sending an email starts the clock. In most print workflows, lead time starts after proof approval.
Prepress is where many problems get caught. The team inspects file format, resolution, bleed, safe area, color mode, font status, cut line setup, and material suitability. If the file has no contour cut line, missing bleed, low-resolution artwork, or unclear white ink instructions, production pauses. That pause can cost more time than the printing itself.
Digital proofing is efficient for layout, spelling, cut shape, size, and general color expectation. A physical proof is slower and may add cost, but it can be worth it for brand-critical colors, clear vinyl, metallic film, holographic film, specialty adhesive, or any job where the surface changes how the design reads. For color-critical packaging, written Pantone targets and signed proof approval reduce disputes later.
Typical timelines vary. A standard digitally printed sticker order may move in several business days after proof approval, while specialty films, laminated outdoor decals, complex kiss-cut sheets, or physical sampling can add days. Larger production queues, material availability, drying or curing requirements, quality checks, and freight distance all matter. A rush order may narrow material choices, reduce proofing options, or raise the price.
Outdoor stickers and specialty adhesive jobs deserve more review than basic promotional stickers. That is risk control. A laminated equipment label, a freezer-grade sticker, or a vehicle decal has more failure points than a simple giveaway sticker tucked into an order box.
For launches, retail ship dates, and events, build time for proof review, stakeholder approval, production, receiving inspection, and repacking if the stickers are bundled with other components. If stickers will be combined with mailers, tissue, or FSC certified paperboard packaging, coordinate the schedule with the broader packaging build. The Manufacturing Capabilities page is a useful place to understand how stickers can fit into a wider custom packaging order.
Standards can help structure thinking, even if they do not dictate every sticker spec. ISTA packaging tests focus on distribution performance, while ASTM test methods are often used for adhesive, abrasion, and material evaluation. For paper-based packaging claims around recycled content or fiber sourcing, buyers often reference groups such as FSC. Stickers interact with those systems because labels, films, adhesives, and coatings can affect recyclability and disposal claims.
Common Mistakes and Order-Ready Next Steps
The most common mistake is choosing material based only on price. The second is using indoor vinyl outdoors. The third is skipping laminate for an abrasion-heavy use because the mockup looked clean. These decisions feel small until stickers start curling, scratching, or fading in the field.
Artwork mistakes are just as common: missing bleed, low-resolution logos, unoutlined fonts, no cut line, tiny reversed text, and QR codes that become too small after trimming. A 0.5-inch QR code on a curved lip balm tube is a different challenge from the same code on a flat postcard. Test it at final size before approval.
Adhesive mistakes usually come from vague surface descriptions. Permanent adhesive is wrong when removability matters. Removable adhesive is wrong when long-term hold matters. Curved, textured, oily, dusty, cold, wet, or low-energy surfaces need extra review. Freshly painted surfaces can also cause problems because paints may continue curing and releasing compounds after application.
Color mistakes follow a predictable pattern. Buyers expect screen colors to match print perfectly, skip Pantone targets, and forget that clear or metallic materials change how color behaves. White ink instructions should be explicit. If part of the sticker needs to stay transparent, say so. If the logo must be opaque, say that too.
Handling matters after delivery. Stickers should be applied to clean, dry surfaces at a suitable temperature. Many pressure-sensitive adhesives build bond strength over 24 to 72 hours, so immediate picking, washing, freezing, or outdoor exposure can reduce performance. That timing matters for beverage brands, event teams, and fulfillment operations.
Use this order-ready checklist before requesting a quote:
- Use environment: indoor, outdoor, freezer, window, vehicle, equipment, retail, or packaging insert.
- Surface: glass, painted metal, corrugated cardboard, kraft paper, coated paperboard, polyethylene, polypropylene, laptop shell, bottle, cooler, or fixture.
- Expected lifespan: days, months, one season, or multi-year use.
- Specs: size, shape, quantity, material, adhesive, finish, cut style, and packaging format.
- Artwork: vector logo, outlined fonts, bleed, safe zone, high-resolution images, and contour cut line.
- Commercial details: delivery date, quantity breaks, sample needs, split shipments, and bundling with other packaging.
Ask the supplier three direct questions: what material suits this surface, whether laminate is needed, and what quantity breaks affect unit cost. Those questions usually prevent rework.
Sustainability claims also need care. Vinyl is durable, but it is not the same conversation as biodegradable packaging, post-consumer waste paperboard, or recycled materials. If a sticker goes on recyclable paper packaging, ask whether the adhesive or film creates issues for the intended recovery stream. Claims should be specific, supportable, and tied to the whole package, not just one component.
Use this vinyl stickers material and printing guide as a pre-quote checklist before uploading artwork or approving production. The right sticker is not the prettiest file on the screen; it is the one built for the surface, lifespan, handling, budget, and delivery date you actually have.
FAQ
What is the best material for custom vinyl stickers?
White calendared vinyl is a strong general-purpose choice for most promotional, packaging, laptop, and retail stickers. Cast vinyl is better for long outdoor exposure, curved surfaces, vehicles, and applications where shrinkage or conformability matters. Clear, holographic, metallic, removable, and high-tack vinyl should be chosen only after confirming the surface, visibility needs, and expected lifespan.
How long do printed vinyl stickers last outdoors?
Outdoor life depends on film quality, ink system, laminate, sun exposure, moisture, abrasion, and application surface. Laminated outdoor vinyl generally lasts longer than unlaminated promotional vinyl, especially in direct sunlight or high-touch environments. For windows, vehicles, equipment, or exterior packaging, tell the printer the expected exposure before choosing material.
What printing method is best for vinyl stickers?
Digital printing is usually best for short to medium runs, full-color artwork, gradients, and multiple design versions. Screen printing can be better for large quantities, bold spot colors, and certain heavy-duty outdoor applications. UV, solvent, eco-solvent, latex, and thermal transfer printing each have different strengths, so the best method depends on durability, color, finish, and quantity.
How much do custom vinyl stickers cost per piece?
Unit cost depends on size, order quantity, material, adhesive, print method, cut complexity, finish, and packaging format. Larger quantities usually lower unit cost because setup, proofing, and finishing time are spread across more stickers. Ask for pricing at several quantity breaks and include any special needs such as laminate, back slits, roll format, rush timing, or individual packing.
What artwork files are needed for vinyl sticker printing?
Vector files such as AI, EPS, or print-ready PDF are preferred for logos, text, and cut lines. Raster artwork should be high resolution at final print size, with bleed added and important text kept inside the safe area. Fonts should be outlined, colors should be specified, and custom shapes should include a clear contour cut line.
Why use a vinyl stickers material and printing guide before ordering?
A vinyl stickers material and printing guide helps buyers match film, adhesive, print method, finish, and cut style to the real application. It reduces quote revisions, prevents material mismatches, and makes durability expectations clearer before production starts.