Buyer Fit Snapshot
| Best fit | Food Safe Packaging Printing Requirements Explained Clearly projects where brand print, material claims, artwork control, MOQ, and repeat-order consistency need to be specified before quoting. |
|---|---|
| Quote inputs | Share finished size, material target, print colors, finish, packing count, annual reorder estimate, ship-to region, and any compliance wording. |
| Proofing check | Approve dieline scale, logo placement, barcode or warning zones, color tolerance, closure strength, and carton packing before bulk production. |
| Main risk | Vague material claims, crowded artwork, missing packing details, or unclear freight terms can make a low unit price expensive after revisions. |
Fast answer: Food Safe Packaging Printing Requirements Explained Clearly should be specified like a repeatable production item. The safest quote records material, print method, finish, artwork proof, packing count, and reorder notes in one written spec.
Production checks before approval
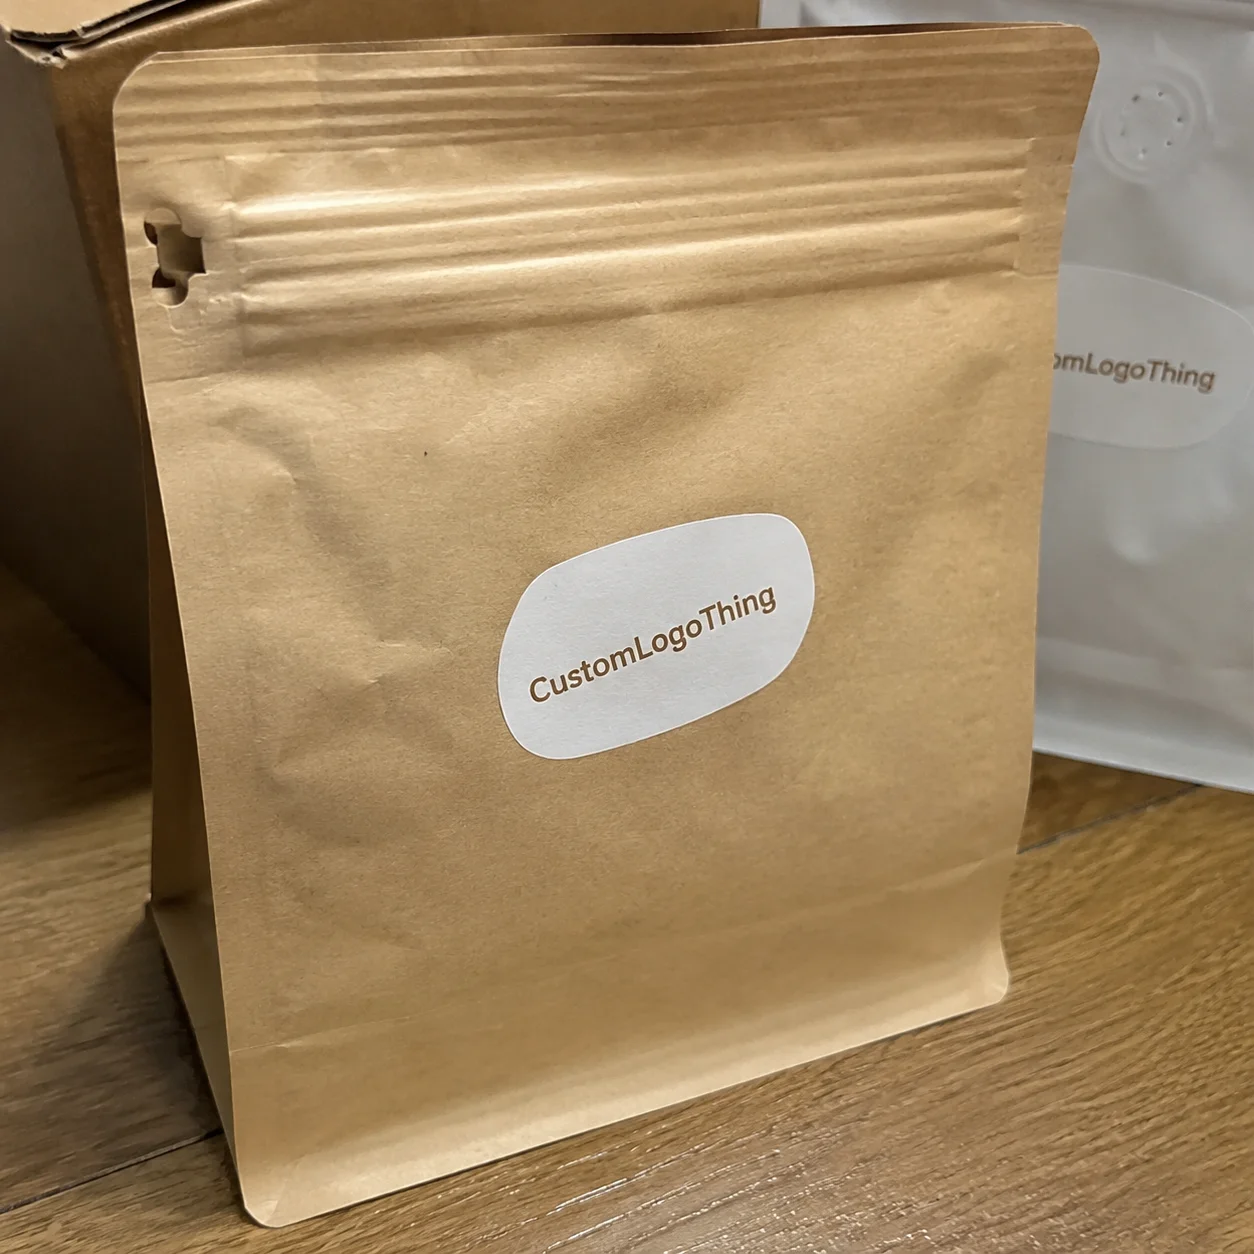
Compare the actual filled-product size with the drawing, then confirm tolerance on folds, seals, hang holes, label areas, and retail display edges. Reserve space for logos, QR codes, warning copy, and material claims before decorative graphics fill the panel.
Quote comparison points
Review material grade, print process, finish, sampling route, tooling charges, carton quantity, and freight assumptions side by side. A quote is only useful when the supplier can repeat the same color, closure quality, and packing count on the next order.
Food Safe Packaging Printing Requirements: What They Mean and Why Brands Get Tripped Up
I watched a full pallet of 18,000 beautifully finished snack cartons get quarantined at a co-packer in Ontario over one detail: the interior flap was printed with a conventional low-odor set, not a verified low-migration system. Painful lesson. I still remember standing there with a coffee I never finished, staring at shrink-wrapped regret. Food safe packaging printing requirements are not optional paperwork. They are operating controls that protect consumers and protect launch calendars.
In practical terms, food safe packaging printing requirements are technical and process rules designed to prevent ink components, coating residues, adhesive constituents, and off-odors from transferring into food. Those rules touch substrate selection (18pt SBS vs 350gsm C1S), ink technology (water-based, UV, EB, solvent), varnish and lamination stacks, adhesive chemistry, and artwork placement near folds and seams.
Confusion usually starts with one assumption: “food grade board” equals a food-safe printed pack. It doesn’t. Honestly, this is one of the most expensive myths in packaging. I’ve seen brands source excellent board with an FDA-aligned statement, then fail because reverse print layout caused set-off in a warm warehouse at 32°C for 10 days. Food safe packaging printing requirements run across the full print-convert-fill chain, not a single certificate.
Direct-contact and indirect-contact formats are treated differently for good reason. A butter wrap or chocolate flow wrap has immediate exposure risk. A folding carton around a sealed pouch is indirect contact, but migration still matters with pinholes, condensation, or long-term compression during storage. Corrugated shippers usually carry lower direct risk, yet odor transfer still triggers retailer complaints, especially in premium retail displays (and yes, retailers can smell trouble faster than anyone).
Different formats demand different controls:
- Folding cartons: reverse-side print, crease cracking, set-off in stacks, and varnish slip behavior.
- Pouches: laminate barrier integrity, adhesive cure windows, and seal-zone cleanliness.
- Pressure-sensitive labels: face stock, migration through thin films, and adhesive bleed.
- Corrugated: odor, dust, and transport stress under ISTA distribution profiles.
A client in Austin ran a granola line with sharp metallic accents. During press production, the metallic area sat too close to a locking tab that occasionally touched the inner bag during cartoning. The pack was technically secondary. Real-world risk was still real. We re-engineered the dieline, moved artwork 4mm from the fold, and switched to an overprint varnish with lower residual odor. Total rework landed around $7,800 across plate revisions, proofs, and line trials.
The core truth is shared accountability. Printer, converter, brand owner, ingredient manufacturer, and co-packer each own part of the outcome. Break one link and your food safe packaging printing requirements strategy breaks with it. I tell design teams this early: bold creative work is absolutely possible, but it needs a print spec grounded in chemistry, contact risk, and handling reality.
This guide is built for execution. You’ll see what to request, what to test, what to budget, and where branded packaging choices quietly introduce risk. No legal labyrinth—just shop-floor patterns I’ve seen on offset lines in Shenzhen, flexo pouch runs in Johor, and carton converting plants in Ohio.
How Food Safe Packaging Printing Requirements Work in Real Production
Most teams picture compliance as a final checklist. Production doesn’t behave that way. Food safe packaging printing requirements begin at brief stage and continue through every gate: design, substrate, prepress, press, finishing, verification, release.
Production workflow that actually holds up in audits
- Design brief: define food type, contact class, shelf-life target (for example 9 or 12 months), and fill conditions.
- Material selection: match board or film and barrier levels to product risk profile.
- Prepress controls: enforce print zones, TAC limits, and score-line no-print zones.
- Press setup: verify approved ink IDs, anilox/plate settings, and dryer or UV lamp intensity.
- Curing/drying: capture objective data—lamp power, conveyor speed, retained solvent where relevant, and rub test outcomes.
- Finishing: monitor lamination temperatures, adhesive coat weight, slit quality, and rewinding tension.
- Testing: migration, odor, organoleptic review, bond/seal tests, and transport simulation where needed.
- Release: tie lot code to compliance documentation and retain samples from each run.
Each print technology shifts the control points. In offset printing, set-off risk in stacked sheets is a major watch item, especially with dense dark solids. Flexo puts more pressure on transfer consistency and drying stability over long runs. Gravure depends heavily on solvent management and residual control. Digital printing (toner or inkjet) excels at rapid prototyping, yet chemistry approval still has to be substrate-specific and application-specific.
I’ve seen a digital prototype pass visual and rub testing in 48 hours, then fail odor review after 72 hours in a sealed shipper at 35°C. That’s exactly why food safe packaging printing requirements are process-specific, not method-specific. Identical artwork can behave very differently across two press platforms. I remember one founder saying, “But it looked perfect on screen.” I said, “So do vacation photos. Then reality adds humidity.”
Technical controls that matter most on the factory floor
Low-migration inks are essential in many food applications, but they are not magic. Proper cure still matters. Functional barriers still matter. A 20-micron OPP layer with poor adhesive cure can weaken an otherwise strong ink system. Barrier structures like PET/Alu/PE or high-performance coatings need real-condition validation, not blind trust in a datasheet.
Set-off prevention deserves more attention than it usually gets. In one Midwest carton plant, odor complaints dropped about 60% after adding slip-sheet intervals every 500 sheets and reducing summer stack height from 1200mm to 900mm. Small mechanical decisions can make food safe packaging printing requirements dramatically more dependable. Also, that fix was cheaper than one emergency reprint. By a lot.
UV systems need instrumented cure verification. “Lamp looked bright” is not a control method. Use UV radiometers, solvent rub thresholds where applicable, and post-cure hold checks. EB lines should monitor dose consistency and substrate response. Solvent systems require retained-solvent testing and tight dryer balance.
Documentation is where many projects unravel. A strong release file usually includes:
- Declarations of Compliance (DoC) from converter and key suppliers
- SDS/TDS packet for inks, coatings, and adhesives
- Lot-level traceability from incoming materials to finished pallets
- Press records: speed, temperature, lamp power, viscosity, pH, and QC checks
- Retained control samples with date, shift, and operator ID
That trail becomes your insurance policy if a retailer flags an issue six months later. It also aligns with audit-readiness expectations many national chains now enforce, even in regions with lighter regulation.
Key Factors That Determine Food Safe Packaging Printing Requirements
Foods do not carry equal migration risk. Fatty products like nuts, chocolate, and flavored chips absorb certain migrants more readily than dry low-fat crackers. Acidic formulas, high-aroma blends, and alcohol-containing fillings can shift interaction behavior too. Food safe packaging printing requirements should be product-specific, not copied from the previous SKU.
Shelf life and storage conditions carry equal weight. A carton that performs perfectly for 30 days at ambient may fail after nine months in warm, humid distribution lanes. I worked on a tea product packaging program that looked stable in temperate testing, then developed noticeable off-odor after export dwell times above 45 days in tropical routes. We switched from standard aqueous varnish to a lower-odor alternative and tightened liner specs; complaints dropped sharply in the next two lots.
Material systems and where they fit
- SBS paperboard (16pt–24pt): excellent print surface for custom printed boxes; often paired with bagged product for indirect contact.
- Kraft board: natural look and strong structure, but watch odor variability; strong fit for selected retail programs.
- PET/PE laminates: common pouch structure with balanced mechanics and barrier for many snack uses.
- EVOH barrier structures: useful where oxygen barrier is critical; humidity sensitivity must be managed.
- Compostable films: viable in selected formats, though chemistry compatibility and seal windows require careful validation.
Ink, coating, and adhesive compatibility is where many launches slip. Water-based systems can perform very well for carton and corrugated applications, though some use cases need added barrier logic. Solvent systems can work effectively on films if drying control is disciplined. UV and EB-curable systems can deliver speed and strong appearance, but incomplete cure remains a known failure mode. Food safe packaging printing requirements should define compatible combinations, never standalone components.
Regulatory expectations vary by market, yet global brands usually align around stricter migration philosophies to simplify governance. North American teams commonly reference FDA food-contact framework and GMP expectations under 21 CFR 174–178, plus 21 CFR 175.300 for resinous coatings where relevant. Global programs often incorporate EU-style migration discipline (for example Framework Regulation (EC) No 1935/2004 and GMP Regulation (EC) No 2023/2006), and retailer-specific standards on top. For fiber sourcing and sustainability credibility, many clients request chain-of-custody support from FSC.
Transport performance matters too. Mixed-mode shipping calls for tests based on recognized distribution practices; during planning, I often point teams to protocols from ISTA. Vibration, compression, and temperature cycling can raise set-off and odor-transfer risk in ways static lab tests miss.
Brand expression still has plenty of room. Dark solids, tactile coatings, soft-touch lamination, and metallic effects just need boundaries. I love bold package branding. I also prefer toning down one decorative layer over scrapping 50,000 units because the finish stack didn’t match product conditions. That is the practical edge of food safe packaging printing requirements. I promise, nobody’s gonna frame a failed varnish sample and hang it in the office.
One honest disclaimer: this article reflects operational best practice from commercial projects, not legal advice. Teams should confirm final interpretations with qualified regulatory counsel in their sale markets.
Teams evaluating new SKUs should start with a structured intake involving converter and printer. Share product properties, fill temperature, and shelf-life target up front, then compare pathways using approved material libraries—or build a new route through Manufacturing Capabilities with clear test gates and measurable criteria.
Step-by-Step Guide: Building a Compliant Print Spec and Approval Process
A disciplined approval process cuts reprints, protects teams, and keeps launch timing realistic. Here’s the framework I use with branding and QA teams to turn food safe packaging printing requirements into day-to-day practice.
Step 1: Classify pack format and contact level before creative lock
Determine direct versus indirect contact first. A pouch with internal print needs different controls than a folded carton around a sealed inner bag. Capture the decision in a one-page risk brief signed by QA and packaging engineering before design freeze.
Step 2: Build a packaging safety brief with operational facts
Include food type (fat %, acidity, aroma), fill process (hot fill, cold fill, ambient), shelf-life target (for example 180 or 365 days), shipping lanes, and storage range (such as 5°C to 35°C). Those inputs shape the correct food safe packaging printing requirements profile.
Step 3: Prequalify suppliers and document chemistry
Request SDS/TDS, compliance statements, and use-condition limits for every substrate, ink set, varnish, and adhesive. I prefer a supplier scorecard with four statuses: Approved, Approved with Conditions, Trial Only, Not Approved. It removes confusion during rush reorders. I started doing this after one “equivalent” adhesive substitution became a six-week detour. Never again.
Step 4: Create print-safe artwork rules
Build hard rules into your packaging design template: no interior flood coat, heavy coverage at least 3–5mm from score lines, trap limits by process, and protected barcode quiet zones. Folding carton files should include a contact-risk map layer in the dieline so designers can see sensitive zones at a glance.
Step 5: Run pilot samples under realistic stress
Go beyond color approval. Check dry and wet rub resistance, post-cure odor at 24/48/72 hours, set-off in stacked conditions, and seam integrity on film structures. I usually ask for at least 300–500 pilot units to get a meaningful line simulation.
Step 6: Confirm migration and compliance test plan
Define scope with an accredited lab before the commercial run. Set pass/fail criteria tied to product and market expectations. Multi-region programs benefit from standardizing around the strictest practical threshold so teams aren’t managing conflicting specs.
Step 7: Lock master spec and change control
After validation, lock a master spec with revision control. Any material substitution, artwork movement near folds, or finish change should trigger defined re-approval steps. That keeps food safe packaging printing requirements stable across repeat orders.
Reusable checklist for new SKUs and refreshes
- Contact class confirmed (direct/indirect)
- Food profile documented (fat/acid/aroma/moisture)
- Material stack approved by use condition
- Ink/coating/adhesive combination approved as a system
- Artwork validated for print-safe zones
- Pilot run completed with cure/rub/odor/set-off checks
- Migration test plan completed and filed
- Lot traceability process verified
- Final COA/DoC packet archived
I recommend storing this in your packaging PLM folder with a simple green/yellow/red gate status. That habit prevents the classic “we thought that was already approved” derailment.
Teams still building component libraries can review options under Custom Packaging Products and map each format to pre-cleared spec families. That single move can cut development time by 20–30% on repeat pack architectures.
Costs, Pricing, and Timeline: What Food-Safe Printing Actually Adds
Teams usually ask for one premium number. There isn’t one. The cost lift tied to food safe packaging printing requirements depends on structure, risk class, test scope, and run size. Practical ranges still help build realistic budgets.
| Cost Element | Typical One-Time Cost | Typical Recurring Impact | Notes |
|---|---|---|---|
| Spec qualification & documentation setup | $1,200–$4,500 per structure | Low | Includes supplier document review and internal approval workflow. |
| Low-migration ink set adoption | $300–$900 press setup differential | +$0.003–$0.015/unit | Varies by coverage, colors, and print method. |
| Barrier substrate upgrade | Minimal setup | +$0.01–$0.08/unit | Large swing depending on board/film and gauge. |
| Pilot run + validation checks | $800–$3,200 | As needed for changes | Often prevents costly full-run failures. |
| Migration and odor testing | $1,500–$6,000 per test scope | Retest on major changes | Lead time commonly 7–20 business days. |
Run economics vary by format and volume. Short-run digital prototyping (1,000–5,000 pcs) offers speed with higher unit costs, often $0.32–$0.85 per carton depending on size and finish. Mid-volume flexo labels or pouches (20,000–100,000 units) often land near $0.06–$0.24 with disciplined specs. High-volume offset or gravure (250,000+) can pull unit cost down significantly, though success depends on stronger upfront control of food safe packaging printing requirements.
Typical timeline planning:
- Spec definition: 3–7 business days
- Supplier doc review: 5–10 business days
- Pilot production: 7–12 business days from approved artwork
- Testing turnaround: 7–20 business days depending on scope
- Commercial scheduling: 10–15 business days after release
Realistic end-to-end timing usually lands between 5 and 9 weeks, not 2 weeks. I’ve watched teams save money by simplifying finish stacks (for example removing one specialty tactile coat), standardizing approved inks, and limiting late artwork movement near risk zones.
One scheduling tip that pays for itself: reserve a two-week contingency after test results. Labs may request clarifications, and occasional reformulation loops happen. That buffer protects launch commitments and keeps your branded packaging rollout from turning into a fire drill. I say this with love and mild trauma: emergency calls at 11:47 p.m. are rarely good news.
Common Mistakes That Cause Compliance Delays, Reprints, and Waste
The most expensive failures usually start as simple assumptions. I’ve seen teams lose $12,000 to $40,000 on avoidable reprints because they treated food safe packaging printing requirements as a supplier-only issue.
Mistake one: assuming “food grade material” means every print component is compliant. Board can pass while ink/coating/adhesive combinations remain unvalidated for your use profile.
Mistake two: approving artwork before mapping ink location against folds, seams, and interior touch points. A 2mm shift can change risk exposure.
Mistake three: skipping cure verification. I’ve heard: “the ink supplier said it’s suitable.” Supplier suitability does not prove your line settings achieved cure on that shift at that speed.
Mistake four: treating migration testing as optional until after commercial print. Late testing creates stranded-inventory risk.
Mistake five: weak version control. Outdated PDFs, unapproved substitutions, and missing lot codes become audit nightmares.
Mistake six: ignoring storage and transport stress. Pallet pressure, summer container heat, and humidity spikes elevate set-off and odor transfer.
“We only changed the varnish, so we thought no re-approval was needed.”
— Actual client statement before a delayed retail launch and a five-figure rework
The common blind spot is system thinking. Teams focus on component-level compliance, not interaction-level behavior. Food safe packaging printing requirements are about how materials interact over time under real handling conditions. I get kinda blunt on this point because these are preventable misses, not mysterious science failures.
Expert Next Steps: Put Food Safe Packaging Printing Requirements Into Action
If I joined your team for the next 30 days, I’d run a focused plan that translates policy into daily execution and anchors food safe packaging printing requirements in routine workflows.
30-day action plan
- Days 1–5: audit current SKUs and classify risk (direct/indirect, fat/acid/aroma, shelf-life, storage stress).
- Days 6–10: collect and reconcile supplier docs (SDS/TDS/DoC) for every active substrate, ink, coating, and adhesive.
- Days 11–15: build an approved-components matrix by material and print method.
- Days 16–20: align artwork rules and establish no-print/contact-risk zones in dielines.
- Days 21–25: schedule pilot verification on highest-risk SKUs.
- Days 26–30: lock change-control SOP and cross-functional review cadence.
Your approved-components matrix should stay practical. Useful columns include substrate code, ink family, coating type, adhesive, contact class, test references, allowed food categories, and revalidation trigger. One sheet like this can accelerate future custom printed boxes and pouch development significantly.
Before artwork finalization, brief printer and converter with precise questions: Which ink family ID will run? Which cure validation method is recorded per lot? What stack-height controls are used in hot months? Which changes trigger retesting? That question set exposes gaps early.
I also recommend a monthly review with design, QA, procurement, and operations. Keep it to 45 minutes. Cover new SKUs, substitutions, complaints, and pending validations. This rhythm prevents silo decisions that weaken food safe packaging printing requirements. And yes, I know everyone says they don’t have time for another meeting; they definitely have time for fewer reprints.
Actionable takeaway: assign one owner this week for a single source-of-truth spec file per SKU (materials + artwork zones + cure controls + test references + change triggers), then block production on any run that can’t match that file. If you do only one thing, do that. It prevents the majority of expensive surprises.
- Define contact class before design freeze
- Approve material-ink-coating-adhesive as one system
- Validate cure, odor, set-off, and migration before scale-up
- Maintain lot traceability and revision control
- Use change-control triggers for any spec deviation
Hold that discipline and your team can keep creative quality high while meeting food safe packaging printing requirements consistently across launches, reruns, and line extensions.
Frequently Asked Questions
What are the most important food safe packaging printing requirements for a new product launch?
Start by confirming direct versus indirect contact, then align substrate, ink, coating, and adhesive with that risk profile. Require compliance documents and lot traceability before production approval. Validate curing, odor, and migration behavior through pilot testing under realistic storage conditions. Those three actions form the backbone of dependable food safe packaging printing requirements.
Do food safe packaging printing requirements change by printing method (digital, flexo, offset)?
Yes. Each process has different ink chemistry and drying or curing behavior, which changes set-off and migration exposure. Digital printing can accelerate prototyping, but still needs application-specific checks. Flexo and offset printing at production scale require disciplined press controls, cure verification, and routine QC sampling to satisfy food safe packaging printing requirements.
How much do food safe packaging printing requirements increase packaging cost?
Cost depends on risk profile and structure. The biggest drivers are low-migration material sets and testing scope. One-time qualification can add a few thousand dollars, while recurring unit impacts are often modest after specs are standardized. Early planning usually lowers total cost by preventing reprints and launch delays tied to missed food safe packaging printing requirements.
How long does it take to meet food safe packaging printing requirements before production?
A typical sequence includes supplier documentation review, pilot runs, lab testing, and final spec lock. Practical timing is often 5–9 weeks, depending on lab turnaround and whether reformulation is required. Schedule buffer for validation is one of the strongest ways to hit launch dates while maintaining food safe packaging printing requirements.
Can I use the same artwork and finishes across all foods under food safe packaging printing requirements?
Not in every case. Fatty, acidic, and high-aroma products may need different barriers and print strategies. Heavy coatings, metallic effects, and interior-adjacent graphics often need adjustment by format and risk class. A modular design system with pre-approved print zones is the safest way to scale food safe packaging printing requirements across multiple SKUs.