Buyer Fit Snapshot
| Best fit | Create Branded Packaging Identity That Stands Out projects where brand print, material claims, artwork control, MOQ, and repeat-order consistency need to be specified before quoting. |
|---|---|
| Quote inputs | Share finished size, material target, print colors, finish, packing count, annual reorder estimate, ship-to region, and any compliance wording. |
| Proofing check | Approve dieline scale, logo placement, barcode or warning zones, color tolerance, closure strength, and carton packing before bulk production. |
| Main risk | Vague material claims, crowded artwork, missing packing details, or unclear freight terms can make a low unit price expensive after revisions. |
Fast answer: Create Branded Packaging Identity That Stands Out: Material, Print, Proofing, and Reorder Risk should be specified like a repeatable production item. The safest quote records material, print method, finish, artwork proof, packing count, and reorder notes in one written spec.
Production checks before approval
Compare the actual filled-product size with the drawing, then confirm tolerance on folds, seals, hang holes, label areas, and retail display edges. Reserve space for logos, QR codes, warning copy, and material claims before decorative graphics fill the panel.
Quote comparison points
Review material grade, print process, finish, sampling route, tooling charges, carton quantity, and freight assumptions side by side. A quote is only useful when the supplier can repeat the same color, closure quality, and packing count on the next order.
How to Create Branded Packaging Identity: Why It Matters More Than Most Brands Realize
I’ve watched buyers pick one product over another in under 4 seconds on shelf, often before they read a single line on the back panel. That speed is why how to create branded packaging identity is never a design detail. It’s a revenue decision. Behavioral research keeps circling the same truth: visual judgments happen almost instantly—often in under a second—and packaging stands in for product quality before first use.
A founder once told me, “People read everything.” I said, “No, they don’t. They scan, guess, and move on.” (I wish I were wrong.)
A factory-floor memory still sticks. I was in a co-packing facility near Newark reviewing two new snack pouch lines. Same fill weight (150g), similar ingredients, similar MSRP ($4.99). Brand A used inconsistent color blocks and shifted logo placement between SKUs. Brand B fixed logo placement at top center, built strict flavor-based color architecture, and held typography hierarchy constant across all 8 variants. Over a 6-week, three-store pilot, Brand B posted an 18% repeat-purchase lift. Brand A stayed at 5%. Same category pressure. Very different identity discipline.
What do I mean by branded packaging identity? Plain language: a repeatable system of visual, tactile, and verbal cues that make your pack recognizable at 1 meter, in a 120-pixel thumbnail, and in a customer pantry 30 days later. Teams figuring out how to create branded packaging identity should think system first, decoration second.
Most teams miss that distinction. They confuse “pretty packaging” with identity. Pretty might win awards. Identity builds memory structures. Pretty can pivot every season. Identity survives line extensions, supplier changes, and retail resets. Honestly, this is where many brands burn cash—refreshing aesthetics while ignoring recognizability. In practical terms, learning how to create branded packaging identity means locking core assets that stay stable when your SKU count jumps from 6 to 40.
Packaging identity sits between brand strategy and production execution. Strategy defines position (“premium everyday,” “clinical efficacy,” “playful family value”). Execution translates that into board grade, print method, coatings, and dielines. Identity is the bridge layer that turns promise into recognizable product packaging at scale.
You’ll get a framework here that brand, design, procurement, and operations can actually use in the same meeting (yes, peacefully, with minimal eye-rolling). We’ll cover process, specs, budget ranges, timelines, supplier constraints, pilot testing, and the failure points I’ve seen across beauty, supplements, food, and DTC household goods. If you need format context first, start with Custom Packaging Products and compare constraints before concepting.
How Branded Packaging Identity Works Across the Customer Journey
Strong identity has to perform in multiple moments. Teams researching how to create branded packaging identity often obsess over shelf impact and overlook the next touchpoints where trust either compounds or evaporates.
Touchpoint map that actually affects revenue
Five moments consistently move results: shelf discovery, e-commerce thumbnail decision, unboxing, at-home storage, and reorder recall. In one beauty account I supported, shelf findability improved after we increased logo-to-front-panel ratio from 11% to 17%, yet reorder rates stayed flat until we fixed side-panel naming architecture. Customers stored bottles side-facing in drawers and couldn’t identify variants quickly.
Digital behavior follows different rules. A carton that performs beautifully at 2 feet can collapse at 90-pixel thumbnails. Brands learning how to create branded packaging identity for omnichannel sales need hierarchy tests at physical and digital sizes. We ran a thumbnail test for a pet supplement line and moved click-through from 2.8% to 3.6% by increasing benefit-text contrast and reducing decorative background noise by roughly 35% coverage. That result came from a boring tweak, not a flashy redesign.
The identity stack
Across audits, I usually see six layers: structure, color architecture, typography system, logo behavior, messaging hierarchy, and finish effects. Skip one and the entire package branding system gets fragile. Structure signals value tier. Color enables quick categorization. Typography drives comprehension speed. Finishes contribute tactile cues only when they support the story.
Recognition is cognitive efficiency. Consistency lowers mental effort. Lower effort increases trust and speeds choice. That’s the behavioral engine behind how to create branded packaging identity. It sounds abstract until conversion dashboards move.
Operational data should shape identity decisions. Customer support tickets, return reasons, and damage codes aren’t just fulfillment metrics—they’re design signals. I once had a team tell me damage codes were “a warehouse problem.” Two weeks later, we found the mailer was under-specced. I’ve seen a redesign cut corner-crush claims by 22% after a shift from E-flute to B-flute plus a 32 ECT spec. Visual quality at arrival improved, and review sentiment around “premium feel” rose in parallel.
If your team is serious about how to create branded packaging identity, connect each touchpoint to one measurable behavior: shelf pick-up rate, add-to-cart, unboxing shares, complaint ratio, repeat purchase. Track monthly for the first 90 days post-launch. You’ll spot where identity is working and where it’s failing.
Key Factors That Shape a Strong Branded Packaging Identity
Most teams ask for visuals first. I ask for decisions first. The fastest route for how to create branded packaging identity starts with constraints and priorities, not mood boards.
Audience clarity before artwork
Define the primary buyer with precision: age band, purchase context, decision trigger, and selection environment. “Women 25–45” doesn’t guide design decisions. “Busy professionals buying protein snacks during weekday grocery trips, comparing sugar grams in under 10 seconds” does. That specificity changes typography size, claim order, and retail packaging contrast strategy.
Category codes vs distinctiveness
Every category has trust codes. Supplements need legibility and compliance cues. Kids’ snacks can tolerate denser illustration systems. Premium skincare often rewards restraint and whitespace. Teams working through how to create branded packaging identity should preserve roughly 60–70% of expected codes, then add 2–3 proprietary assets: repeat pattern, structural cut, or distinctive icon language.
Brand asset system rules
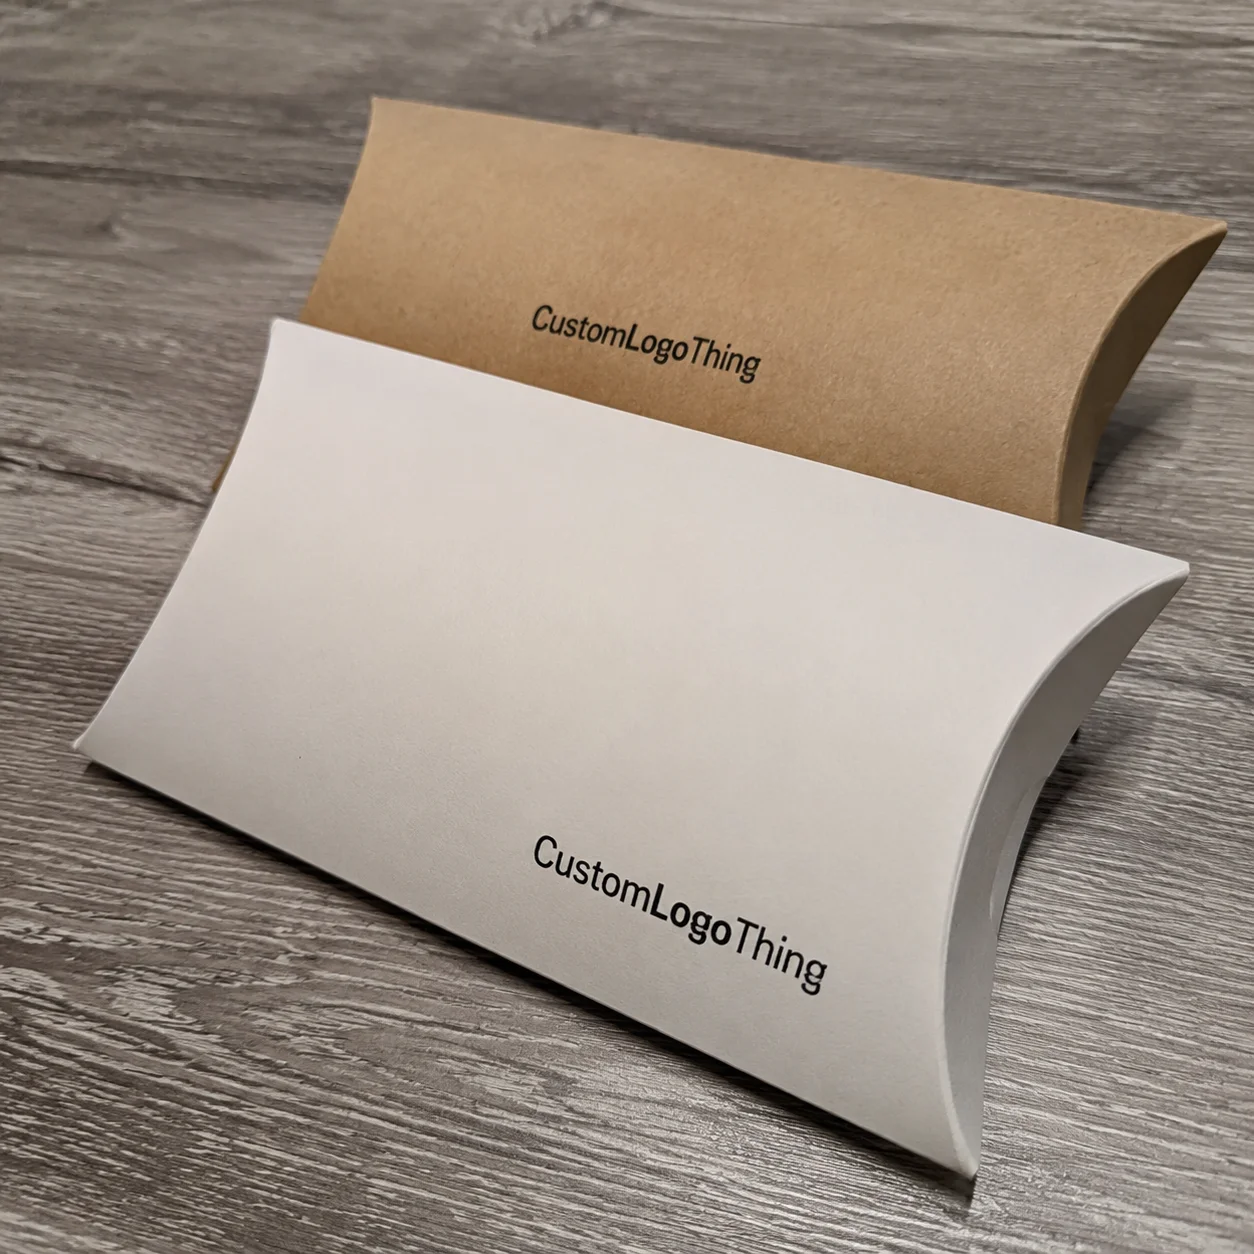
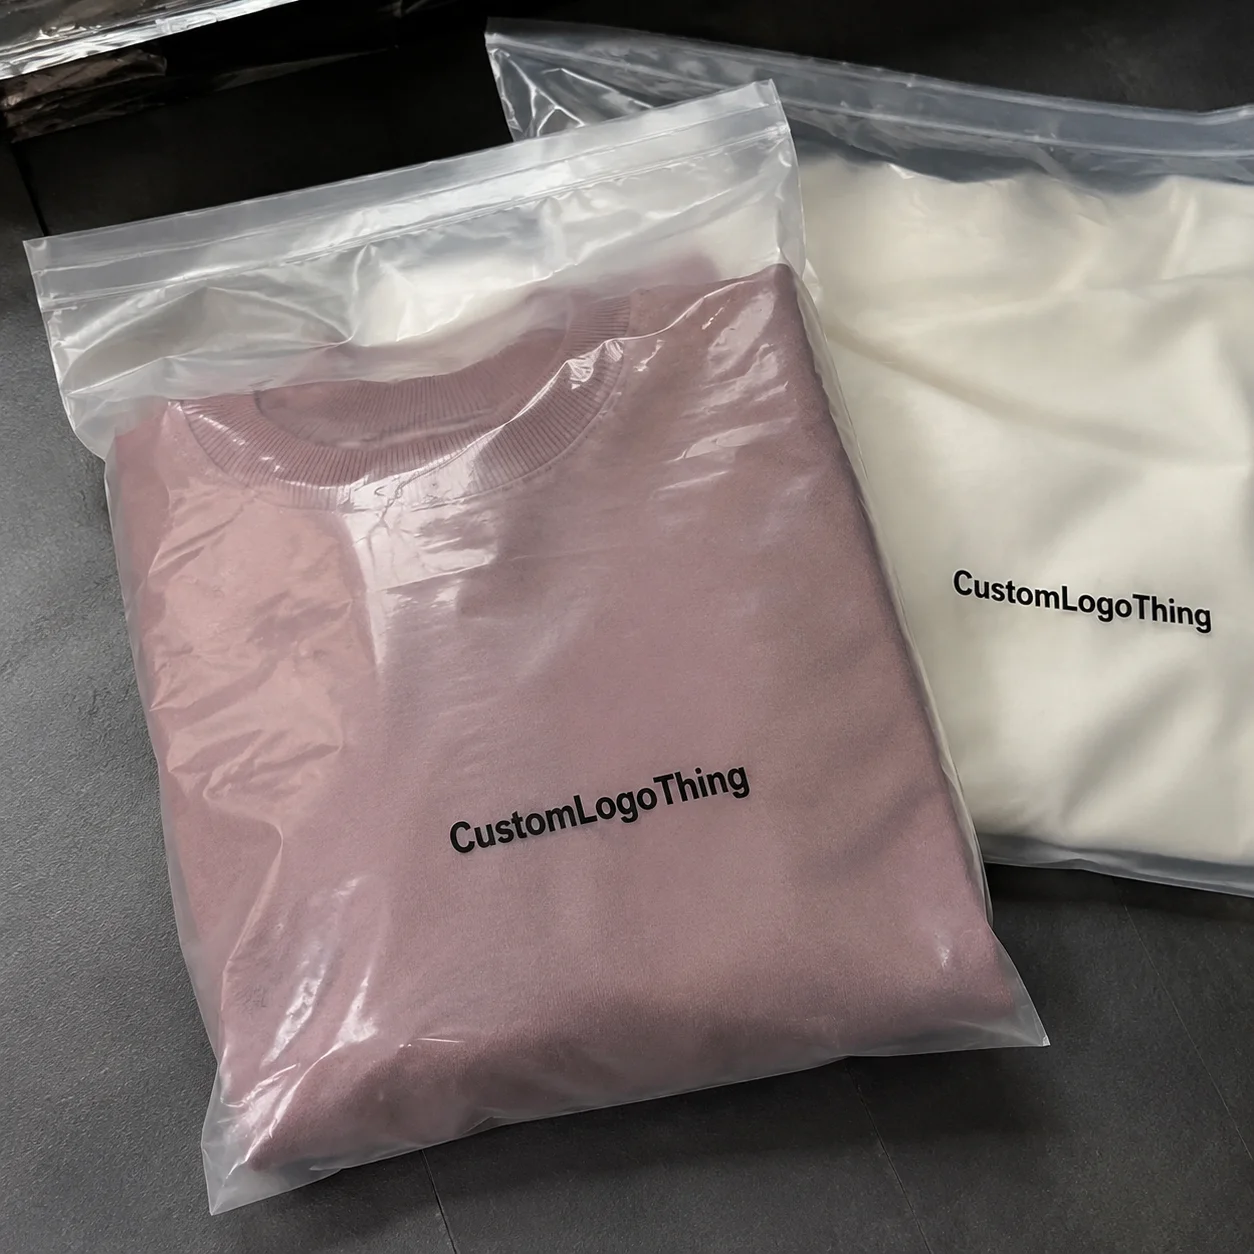
A true identity system needs guardrails: logo minimum size (for example 18mm width on primary panel), exclusion zones, primary/secondary color proportions (say 70/20/10), type scale, icon style, and microcopy voice. I recommend one shared spec PDF plus editable production files with locked layers. Skip this and supplier drift usually appears by batch three. I learned that the hard way after a “small” logo interpretation turned into three visibly different cartons on one shelf. Painful.
Material and format fit
Not every brand story belongs on the same substrate. A 350gsm C1S artboard with soft-touch lamination can signal premium in Custom Printed Boxes. A matte BOPP label on PET might need stronger scuff resistance in humid supply chains. One client insisted on uncoated labels for a “natural” shower-product look. Four weeks in market, labels wrinkled and edge-lifted. We moved to textured PP stock, kept the aesthetic, and fixed durability.
Operational constraints are part of identity
Print method changes outcomes. Flexo and offset have different fine-detail limits. Digital supports short runs but can vary across presses without tight color management. MOQ shifts economics fast: one supplier quoted a 5,000-unit minimum at $0.42/unit for a two-color carton; another required 25,000 but dropped to $0.21/unit. Teams planning how to create branded packaging identity need feasibility in the first workshop, not the final review.
Sustainability credibility
Claims have to map to real disposal pathways. If your pack says “recyclable,” verify local stream compatibility plus adhesive and laminate compatibility. Use recognized frameworks and certifications, including FSC where relevant. For disposal guidance and labeling clarity, EPA resources at epa.gov are useful. Trust drops quickly when sustainability language stays vague, and shoppers are quick to call it out.
Scalability by design
A system that works for 4 SKUs can break at 40. Plan extension logic early: variant color bands, icon set expansion, panel zoning, naming conventions. The central lesson in how to create branded packaging identity is repeatability. If seasonal drops require a fresh redesign each cycle, you built decoration, not identity.
For examples of scalable systems across categories, review these Case Studies. You’ll see how strong branded packaging keeps shared DNA while adapting across formats.
Step-by-Step: How to Create Branded Packaging Identity From Strategy to Launch
This is the exact process I use with clients tackling how to create branded packaging identity: seven steps, clear ownership, measurable checkpoints.
- Audit current packaging and competitors
- Set measurable goals
- Build 2–3 identity territories
- Prototype fast (physical + digital)
- Validate with users
- Finalize production specs
- Pilot, measure, and scale
Step 1 — Audit what exists
Gather current SKUs, dielines, print files, complaint logs, return reasons, and channel sales data from the last two quarters. Build a competitive wall with at least 12 direct and 8 adjacent brands. Score distinctiveness from 1 to 5 on logo visibility, color uniqueness, claim clarity, and variant navigation. That baseline shows where how to create branded packaging identity should focus first.
Step 2 — Set goals with numbers
Pick 3–4 KPIs, not 14. Example set: improve shelf findability by 15%, increase thumbnail CTR by 0.6 percentage points, reduce damage complaints by 20%, lift repeat purchase by 10% over 12 weeks. No numeric target means no accountability. I’m opinionated here: vague goals are usually a polite way to postpone hard decisions.
Step 3 — Build concept territories
Create 2–3 strategic directions, each tied to clear rationale. Territory A might be “clinical authority,” B “warm expertise,” C “playful confidence.” Link each to buyer motivations and operational feasibility. If one option needs foil + emboss and pushes cost from $0.28 to $0.49 per unit at 10,000 MOQ, surface it immediately.
Step 4 — Prototype fast
Flat PDFs are not enough. Print physical mockups at actual size. Build rough white samples for structural checks. Run digital shelf simulations at 120px and 240px. In one beverage project, a beautiful script font collapsed at 120px; switching to condensed sans improved legibility by about 40% in rapid testing. Everyone loved the script. Nobody could read it. Classic.
Step 5 — Validate with real users
Short tests are usually enough to catch hierarchy failures. A 20–30 respondent group can reveal problems quickly. Ask three questions: “What is this product?”, “Which variant is this?”, “Why might you buy it?” Measure response accuracy and response time. For unboxing, film 10 sessions and log friction points: tear-direction confusion, insert order, cap orientation.
Step 6 — Finalize production specs
Many launches fail right here. Lock dielines, barcode quiet zones, legal-copy regions, color standards (Pantone or LAB targets), finish callouts, adhesive specs, carton compression requirements, and QC tolerances. DTC programs should include transit testing standards such as ISTA protocols from ista.org. If teams skip this detail, suppliers fill the gaps with interpretation.
Step 7 — Pilot before full rollout
Launch in 2–3 regions, or one channel with control. Track old vs new for at least 6–8 weeks. Watch conversion, repeat rate, return reasons, and customer comments mentioning clarity or damage. Scale after data confirms direction. That’s the practical core of how to create branded packaging identity without expensive surprises.
“We thought the redesign was done at artwork approval. It was actually done after the pilot data.” — CPG brand director, post-launch review
Practical checklist for your team
- Brand owner assigned (name, role, deadline)
- Operations owner assigned for specs and supplier alignment
- Procurement sign-off on MOQ, lead time, and backup substrate
- Design file preflight standard (font outlines, bleed, overprint checks)
- Color approval process (hard proof + press check thresholds)
- Pilot KPI dashboard live before first shipment
Still asking how to create branded packaging identity in a way that holds up? Follow this sequence and don’t skip validation. Speed helps. Blind speed gets expensive, kinda fast.
Cost, Pricing, and Timeline: What Brands Underestimate
I’ve sat through too many budget meetings where packaging appears as one line item. It isn’t one line item. Teams working on how to create branded packaging identity need separate cost buckets.
| Cost Bucket | Typical Range | What Changes the Number |
|---|---|---|
| Structural design | $1,500–$8,000 per format | Complex folds, inserts, tooling needs |
| Creative identity development | $3,000–$20,000 | SKU count, territory rounds, testing depth |
| Sampling/prototyping | $300–$2,500 per round | Material type, finish simulation, quantity |
| Print setup/tooling | $200–$3,000 | Press type, plates, dies, embellishments |
| Unit production | $0.18–$1.60 per unit | Board grade, size, colors, volume, coatings |
| Freight and storage | 8%–22% of packaging spend | Flat-pack efficiency, warehouse turns, distance |
Real supplier example from Shenzhen: a tuck-end carton at 350gsm SBS, 4/0 print + matte aqueous landed at $0.24/unit for 50,000, 15 business days after proof approval. Add soft-touch lamination and cost rose to $0.29 with two extra days. Add spot UV on logo and it hit $0.33 with higher reject risk due to scuff sensitivity. Those are the trade-offs behind how to create branded packaging identity.
Short runs buy flexibility; long runs buy efficiency. A 3,000-unit digital run can cost 40–70% more per unit than a 50,000-unit offset run, yet it may protect cash during testing and prevent obsolete inventory when variant mix shifts.
Quick disclaimer from experience: these ranges move with pulp pricing, energy costs, and freight volatility. If someone promises a fixed global number for 12 months without caveats, I’d double-check the assumptions before you sign anything.
Hidden costs do the most damage: version-control mistakes, late legal-copy edits, color-drift reprints, weak palletization logic. I’ve seen one late dieline change (after plate prep) add $4,800 in rework and delay launch by 9 days. Another brand ignored carton orientation in pallet patterns and paid 16% higher damage claims during summer humidity spikes. Frustrating? Absolutely. Avoidable? Also yes.
Timeline reality
Most mid-complexity projects need 10 to 20 weeks end-to-end:
- Discovery and audit: 1–2 weeks
- Concept territories: 2–4 weeks
- Prototype rounds: 2–5 weeks
- Testing and revisions: 1–3 weeks
- Final approvals and prepress: 1–2 weeks
- Production + freight buffer: 3–6 weeks
Teams pursuing how to create branded packaging identity with lower risk should run parallel tracks: creative and structural together, compliance review during concepting, and substrate backups approved before PO release. Keep a 10–15% timeline buffer for supplier scheduling shocks.
Common Mistakes When Building Branded Packaging Identity
I keep a running postmortem list. If you’re working through how to create branded packaging identity, avoid these six failure patterns.
Mistake 1: Designing for internal taste
Diagnostic signal: Meetings are full of “I like this” comments and empty on shopper data.
Fix: Use comprehension testing with at least 20 target buyers and require >80% correct product/variant identification in under 3 seconds.
Mistake 2: Visuals beat functionality
Diagnostic signal: Beautiful packaging, high dent/scuff rates, frustrating opening experience.
Fix: Add transit and usability tests early; pair packaging design with protection specs (ECT, burst, closure strength).
Mistake 3: Inconsistency across suppliers
Diagnostic signal: Logo shifts by 3–5 mm between production batches; color drifts across facilities.
Fix: Issue one master spec with Pantone/LAB tolerances, locked dielines, and first-article approval photos.
Mistake 4: No information hierarchy
Diagnostic signal: Customers misread variant or size; support tickets ask basic identification questions.
Fix: Prioritize product name, variant, format, and key use cue in fixed visual order across all SKUs.
Mistake 5: Weak sustainability proof
Diagnostic signal: On-pack language is broad (“eco-friendly”) with no disposal direction.
Fix: State material clearly, include disposal instructions, align claims to verifiable sourcing and certifications.
Mistake 6: Skipping pilot
Diagnostic signal: Full production launched before real-world A/B comparison.
Fix: Pilot in one channel or region for 6–8 weeks with control and KPI dashboard.
The biggest misunderstanding in how to create branded packaging identity is assuming design approval equals market proof. It doesn’t. Market proof starts after first-shipment data arrives.
Expert Tips and Next Steps to Create Branded Packaging Identity That Lasts
Three heuristics guide every review I run on how to create branded packaging identity:
- Recognizable at arm’s length (about 1 meter in store conditions)
- Understandable in 3 seconds (product, variant, value cue)
- Repeatable across every SKU (no reinvention at each launch)
Build a scorecard and use it monthly during the first quarter post-launch. Suggested 1–5 categories: recognition, clarity, protection performance, sustainability credibility, cost efficiency, production reliability. If any category stays below 3 for two straight months, trigger an optimization sprint.
30-60-90 day action plan
First 30 days: complete audit, set KPI baseline, align owners (brand/design/ops/procurement).
Day 31–60: develop 2–3 concept territories, run physical prototypes, execute rapid comprehension tests.
Day 61–90: pilot in defined channels, compare against control, approve scale plan with documented lessons.
Workflow discipline matters more than many teams expect. The strongest projects use one shared spec file and one change log with weekly 30-minute cross-functional reviews. Brand approves strategic consistency. Design approves system integrity. Procurement approves cost and lead-time feasibility. Operations approves manufacturability and QC.
Measurement cadence should stay simple and strict: weekly checks through the first 8 weeks, monthly KPI review after stabilization, quarterly optimization sprint for line extensions and supplier tuning. That cadence keeps custom printed boxes quality and product packaging consistency from drifting. I know “cadence” sounds boring, but boring is good when you’re trying to avoid six-figure reprints.
“Our redesign looked great in boardroom renders. The winning move was actually standardizing color proportions and barcode zones across all vendors.” — Operations lead, household goods brand
If you want one actionable takeaway for this week, here it is. By Friday, do three things: (1) run a 60-minute packaging audit using real shelf and thumbnail screenshots, (2) define 4 KPIs with baseline numbers, and (3) brief two concept territories tied to buyer context and supplier constraints. You’re gonna learn more from that than another month of internal preference debates, and you’ll have the foundation for how to create branded packaging identity that performs, scales, and stays recognizable.
FAQ
How do I create a branded packaging identity on a small budget?
Start with consistency rules that carry the most weight: fixed logo placement, a tight color system, and one distinctive structural cue (for example, a unique top flap or side pattern). Many startups can validate early choices with a focused 2,000–5,000 unit digital run before larger MOQs. Early work on how to create branded packaging identity should skip expensive embellishments and prioritize legibility, material fit, and finish durability. I usually tell early-stage teams: spend on clarity first, sparkle later.
What is the typical timeline for how to create branded packaging identity?
Most teams move through discovery, concepting, prototyping, testing, and production approvals in roughly 10–20 weeks. A simple visual refresh may move faster; new structures and multi-SKU systems often take longer due to tooling and validation. Add buffer days for sampling revisions, compliance reviews, and supplier schedule shifts.
How many design concepts should we test for branded packaging identity?
Test 2–3 strong concept territories anchored to strategy. More options usually add noise and slow decisions. Teams working on how to create branded packaging identity should evaluate each concept on recognition, clarity, feasibility, and cost, then prototype physically to catch issues flat artwork misses.
How can we measure if our branded packaging identity is working?
Track findability tests (shelf and thumbnail), conversion-rate changes, repeat purchase, return reasons, and customer feedback themes linked to packaging. Compare pre- and post-launch metrics while controlling for major variables like price changes, promotions, and distribution shifts so packaging impact stays realistic.
Should sustainable materials be part of how to create branded packaging identity?
Yes—if the choice aligns with brand promise and buyer expectations. Pick substrates based on performance, disposal reality, and supply reliability, not marketing language alone. Clear on-pack disposal guidance improves trust and increases the chance of real environmental benefit.