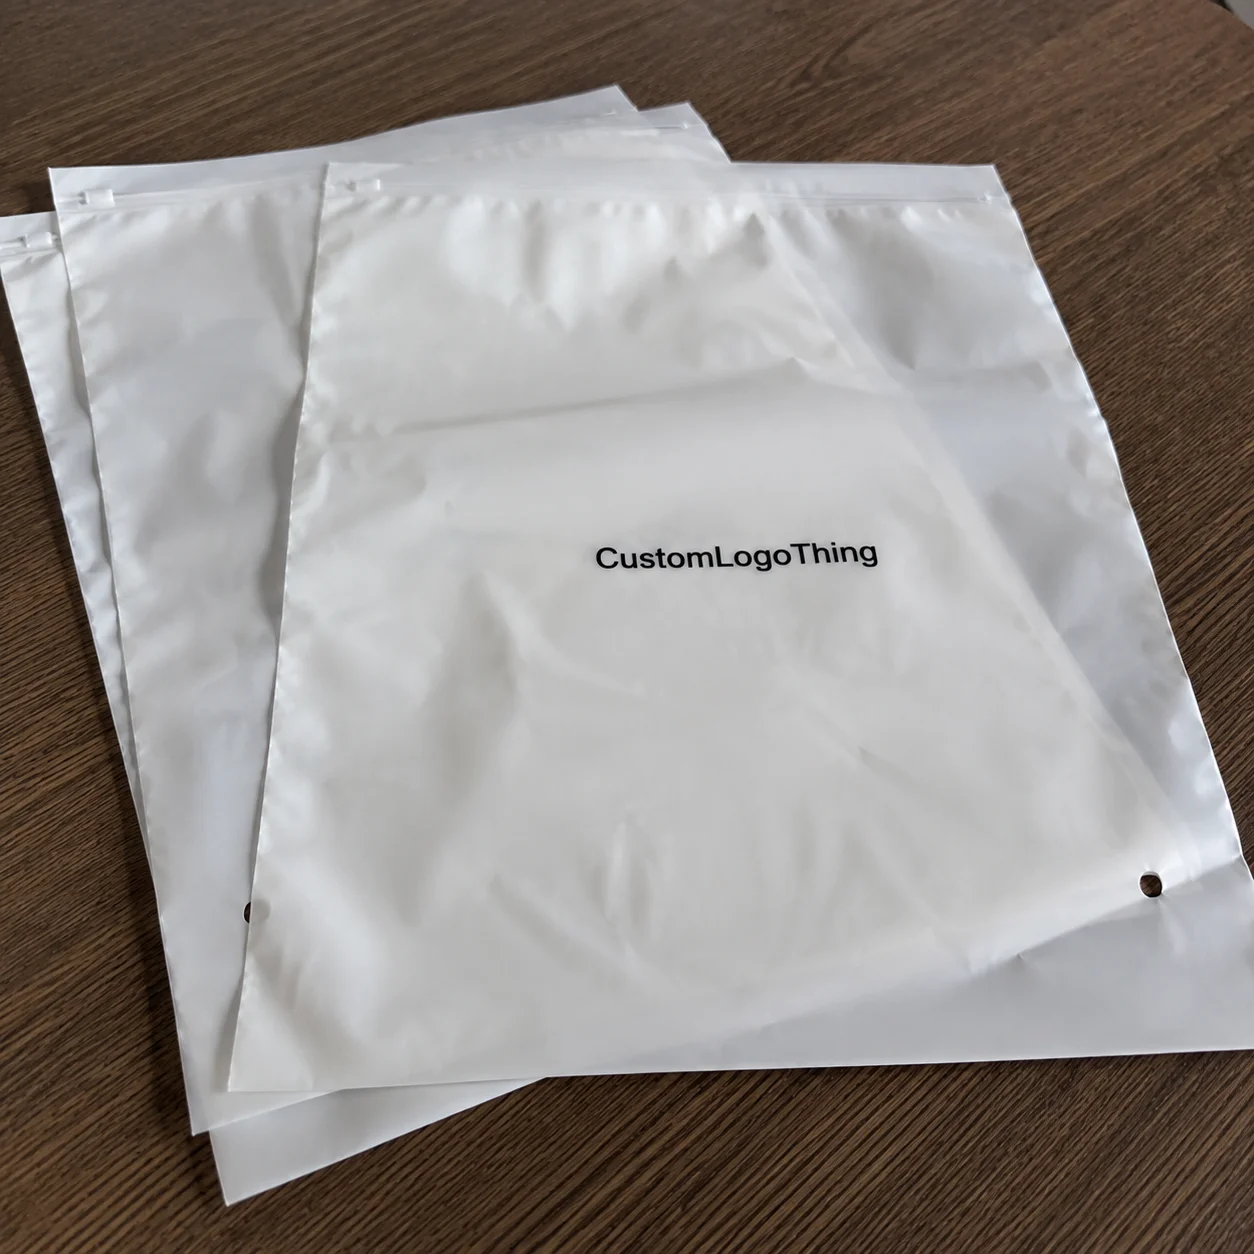
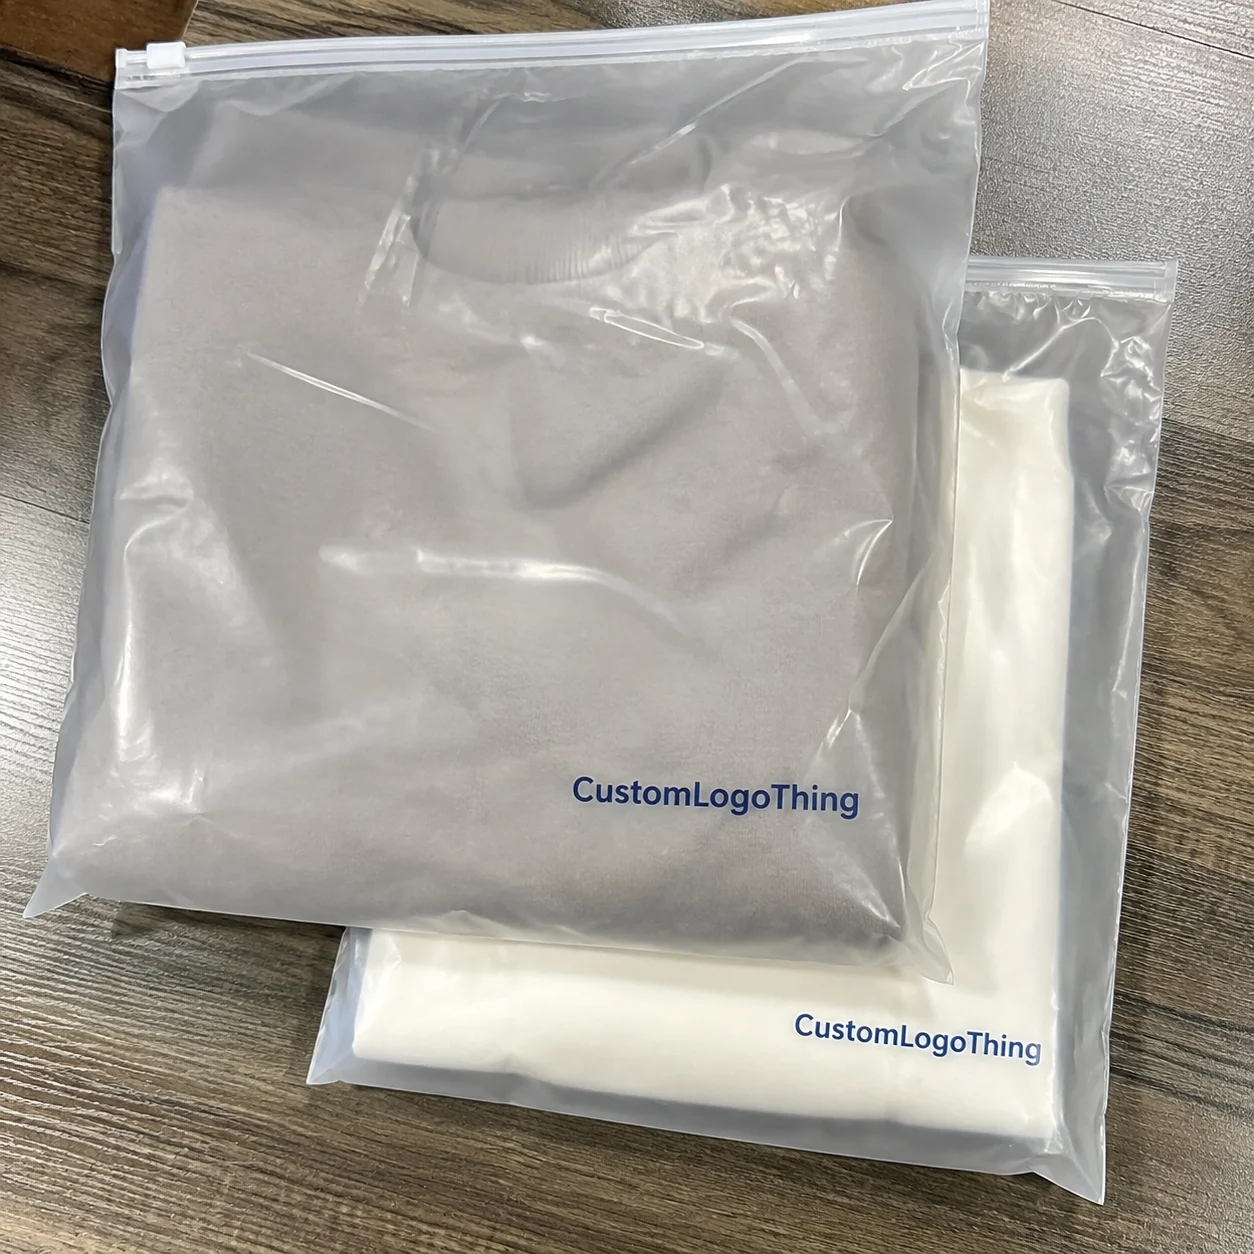
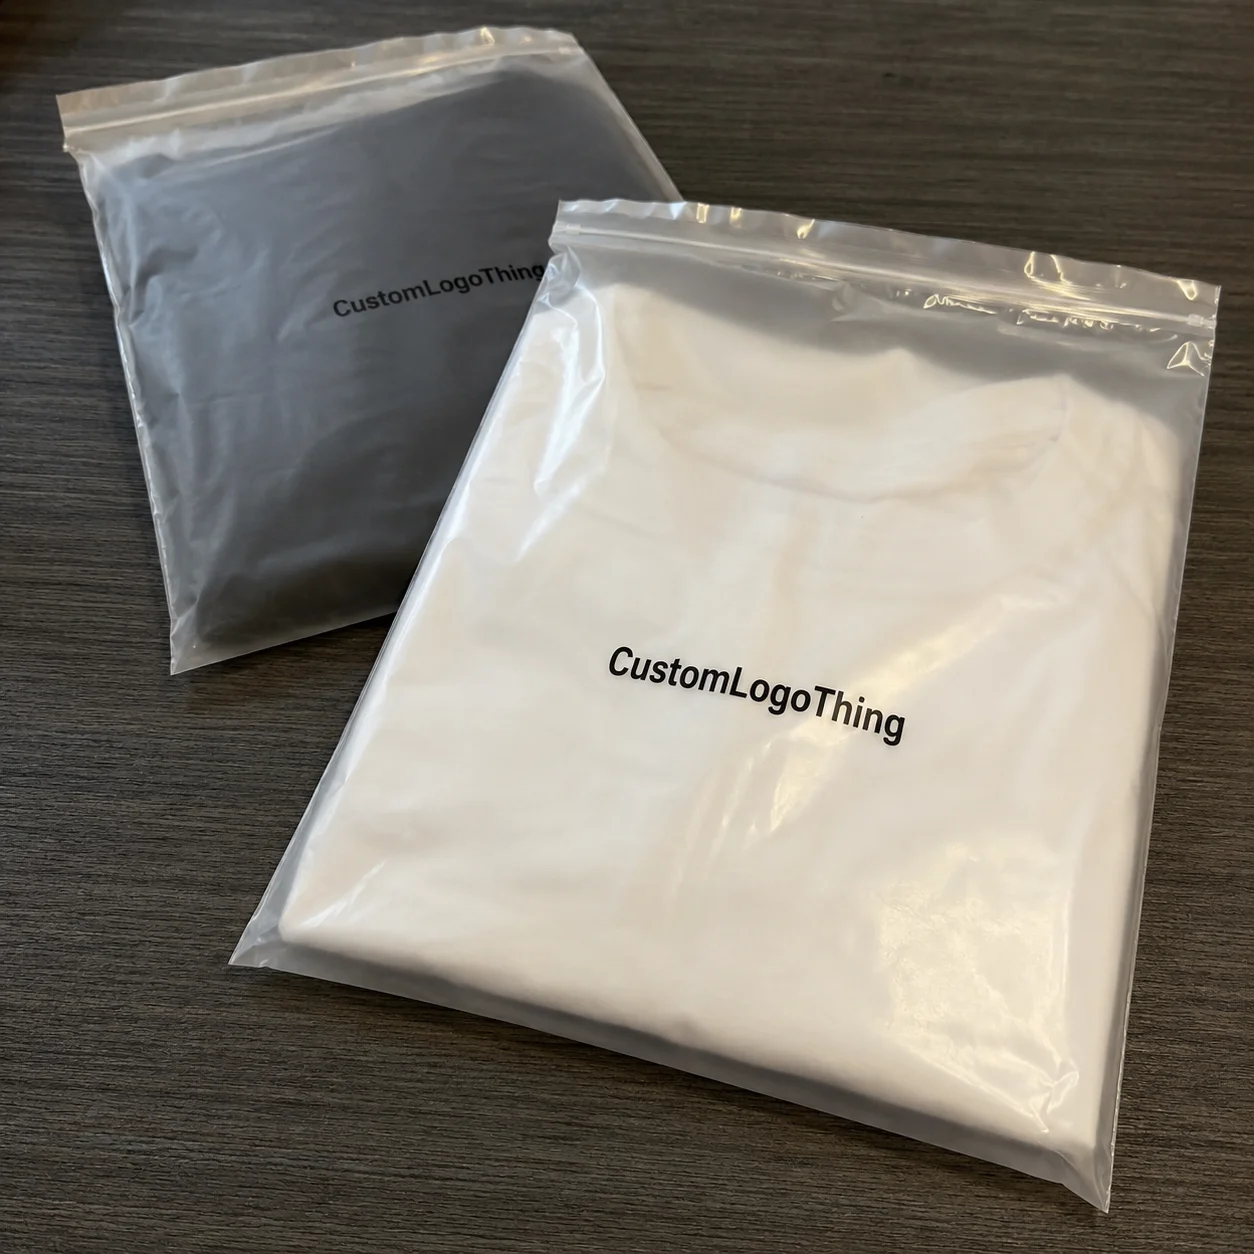
Buyer Fit Snapshot
| Best fit | create luxury packaging experience decision review for packaging buyers comparing material specs, print proof, MOQ, unit cost, freight, and repeat-order risk where brand print, material, artwork control, and repeat-order consistency matter. |
|---|---|
| Quote inputs | Share finished size, material target, print colors, finish, packing count, annual reorder estimate, and delivery region. |
| Proofing check | Approve dieline scale, logo placement, barcode or warning zones, color tolerance, and any recyclable or compostable wording before bulk production. |
| Main risk | Vague material claims, crowded artwork, or missing packing details can create delays even when the unit price looks attractive. |
Fast answer: Create Luxury Packaging Experience Decision Review: Material, Print, MOQ, and Cost should be specified like a repeatable production item. The safest quote includes material, print method, finish, artwork proof, carton packing, and reorder notes in one written spec.
What to confirm before approving the packaging proof
Check the product dimensions against the actual filled item, not only the sales mockup. Ask for tolerance on folds, seals, hang holes, label areas, and retail display edges. If the package carries a logo, QR code, warning copy, or legal claim, reserve that space before decorative graphics fill the panel.
How to compare quotes without losing quality
Compare board or film grade, print process, finish, sampling route, tooling charges, carton quantity, and freight assumptions side by side. A lower quote is only useful if the supplier can repeat the same color, closure quality, and packing count on the next order.
Learning how to create luxury packaging experience is not about throwing gold foil at a box and hoping the customer gasps. I’ve stood on factory floors in Shenzhen where a 1mm board upgrade changed the whole feel of a rigid box, and I’ve watched a client’s face go from “fine” to “I want that” after touching a better insert. That’s the real job: how to create luxury packaging experience that makes the product feel expensive before the lid even opens. A 350gsm C1S artboard card can feel polite; a 2.0mm gray board wrapped in 157gsm art paper feels like you meant business. Honestly, I think that first touch does more heavy lifting than half the marketing decks I’ve seen.
For Custom Logo Things, the best luxury packaging is the kind that feels intentional at every step. The outer shipper protects. The reveal slows the customer down. The materials, finishes, and structure work together so the packaging does some of the selling for you. A typical two-piece rigid box in Dongguan, Guangdong might cost $1.80 per unit at 5,000 pieces, while a printed folding carton from Yiwu, Zhejiang could come in closer to $0.28 per unit at 10,000 pieces. That’s the difference between packaging that just exists and Packaging That Actually earns its keep. And yes, I’m biased toward packages that behave like they were designed by someone who actually opened a few boxes in their life.
What Luxury Packaging Experience Really Means
How to create luxury packaging experience starts with a simple truth: luxury is a sequence, not a single finish. It’s the rigid board, the soft-touch wrap, the magnet snap, the tissue fold, and the little pause before the product appears. I’ve seen brands spend $4.20 per unit on glossy decoration and still look cheap because the box felt flimsy in hand. Meanwhile, a cleaner structure at $2.75 with better board and tighter print control looked like it belonged on a shelf ten times the price. That still makes me a little mad, to be honest. The wasted spend could have gone into structure, which is the part people actually feel. In practice, a 1200gsm base wrapped in 157gsm C2S paper often delivers more perceived value than three finish layers stacked on a weak shell.
Luxury packaging is more than looking pretty in a render. It combines structure, materials, finish, and the unboxing flow into one brand statement. That’s why how to create luxury packaging experience is really about perception engineering. The customer reads the packaging before they ever read your sales copy. A solid lid, crisp edges, and consistent color tell them you care about the details. People may pretend they don’t judge a book by its cover. Then they absolutely do. I do too, especially if the box feels like it might fold in on itself if I glare at it. A package built in Shenzhen, printed in Guangzhou, and QC-checked with a 24-point inspection feels different from one assembled in a rush with no alignment tolerance on the dieline.
I remember visiting a packaging line near Dongguan where a skincare client wanted to save $0.08 per unit by switching from 2.0mm gray board to 1.5mm board. The sample looked almost identical on a desk. But in the hand? Completely different story. The thinner board flexed when you pressed the corners. The whole box felt “retail promo” instead of premium. We stayed with the thicker board, and the client later told me the packaging was one reason retailers accepted a higher opening order. Tiny upgrade. Big consequence. That’s how to create luxury packaging experience in the real world, not on a mood board. At 3,000 units, the board upgrade added roughly $0.11 per box, which was cheaper than a single bad buyer reaction.
Here’s the mistake most people make: they confuse expensive packaging with strategic luxury packaging. Expensive packaging piles on effects. Strategic packaging chooses the right ones. A box can have foil, embossing, spot UV, and a satin ribbon, and still feel crowded. Another box might use a matte black wrap, a debossed logo, and one custom insert, and suddenly it feels expensive because the brand knows when to stop. That restraint matters. A lot. I’ve had more than one stakeholder try to sneak in “just one more premium detail” like I wouldn’t notice the design turning into a Christmas tree. If you want how to create luxury packaging experience that lasts, discipline beats decoration almost every time.
“Luxury isn’t the number of finishes. It’s the confidence to use fewer, better decisions.”
Good branded packaging also carries a message about your product packaging system. If the outer mailer feels cheap, the inner box cannot fully recover that first impression. If the insert rattles, the product feels less protected. If your packaging design is inconsistent across box, tissue, and card, the whole experience feels stitched together instead of designed. When I coach clients on how to create luxury packaging experience, I start with the customer’s first touch and end with the last thing they keep. A 150gsm tissue sheet, a 350gsm note card, and a 30mm satin ribbon may seem small individually, but together they can move perception more than a $1.50 foil run.
How to Create Luxury Packaging Experience Through Design
How to create luxury packaging experience through design means mapping the customer journey from the outer mailer to the final reveal. I like to think of it as a three-act play. Act one is the protective shipper. Act two is the reveal. Act three is the product presentation. If one act is weak, the whole thing falls flat. That’s packaging, not poetry. A corrugated mailer with E-flute board, a rigid inner box with 2.5mm grayboard, and a snug insert built to ±1.5mm tolerance creates a far stronger sequence than a single fancy box doing all the work.
The outer layer should protect and prime. For DTC brands, that could mean a corrugated mailer with one-color print, a neat seal, and a calm visual system. Inside, the first reveal should feel deliberate: tissue fold, sticker seal, or a branded message card. Then comes the hero piece, usually a rigid box or custom printed box with a structure that feels substantial. This is where how to create luxury packaging experience turns into customer emotion. A mailer made with 200gsm kraft liner and a printed inner face in Pantone 433 C can create an immediate sense of control before the box even opens.
Magnetic closures work because they create a satisfying pause. Rigid board works because it has weight and shape. Soft-touch lamination works because it changes the tactile story immediately. Foil and embossing work when they’re used with discipline, not sprayed everywhere like confetti. I’ve had clients in cosmetics swear they needed three foils, two spot UV passes, and a clear window. Then we cut everything back to one gold foil logo and a debossed panel. The sample looked $7 more expensive per unit than the overdesigned version. Same budget. Better restraint. That’s the part people always want to skip, and then they act surprised when the box starts shouting instead of whispering. A single 0.3mm emboss depth on a matte wrap often communicates more sophistication than a full-bleed metallic print.
Simplicity often feels more luxurious than cluttered decoration. That sounds obvious until you sit in a design review with five stakeholders, each adding “just one more thing.” Luxury doesn’t scream. It speaks clearly. A crisp logo, one accent color, clean typography, and a disciplined layout usually outclass busy artwork. This is especially true in retail packaging, where shelf scanning happens in seconds. If the structure is strong and the graphics are controlled, the customer reads premium faster. In a London concept store or a Seoul beauty counter, that first 2-second scan can decide whether your box gets picked up at all.
Brand consistency matters too. The box, tissue, card, tape, and insert should feel like parts of one package branding system. If the outer box says modern minimalism and the tissue says vintage romantic and the card says corporate sales brochure, the customer feels the split. I’ve seen that mismatch kill the premium effect even when the materials were fine. The best how to create luxury packaging experience work I’ve done always had one visual language across every touchpoint, from the 40mm repeat pattern on the tissue to the 12pt typography on the care card.
One of my favorite projects was a fragrance line where we used a 120gsm custom tissue, a 350gsm insert card, and a matte black rigid box with silver foil on the inside lid. The outside looked calm. The inside felt like a reveal. The customer opened it, paused, and actually smiled. That pause is valuable. It’s the moment where packaging becomes memory. I still think about that one because it was one of the rare projects where the final sample looked even better than the render, which is almost suspicious in this industry. The boxes were assembled in Guangzhou, with final packing done 90 minutes away in Foshan, and the result was worth the extra logistics.
Key Factors That Shape a Luxury Packaging Experience
Five drivers shape how to create luxury packaging experience: materials, print methods, structure, finishes, and brand storytelling. Miss one, and the rest have to work harder. Materials are the base. Print is the visual translation. Structure affects how the box feels in the hand. Finishes add texture and reflection. Storytelling gives the whole thing a reason to exist beyond “we wanted it to look expensive.” If you’re sourcing in Shenzhen, Guangzhou, or Dongguan, those five elements should be specified before a factory quotes a single cent.
Materials are where most of the perceived value comes from. Rigid board, specialty paper, FSC-certified stock, textured wraps, and quality inserts all signal care. Folding cartons can still feel premium, but they need better execution and a tighter design brief. For higher-end product packaging, I usually recommend a rigid setup for the hero SKU and a simpler carton for secondary items. That balance keeps the line coherent without turning the budget into a bonfire. A 157gsm art paper wrap over 2.0mm chipboard is a common premium build in East China, and it often outperforms a thicker-looking but poorly wrapped alternative.
Print methods matter because they change what the customer sees and feels. Offset print gives sharp detail. Digital print helps with lower quantities. Foil stamping adds contrast. Embossing and debossing create tactile depth. Spot UV gives selective shine, though I’ll be blunt: bad spot UV is one of the fastest ways to make a luxury box look cheap. It can look plastic if the varnish is too heavy or the artwork is too busy. This is why how to create luxury packaging experience needs an experienced supplier, not just a nice render. On a 5,000-piece run, offset printing in Dongguan can cost about $0.22 per unit more than digital, but the color stability is often far better.
Structure is the quiet hero. A well-built box closes cleanly, opens with intention, and protects the product without overpacking it. I’ve negotiated with factories where a client wanted a hinged lid with a ribbon pull, but the product was a 190g candle in a glass vessel. The ribbon added cost and clutter. A clean two-piece rigid box with molded pulp insert did the job better and cut the landed cost by about $0.62 per set at 3,000 units. Less drama. Better result. My favorite kind of result, frankly. A molded pulp insert from Shenzhen often lands at $0.18 to $0.40 per unit depending on cavity depth and drying time.
Finishes should support the brand story. Soft-touch lamination works beautifully for skincare, wellness, and premium tech accessories. Uncoated textured paper feels artful and tactile. High-gloss UV can work for bold, glamorous brands, but it must be controlled. The point is not to use every finish available. The point is to make sure each finish earns its place in the customer’s hand. A 1.2 mil soft-touch film or a 1.5 mil matte lamination can change the feel more than another color layer ever will.
Storytelling matters because people want context. Why this material? Why this color? Why this insert shape? The story can be subtle. A small insert card explaining FSC paper, a line about handcrafted assembly, or a printed note about product care all add depth. That’s part of how to create luxury packaging experience that feels intentional rather than decorative. A short line like “assembled in Dongguan with FSC-certified board” can carry more credibility than a paragraph of lifestyle fluff.
Let’s talk money, because everybody loves pretending budgets are abstract. They aren’t. They are painfully specific.
| Packaging Option | Typical Range per Unit | Best For | Tradeoff |
|---|---|---|---|
| Basic custom printed folding carton | $0.35–$1.10 | Entry-level retail packaging | Lower structural feel |
| Rigid box with custom wrap | $1.80–$4.80 | Premium product packaging | Higher MOQ and freight cost |
| Rigid box with foil, embossing, insert | $3.20–$7.50 | Luxury hero products | More tooling and QC time |
| Mailer plus inner branded packaging set | $0.90–$3.60 | DTC unboxing programs | More components to manage |
Those numbers shift with quantity, board thickness, shipping method, and whether you’re buying stock or custom components. At 1,000 units, your per-unit cost can look rude. At 10,000 units, the same spec behaves very differently. This is why how to create luxury packaging experience always needs a quote with line items, not one magic number scribbled in a spreadsheet. I’ve seen too many teams fall in love with a total price and then discover the details were basically held together with hope. A box at $2.95 per unit in Shenzhen can become $4.10 landed once freight to Los Angeles, customs, and packing labor are added.
Supplier considerations matter more than most brand teams admit. Color matching can drift if the paper batch changes. Lead times stretch when specialty paper is backordered. QC gets messy if the factory is printing, die cutting, and assembling in different buildings. I prefer vendors who give honest feedback about tolerance, especially on magnetic closures and foam inserts. If a supplier says “no problem” to everything, that usually means problem later. A factory in Foshan may tell you a magnet closure needs 0.8mm extra depth in the lid cavity; that kind of specificity saves weeks.
For standard references, I also look at industry guidance from groups like ISTA for transit testing and FSC for responsible sourcing. If a brand is shipping fragile premium items, I want to know the package survived real handling, not just a pretty table top. For broader packaging sustainability context, the EPA recycling resources are useful too, especially when material choices affect end-of-life claims. A transit test that includes a 12-drop sequence and 30 minutes of vibration is far more useful than a single studio photo.
How to Create Luxury Packaging Experience Step by Step
If you want how to create luxury packaging experience to become a repeatable process, not a guessing game, break it into five steps. I’ve used this exact sequence with beauty brands, candle brands, and premium apparel clients. It saves time, reduces revisions, and keeps the “I thought you meant something else” conversations to a minimum. Which, honestly, is a gift to everyone involved. A typical sample round in Guangzhou takes 7–10 business days after artwork confirmation, and that window matters if your launch is pinned to a retail calendar in Q4.
- Define the brand promise, product size, shipping method, and desired emotion. A luxury serum gift set needs different packaging than a leather accessory. If your product ships in a mailer, you need to design for impact and protection. If it sits on shelves, you need better front-facing presence. Start with the customer feeling you want: calm, indulgent, exclusive, or collectible. Write down the actual product dimensions, not just “small box,” because a 62mm jar and an 82mm jar need different insert tolerances.
- Choose the box structure, reveal sequence, and premium materials that fit the product. A magnetic rigid box can be beautiful, but it adds cost and weight. A two-piece lift-off rigid box may be smarter. For lighter products, a well-made folding carton with specialty paper and a precise insert may be enough. This is the core of how to create luxury packaging experience without overbuilding it. For example, a 350gsm C1S artboard carton with matte lamination can support small accessories at a lower cost than a full rigid build.
- Build the artwork system and prototype samples before mass production. I always push clients to sample early. One client once approved a deep navy render that turned purple in real print because the paper stock absorbed ink differently. We fixed it in sampling. If that had gone straight to production, the whole run would have been a very expensive lesson in regret. Proofs usually turn around in 2–4 business days, and the first physical sample often takes 8–12 business days depending on the factory in Guangzhou, Shenzhen, or Ningbo.
- Test durability, shelf presence, and the unboxing feel with real users. Not your office team. Real users. Put the box on a shelf. Ship it 500 miles. Open it after sitting in a humid room. Does the magnet hold? Does the insert rattle? Does the finish scratch? These checks tell you whether how to create luxury packaging experience is working in the real world. A box that passes a 1-meter drop test and still closes square is worth more than one that only looks beautiful on a desk.
- Finalize specifications, approve pre-production samples, and schedule production timing. Lock the board thickness, paper stock, print method, insert dimensions, and packaging dimensions. Then approve a pre-production sample. Don’t skip this because the calendar got pushy. Production mistakes on 8,000 units are not charming. Once the proof is approved, a typical lead time is 12–15 business days for simpler rigid boxes and 18–25 business days for complex sets with foil, magnets, or hand assembly.
I had a client in wellness who wanted premium, but also wanted to keep the assembly line simple. Smart move. We used a 1200gsm rigid setup, a soft-touch wrap, one foil logo, and a die-cut paper insert with a clean product nest. No foam. No weird pouch. No nonsense. The result felt elegant, and the assembly time stayed manageable. That’s how how to create luxury packaging experience should work: premium where it counts, practical where it matters. The factory in Dongguan quoted the build at $2.46 per unit for 5,000 pieces, which left enough room for freight and a decent margin.
There’s also the unboxing order to think about. A strong sequence might be: mailer opens, tissue reveals, card explains, product rests in a snug insert, accessory sits in a separate compartment. That order creates pacing. Pacing creates anticipation. Anticipation creates memory. And memory is what makes people talk about your brand later, usually in the exact words you want. A 3-step reveal can do more than a 9-step gimmick if the pacing is disciplined and the materials are chosen with care.
Process, Timeline, and Cost Pitfalls to Avoid
The process for how to create luxury packaging experience usually runs from concept to samples to production to delivery. In a clean project, concept and dieline setup may take 3–5 business days. Sampling can take 7–14 business days depending on the complexity. Production often takes 15–25 business days after pre-production approval. Freight is its own creature. It may be 5 days. It may be 35. Logistics enjoys being dramatic. If your boxes ship from Shenzhen to Los Angeles by sea, budget roughly 18–24 days port to port, then add local customs clearance and drayage.
Delays usually come from four places: material sourcing, proof approvals, dieline revisions, and freight. Material sourcing is common if you want specialty paper, a rare texture, or a specific FSC-certified wrap. Proof approvals drag when too many people want to weigh in on one shade of black. Dieline revisions happen when the insert doesn’t fit the actual product dimensions. Freight delays happen because containers, customs, and weather do not care about your launch date. I wish they did. A single missing magnet size from a supplier in Dongguan can stall assembly by 4–6 business days.
One of the most expensive errors I’ve seen was a luxury candle brand that approved a beautiful mockup but skipped transit testing. The box looked great on a studio table. During shipping, the glass jar shifted enough to scuff the inner tray. Not catastrophic. But enough to reduce perceived quality when customers opened it. We solved it by changing the insert geometry and adding a paper cradle that cost $0.14 more per unit. Cheap fix. High value. Classic how to create luxury packaging experience lesson. The redesign took 2 sample rounds in Guangzhou and saved an estimated $1,800 in potential replacements on the first 5,000 units.
Another trap: cheap finishes that look amazing on screen and weak in hand. A metallic laminate may photograph well, but if it scuffs in transit or fingerprints badly, the unboxing feel goes downhill fast. Same with overdone embossing on thin paper. It can collapse or distort the logo. Always ask for physical samples, not just digital proofs. Screens are famous for lying politely. A 0.15mm foil registration shift might not be visible in a PDF, but it absolutely shows up under retail lighting in Chicago or Dubai.
And please, for the love of clean margin, budget for the boring stuff. Inserts. Carton dividers. Backup paper stock. Color correction. Shipping cartons. Transit tests. A brand can spend $5.00 on the hero box and forget the $0.22 insert that actually holds the product. That is how you create a premium-looking box with a wobbly, disappointing interior. Not ideal. I’d rather see a client spend $0.15 more per unit on a better insert than save pennies and trigger return emails that cost $8.00 each to resolve.
Here’s a simple cost reality check for how to create luxury packaging experience without blowing the budget.
| Upgrade | Approx. Added Cost | Value Impact | Watch Out For |
|---|---|---|---|
| Soft-touch lamination | $0.18–$0.42/unit | Immediate tactile premium feel | Fingerprint visibility on dark colors |
| Foil stamping | $0.12–$0.55/unit | Strong brand highlight | Tooling fee and registration accuracy |
| Custom insert | $0.20–$1.40/unit | Product security and presentation | Complex shapes increase lead time |
| Magnetic closure | $0.35–$1.10/unit | Satisfying opening experience | Higher assembly and defect checks |
Those costs depend on quantity, tooling, and whether the factory is doing manual or semi-automatic assembly. A 2,000-unit run can carry a painful setup burden. A 10,000-unit run spreads that pain out. That’s why quote comparisons matter. If one supplier is $0.28 cheaper but the insert fit is sloppy, you didn’t save money. You just postponed the bill. I’ve watched teams celebrate that “savings” and then spend twice as much fixing returns. Lovely little trap. In one case, a supplier in Ningbo quoted $1.92 per unit, but the final corrected build with rework hit $2.31 per unit. So much for the bargain.
Expert Tips to Make Luxury Packaging Feel Premium on Any Budget
If you’re trying to master how to create luxury packaging experience on a tighter budget, don’t try to make everything premium. Make the right thing premium. That’s the trick. I’d rather see a brand invest in one crisp tactile feature than scatter ten weak upgrades across every surface. One strong signal beats ten half-baked ones. A $0.32 soft-touch finish on the hero box often does more work than a dozen tiny decorative flourishes.
My first recommendation is to use texture and contrast. A matte wrap against a glossy logo. A textured paper with a smooth insert card. A dark outer box with a lighter reveal inside. Contrast gives the eye and hand something to notice. That’s how you make a simple box feel more expensive without pushing the unit cost into silly territory. A warm gray uncoated board paired with a black foil stamp can look more refined than a full metallic surface at twice the cost.
Second, use restraint. I know, restraint is not the fun answer. People want the sparkle. But a crowded layout kills luxury faster than almost anything else. Leave breathing room. Give the logo space. Reduce copy. Let the material show through. This is one of the most overlooked parts of how to create luxury packaging experience. Empty space can feel expensive if it’s designed well. A 20mm margin on a rigid box can do more than another graphic panel.
Third, think about the reveal layers. Custom tissue, a printed note, and a neat insert can create a premium sequence even if the outer carton is simple. I’ve seen apparel brands use a very ordinary mailer and still feel upscale because the inside was organized like a gift. The customer judges the whole thing as one package, not one component at a time. That’s the part that keeps surprising people, even though it really shouldn’t. A tissue sheet at 80gsm and a note card at 350gsm can create a far richer sequence than a glossy overwrap alone.
Fourth, write better insert copy. A short line that explains product care, sourcing, or brand values can lift the entire experience. Not a paragraph. Not a manifesto. Two or three well-written lines. People keep these cards. They photograph them. They remember them. That is quiet brand-building. If your card says “assembled in Guangzhou, China with FSC-certified board,” that detail can feel more credible than a page of adjectives.
Fifth, work with a packaging supplier who can help you trim waste and standardize specs. Good suppliers will tell you when a 3mm insert wall is overkill, or when a coated paper will fight your soft-touch finish. I’ve had factory managers in Guangzhou save a client $1,200 on tooling just by recommending a simpler magnet layout. That’s not magic. That’s experience. And yes, that’s part of how to create luxury packaging experience without wasting money. A factory in Foshan or Dongguan that offers structural sampling before mass production is usually worth the extra call.
For brands that want a straightforward starting point, browse Custom Packaging Products and compare rigid box options, insert styles, and branded packaging formats against your margin target. You don’t need a giant budget to look intentional. You do need a spec that makes sense. A well-priced build at $0.85 per unit can still feel premium if the closure, board, and finish are chosen with care.
“A premium box that dents in transit is just a sad expensive box.”
That line came from a buyer I worked with for a high-end candle line, and he was right. If the packaging doesn’t arrive looking like the sample, the customer experience breaks. So even on a moderate budget, I always protect the structure first, then the finish, then the storytelling. In that order. A transit-safe carton with a 1.5mm buffer around the product will usually outperform a prettier box with zero protection.
Final Checks Before Launching Your Luxury Packaging Experience
Before you launch, run through the final checks for how to create luxury packaging experience like you actually care about the outcome. First, inspect the structure. Does the lid align? Does the closure feel solid? Does the box survive a drop test from waist height? Second, inspect the print quality. Are the logo edges clean? Is the color consistent across batches? Third, inspect the inserts. Do they hold the product snugly without crushing it? A 0.5mm mismatch in insert depth can change the entire feel when the customer lifts the lid.
Then check shipping safety. I want to know whether the packaging survives compression, vibration, and handling. If the product is fragile, test it. ISTA protocols exist for a reason, and there’s no prize for skipping them and learning the hard way. If you’re making sustainability claims, verify your paper sources and recyclability language. FSC and EPA guidance are helpful guardrails, not optional decorations. A package should pass a 15kg top-load test if it’s likely to be stacked in warehouse pallets in New Jersey or Rotterdam.
Now look at the business side. Does the packaging support your margin? If your product sells for $48 and the box adds $7.10 landed, you better know whether that cost improves conversion, repeat purchase, or giftability enough to justify itself. How to create luxury packaging experience is not only a design question. It is a margin question, too. Pretty packaging that eats all your profit is just expensive procrastination. Even at 5,000 units, a 6% packaging-cost swing can erase the gains from a carefully planned promotion.
My last production anecdote: a client once wanted to approve packaging after only seeing rendered images. I pushed back. We ordered a sample. Good thing, because the paper texture made the dark logo disappear in low light. The render looked flawless. The physical sample did not. We changed the contrast and saved the launch. Samples are not bureaucracy. They are insurance. In that case, the sample cost $85 plus courier, which was a bargain compared with reprinting 12,000 cartons.
Before you go to press, order samples, ship them, open them, compare costs, and refine the spec sheet. Share the final version with the factory, the freight forwarder, and your internal team. Keep everyone on the same page. That’s how to avoid ugly surprises and get a premium result that feels intentional from first touch to final reveal. If you’re serious about how to create luxury packaging experience, treat the packaging like part of the product, because customers certainly do. A box from Shanghai may arrive differently than one from Shenzhen, but the spec sheet should eliminate guesswork either way.
How to create luxury packaging experience is really about discipline: better materials, smarter structure, cleaner design, and a reveal that makes the customer feel something specific. Do that well, and the packaging doesn’t just hold the product. It sells the brand. The strongest projects I’ve seen were never the loudest; they were the ones with a 157gsm wrap, a 2.0mm board, a crisp magnet closure, and a launch plan that respected lead times from proof approval to final delivery.
FAQ
How do you create luxury packaging experience without overspending?
Focus on one premium signal such as a rigid structure, soft-touch finish, or custom insert instead of adding every upgrade. Keep the branding simple and high-contrast so the package branding feels intentional, not busy. Order sample variations and compare perceived value before you commit to full production. A $0.24 insert upgrade in Dongguan can often change perception more than a $1.00 decorative add-on.
What materials make packaging feel more luxurious?
Rigid board, textured paper, soft-touch lamination, specialty papers, and high-quality inserts usually feel more premium. Foil, embossing, and spot UV can lift perceived value when used sparingly. Cheap-feeling corrugate or flimsy folding cartons can undermine the whole experience fast. A 2.0mm grayboard rigid box wrapped in 157gsm art paper is a common premium starting point for brands manufacturing in Guangdong.
How much does a luxury packaging experience usually cost?
Cost depends on box type, print method, finish, and quantity, but luxury packaging often starts higher because rigid materials and custom tooling cost more. Small runs cost more per unit than larger runs, especially if you need foil, magnets, or molded inserts. Ask for itemized quotes so you can see how much each upgrade changes the total. For example, a rigid box with a custom insert might run $2.40 per unit at 3,000 pieces, but drop to $1.85 at 10,000 pieces.
How long does it take to produce luxury packaging?
A realistic timeline usually includes concept, dieline, sample rounds, approval, production, and shipping. Simple projects move faster; Custom Rigid Boxes with special finishes take longer because each step needs approval. Build extra time for revisions, color matching, and freight delays. In many factories around Shenzhen or Dongguan, production is typically 12–15 business days from proof approval for standard rigid boxes, and 18–25 business days for more complex builds.
What is the biggest mistake brands make when learning how to create luxury packaging experience?
They chase expensive-looking effects instead of designing a cohesive customer journey. They ignore shipping durability, so the box looks great in photos and arrives dented in real life. They skip prototyping, which is a hilarious way to learn a very expensive lesson. The fix is simple: specify the board, print, insert, and finish in writing, then test the sample before mass production in Guangzhou, Shenzhen, or wherever the final line is running.