Motorbike Stickers Custom: Order Durable Bike Decals
Motorbike Stickers Custom: What They Are and Why They Fail
Most motorcycle stickers do not fail because the artwork is ugly. They fail because the buyer ordered motorBike Stickers Custom with the wrong vinyl, weak adhesive, no laminate, or no surface-prep plan. Pretty graphics cannot rescue cheap material. Annoying, but true.
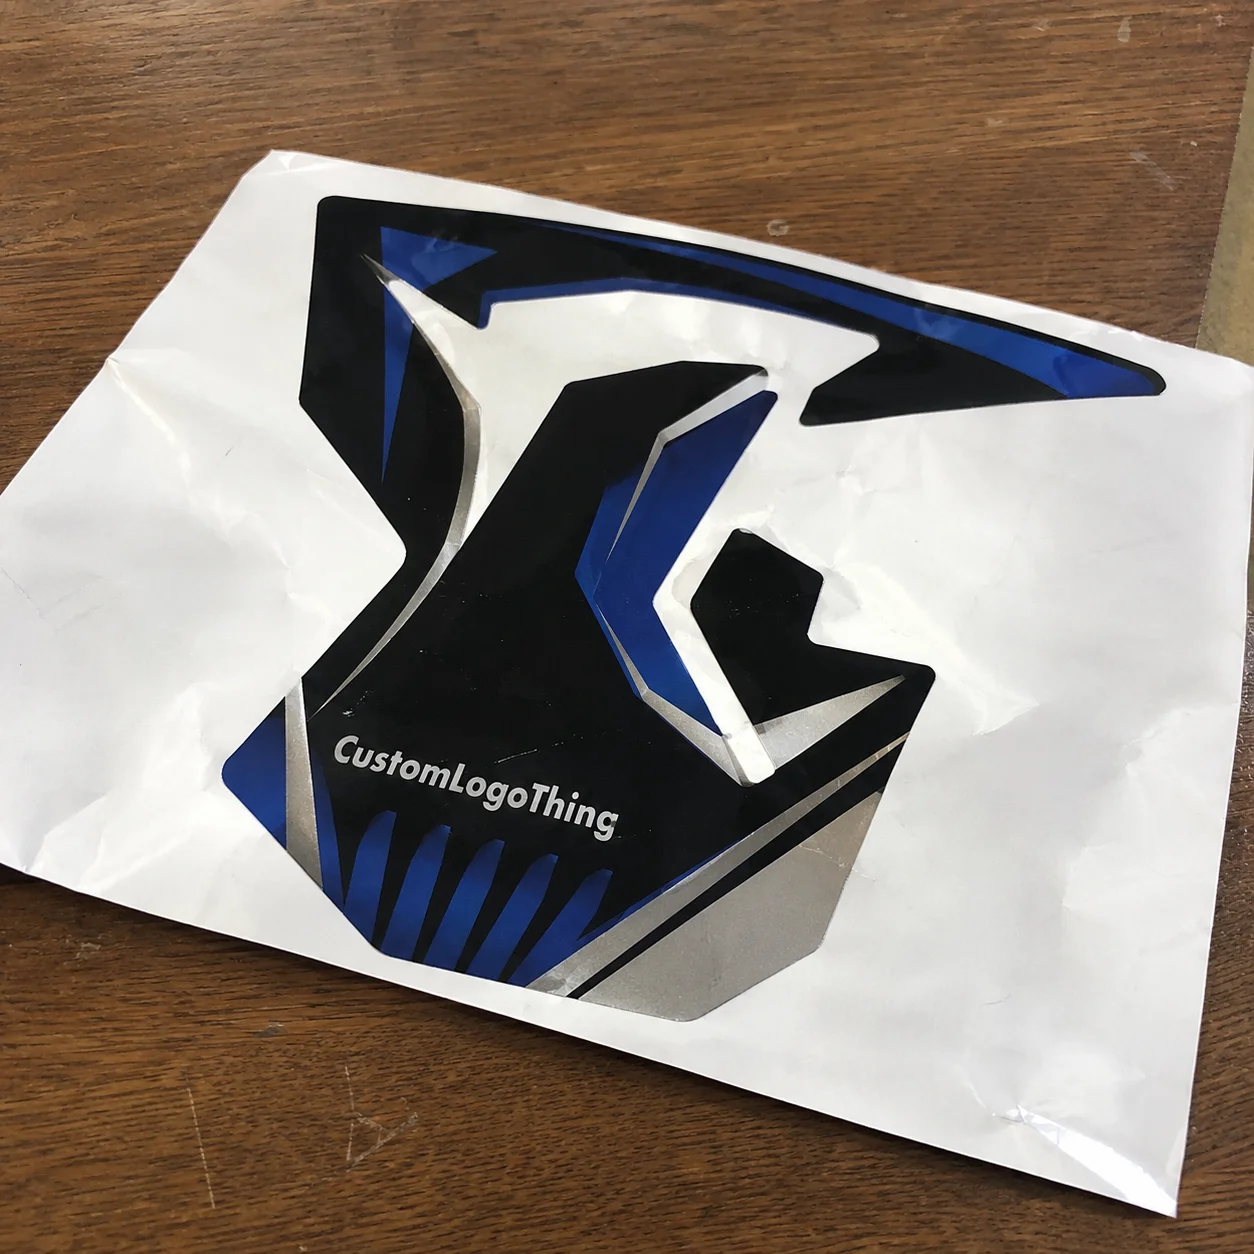
Custom motorbike stickers are made-to-order decals for motorcycles, scooters, dirt bikes, helmets, panniers, fairings, tanks, race plates, dealer promotions, club branding, and sponsor visibility. Some are decorative. Others work as safety labels, service reminders, fleet identifiers, racing numbers, reflective warning decals, or full graphics kits. Same broad category. Very different technical requirements.
A laptop sticker gets a quiet life. A motorcycle decal gets UV exposure, rain, road grime, fuel splash, heat from nearby components, vibration, pressure washing, curved plastics, textured cases, and constant rubbing from knees, boots, gloves, riding pants, tank bags, and luggage straps. That little sticker is doing more work than half the people in the meeting approving it.
For buyers, custom bike decals are not just “print my logo on something sticky.” They are a material choice, adhesive choice, finish choice, cutting choice, packing choice, and installation plan wrapped around a design file. Get one of those wrong and the decal may curl, fade, crack, bubble, shrink, or look exhausted after a few rides.
The point is not to buy the most expensive decal every time. It is to match the decal to the machine, the surface, and the riding environment. A temporary event sticker does not need the same build as an off-road race plate graphic. A helmet decal has different risk than a pannier label. A fuel-tank graphic has different exposure than a dealer service reminder inside a workshop.
How Custom Motorcycle Decal Production Works
A solid custom decal order starts with artwork review. The printer checks file type, resolution, cut line, colors, final size, bleeds, safe areas, and whether the design can be produced without turning a sharp logo into a fuzzy blob. Then comes material selection, color setup, proofing, printing, lamination, cutting, weeding when needed, quality control, packing, and shipping.
Digital printing is the usual choice for full-color artwork, gradients, small batches, sticker packs, sponsor sheets, and mixed designs. It handles detailed graphics well, especially when logos, numbers, and brand elements share one sheet. Screen printing can make sense for larger runs with spot colors, high opacity, and repeat orders. Cut vinyl works best for simple single-color lettering, numbers, silhouettes, or club names where no printed image is required.
Finishing is not decorative fluff. Gloss laminate gives shine and makes dirt easier to wipe away. Matte laminate creates a quieter factory-style look. Textured or anti-scratch laminate suits dirt bikes, race plastics, and high-contact areas. Clear overlaminate protects printed ink from sunlight, fuel splash, abrasion, and cleaning chemicals. Skip it to save pennies if early reordering sounds fun.
Cut style changes both appearance and handling. Kiss-cut sheets are easy to peel and useful for teams, events, service departments, and multi-design layouts. Die-cut singles look cleaner for retail packaging, giveaways, and dealer counters. Transfer tape keeps separate cut elements aligned, especially lettering and multi-part logos. Contour-cut decals follow the edge of fairings, side panels, race plates, or curved graphic shapes.
A digital proof should confirm size, shape, cut line, color expectations, quantity, laminate, and any clear or white ink areas before production starts. It is not a mood board. It is the production agreement. For tanks, helmets, side panels, and compound curves, templates or test fitting may be needed because flat artwork does not magically behave on a curved surface.
Production rule: if the sticker must fit a real motorcycle part, measure the real motorcycle part. Guessing from a product photo is how expensive confetti gets made.
Material, Adhesive, and Finish Choices That Actually Matter
Vinyl grade is the first major decision. Economy vinyl is fine for temporary promo stickers, indoor use, short event handouts, or low-risk brand giveaways. Intermediate vinyl works for general outdoor use and many street bike decals. Cast vinyl is the better choice for curves, longer outdoor exposure, and panels that need conformability. Thick motocross-style vinyl is used for dirt bikes and race plastics where abrasion, mud, boot rub, and frequent washing are normal.
Adhesive is the second decision, and “stronger” is not automatically smarter. Permanent adhesive suits long-term use on compatible surfaces. Removable adhesive is useful for short campaigns, demo bikes, seasonal sponsor decals, or promotional wraps that must come off cleanly. High-tack adhesive helps on low-energy plastics, including some dirt bike panels, which can reject standard adhesive like a bad sales pitch. Air-release adhesive makes installation easier by reducing trapped bubbles, especially on larger decals.
Surface compatibility is where many orders go sideways. Painted metal tanks, powder-coated parts, ABS plastic, polypropylene plastics, helmets, aluminum panniers, luggage cases, windshields, and textured panels all behave differently. A sticker that bonds beautifully to a painted tank may struggle on a waxy plastic side panel. A decal that looks crisp on a pannier may be wrong for a helmet shell. For helmets, check the helmet manufacturer’s guidance; adhesives and cleaning solvents can affect certain materials, coatings, or finishes.
Finish should follow use. Gloss is common for street bikes, dealer branding, club logos, and polished promotional work. Matte looks restrained and more factory. Heavy-duty laminate helps off-road decals survive boot scuffs, brush contact, mud, and aggressive cleaning. UV-resistant overlaminate helps motorcycles stored outdoors keep printed colors from fading too quickly.
Color choices are not only aesthetic. Reflective vinyl can improve night visibility for safety markings, panniers, delivery bikes, and fleet identifiers. Fluorescent colors help race numbers and event stickers stand out, though they often fade faster than standard pigments. Clear materials may need white ink underlays so the color does not disappear on dark paint. High-contrast sponsor decals are easier to read at speed, which is the whole point of sponsorship unless the goal is making logos visible only to parked squirrels.
The tradeoff is real: tougher construction costs more and may feel thicker at the edge. Cast vinyl handles curves better but raises the price. Reflective stock improves visibility but increases unit cost. A textured laminate resists scuffing, yet it can slightly soften fine printed detail. That is not a flaw. That is physics with an invoice attached.
| Option | Best Use | Typical Durability Focus | Budget Impact |
|---|---|---|---|
| Economy vinyl | Temporary promos, event giveaways | Short-term branding, light handling | Lowest cost |
| Intermediate vinyl with laminate | Street bike decals, club logos, dealer stickers | Outdoor UV, rain, normal washing | Moderate cost |
| Cast vinyl with UV laminate | Curved panels, tanks, premium graphics | Conformability and longer outdoor use | Higher cost |
| Thick motocross vinyl | Dirt bikes, race plates, side panels | Abrasion, mud, boot rub, pressure cleaning | Highest cost |
| Reflective vinyl | Safety decals, panniers, fleet markings | Night visibility and outdoor use | Higher cost |
Cost, Pricing, and MOQ for Custom Bike Stickers
Pricing for motorBike Stickers Custom orders depends on size, quantity, vinyl grade, laminate, number of designs, print method, cut complexity, proofing, packaging, and shipping speed. A 2-inch helmet decal on intermediate vinyl is not priced like a 14-inch laminated side-panel graphic with a complex contour cut. Same category. Different beast.
As planning guidance, small simple vinyl decals may land around $0.20-$1.50 each in bulk, depending on size and quantity. Laminated mid-size decals often run $1-$5 each. Specialty reflective decals, thick motocross graphics, oversized pieces, or complex die-cut decals can run $3-$15+ each. Small runs sit higher because setup, proofing, material waste, and cutting time do not disappear just because the order is tiny.
MOQ depends on the production method. Some digital sticker orders can start around 50-100 pieces. Better unit pricing usually appears at 250, 500, 1,000, and higher. Screen printing, special laminates, custom templates, retail sticker packs, and unusual vinyl stocks may require larger minimums because setup is not free, despite what bargain hunters keep hoping.
Setup costs are normal when artwork is not production-ready. Artwork cleanup, vector tracing, dieline creation, color matching, custom shapes, sample runs, and white ink setup may all add fees. If the file is a tiny screenshot pulled from a social profile, expect either a cleanup charge or a printer quietly crying into the proofing queue.
Buyers can reduce unit cost without wrecking quality. Gang multiple designs on one kiss-cut sheet. Standardize sizes. Avoid tiny fragile cut details. Order a higher quantity if repeat use is likely. Approve proofs quickly. Choose material based on the actual surface and riding conditions, not ego. A premium cast vinyl decal on a one-day indoor display is overkill. Economy vinyl on an exposed tank is false savings.
Quote comparison requires matching specifications. A cheap unlaminated sticker and a laminated outdoor motorcycle decal are not the same product just because both are sticky. Ask for vinyl type, laminate type, adhesive recommendation, cut style, size, quantity, and packing method. If the decal is being sold as retail merch, pair it with suitable Custom Labels & Tags or backing cards so the presentation does not look like it came from someone’s glovebox.
Process, Timeline, and Lead Time from Artwork to Delivery
A realistic standard timeline looks like this: artwork review usually takes 1 business day, proofing takes 1-2 business days depending on revisions, production often takes 5-10 business days, and shipping adds another 2-7 business days based on location and service level. Larger orders, samples, specialty materials, and complex cuts can add time.
Clean vector artwork speeds everything up. Confirmed sizes help. Simple shapes help. In-stock material helps. Fast proof approval helps. Missing files, blurry logos, unclear dimensions, color matching, custom templates, and committee feedback slow the order down. Obviously.
Digital proofs are standard and enough for many orders. Printed samples or pre-production samples may be worth paying for when the run is large, the decals go into retail packaging, the graphics must match sponsor colors, or the sticker must fit a specific tank, fairing, helmet, or side panel. For retail launches, a physical sample can also confirm how the decal looks with backing cards, hang holes, barcode labels, and other product packaging details.
Production time and delivery time are not the same thing. Production starts after proof approval, not when someone sends a vague email saying “make it look cool.” If the order needs to arrive before a race weekend, bike launch, dealer event, retail drop, or club ride, build the timeline backward and include a buffer. Panic is not a production strategy.
Rush production may be possible, but not every material or finish can be rushed. Some reflective stocks, thick laminates, specialty adhesives, and sample approvals need extra time. Faster schedules can also cost more and leave less room for revisions. That may be acceptable for a simple reorder. It is risky for a first-time graphics kit with unknown fit.
For larger branded programs, think beyond the sticker itself. If decals ship to dealers, teams, or retail buyers, packaging and sorting matter. Labeled bundles, count-by-size packing, sticker sheets, header cards, and coordinated branded packaging can save hours on the receiving end. For shipments that need durability standards, organizations such as ISTA publish testing protocols used across transport packaging. If backing cards or cartons are part of the project, FSC-certified paperboard may also matter for sustainability claims.
Step-by-Step Guide to Ordering the Right Decals
- Identify the exact use case. Is the order for street bike branding, a club logo, helmet decals, dirt bike graphics, sponsor stickers, warning labels, race numbers, retail merch, or event giveaways? One sentence can save three rounds of quoting.
- Measure the application area. Use a flexible tape and photograph the surface straight-on. For curved panels, add notes about bends, vents, ridges, screw holes, seams, fuel caps, and raised texture. A 3-inch decal may fit flat but fail visually on a curved tank.
- Choose material by exposure. Outdoor bikes need UV and water resistance. Off-road bikes need abrasion resistance. Helmets need careful adhesive and surface compatibility. Dealer window stickers do not need the same build as race plate graphics.
- Prepare artwork correctly. Vector files such as AI, EPS, or PDF are best for logos, text, and cut lines. High-resolution PNG, PSD, or TIFF files may work for full-color graphics if the resolution is strong at final size, usually around 300 dpi for close-view print.
- Decide how decals should be supplied. Choose individual die-cut decals, kiss-cut sheets, rolls, retail packs, labeled bundles, or team kits. A race team may need sorted rider packs. A shop may need counter-ready retail packaging. A dealer may need rolls for service bays.
- Review the proof carefully. Check dimensions, spelling, colors, cut line, quantity, finish, orientation, and whether the decal is meant for inside or outside application. Mirror-print window decals and standard exterior decals are not interchangeable.
- Approve only after the proof matches the intended use. The press prints what is approved, not what someone imagined. If the decal must fit a panel, do not approve until the size and shape make sense.
For businesses ordering motorcycle decals as part of a broader campaign, connect the sticker order with the rest of the brand system. Matching decals with hang tags, mailer inserts, custom printed boxes, or other Custom Packaging Products creates a tighter customer experience. Package branding is not just for cosmetics and candles. Motorcycle parts, repair kits, dealer promotions, and club merch all benefit from consistent retail presentation.
Keep the order brief but complete. Send the final size, quantity, surface type, exposure level, preferred finish, deadline, artwork files, and any color references such as Pantone targets or existing product samples. If there are multiple designs, provide a clear list with quantities for each. “Same as last time but bigger” is not a specification. It is a trap wearing casual shoes.
Common Mistakes to Avoid Before You Order
The most common mistakes are boring because they happen constantly: choosing indoor sticker stock, skipping laminate, guessing sizes, using low-resolution artwork, ignoring surface texture, applying over wax or oil, and expecting one adhesive to work on every motorcycle surface. Motorcycles punish shortcuts. Slowly at first, then all at once with peeling edges.
Application mistakes cause plenty of failures too. People install decals in cold weather, stretch standard vinyl over aggressive curves, touch the adhesive too much, trap water under the decal, or pressure wash the edges too soon after installation. Many pressure-sensitive adhesives need time to build bond strength. Give them at least 24-72 hours before hard washing when possible, and avoid blasting the decal edge directly.
Surface prep should be simple and boring. Clean with mild soap and water. Remove wax, grease, silicone dressing, and fuel residue. Dry the surface thoroughly. Use isopropyl alcohol only where the surface manufacturer allows it. Test a small area on unusual plastics, powder coat, matte paint, wrapped surfaces, or helmet finishes. Apply at a moderate temperature, often around 60-80°F, unless the material supplier gives a different range.
Ask for help if the job involves complex fairing graphics, tank wraps, motocross plastics, reflective safety decals, low-energy plastic, or a large retail run. A proper quote should include material recommendation, adhesive type, laminate, cut style, proofing steps, packing method, and lead time. If the supplier cannot explain those basics, that is not charming minimalism. That is a warning label.
- Confirm size: final width and height for each design, not a rough guess.
- Confirm quantity: total pieces, sheets, packs, or kits.
- Confirm artwork: vector files where possible, plus color references.
- Confirm surface: painted metal, ABS, polypropylene, helmet, pannier, windshield, or textured plastic.
- Confirm finish: gloss, matte, textured, UV laminate, reflective, or specialty stock.
- Confirm logistics: cut style, packaging needs, deadline, shipping address, and whether a sample is required.
Before ordering motorbike stickers custom, send the artwork, intended surface, size range, quantity, finish preference, and deadline. The result is a quote based on the decal you actually need, not a guess that turns into peeling edges, missed deadlines, or a box full of expensive disappointment.
FAQs
What material is best for custom motorbike stickers?
For most outdoor motorcycle use, choose durable vinyl with a UV-resistant laminate. For curved panels or long-term use, cast vinyl usually performs better than economy vinyl because it conforms better and resists shrinkage. For dirt bikes or heavy abrasion areas, ask for thicker motocross-style vinyl with a tough laminate. For temporary promos or event giveaways, intermediate vinyl may be enough and costs less.
How much do motorbike stickers custom orders usually cost?
Small bulk decals may cost around $0.20-$1.50 each depending on quantity and specs. Laminated mid-size decals commonly land around $1-$5 each. Reflective, thick, oversized, or complex die-cut motorcycle decals can cost $3-$15+ each. The final quote depends on size, quantity, material, laminate, cut shape, artwork setup, packing, and shipping.
How long does it take to produce custom motorcycle decals?
A standard order often takes about 5-10 business days after proof approval. Artwork review and proofing usually add 1-3 business days before production starts. Shipping time depends on destination and service level. Rush production may be available, but specialty materials, samples, and complex cuts can extend lead time.
Can custom bike stickers survive rain, sun, and pressure washing?
Yes, if they use outdoor-rated vinyl, compatible adhesive, and a protective laminate. UV laminate helps protect printed colors from fading in sunlight. Pressure washing should be kept away from the edges, especially right after installation. Cheap unlaminated stickers may peel, fade, or crack much faster on motorcycles.
What artwork file should I send for custom motorbike decals?
Vector files such as AI, EPS, or PDF are best for logos, text, and cut shapes. High-resolution PNG, PSD, or TIFF files may work for full-color artwork if they are sized correctly. Include the final size, desired cut line, finish preference, and any color references. Avoid tiny screenshots or copied web images unless you are prepared to pay for artwork cleanup.


