A 12-inch decal on a lobby wall often disappears into the room. A 96-inch graphic changes the room itself. That jump in scale is why buyers run into different problems with Custom Large Stickers for walls than they do with small labels, window decals, or laptop graphics. Once the piece becomes part of the interior surface, issues like wall texture, paint cure, glare, panel seams, and installation technique stop being minor details.
The expensive failures are usually predictable. Artwork that looked fine on a screen turns soft at full size. A low-tack film chosen for easy removal cannot hold on light orange-peel paint. A glossy finish picks up every overhead fixture and makes the message harder to read. A single oversized panel saves one seam on paper, then arrives awkward to handle and creased at the edges. Large-format wall graphics reward careful specification early, because mistakes stay visible every day they are on the wall.
This guide looks at Custom Large Stickers for walls from a production buyer’s angle: materials, print limits, install realities, price ranges, and the quality checks that reduce reprint risk. If you already think in terms of substrates, coatings, and fit-for-use, wall graphics follow the same logic. The difference is that the final product has to perform on painted drywall, under room lighting, at architectural scale.
What makes custom large stickers for walls different from standard decals?
Standard decals are usually small-format pieces intended for smooth, stable surfaces such as glass, metal, packaging, or plastic equipment housings. Custom large stickers for walls work in a less forgiving environment. They may span a reception wall, cover a classroom reading area, frame a trade showroom, or build a photo backdrop inside a retail space. At that size, minor production flaws become easy to spot from across the room.
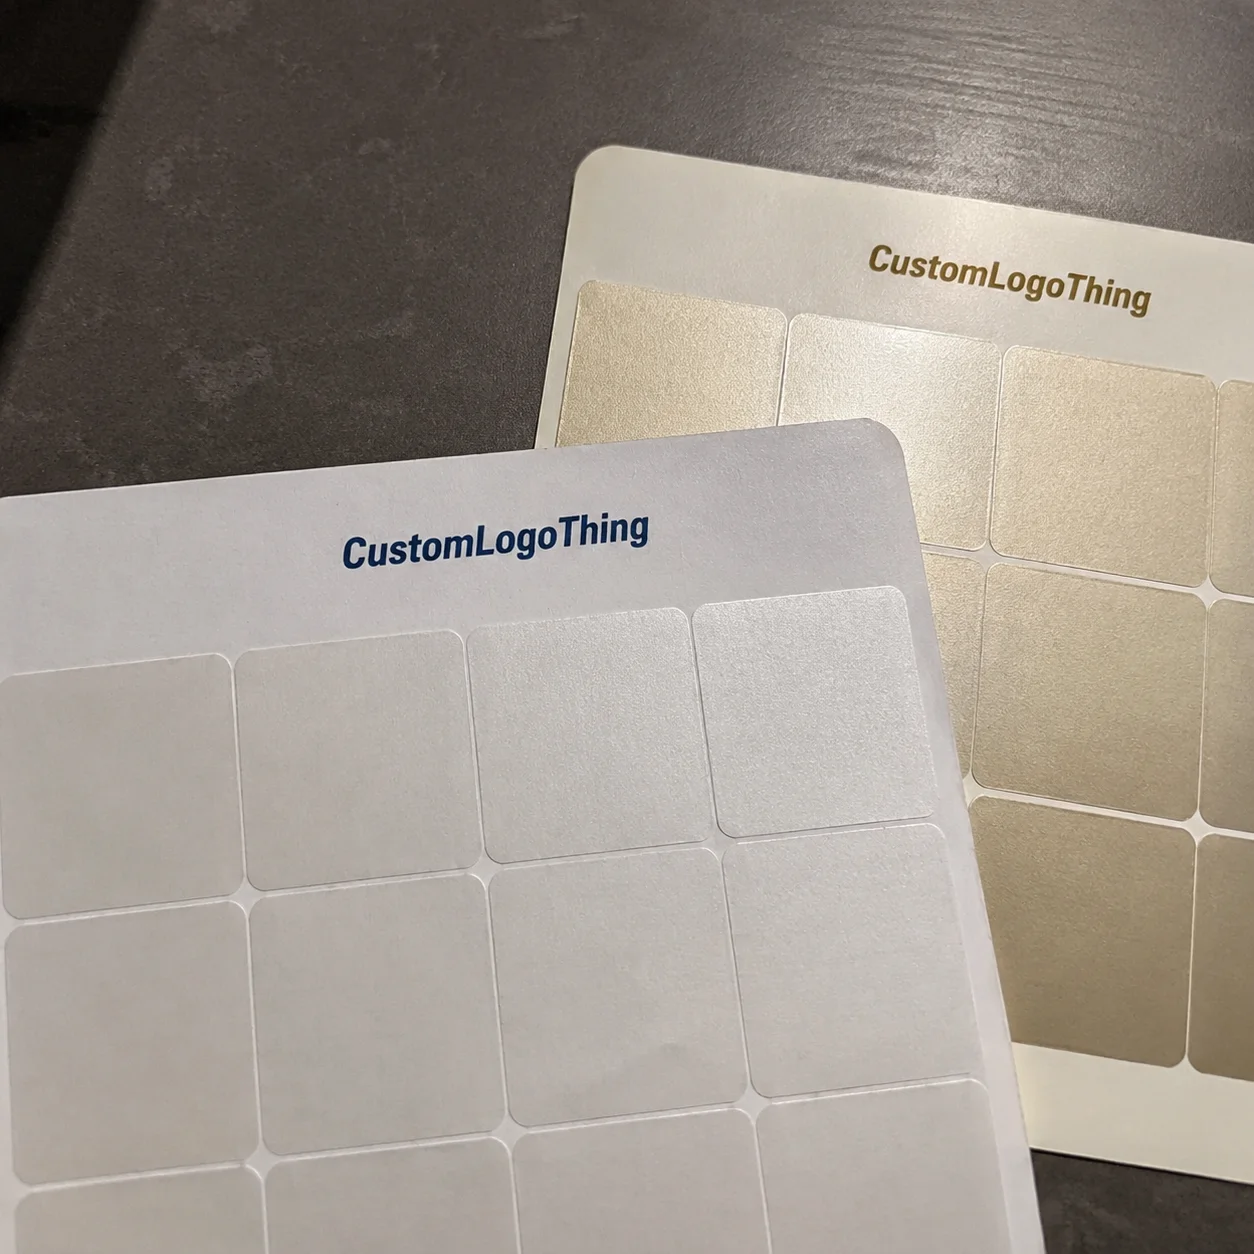
File quality is often the first surprise. A logo exported from presentation software may look sharp on a laptop and still print poorly at 6 or 8 feet wide. Thin strokes break down, gradients show banding, and photographic files reveal their compression. Walls also add variables that smaller decals rarely face. Paint sheen changes adhesion. Surface texture affects edge hold. Room temperature changes how the film handles during install.
Custom large stickers for walls generally fall into a few related categories:
- Wall stickers: a broad term for adhesive wall graphics, often removable or repositionable.
- Wall decals: cut-to-shape graphics such as logos, lettering, icons, or decorative elements.
- Wall murals: multi-panel graphics that cover a wide section of wall.
- Removable wall graphics: products chosen mainly for cleaner removal after temporary use.
The category matters because the production priorities shift. A logo behind a reception desk needs clean contour cutting, steady color, and tight alignment. A school hallway mural benefits from low glare and a material that handles casual contact without showing every scuff. An event backdrop may prioritize quick turnaround and easier peel-off over long-term hold.
Buyers usually get better quotes when they answer practical questions before requesting one. Is the wall smooth, lightly textured, or patched in places? Was it painted recently, and if so, how recently? Is the graphic supposed to stay up for a weekend, a quarter, or several years? Will staff install it, or is the wall too visible to risk a self-install? Those answers often determine the material more than the artwork does.
How wall graphics work: materials, adhesive, print scale, and removal
A wall graphic is a layered product. The printed face stock carries the image. The adhesive controls tack, removability, and long-term hold. The liner protects that adhesive before application. Some constructions also use an overlaminate to improve scratch resistance or shift the sheen from gloss to matte. That build matters because the graphic has to print well, install cleanly, and release with acceptable risk later on.
Most custom large stickers for walls are produced on one of three material families:
- Calendered vinyl: usually an economical 3 to 4 mil option for smooth interior walls and shorter to mid-term use.
- Fabric-based media: woven polyester materials that are often easier to reposition and tend to read less shiny under office lighting.
- Textured-wall films: thicker specialty products built to conform better to light wall texture and reduce edge lift.
Adhesive choice has more to do with success than most first-time buyers expect. Removable adhesive is intended for eventual peel-off. Repositionable adhesive gives the installer a little time to lift and reset a panel during application. Permanent adhesive forms a stronger bond, which can be useful in some long-term settings but is often too aggressive for painted drywall. Low-tack options are gentler on delicate paint, though they can struggle if the wall is dusty, textured, or exposed to steady airflow.
Paint condition is another hidden variable. Flat and matte paints can be chalkier at the surface, which makes reliable adhesion harder. Satin and semi-gloss finishes usually provide a more consistent base. Fresh paint deserves extra caution regardless of sheen. Many wall-graphic manufacturers recommend a cure period of roughly two to four weeks before application, sometimes longer if humidity is high or the paint system is slow to harden. Installing too early can lead to lifting, tunneling at the edges, or paint damage during removal.
Print scale follows its own rules. Vector artwork is best for logos, line art, and typography because it scales without losing edge definition. Raster images need enough effective resolution at final size. For many large wall graphics, 100 to 150 dpi at full scale is workable when the viewing distance is several feet; close-read graphics, faces, and fine detail often benefit from more. Murals also need bleed and panel planning. One giant sheet is rarely practical to ship or install, so production usually breaks the image into numbered sections.
Removal claims should be read with a little discipline. A film sold as removable may release cleanly from a stable, cured, well-painted wall, then behave very differently on low-quality paint or a surface exposed to heat and cleaning chemicals. Dwell time matters too. A graphic removed after three weeks is not facing the same conditions as one peeled after three years. Buyers should treat “removable” as a performance range, not a guarantee detached from the wall itself.
Key factors that determine fit, finish, and durability
Fit starts with the wall, not the file. Measure width and height in more than one location because commercial walls are rarely perfectly square. A difference of a quarter inch to half an inch from one side to the other is common, especially in older interiors. That matters once a mural runs into ceiling lines, trim, or cabinetry.
Room conditions shape the visual result too. Outlets, wall plates, thermostat boxes, sconces, monitor mounts, and furniture can make a design that looked balanced on a proof feel crowded in the space. A wall graphic can be dimensionally correct and still feel undersized, too high, or visually trapped between fixtures.
Finish is a practical choice, not only a stylistic one. Gloss can make color appear richer, but it also reflects overhead lighting and window glare. That can wash out type or create bright hotspots across photos. Matte is usually the safest finish for offices, schools, healthcare waiting areas, and wayfinding because readability holds up better under mixed lighting. Satin sits between the two and can work well where buyers want a little more color pop without the stronger reflection of gloss.
Color accuracy deserves realistic expectations. White-backed wall media tends to print more predictably than materials that allow some wall color to influence the image. If the painted surface underneath is warm beige, cool gray, or heavily saturated, slight color shift can happen depending on opacity and film construction. Brand-sensitive applications should use Pantone references where possible, but digital large-format print still carries tolerances. A hard-copy proof panel is the safer checkpoint when color matters.
Durability depends on environment more than on the word “premium” in a product description. Direct sun raises surface temperature and can stress the edges. HVAC airflow aimed across a seam can encourage lifting over time. Humidity, repeated wall cleaning, and high-touch traffic zones all shorten the life of wall graphics. A quiet conference room and a busy school corridor are not the same application, even if the walls are painted the same color.
Readability belongs in the same conversation. A short directional message read from 20 feet needs stronger contrast and simpler type than a decorative statement wall intended for close viewing. Buyers sometimes focus so heavily on artwork approval that they miss the obvious on install day: the script font is too thin, the finish is too reflective, or the scale feels wrong for the viewing distance.
Practical checkpoint: if the wall is textured, newly painted, color-critical, or expensive to repair, ask for a sample kit or a small proof panel first. A modest test cost often prevents a full reprint and a second installation charge.
Custom wall sticker process and timeline: from quote to installation
The production path for custom large stickers for walls is usually straightforward, but missing details slow it down fast. Most jobs move through measurement, artwork review, material selection, proofing, printing, finishing, shipping, and installation. Delays usually happen at the front end, where a supplier is still trying to pin down wall condition, exact dimensions, or file quality.
For a reliable quote, suppliers generally need:
- Finished width and height
- Number of walls or locations
- Wall surface description and paint condition
- Expected indoor lifespan
- Shipping ZIP code or delivery method
- Required in-hands or install date
Prepress is where experienced vendors quietly save buyers from preventable mistakes. They should be checking file type, resolution, bleed, panel breaks, seam placement, cut paths, and any notes about brand color. Vector logos in AI, EPS, or press-ready PDF format are still the cleanest option. Screenshots and low-resolution slide exports are among the most common reasons a job needs to be rebuilt or delayed.
Lead times vary by complexity. A simple reorder on a known material may print and ship in three to five business days. A new wall mural with proof revisions, contour cutting, and custom paneling more often lands in the seven- to twelve-business-day range after proof approval. Specialty media, freight scheduling, and installer coordination can push the total closer to two weeks. Rush production is common, but rush production also narrows the room for proof corrections and usually adds 15% to 30% to the job cost.
Installation planning matters nearly as much as production. A small decal may be manageable for one person. A panel that is 54 inches wide by 8 feet tall usually installs better with two people, a felt-edge squeegee, low-tack masking tape, a level, and enough space to control the drop. Most suppliers prefer room temperatures around 60°F to 80°F during install. Cold media gets stiff; overly warm surfaces can change tack and make repositioning harder.
Professional installation becomes a smart line item once the wall graphic is large, brand-critical, installed high above reach, or expected to photograph well in public-facing space. Self-install is often treated as the cost-saving choice, but one stretched panel, one skewed seam, or one crease across a face can wipe out the savings in a single replacement. That is especially true for multi-panel murals where one damaged section may require color-matched reprints from the same production run.
Build in a little schedule margin for openings, resets, and events. Proof approvals, shipping delays, and installer calendars do not always line up neatly. The projects that go smoothly tend to share the same trait: the wall is measured carefully, the material is chosen for the actual surface, and the artwork arrives production-ready the first time.
Cost and pricing breakdown for custom large stickers for walls
Square footage drives the budget, but it does not explain the whole number. Material type, print method, laminate, contour cutting, panel layout, packing, freight class, and installation all affect the final total. For one-off projects, setup and handling can be a meaningful part of the cost because the supplier still has to proof, trim, label panels, and pack the order carefully even if the run quantity is one.
Typical pricing for custom large stickers for walls often falls into ranges like these:
| Option | Typical Use | Approx. Print Rate | Common Tradeoff |
|---|---|---|---|
| Smooth-wall calendered vinyl | Short to mid-term office or retail walls | $8-$14 per sq. ft. | Lower cost, less forgiving on texture |
| Repositionable fabric media | Classrooms, lobbies, rental-friendly décor | $10-$16 per sq. ft. | Easier handling, slightly higher material cost |
| Textured-wall specialty film | Lightly textured painted walls | $14-$22 per sq. ft. | Better adhesion, higher project spend |
| Installed wall mural package | Brand-critical multi-panel applications | $18-$35+ per sq. ft. | Higher total cost, lower installation risk |
Those ranges are useful for budgeting, not for treating every supplier quote as directly comparable. Some prices include lamination, panel numbering, and basic file review. Others do not. One vendor may quote print only, while another includes site survey, install, and one replacement panel if damaged in transit. The line items matter.
Panel strategy affects cost too. One very large piece reduces seam count, but it can be harder to install cleanly and more likely to crease during handling. Narrower panels, often in the 24- to 52-inch range depending on media and printer width, are easier to manage and usually safer to ship. The compromise is seam visibility. A careful proof should place seams away from faces, key text, and obvious focal points.
Specialty textured-wall films cost more because they are built for a harder surface. The extra spend can be justified quickly if the alternative is edge failure and a full reprint. For buyers comparing options, a material that is $3 to $6 more per square foot may still be the cheaper job once removal risk, reinstall labor, and schedule disruption are counted.
Common hidden costs include:
- Wall cleaning, patching, or paint touch-up before install
- Sample panels or adhesion testing
- Artwork cleanup, vector redraw, or image replacement
- Rush production and expedited shipping
- Installation labor, after-hours access, or lift rental
- Replacement panels for damaged seams or install errors
Minimum order charges are common in large-format work. Even a single graphic may fall under a $100 to $250 minimum because proofing, setup, trimming, and packing still take shop time. Buyers usually make better decisions by comparing total usable value rather than chasing the lowest headline rate. The cheapest print-only number often assumes perfect walls, perfect files, and a perfect self-install, which is not how most real projects behave.
Step-by-step guide to ordering the right wall sticker the first time
Start with measurements, and take them more than once. Measure width at the top, middle, and bottom. Measure height on both sides. Photograph the wall straight on and then closer up so the texture is visible. Note outlets, switches, trim, rails, thermostats, and furniture that affects placement.
Then gather the right artwork. Logos and text should be vector whenever possible. Photographic files should be sized for final output, not borrowed from social media or slide decks and stretched later. If you are unsure whether the image is large enough, ask the supplier to confirm the effective resolution at full scale before approving anything.
Material choice should follow the job, not the other way around:
- Short-term promotion: removable vinyl or fabric, usually matte.
- Longer-term office branding: repositionable fabric or premium wall vinyl.
- Rental-friendly décor: removable fabric media with cleaner peel behavior.
- Kid-focused or education space: low-odor interior media with a softer, lower-glare finish.
- Lightly textured feature wall: specialty textured-wall film backed by a test panel.
Proof review is where buyers catch the costly mistakes. Confirm overall dimensions, orientation, cut lines, panel numbering, seam placement, and safe clearances around text. If the design spans several panels, check exactly where each seam lands. A seam through a face, a logo, or a thin vertical stroke is usually avoidable if someone flags it before printing.
Installation prep is simple and still easy to skip. The wall should be clean, dry, and fully cured if it was painted recently. Graphics should acclimate in the room before application, especially after cold-weather shipping. Larger pieces should be aligned with tape and checked with a level before the liner comes off. Once a job gets beyond roughly 20 square feet, a second installer often saves more money than it costs.
A clear handoff package usually speeds up quoting and reduces back-and-forth:
- Wall dimensions in inches
- Photos of the full wall and a close-up of texture
- Production-ready artwork and color references
- Desired install or delivery date
- Expected duration of use
- Whether clean removal is important
- Preferred finish: matte, satin, or gloss
- Shipping ZIP code and whether installation help is needed
That kind of preparation tends to separate smooth projects from frustrating ones. Better inputs produce better proofs, more accurate lead times, and fewer surprises once the graphic is on the wall.
Common mistakes, expert tips, and next steps that save reprint money
The most common mistake is assuming the wall is square because it looks square. Close behind it is choosing material based only on price. After that come low-resolution files, ignoring paint cure time, and treating a large multi-panel mural like a simple peel-and-stick project. Most failures are not mysterious. They start with an unchecked assumption somewhere upstream.
A few habits improve the odds quickly. Order a small adhesion test if the wall is textured, recently painted, or expensive to repair. Ask for numbered panels on larger murals. Choose matte if room lighting is likely to create glare. Review seam placement on the proof, not after printing. If the wall graphic has to coordinate with existing signage, packaging, or labels in the same space, compare color under the actual room lighting before approving the run.
Some surfaces are poor candidates for adhesive graphics no matter how good the print looks. Crumbly paint, dusty masonry, heavily textured block, and walls cleaned regularly with harsh chemicals often perform better with rigid sign panels, framed prints, or standoff-mounted displays. Knowing when not to force adhesive film onto a difficult wall is part of specifying the job well.
A practical decision framework looks like this:
- Confirm wall surface, texture, and paint condition.
- Match material to duration, removability, and visibility.
- Request a sample pack or adhesion test if risk is high.
- Gather production-ready artwork.
- Ask for a written quote with lead time, panel widths, and removal guidance.
Vendor comparisons also work better when the questions are specific. Ask how wide the standard panels are. Ask whether seam placement is shown on the proof. Ask what the supplier recommends for your paint finish. Ask how damaged panels are replaced if something goes wrong during shipping or installation. A vendor who presses for these details is usually protecting the project, not complicating it.
For most buyers, the safest path is not the absolute cheapest one. The better choice is usually the vendor that understands the wall, the artwork, and the installation conditions well enough to flag problems before they become reprints. That is the same pattern seen in well-managed print and packaging work: stronger front-end specifications reduce downstream cost.
If you are ordering custom large stickers for walls, the smart next step is simple. Measure carefully, photograph the surface, gather the best artwork available, and ask for a quote that includes a material recommendation, panel layout, lead time, and removal notes. That level of detail prevents most of the preventable mistakes.
FAQ
What material is best for custom large stickers for walls?
For smooth interior walls, repositionable vinyl and fabric media are the most common starting points. For lightly textured painted walls, a specialty textured-wall film usually performs better. The best choice depends on paint finish, wall texture, how long the graphic needs to stay up, and how important clean removal is. A small adhesion test is the safest way to confirm performance before ordering full-size custom large stickers for walls.
How long do large wall decals stay up without peeling?
Indoor lifespan depends on wall prep, paint quality, sunlight, airflow, humidity, and touch level more than on size alone. On a stable, well-prepared wall, a properly matched graphic can stay up for months or years. On fresh paint or a dusty textured surface, edges may start to lift much sooner.
Can custom wall stickers be removed without damaging paint?
Many removable products are designed for cleaner peel-off, but the result still depends on paint cure time, paint quality, room conditions, and how long the graphic has been in place. Recently painted or poorly bonded surfaces carry more risk. Slow removal at a shallow angle, sometimes with mild heat, usually lowers the chance of paint lift.
How much do custom wall stickers cost for a business or office?
Basic smooth-wall graphics often start around $8 to $14 per square foot for print only, while textured-wall materials and installed mural packages can rise well beyond that. Total cost depends on media, finish, paneling, freight, install complexity, and whether proofing or artwork cleanup is needed. Comparing total project cost is more useful than comparing base print rate alone.
What file format do I need for a large wall sticker?
Vector files such as AI, EPS, or press-ready PDF are best for logos, text, and shapes because they scale cleanly. Photos and other raster artwork should be supplied at adequate resolution for final size and viewing distance, ideally as high-resolution TIFF or PSD files when available. Suppliers may also need bleed, cut paths, and brand color references to prepare production-ready files.