Personalized canning labels have one job on the screen and a harder one on the jar. They need to stay readable after condensation, cold storage, oily fingers, and the usual rough treatment that happens once a product leaves the kitchen or the packing table. A proof can look perfect and still fail the minute it meets moisture.
That is why the right label choice starts with use, not decoration. Pantry shelf, refrigerator, freezer, gift box, retail table, straight-sided jar, curved jar, ingredients required or not. Those details decide the stock, adhesive, finish, and even how much room you really have for copy.
There is no magic material that solves every jar problem. There is only the option that fits the product, the storage environment, and the budget without creating a mess later.
What Personalized Canning Labels Need to Survive Real Use
A label that looks crisp in a dry proof can fall apart fast once it gets chilled. Condensation is the usual culprit on jams, sauces, fruit spreads, and drink mixes. Oils from hands are another one. Less dramatic, more annoying. If the face stock absorbs moisture too easily or the adhesive is too weak, edges begin to lift, ink can scuff, and the package starts looking old before the product is halfway gone.
That is the practical job of personalized canning labels. They identify the product, carry the brand, and stay intact through transport, storage, and repeated handling. In buyer terms, that means you are not just buying a nice sticker. You are choosing a material system that has to match the jar surface and the environment it will live in.
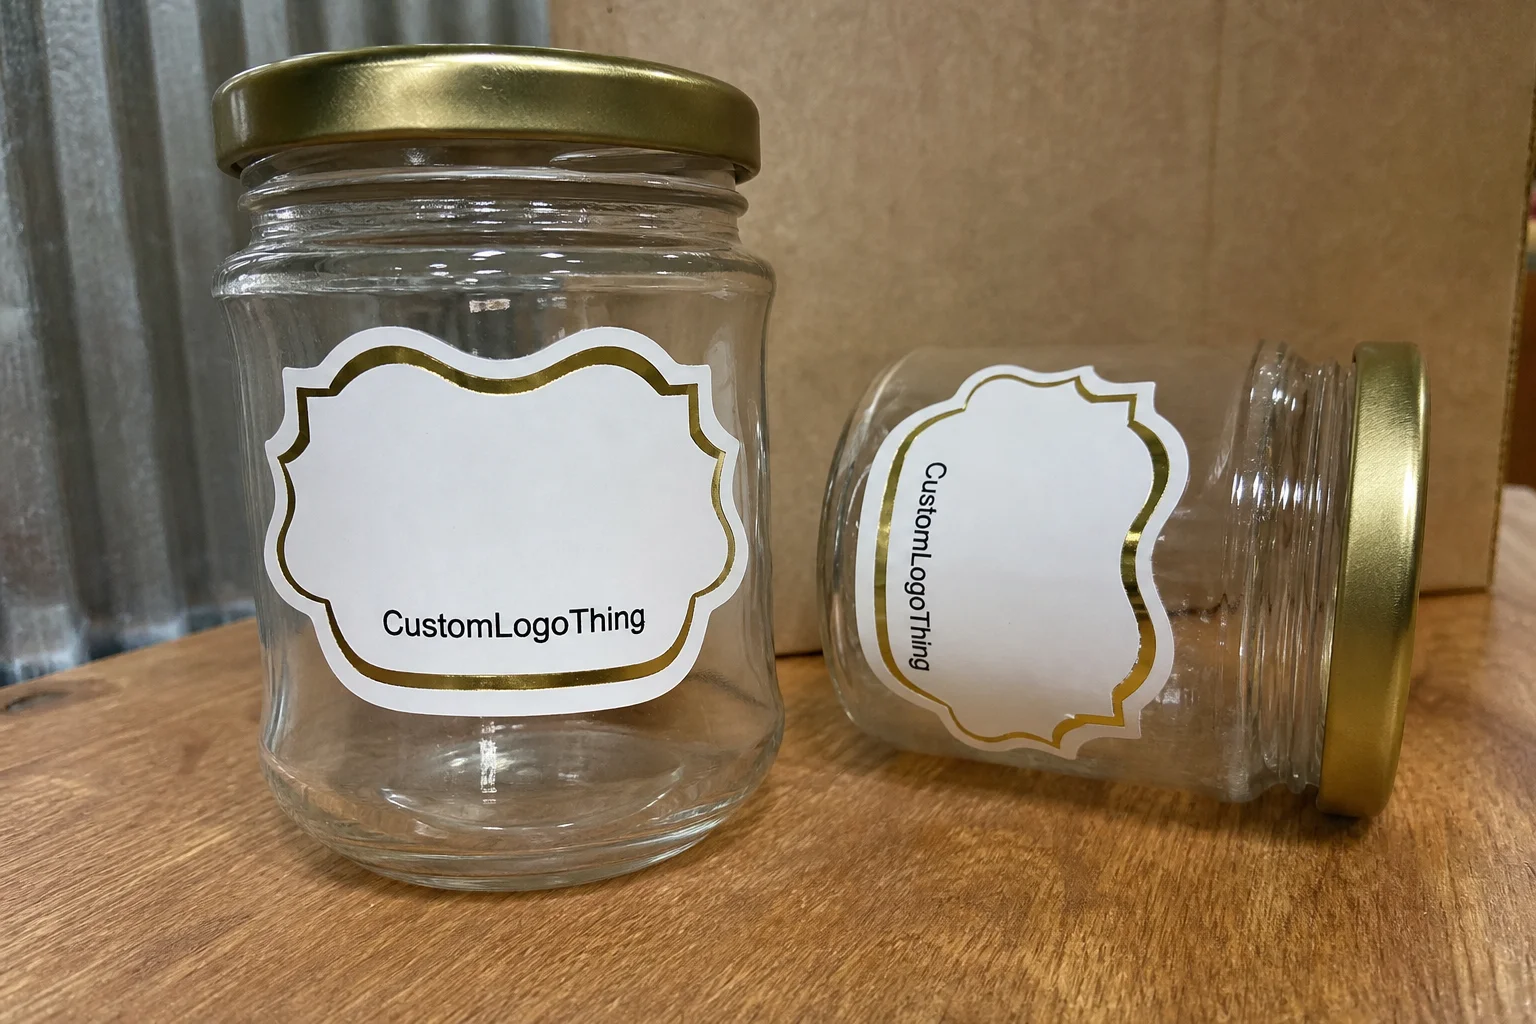
Curved glass changes the geometry quickly. A wide label on a narrow jar can distort at the edges. A short jar may not leave enough room for a seam, a clean wrap, or legal copy. If the label has to hold ingredients, allergens, net weight, or a barcode, the usable space shrinks even more. That is where a design that looks generous on a laptop suddenly feels cramped on the actual container.
For food products, the label also has to survive more than shelf appeal. Refrigerated items, freezer items, and jars that get opened and closed repeatedly need a different build than a dry pantry label. A lot of bad label decisions come from treating all jars like they live in the same place. They do not.
A label that survives one damp weekend tells you more than a polished mockup ever will.
The simplest filter is this: will the label still look intentional after handling, storage, and opening? If the answer is uncertain, the spec needs work before production starts.
How the Label Production Process Works
The process usually starts with artwork review. This is where the avoidable problems show up first: missing fonts, blurry logos, live text too close to the edge, a barcode that is technically present but practically useless, or ingredient text that got squeezed into a space it should never have been in.
Once the file is cleaned up, the printer prepares a proof and confirms the print method. Digital printing is often the right fit for shorter runs, seasonal flavors, test batches, and multi-SKU orders with changing artwork. Flexographic or other higher-volume methods make more sense on repeat work where the same format will be ordered again and again. The difference is not just speed. It is how setup cost gets spread across the run.
Turnaround depends on how stable the artwork is and how many finishing steps the job needs. A straightforward order with print-ready files and quick approval can often land in roughly 8 to 12 business days after proof approval. Specialty materials, tighter inspection, roll conversion, custom die-cutting, or variable data can push that closer to 12 to 15 business days or longer. The printing itself is only one part of the schedule.
If the design is still changing, keep the order smaller. That cuts the risk of paying for inventory that becomes obsolete the week after you approve it. It also gives you a chance to test the jar, the finish, and the application method before you commit to a larger run.
For buyers comparing packaging formats, a stable label base such as Custom Labels & Tags can be a useful starting point. Lock the structure first. Then scale the design once the jar, copy, and finish are settled.
Shipping matters too. A label that survives printing but gets crushed or abraded in transit is still a failure. Packaging references such as ISTA testing help frame the kinds of vibration and drop stress labels may face before they ever reach a shelf. If your material sourcing matters to procurement or retail partners, FSC certification may also be part of the spec.
Cost and Pricing Factors That Change Your Quote
Price is driven by more than quantity, although quantity does the heavy lifting. Smaller runs usually cost more per label because proofing, setup, trimming, and press adjustments are spread over fewer units. Once the order gets into the 2,500 to 5,000 range, the unit price usually drops enough to make repeat use easier to justify. That is basic print math, not a sales trick.
Size changes the quote because larger labels use more material and often need more setup attention. Shape changes it too. A plain rectangle is usually cheaper than a custom contour cut. Add internal cutouts, tight corners, or multiple panels and the finishing cost moves up fast. Coverage matters as well. A dense full-bleed design will usually cost more than a simple one-color mark on white stock.
| Label Option | Best For | Typical Unit Cost | Notes |
|---|---|---|---|
| Coated paper label | Dry pantry jars, gift sets, short runs | $0.12-$0.28 at 5,000 pieces | Good print sharpness, lower resistance to moisture |
| Moisture-resistant film | Refrigerated jars, frequent handling, retail display | $0.18-$0.42 at 5,000 pieces | Better resistance to condensation and scuffing |
| Custom die-cut label | Premium branding, shaped containers | $0.22-$0.55 at 5,000 pieces | Higher finishing cost because of the cut shape |
| Specialty finish or white ink | Dark jars, premium gift packaging | $0.30-$0.70 at 5,000 pieces | Used when contrast or shelf impact matters more |
The hidden costs are usually the ones that create frustration later. Special adhesives, white ink, variable data, custom roll direction, premium coatings, and rush scheduling can all change the final number. A quote that looks low at first can become the expensive option once setup, proofing, and shipping are added. Compare total landed cost, not the headline unit rate.
If the labels are for retail resale, spend where performance matters. If they are for gifting, a softer finish or premium coating may be worth the extra cost because the jar is part of the presentation. If the product is going to be chilled and handled often, durability wins. Fancy is useless if it peels.
Materials, Adhesives, and Finishes That Fit Glass Jars
Paper still has a place. For dry goods and gift packaging, it prints cleanly and gives a familiar handmade look. But paper is not the answer for every jar. A film stock, usually polypropylene or another moisture-resistant material, handles condensation better and generally resists scuffing during transport and stocking.
Adhesive choice matters just as much as face stock. A permanent adhesive is usually the default for retail jars, especially if they will be refrigerated or handled frequently. A removable adhesive makes more sense for temporary promotions, reusable containers, or packaging where clean removal matters. The surface energy of the glass, the fill temperature, and the dryness of the jar at application time all affect performance. Glass is simple until it is not.
Finish changes both appearance and readability. Gloss makes color punchier and can sharpen contrast, but it can also reflect bright retail lighting. Matte reduces glare and often improves legibility on small text. Soft-touch gives a premium feel, although it should be tested on the actual jar because some coatings show marks more easily than buyers expect.
For refrigerated, frozen, or frequently handled products, the safest combination is usually a moisture-resistant film with an adhesive designed for cold glass. That may cost more than paper, but it reduces the chance of edge lift, bubbling, or a reprint. Reprinting because the wrong build was selected is more expensive than paying a little more up front.
A practical way to compare options:
- Paper: best for dry storage, lower cost, softer handmade look.
- Film: best for moisture, handling, and longer shelf life.
- Matte finish: helps readability and cuts glare.
- Gloss finish: boosts color and feels more retail-oriented.
- Soft-touch: good for premium gifting, but test it on the jar first.
Step-by-Step Ordering and Proofing Checklist
The cleanest orders start with accurate jar dimensions. Measure the label panel, the curved area, and the distance to the shoulder or seam. A jar that looks standard on a product page may have less usable space than expected once the curve is measured honestly. Also note whether the jar is filled hot or cold. That changes when the label gets applied and how quickly the adhesive needs to bond.
Before you Request a Quote, gather the basics in one place:
- Logo files in vector format if available.
- Exact product name and any flavor or scent variants.
- Ingredients, allergens, net weight, or other required copy.
- Preferred label size, shape, and placement.
- Color preferences and any brand standards.
- Barcode data, lot code needs, or variable text if required.
Once the proof arrives, review it at actual size. Not on a phone. Not on a tiny preview. At actual size. Check spelling line by line, confirm that small text is still readable, and make sure the barcode has enough quiet space to scan reliably. If the label will wrap around a curve, think about where the leading and trailing edges meet. A design that looks balanced on a flat artboard can feel crowded on glass.
One habit saves a lot of trouble: print the proof at scale and tape it to an empty jar. That quick mock application shows whether the label is too wide, too tall, or too close to the shoulder. If the product line has multiple jars, place the sample next to the others. Shelf consistency is easier to manage on the table than after the order ships.
If anything still feels uncertain, ask for a second proof before approval. That is the time to fix copy, adjust the trim, or change the finish. Once the file is locked, keep changes to a minimum. Production moves faster, and the launch date is easier to protect.
Common Mistakes That Make Jar Labels Fail
The most common mistake is oversizing the label for the jar. Too much coverage leaves no margin for application error, and on curved glass that usually means wrinkles or a seam that refuses to sit cleanly. A label can look fine on a flat sample and still fail on the jar because the geometry is different.
Another problem is choosing a finish for the photo instead of the product environment. Gloss may look sharp in a studio but hide small text under bright lighting. Matte may improve readability, but a low-quality matte paper can soften too much in humidity. The right finish is the one that stays readable after real handling.
File prep matters more than many buyers expect. Low-resolution logos, tiny body copy, and inconsistent fonts create avoidable problems in print. If text has to be shrunk to fit, readability usually gets worse, not better. Keep the smallest copy large enough to read at arm’s length, especially if the label carries ingredients or directions.
Ignoring the use environment is the bigger strategic error. A label for dry pantry goods should not be built the same way as one for refrigerated salsa, freezer jam, or oil-based products. Even a strong visual design will underperform if the adhesive and face stock were never matched to the product. Personalized canning labels work best when the jar conditions drive the specification.
Do a test run if the order matters. Order a small batch, apply it to real jars, and leave those jars under the same conditions they will face in use. Twenty-four hours on a damp shelf tells you more than a week of staring at proofs. Packaging does not care how nice the mockup looked.
Next Steps for a Clean, Low-Risk Label Rollout
Start with the container, then the storage conditions, then the artwork. That order keeps the project grounded in reality. If the jar is chilled, handled often, or sold as a premium gift item, choose the stock and adhesive for that environment before worrying about minor cosmetic preferences. If the label needs regulated copy, make the legal text part of the sizing plan from the beginning.
Then lock the content. Confirm spelling, ingredients, weight statements, and barcode data before approval. Once those details are stable, test the artwork on an actual jar at full size. More issues show up in that step than in three rounds of screen review.
Ask for the right material, not the cheapest one. In many cases, a better adhesive or more suitable film stock costs less than a reprint cycle. If you are building a repeatable product line, consistency matters even more. The label has to behave the same way across batches, not just look good in the first sample.
For buyers managing repeat orders, keeping the artwork and specs organized through Custom Labels & Tags helps prevent drift between versions. A stable template saves time, keeps branding consistent, and makes reorder decisions easier to control.
Frequently Asked Questions
What makes personalized canning labels different from regular jar labels?
They are usually built around a specific jar size, product line, and storage environment instead of a generic retail format. They also need closer attention to moisture, condensation, and curved-surface application so they stay readable after packing and storage.
Which material is best for personalized canning labels on refrigerated jars?
A moisture-resistant film or coated stock is usually a better fit than an uncoated paper label for cold storage. The adhesive should be designed for chilled glass so the label bonds cleanly and does not lift at the edges.
How much do personalized canning labels usually cost per unit?
Unit cost depends on quantity, size, material, finish, and whether the order needs custom cutting or special print effects. Smaller orders usually cost more per label, while larger repeat runs usually reduce the per-piece price.
What is the typical turnaround for personalized canning labels?
Turnaround depends on proof approval speed, print method, finishing steps, and the production schedule. Fast approvals and print-ready artwork shorten the timeline; revisions, specialty materials, or complex finishing extend it.
What should I check before approving personalized canning labels?
Check spelling, ingredient text, barcode readability, label size, color accuracy, and whether the design still works at actual scale. Confirm that the label fits the jar curve and the product environment before final approval, because personalized canning labels are easier to fix before production starts than after the run is underway.


