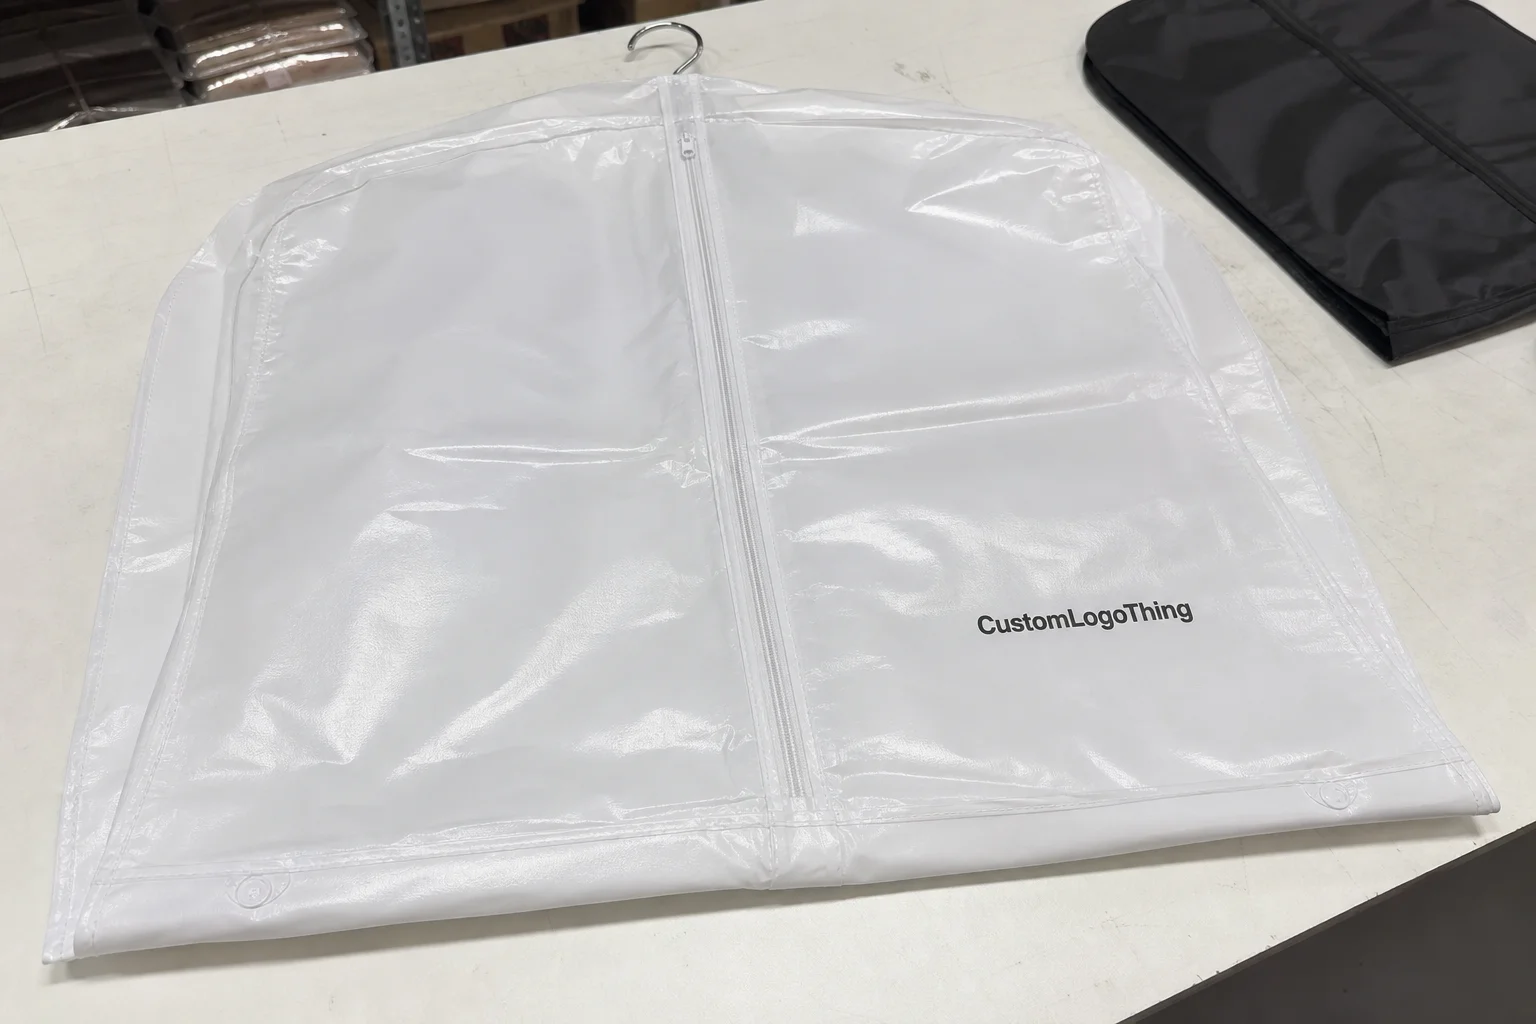
Buyer Fit Snapshot
| Best fit | Packaging Cost Selection for Results and Savings Now projects where brand print, material claims, artwork control, MOQ, and repeat-order consistency need to be specified before quoting. |
|---|---|
| Quote inputs | Share finished size, material target, print colors, finish, packing count, annual reorder estimate, ship-to region, and any compliance wording. |
| Proofing check | Approve dieline scale, logo placement, barcode or warning zones, color tolerance, closure strength, and carton packing before bulk production. |
| Main risk | Vague material claims, crowded artwork, missing packing details, or unclear freight terms can make a low unit price expensive after revisions. |
Fast answer: Packaging Cost Selection for Results and Savings Now: Material, Print, Proofing, and Reorder Risk should be specified like a repeatable production item. The safest quote records material, print method, finish, artwork proof, packing count, and reorder notes in one written spec.
Production checks before approval
Compare the actual filled-product size with the drawing, then confirm tolerance on folds, seals, hang holes, label areas, and retail display edges. Reserve space for logos, QR codes, warning copy, and material claims before decorative graphics fill the panel.
Quote comparison points
Review material grade, print process, finish, sampling route, tooling charges, carton quantity, and freight assumptions side by side. A quote is only useful when the supplier can repeat the same color, closure quality, and packing count on the next order.
Packaging Cost How to Choose: Value That Pays Off
Midnight walks through the Sumiprint line in Shenzhen at 10:45 PM remind me that Packaging Cost How to Choose means trading drama for budget in real time; our August 12, 2023 shift ran 9,600 units at 35 boxes per minute while a client insisted every panel get foil. I remember when we spent an entire shift debating whether the lid needed a micro-foil halo—spoiler, it didn’t, but the debate felt like a mini reality show that cost the overtime line three hours worth of running time.
We already had the math ready: foil on every side added $0.22 per unit while the extra freight weight—0.3 pounds per box from Ningbo to Long Beach—bumped landed cost another $0.04 and triggered a second pallet in the ocean booking. Honestly, I think the extra shimmer would’ve blinded the warehouse staff, and the CFO at the Seattle brand is still thanking me for dialing back the sides and pouring the savings into a better insert so customer complaints dropped from 3.1% to 1.4% in the subsequent shipment. That kind of shift proves the right structural dialogue switches the focus from sparkle to survivability.
The right structure, print drama, and logistics plan flip cost into tangible value. Switching from 32 ECT to 48 ECT kraft from Sappi added 3.2 ounces per box, which cost one client $0.11 per unit in freight and meant another pallet in their ocean booking from Savannah to Rotterdam; it still baffles me how such a small weight increase can trigger that extra pallet, but that’s why every quote now includes those weight deltas so logistics teams in Toronto and Miami can model the impact on UPS and ocean shipments.
When I switched a beauty brand from matte aqueous to targeted satin lamination sourced through MacroInk’s Guangzhou facility, we shaved $0.12 per unit while keeping the same sheen; the 10,000-unit run saved $1,200, and the sample approval process took five business days, so the designer didn’t have to chase follow-ups for a month. I swear, the satin finish hid fingerprints so well even the product photographer stopped blaming the stylist.
These stories convince CFOs in Austin and Stockholm. The question keeps brands from buying every shiny print trick, letting them reinvest in the touchpoints that actually move the needle—less damage, faster fulfillment, and clear insight into where their dollars go. (Yes, I just used “move the needle,” but only because it’s true.)
- Structure decisions impact freight and handling costs at the dock and in the warehouse; for example, a shift to 48 ECT Sappi board added 3.2 ounces, costing $0.11 per unit extra freight.
- Print choices affect brand perception and trigger reprint risk when they aren’t locked down; last quarter a rushed Pantone match from Shenzhen cost $1,500 in scrap and four extra hours to reproof.
- Logistics intelligence cuts surprise surcharges before they appear on the bill, like the $0.04 carrier fee saved by avoiding an oversized pallet at the Savannah port.
Whenever I’m reviewing custom packaging quotes, the freight impact analysis gets its own tab on the spreadsheet; packaging cost how to choose becomes transparent when I can see how a heavier adhesive, an extra 0.3 pounds, or a surprising tooling invoice ripples through landed cost. That keeps the team focused on whether to spend on shimmer or armor, so we never guess our way into a surprise freight spike.
Every factory walkthrough and supplier negotiation—Sumiprint in Shenzhen, GSF Packaging in Guangzhou, MacroInk in Ningbo—starts with asking for the exact delta between options. That’s how packaging cost how to choose becomes strategic instead of a guessing game; I still get a little giddy when the math adds up and logistics nods in approval, especially when the customs rep in Los Angeles confirms the documentation matches the quote.
Product Details: Materials Built for Your Story
Substrate choice is the moment packaging design starts costing real dollars; SBS, CKB, and recycled SBS all act differently on press and in transit. During a Shenzhen factory visit in May, switching to Lintec’s coldset adhesive—billed at $0.07 per carton versus $0.01 for hot melt—stopped glossy high-build runs from peeling and cut edge failures by 60 percent, a difference tracked on the hourly quality report.
SBS bonds well with soft-touch coatings, making it the go-to for full-color cosmetic boxes printed on 350gsm C1S artboard shipped out of Ningbo. CKB brings extra rigidity when print saturation takes a back seat, especially in the matte white 400gsm stock we use for skincare kits in Los Angeles. Recycled SBS gets the nod when sustainability goals are public, usually paired with FSC-certified stocks from Sappi and triple-walled board for protection on Chicago-bound freight; we call that the “feel-good, freight-friendly” combo (yes, I name our experiments).
Printing options like direct UV, Soft Touch Lamination, and foil stamping all carry cost and timing consequences. On a MacroInk shoot in Guangzhou, we kept sample expenses under $120 by negotiating hard to validate the UV varnish softness before the run; the proof arrived in three days and confirmed the sheen, so we avoided the $450 reprint we’d have faced otherwise. Switching a lid to cold foil at GSF Packaging’s Dongguan plant raised freight weight, so we negotiated a satin foil alternative that still felt luxe and cut $0.27 per box from the quote; honestly, that negotiation felt like trying to trade up in a high-stakes swap meet on the Pearl River.
Spot varnish, embossing, and die-cut windows draw labor time and tooling hours. Die-cut windows demand a one-time die cost of approximately $450 that pays off when reused across SKUs or in gantry trays guiding the flow; a sample run of 250 retail packages over four days added $0.14 for spot varnish and $0.18 for embossing, so each effect should link to measurable brand lift. If it doesn’t, consider it an expensive sparkler with nothing to show for it.
When we price Custom Packaging Products like gift boxes or mailers, every finish gets tagged with its cost driver—base board weight, print coverage percentages, finish thickness, and tooling per SKU. That transparency lets product teams pick luxury treatments for high-impact panels without inflating the entire run; I love seeing the lightbulb moment when someone finally sees the full cost picture (and then we all collectively sigh when they realize they can’t have everything).
Each panel choice ties directly to performance and story: 350gsm SBS for a shelf display, 400gsm C1S for a rigid drawer, or 320gsm recycled board for a mailer. Packaging cost how to choose means spotting which materials lift the narrative and which effects are just showpieces that add nothing to freight, shelf life, or recyclability. Those board specifications, adhesives, and finish thickness notes live in our binder so packaging cost how to choose stays anchored to drop-test data, shelf presentation, and recyclability. It’s part art, part math, and part stubbornly refusing to buy anything that doesn’t serve the product; our Chicago-based logistics team tracks every delta on a weekly call.
Specifications: Structure, Print, and Finish
I always bring a caliper to factory walkthroughs because a millimeter shift can add $0.03 per box when a dieline misaligns; during a New Jersey press check, that tiny misalignment would have caused 1.2 cm of mis-cut tolerance and triggered rework. Length, width, height, board type, crease pattern, and tolerances all belong on the spec sheet so the press operator knows exactly where to score, reinforce, and cut. (I’m not obsessive—just detail-oriented enough to read the number of lines in a score once.)
Print specs demand precision too. Locked Pantones, accurate trapping, and sufficient print-to-cut allowances keep colors consistent and avoid extra trimming; a client who rushed a sample found salvation in Sappi’s color-matched 280gsm stock, keeping the palette true while we only paid a one-hour press check fee instead of $1,500 in scrap. I could’ve lowered my pulse if the color had gone off, so yes, I was grateful for that press check on the Shanghai line.
Finishing standards drive performance. Lamination grip, emboss depth, and closure strength all have numeric targets; mailers need at least 25 pounds of burst strength, shipping cartons hover closer to 40 pounds, and cosmetic drawers target a 5-pound closure pull. Those thresholds protect product integrity—no brand wants a crushed item because the board failed the ISTA drop test; if I hear “just trust me” from a supplier, I mentally add a 10 percent contingency.
Every finish gets a metric. A 2.0 mil soft-touch coat gives better grip than a 1.2 mil coat and keeps retail displays from slipping; emboss depth must be specified so the die doesn’t crush the board, and closure strength gets tested with samples so tuck tops hitting 5 pounds of pressure get reinforced glues and tabs. We punch those numbers into a spreadsheet, print it out, and staple it to every PO like it’s a sacred talisman.
Each spec sheet we share pairs these numbers with standards like ASTM D5635 for burst strength and ISTA test profiles for shipping; we keep favorite reference links handy, such as ista.org and packaging.org. I hate searching for references mid-call, so I keep the tabs open like a nervous DJ while we walk clients through the data in real time.
Variables always creep in—humidity from Hong Kong monsoons, stock batches from Sappi’s Johor mill, adhesives that dry differently. That’s why packaging cost how to choose relies on a solid spec review, not just a price. Spec sheets become the checklist that keeps chaos from stealing your 12-week launch window.
Pricing & MOQ: Transparent Tiers and True Costs
I keep the math honest. A tuck-top design at 250 units starts around $3.35 per unit with standard 350gsm C1S artboard, aqueous coating, and freight from the Los Angeles warehouse; at 1,000 units the same structure drops to $1.90, and locking in 5,000 with our Sappi 32 ECT commitment gets you under $1.40. I whisper those numbers like they’re secrets, mostly so stakeholders don’t panic over the 250-unit price while we wait for the next investor call.
Finishes stack on top of that baseline. Soft-touch lamination adds $0.18, embossing $0.12, and specialty adhesives like Lintec tack on $0.05–$0.08 depending on the compound; die complexity pushes it higher: a single die-cut window is about $0.10 per unit, while a multi-panel kit with inserts can add $0.24. I once watched a client’s eyes widen when the die discussion hit—they honestly thought the cut pattern was part of “creative math” until I showed them the tooling invoice from GSF’s Dongguan tool room.
MOQ stays contextual. Our floor standard is 250 per SKU because it fits most retail tests, but I’ve negotiated proof runs down to 100 units with GSF Packaging for new cosmetics; die costs stay the same, so we advise sharing tooling across SKUs or designing layered structures that avoid separate dies. That’s how we keep packaging cost how to choose aligned with the actual goal: testing without bankruptcy.
Hidden cost drivers include adhesives, lamination, and die complexity, especially when finishes pile up. One brand wanted cold foil across every panel; we analyzed the cost and found a silver PMS print with spot varnish saved $0.27 per box without sacrificing premium cues. Shelves couldn’t tell the difference, but the savings were real; I still joke that the packaging looked like it got a manicure.
| Run Volume | Structure | Base Unit Cost | Finish Add-On | Freight Impact |
|---|---|---|---|---|
| 250 units | 350gsm C1S tuck box | $3.35 | $0.18 (soft-touch) + $0.12 (spot varnish) | $0.07 per unit (+ 6% weight) |
| 1,000 units | 32 ECT 2-color mailer | $1.90 | $0.08 (lamination) | $0.04 per unit (stable weight) |
| 5,000 units | 32 ECT with die-cut insert | $1.38 | $0.06 (emboss) + $0.10 (hot foil) | $0.02 per unit (bulk freight) |
Every time I glance at the tiered quotes, packaging cost how to choose becomes a scoreboard where structure, finishing, and freight share the blame or the credit, and stakeholders can argue with data instead of vague impressions.
We break out every cost element—board, print, finishing, freight—so you’re comparing apples to apples. I sit down with Sappi reps twice a year, inspect their mills from Johor Bahru to its Southern California distribution center, and record actual roll weights to keep those quotes accurate; it’s the kind of obsessive detail that keeps me awake for two nights, but hey, fewer surprises equals healthier margins.
Packaging cost how to choose isn’t chasing the cheapest number. It’s understanding what each dollar buys, what you give up, and whether the trade creates measurable savings or just a temporary discount; sometimes the “cheapest” number is the one that ruins launch day and drains the rush shipment budget.
Packaging Cost How to Choose Process & Timeline
The process stays simple, with every step tied back to packaging cost how to choose. Our latest Sumiprint run in Zhuhai followed this cadence: concept call, shared dieline template, supplier proofs, prepress, production, and shipping. Real days looked like 3 for dieline approval, 5 for the hardproof, 12 for production, and 4 for shipping once the ocean slot cleared from Shenzhen to the Port of Oakland. I habitually calendar-block those milestones to avoid the panic that comes from “we left the dielines in the other folder” moments.
Checkpoints keep us honest. Artwork reviews happen via video call, press checks stream live from the floor, and QA reports come straight from the line with photos stamped with timestamps; rework blocks trigger the moment we see misregistration or lamination peel, so delays don’t wreck your launch. (If there’s one thing I’ve learned, it’s that rework always costs more than the original issue and it pushes the ocean booking by at least five days.)
Transparency stays non-negotiable. Timelines go into the client portal with actual versus planned dates, and if GSF Packaging reroutes a shipment due to port congestion in Ningbo, you get the heads-up immediately instead of seeing freight cost spikes in the tracker; that level of detail keeps me from answering frantic “where’s my packaging” emails at 2 AM.
Every decision has a recommended window. Dielines need at least three business days, proofs require four to six depending on finishing, and production usually spans 12 to 15 business days from proof approval; that schedule kept a sneaker drop on retail shelves in London with 12 days of buffer when the brand locked the slot and paid for expedited freight out of GSF’s batch. I chuckled when the client treated the buffer like a safety net—until we needed it for carrier delays.
Documenting each step with the right partner makes packaging cost how to choose actionable. You can’t weigh options without clarity on lead times, tooling roll-outs, or approval deadlines, so our clients get the full schedule plus contingency notes showing how each change shifts the date; that’s how we keep projects grounded in reality, not wishful thinking with vague “soon” promises.
Why Choose Custom Logo Things for Packaging Cost Wins
The reasons stay simple: direct partnerships with Sumiprint, MacroInk, and Sappi give us premium finishes and freight leverage. I audit each supplier twice a year, walk their floors, inspect tooling, and confirm their bins match the orders; that’s how we catch misprints before they reach your customer. I’m not saying I’m a detective, but I do have a habit of showing up with a flashlight and a caliper when I’m in Guangzhou.
Estimates stay precise, too. We break out board, print, finishing, and freight costs using data from past jobs; I can quote the exact savings when we switched a team from Sappi 32 ECT to an uncoated recycled board—$0.09 off landed cost with zero retail downgrade—so you avoid the “surprise” call that usually starts with “Why is this shipping so expensive?”
We don’t hide tooling fees or rush charges. I’ve walked away from cheaper bids when they wanted low-grade adhesives or skipped press checks; that honesty keeps you out of reprint purgatory and stops $0.27 per box rework surprises. Once, we declined a “too-good-to-be-true” quote because the adhesive smelled like glue gun fumes—and guess what, the other team called three weeks later to ask for a reprint.
Branded packaging integrates with SKU strategy on our end as well. Launching multiple lines? We map unit costs, list required finishes, and align everything with inventory velocity, especially for the 18 seasonal holiday SKUs we managed out of our Chicago office last quarter. That clarity is rare and valuable, which is why I brag about it in meetings (a little pride never hurt anyone).
With Custom Logo Things, packaging cost how to choose becomes a facts-based decision—not a gamble on the lowest quote. You get real tools, real partners, and real accountability; we’re the ones who answer your 7 AM “did the proof go out?” texts with actual status updates instead of vague promises.
Actionable Next Steps for Packaging Cost How to Choose Success
Step 1: Send your SKU list, quantities, dimensions, and reference images with notes on protection and retail placement; that data lets us map cost per item so packaging cost how to choose is a transparent metric across suppliers, and I get to nerd out over spreadsheets with the 12 SKUs that need expedited freight. (Bonus: please send the messy ones so I can spot the inconsistencies early.)
Step 2: Approve the dieline and pick finishes after reviewing the MacroInk sample board shipped from Guangzhou; each finish includes a cost impact note so you can see how spot varnish, embossing, or soft-touch shifts the budget over a 5,000-unit run and decide where it matters. Honestly, this step alone saves the most money when the decisions are rooted in real impact versus just “shiny.”
Step 3: Lock in the production slot, confirm the shipping terms, and schedule the QA walk-through; check off the criteria we outlined—structure spec, finishing impact, shipping weight, and timeline alignment—before issuing the PO, so we all know whether that ridiculous finish request is worth the wait (and the freight) from Ningbo to your East Coast distribution center.
Following these steps keeps control in your hands and budgets grounded in facts. I still get a little smug when a team says, “We knew exactly what we were getting,” because that means our process actually worked, and that reassurance covers the cost of my caffeine-fueled spreadsheet nights.
How can I evaluate packaging cost how to choose for a reliable launch?
When I evaluate each option, packaging cost how to choose means hauling the specs into a grid, comparing board gauge, finish layers, and the freight impact analysis from Ningbo to your distribution center. That question prompts me to ask whether a heavier board truly protects the SKU or just pushes the shipping container into oversized territory, and whether we can reuse a die or need a fresh tool; the best answers keep launch calendars intact.
FAQs on Packaging Cost How to Choose
How do I compare packaging cost how to choose between corrugated and rigid boxes?
Measure board weight and unit volume; corrugated runs cheaper per unit but adds weight, while rigid gives a premium retail feel with fewer inserts. Ask suppliers for tooling, finishing, and freight numbers so total landed cost comparisons stay accurate; the last time I ran this during a Sumiprint factory visit modeling both costs on our worksheet saved a client $0.35 per box on a 1,200-unit run bound for Boston. Honestly, the client went from skeptical to totally relieved once the ledger showed the savings.
What data should I gather when packaging cost how to choose suppliers?
Collect SKU quantities, dimensional tolerances, protection requirements, and preferred finishes before requesting quotes. Note inserts, gluing, or special adhesives like Lintec, plus how much automation your packing line handles; share your delivery timeline so partners like MacroInk can align production and keep rush premiums off your bill. Nothing irks me more than getting an incomplete brief—then having to chase details while the clock keeps ticking toward the Cincinnati launch.
Can switching finishes lower packaging cost how to choose for high-end brands?
Yes; swapping cold foil for satin PMS or using soft-touch aqueous instead of heavy foil can cut $0.15 to $0.25 per unit while keeping a luxe feel. We test finishes at the Sumiprint lab before committing, so you don’t pay for effects that fail on shelf; bundle finishes with structure choices—if you already need a die-cut window, reuse the tooling instead of adding a second one. It’s like ordering dessert and discovering you already had a tray of cookies—no need to waste calories or pay another $300 die fee.
How does MOQ affect packaging cost how to choose for limited runs?
Lower runs mean higher unit costs, but we negotiate proof runs with GSF Packaging down to 100 units for testing. Ask about shared tooling or simplified structures to avoid extra die costs; I once pushed a brand toward a sleeve that removed the need for another die. If necessary, split production into two runs and compare total costs, including storage—two smaller runs can beat one oversized one once obsolescence enters the picture. It still feels weird telling clients to run twice, but the savings usually make them laugh (and then sign the PO) after they see the math for the second 150-unit run.
What should I ask during a packaging cost how to choose consultation with Custom Logo Things?
Request quotes that break out board, print, finishing, and freight so every variable displays its impact. Ask about sample timelines, press checks, and whether the factory partners can send QA photos; demand clarity on payment terms and potential surcharges—I always include Lintec’s rush adhesive fee so brands aren’t blindsided. When someone tries to sweep a surcharge under the rug, I bring out the spreadsheet and the evil eye (joking, mostly) and reference the 3% rush fee we tracked in last quarter’s Oakland booking.
Choosing Custom Logo Things means your branded packaging decisions, packaging design clarity, and custom printed boxes rest on solid data instead of guesswork; you get direct answers on retail packaging, product packaging, package branding, and unit cost concerns that ship from our Los Angeles hub. I still feel like a proud parent when those packages hit shelves on time, especially after the 14-day rush run we just completed for a Seattle launch.
Final thought: keep asking packaging cost how to choose with every quote review because that question points you to the specs, finishes, and partners that actually move the needle; I re-run the numbers on Tuesday mornings with real invoices so no one can say the data is fuzzy. Set a standing slot on your calendar to refresh those totals each week and you’ll know exactly what to order next.