Personalized ZipLock Bags: Buy Smart Without Guessing
Plain zipper bags do one job well: they hold the product. Personalized ziplock bags do that and add branding, handling cues, and shelf presence in the same piece of packaging. For samples, cosmetics, parts, snacks, and starter kits, that is not decoration. It changes how the item is judged before anyone opens it.
Why personalized ziplock bags punch above their weight
A resealable plastic bag looks simple, which is exactly why buyers underestimate it. In reality, a well-specified zipper bag can act as packaging, instruction sheet, tamper signal, and branding surface all at once. For a low unit cost, that is a lot of work.
Personalized ziplock bags are resealable plastic Bags with Custom printing and a defined size, closure, and film structure. They are used for presentation, containment, shipping, and repeated opening. That makes them useful for retail kits, spare parts, food samples, cosmetics, and e-commerce inserts where the package has to do more than just hold the contents.
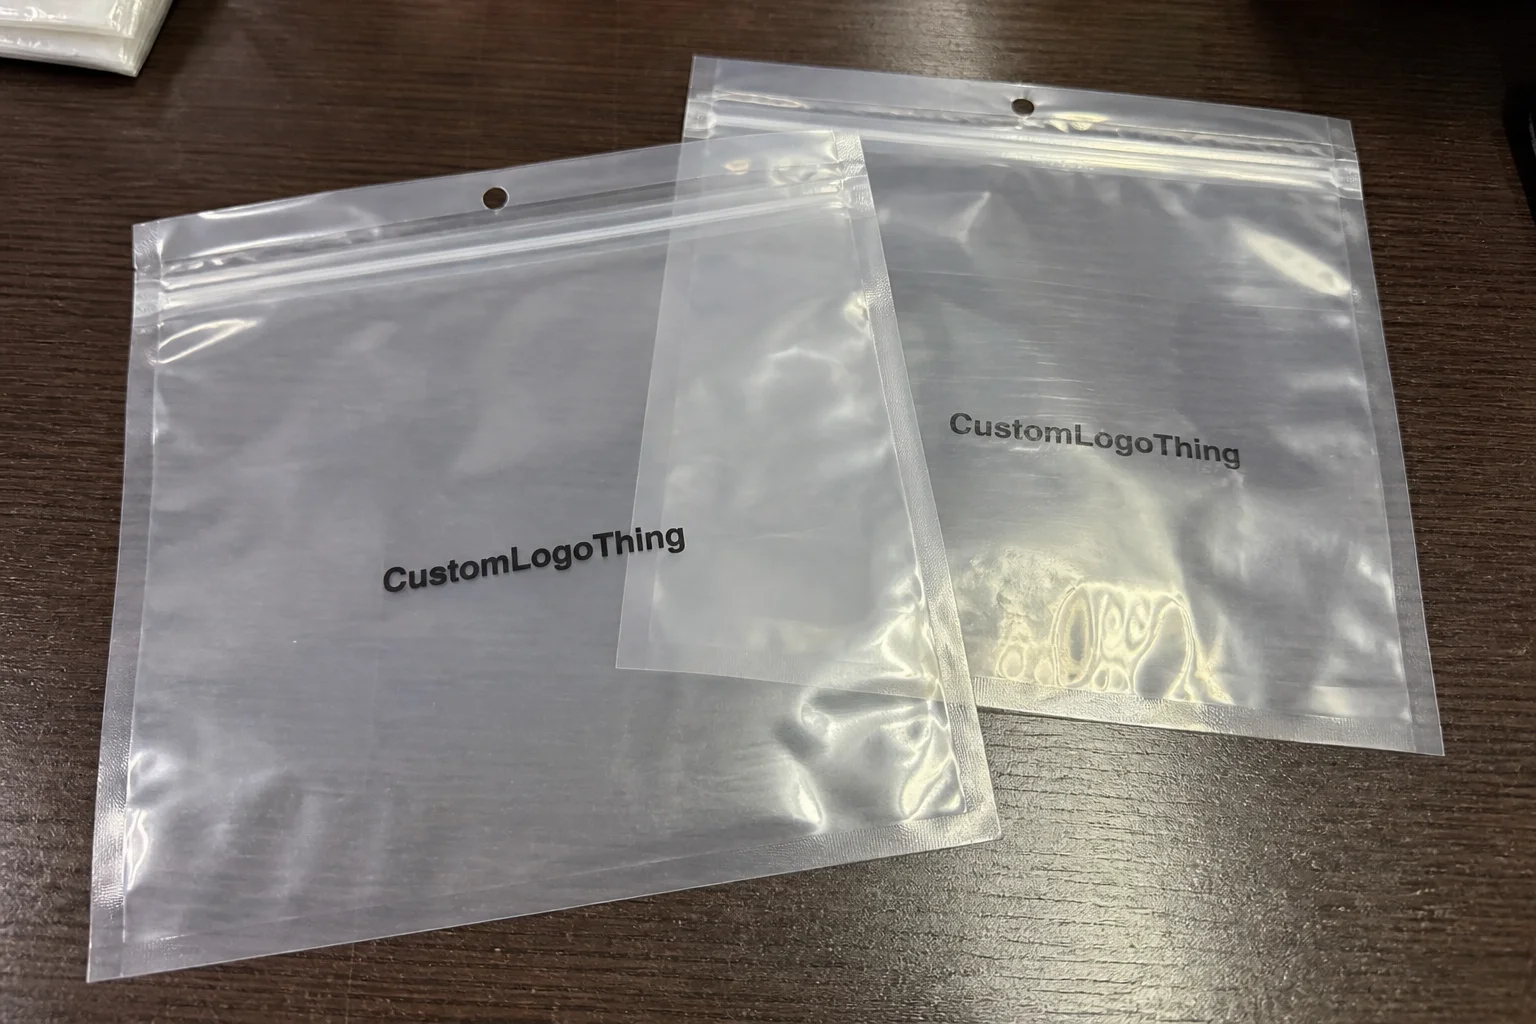
The perception shift is immediate. A clear unprinted pouch says basic. A printed zipper bag with a clean logo, a product name, and a simple use instruction says the job was planned. Buyers notice that before they inspect the contents. I see it most clearly in sample programs and small retail launches, where the package may be the first physical proof that the brand took the product seriously.
That does not mean decoration gets to outrank function. The bag still has to open cleanly, seal consistently, and protect the item through handling and transit. If it looks good but leaks, tears, or fights the user on the first open, the branding has already been diluted.
Good packaging rarely calls attention to itself for the wrong reason. It disappears into the product experience until the moment it has to prove something.
How custom printing and zipper closures work
The basic structure is straightforward: film, seals, zipper track, and sometimes a tear notch or hang hole. The film may be a single-layer polyethylene structure or a laminated build, depending on the product, print method, and barrier target. A clear window can stay unprinted for visibility, while the rest of the surface carries the brand, handling notes, or compliance text.
Print method matters more than many buyers expect. A simple one-color logo is usually less expensive than full-coverage artwork, and the location of the artwork affects both visibility and cost. Printing near the seals or zipper can limit usable space, so the artwork layout has to respect the bag’s physical geometry. Small bags are especially unforgiving here. You can fit a lot less than the design file suggests.
Closure style changes usability. A standard press-to-close zipper is common for general use and repeated access. Slider closures make opening easier for some users and can improve perceived quality, but they add cost and complexity. Tamper-evident designs help in some food and retail applications, though they are not the right choice for every use case.
Before production, buyers usually approve the final size, film type, artwork, finish, bag style, and proof format. That approval step is where most mistakes are caught early, because the bag on screen and the bag on the line are never identical. A good proof shows actual placement, safe zones, zipper clearance, and any area where print must stop.
The best printed zipper bag is not just attractive. It still seals predictably, still opens without a fight, and still protects the contents during transport and storage. Decoration is easy. Reliable function is the part that earns the reorder.
Material, thickness, and barrier specs that matter
Most buyers encounter polyethylene first, usually LDPE or LLDPE, because it is flexible, clear enough for presentation, and well suited to zipper bags. Laminated structures show up when a job needs more stiffness, a stronger print surface, or better barrier performance. The tradeoff is simple: more structure usually means more protection, but also more cost and less pliability.
Thickness is commonly described in mils or microns. A 2 mil bag can work well for lightweight items, but a 4 mil or 5 mil film may be better for parts with corners, heavier contents, or products that will be handled repeatedly. Thicker is not automatically better. If the contents are soft and light, overspecifying the film can make the bag harder to fill and less efficient to ship.
Barrier needs should be matched to the product, not guessed. Some items only need dust and scuff protection. Others need help against moisture, odor, oxygen, or light. If the product is sensitive, ask for numbers instead of vague claims. Moisture vapor transmission rate, oxygen transmission rate, and seal strength are all measurable, and buyers should feel comfortable asking for them. ASTM methods such as ASTM F88 for seal strength and ASTM D882 for tensile properties are useful reference points when a supplier is discussing performance in concrete terms.
Size and fill capacity also deserve attention. The bag should give enough room for the product, the zipper line, and any insert card or accessory without looking bloated. A package that is too tight can stress the seal. One that is too loose can feel sloppy on shelf or in a fulfillment workflow.
Print compatibility belongs in the same conversation as material selection. Not every film accepts every decoration method equally well, and ink adhesion can vary by substrate. Artwork and film need to be evaluated together. Separating them is how you end up with a bag that is technically correct but visually underwhelming or mechanically inconsistent.
For buyers who want to pressure-test claims, it helps to speak the language of the packaging industry. Organizations such as Packaging and the Institute of Packaging Professionals publish terminology that keeps conversations grounded, while transit testing often follows methods from ISTA. Those references are useful because they force suppliers to talk in measurable terms instead of adjectives.
Pricing, MOQ, and unit cost drivers
Price is usually driven by five variables: bag size, film type, print complexity, quantity, and add-ons such as sliders, hang holes, or specialty finishes. The quote that looks cheapest on paper can become the expensive option if it quietly excludes plates, proofs, freight, or a detail you actually need.
MOQ, or minimum order quantity, matters because setup costs have to be spread across the run. A small order often carries a higher unit price even if the total spend feels manageable. That is not a sales trick. It is basic production economics. A longer run usually lowers unit cost because the setup is amortized over more pieces.
| Option | Typical use | Indicative unit cost at 5,000 pcs | What drives the price |
|---|---|---|---|
| Clear LDPE zipper bag, one-color logo | Samples, light parts, simple retail inserts | $0.11-$0.22 | Bag size, print area, film gauge, basic proofing |
| Heavier 3 mil printed bag, two to four colors | Cosmetics, branded kits, small goods | $0.18-$0.35 | Artwork coverage, color count, material thickness, seal specs |
| Slider closure or specialty feature package | Premium retail, frequent reopen use, higher perceived value | $0.30-$0.65 | Hardware, extra assembly, slower run speed, tighter QC |
Those figures only help if the spec is identical. The fastest way to compare quotes is to match size, material, print coverage, closure style, quantity, and delivery terms. If one supplier quotes a 2 mil bag and another quotes a 4 mil bag, the lower price is not the better price. It is just a different product.
Hidden costs deserve a line item in your review. Proof revisions can add time, rush production can add charge, and freight can erase a price advantage on a thin-margin order. Even packaging configuration matters. If the bags are packed in inner cartons or counted in a special way, that can alter handling and shipping cost.
My rule is simple: ask for one quote with one exact spec set. Then compare total cost, unit cost, lead time, and what is included. Anything less is comparison theater.
Process, timeline, and turnaround from proof to delivery
The usual path is quote, artwork review, digital proof, approval, manufacturing, quality check, and shipping. Simple enough. The delays usually appear in the handoffs, not in the machine time. Most projects slow down because artwork is incomplete, dimensions are unclear, or the proof sits in someone’s inbox longer than expected.
For straightforward Printed Zipper Bags, a realistic lead time is often 12 to 15 business days after proof approval, with more complex jobs stretching longer. Special films, heavy print coverage, or unusually large volumes can push that window out. Rush service may be possible, but it costs more and leaves less room for corrections.
Buyers who keep the schedule tight usually arrive with a final dimension, a final quantity, print-ready files, delivery details, and any compliance needs already settled. That sounds basic. It still solves half the scheduling problems I see.
If the bags are going into shipping channels, transit testing can be worth a conversation. ISTA test methods are often used to simulate handling, vibration, and drop conditions before a package is scaled. That matters less for a sample pouch than for a retail pack that will move through fulfillment, distribution, and store handling. The point is not to over-engineer every order. The point is to know when shipping stress could break the package before the customer ever sees it.
For food-contact or regulated uses, ask for the supporting documents before you approve the run. In many cases, the right answer is not just yes, it can be made, but yes, it can be made with the right resin, ink, and documentation for your market.
Common ordering mistakes that raise risk
The first mistake is buying by size alone. The right bag depends on product weight, sharp edges, shelf display, handling frequency, and seal requirements. A bag that fits the product can still fail the job if it tears at the corners or looks undersized in retail presentation.
Artwork mistakes are just as common. Low-resolution files, missing bleed, and ignored safe zones create problems near the zipper track or seal area. On a small printable surface, a logo that looked fine on a monitor can become cramped, fuzzy, or hard to read. A lot of buyers do not notice the issue until the proof stage, which is already later than it should be.
Another trap is comparing quotes without matching specs. A bag with a lower unit price may be thinner, smaller, less color-intensive, or missing a feature that matters to your use case. That is how savings turn into a second order.
Functional oversights can be expensive too. If the package needs a hang hole, reseal frequency, or a tear notch for retail handling, those requirements should be in the brief from the beginning. Buyers also forget that food-contact products, cosmetic items, and regulated goods may require specific documentation, inks, or approved resins. If the product is sensitive, the packaging should be treated like part of the compliance chain, not a last-minute accessory.
There is one more mistake I see often: designing for internal approval instead of customer use. The bag may satisfy the brand team, but if the end user cannot open it easily, reseal it cleanly, or identify the contents quickly, the packaging has missed the point.
Expert tips for a cleaner, lower-risk order
Start with the product. Not the decoration. If the content is fragile, oily, odor-sensitive, or meant for repeated access, define that first. Then choose the structure that supports the job. That order of operations sounds obvious, yet many packaging briefs start with color and logo placement before anyone has asked what the bag actually needs to do.
Request a sample or mockup when the contents are premium, fragile, or highly visible on shelf. A small test run is cheaper than a failed first production lot. It also catches fit issues, zipper feel, and print balance before you are locked into scale.
Use one internal approval sheet. Include size, material, print colors, quantity, closure style, and delivery details in a single document. That keeps design, procurement, and operations from working off different versions. It also makes supplier conversations less ambiguous, which is where you save time.
If you are deciding between two materials or two price tiers, ask for a side-by-side spec comparison. The difference between a 2 mil and 4 mil bag, or between a clear bag and a laminated structure, is much easier to evaluate on paper than in a sales call. You want the tradeoff to be visible before the order is placed, not after the carton arrives.
Keep artwork disciplined if the budget is tight. Strong contrast, clear hierarchy, and a short message usually outperform a crowded layout on a small printable surface. The most effective bag graphics often look simpler than the original design file suggested.
One practical quality check is easy to miss: ask how the supplier verifies seal integrity and print alignment on the run. A reputable line should have an answer for seal strength sampling, zipper engagement, color consistency, and visual inspection of the first cartons. That is not overkill. It is what keeps a cheap-looking defect from multiplying across thousands of units.
The cheapest quote is usually the one that left out the detail your team will end up paying for later.
Next steps for a confident order
Build a short spec checklist before requesting quotes: product dimensions, target quantity, closure style, material preference, print colors, and any compliance needs. That one page will save you from back-and-forth that adds days to the schedule and muddies the pricing.
Then gather final artwork and confirm who signs off on the proof. If procurement, marketing, and operations all need to approve, decide the sequence before you ask a supplier to hold a slot. Otherwise the project drifts.
Ask each supplier for one exact spec set and compare the total package: unit price, setup charges, lead time, freight, and what is included in proofing. If the product is new, a small test run is usually the smartest first move. You learn fit, seal performance, and print appearance before you commit to the larger order.
That is the practical test I keep coming back to. If the bag protects well, looks right, and stays inside target cost, personalized ziplock bags stop acting like a commodity and start working as a useful brand asset.
FAQ
What sizes are most common for personalized ziplock bags?
The most common size depends on the product, but buyers usually start with a bag that leaves room for easy filling, a clean seal, and any insert card or accessory. Measure the item first, then add allowance for the zipper area and the way the package will be displayed or shipped.
How do personalized ziplock bags affect pricing?
Price is driven mainly by size, film type, print complexity, quantity, and features like sliders or hang holes. Larger runs usually lower the unit cost because setup is spread across more bags, while rush timing, proof changes, and freight can push the total higher.
What file type should I use for custom artwork on zipper bags?
Vector files are usually best for logos and text because they scale cleanly and keep edges sharp. High-resolution artwork matters for photos or detailed graphics, especially when the printable area is small. Before production, confirm bleed, safe zones, and color expectations so the proof matches the final bag.
How long does it usually take to produce personalized ziplock bags?
Timeline depends on artwork approval, order size, print method, and factory workload. Simple jobs often move faster after proof approval, while complex orders or specialty materials usually take longer. The quickest way to avoid delay is to submit final specs and final artwork together.
Are personalized ziplock bags suitable for food or retail products?
They can be, as long as the film, inks, and manufacturing process match the intended use. Food-contact or regulated applications may require specific materials and documentation, and retail products still need clear print, reliable sealing, and handling durability. In other words, personalized ziplock bags should be specified for the job, not just chosen for the logo.

