Buyer Fit Snapshot
| Best fit | Printed Poly Mailers Design for Better Brand Impact projects where brand print, material claims, artwork control, MOQ, and repeat-order consistency need to be specified before quoting. |
|---|---|
| Quote inputs | Share finished size, material target, print colors, finish, packing count, annual reorder estimate, ship-to region, and any compliance wording. |
| Proofing check | Approve dieline scale, logo placement, barcode or warning zones, color tolerance, closure strength, and carton packing before bulk production. |
| Main risk | Vague material claims, crowded artwork, missing packing details, or unclear freight terms can make a low unit price expensive after revisions. |
Fast answer: Printed Poly Mailers Design for Better Brand Impact: Film, Print, MOQ, and Carton Packing should be specified like a repeatable production item. The safest quote records material, print method, finish, artwork proof, packing count, and reorder notes in one written spec.
Production checks before approval
Compare the actual filled-product size with the drawing, then confirm tolerance on folds, seals, hang holes, label areas, and retail display edges. Reserve space for logos, QR codes, warning copy, and material claims before decorative graphics fill the panel.
Quote comparison points
Review material grade, print process, finish, sampling route, tooling charges, carton quantity, and freight assumptions side by side. A quote is only useful when the supplier can repeat the same color, closure quality, and packing count on the next order.
Printed Poly Mailers Design Tips: Why Small Packaging Choices Drive Big Results
I watched a skincare client in Los Angeles lift repeat orders by 18.7% in one quarter after switching from plain white mailers to branded ones. Same cleanser. Same price point. Same Shopify flow. Packaging was the only variable, and yes, these Printed Poly Mailers design tips helped drive that result.
When I first started auditing DTC packaging, I treated mailers like a throwaway line item. I was wrong by a mile. Founders miss this constantly: your mailer is often the first physical touchpoint. Not the ad. Not the PDP. The package that lands on a doorstep at 4:30 PM on a Tuesday. Customers make quality judgments in about 3-7 seconds once they pick it up. I’ve seen shoppers squeeze a mailer and decide whether a brand feels “cheap” before opening it, which is wild and also very human.
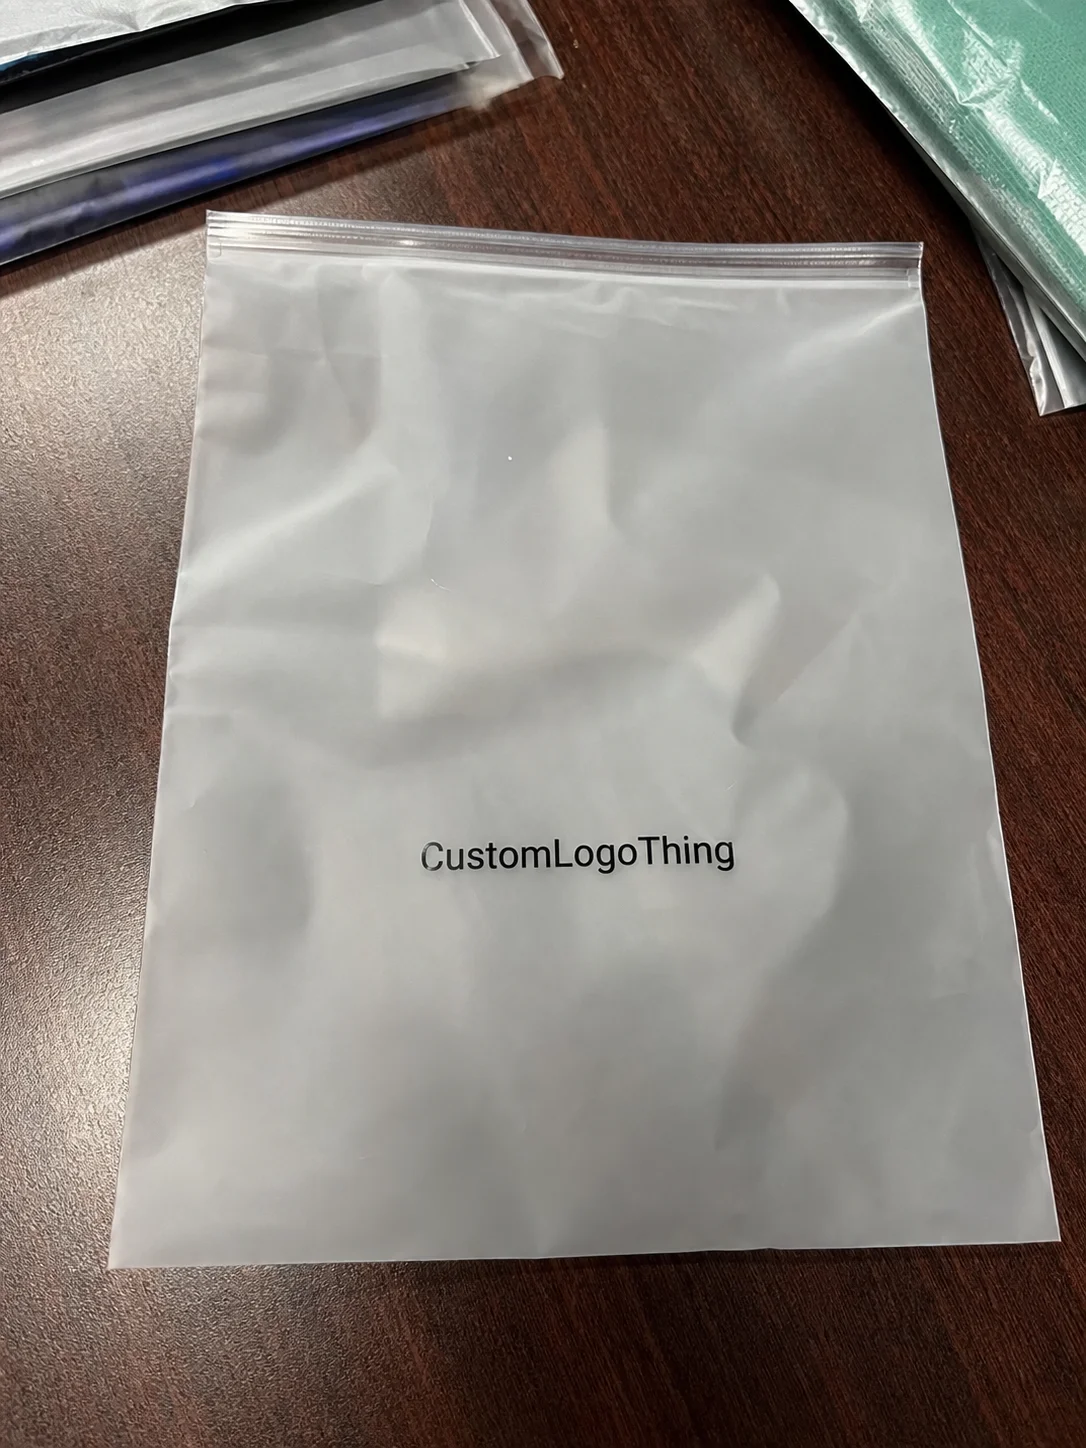
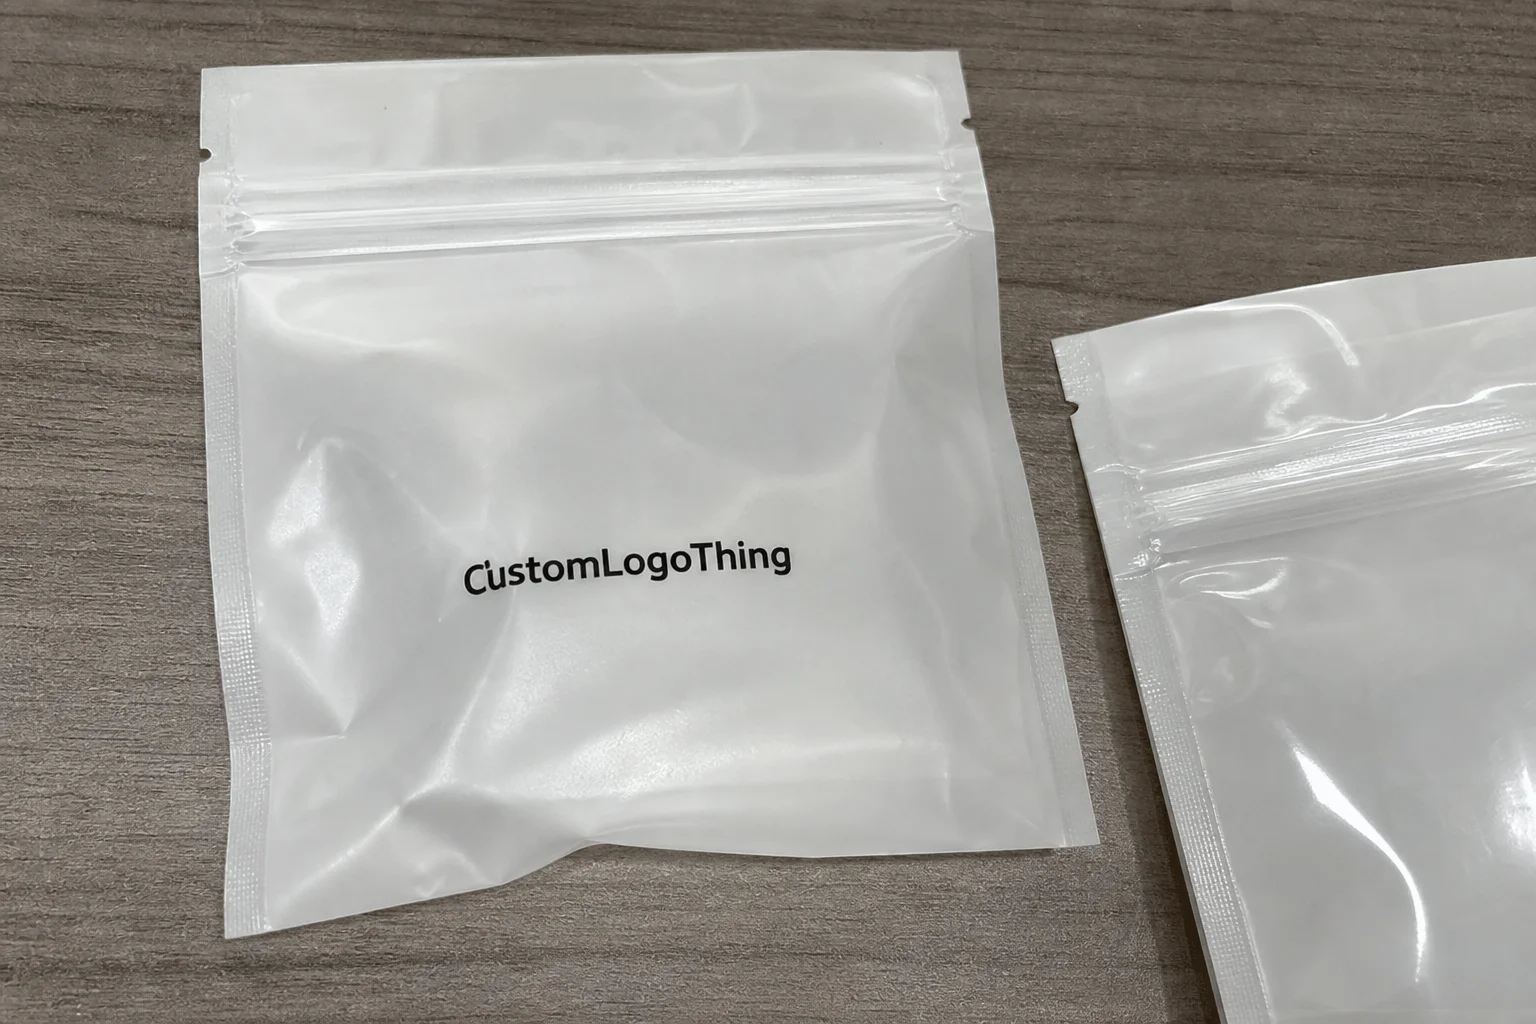
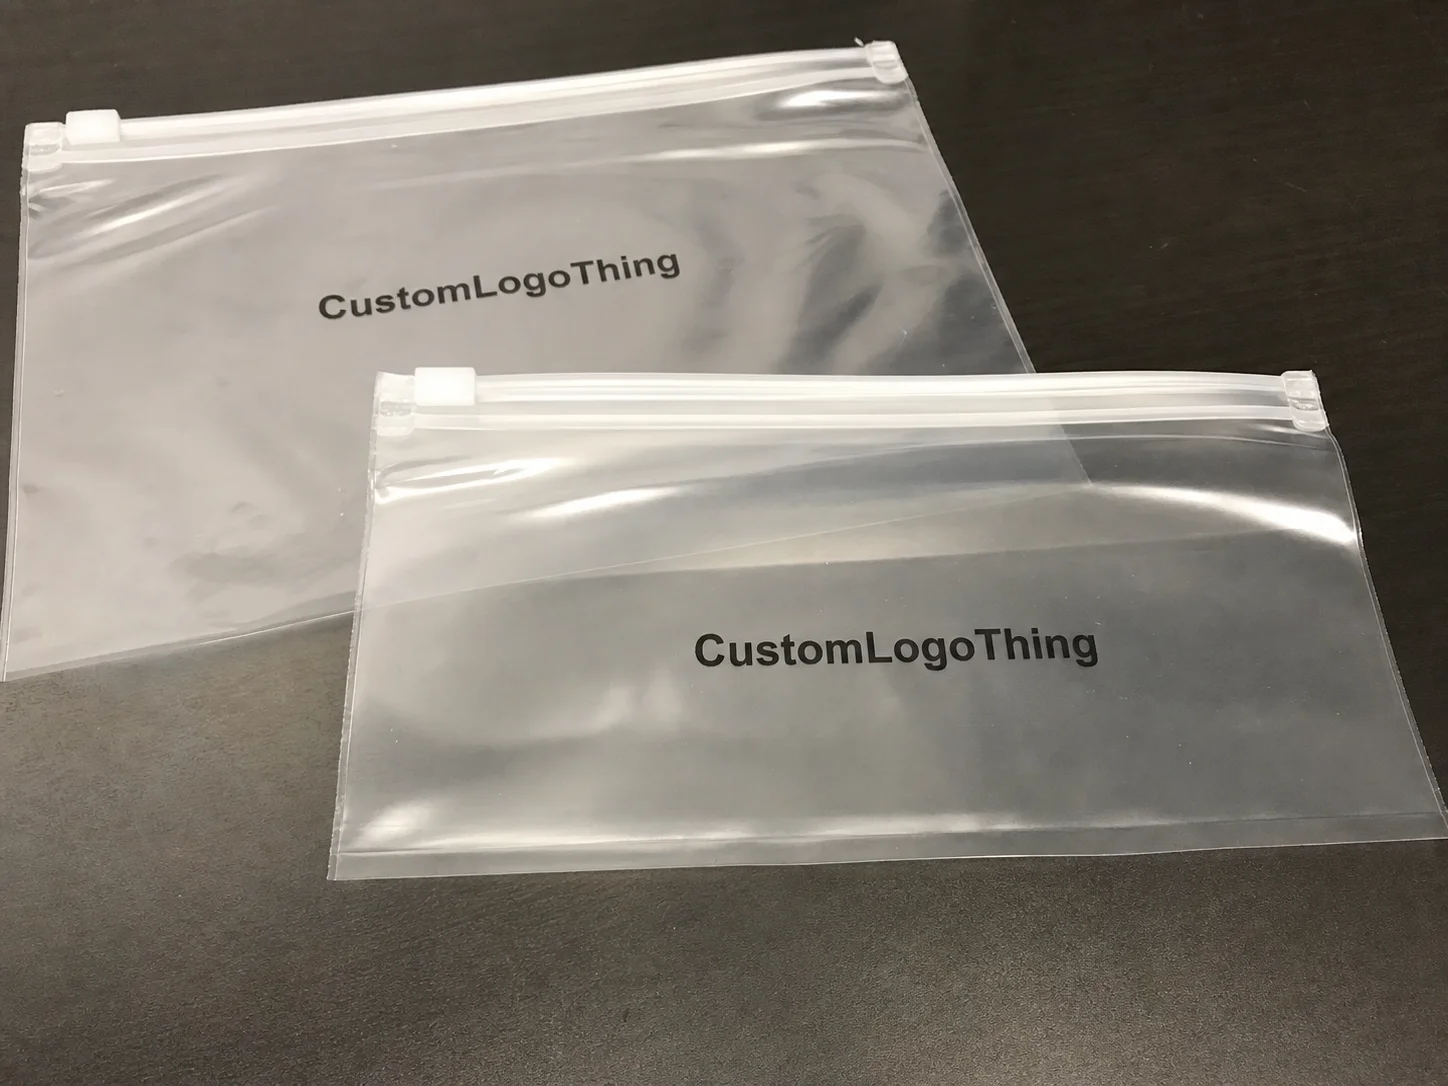
So what are Printed Poly Mailers? Plainly put, they’re lightweight shipping envelopes made from LDPE, HDPE, or a co-extruded blend (often 2 or 3 layers). Common gauges run from 2.25 mil to 3.5 mil for apparel and soft goods. They’re built for eCommerce fulfillment where you need moisture resistance, puncture strength, fast pack-out, and low dimensional weight.
These Printed Poly Mailers design tips matter for reasons beyond aesthetics. Bad contrast can hurt barcode scan rates. Weak seal specs can push damage claims up by 2-4% in busy shipping environments. Oversized dimensions can quietly add $0.60 to $2.10 per shipment depending on carrier zones and parcel profile. Cluttered artwork slows packing lines because teams can’t instantly orient the bag opening. A lot of “brand” choices quietly become operations problems.
During a converter visit in Dongguan, a QA lead showed me a reject pile from a beauty brand run: 11,000 units with smudged black caused by poor ink adhesion setup on matte film. One setup miss. Roughly $2,400 in wasted print value, plus a 9-day delay and rush air freight. Pretty mockups are easy. Production-grade execution is the real work.
This guide covers practical printed poly mailers design tips across design hierarchy, prepress, pricing, production timelines, and launch workflow. You’ll also see where brands overspend and where they dangerously under-spec materials.
If you’re sourcing now, review options in Custom Poly Mailers and compare specs against your current bags. If you’re still mapping your packaging stack, browse Custom Packaging Products so your mailer spec aligns with the rest of your system.
How Printed Poly Mailers Work From Artwork to Doorstep
Good mailers don’t “just get printed.” There’s a production chain, and every handoff can protect margin or burn it. These printed poly mailers design tips click faster when you see the workflow end to end.
Production flow from concept to conversion
- Concept + specs lock: Size, gauge (for example 2.5 mil), adhesive requirement, finish.
- Dieline build: Supplier-specific artboard with seam allowance and flap zone.
- Color proofing: Digital proof first, then physical drawdown for sensitive brand colors.
- Plate/cylinder setup: Flexo plates prepared per color station.
- Printing: Film rolls printed, dried, and checked for registration drift.
- Converting: Cutting, folding, side seals, flap adhesive application.
- QC: Seal strength pull tests, dimension checks, visual inspections.
- Packing + shipping: Cartonized by case count (often 250 or 500 per carton).
Flexographic printing still dominates medium-to-large runs because consistency stays strong and unit economics improve after setup. Digital options exist for short runs, usually under 2,000-3,000 pieces, but per-unit pricing can sting. One quote I received came in at $0.42 each for a 1,000-unit digital batch versus $0.14 each for 10,000 flexo units plus a $280 plate fee. That gap is real.
Material structure isn’t a footnote. Single-layer film can work for low-risk products like tees under 0.5 lb. Co-extruded film generally brings better opacity and puncture resistance, especially with corners, zippers, or boxed inserts. A typical co-ex mailer might use a white outer layer, black inner layer, and a structural middle layer for opacity and strength.
Adhesive strips are a quiet failure point. I’ve seen generic hot-melt strips pop open during Arizona summer transit when trailer temperatures moved past 120°F. Ask for adhesive performance ranges and test with your actual load weight. For returns, second-strip options usually add around $0.01-$0.03 per unit and often reduce support friction enough to pay for themselves.
Finish choices shape both perception and durability. Gloss can make colors pop, but it also shows scuffs. Matte reads premium, yet it needs proper ink/varnish pairing for rub resistance. Full-bleed graphics look dramatic, but slight registration drift (1-2 mm) becomes painfully obvious. A strategic white border can save your QA team’s blood pressure.
Logistics deserves equal attention. Carton footprint changes warehouse behavior. A 14.5" x 19" mailer packed 500/case takes much more pallet volume than a 10" x 13" at the same case count. Slotting, pick speed, and replenishment rhythm all shift, kinda fast once volume picks up.
Printed Poly Mailers Design Tips That Actually Matter
I’ll be blunt: most design files I review are overdesigned and underengineered. The best printed poly mailers design tips start with readability, not decoration.
Start with readability and hierarchy
Your logo should be legible from about 3-5 feet away. That usually requires strong contrast, enough clear space, and zero burying of the mark under noisy texture. If your brand color is pastel, pair it with high-contrast typography. I’ve rejected beautiful mockups because tracking copy disappeared under warehouse fluorescent lighting. Designers hate that feedback, but packages aren’t viewed in perfect studio light.
Use this order of importance on panel layout:
- Primary brand mark
- Secondary message (tagline, campaign line, URL)
- Functional marks (barcode zone, handling notes if needed)
- Social prompt or UGC cue (example: “Tag @brandname”)
These printed poly mailers design tips reduce cognitive clutter and improve usability for both customer and packer.
Color strategy: Pantone vs CMYK on poly film
If color accuracy matters, use Pantone spot colors for hero tones. CMYK on poly can shift, especially on matte films and darker bases. “Acceptable variance” can still look wrong to a brand team expecting screen-perfect output. Screens lie. Press results decide.
A client with a signature coral (Pantone 16-1546 family reference) kept drifting too orange in CMYK builds. We switched to spot and fixed it in one run. That added about $0.012 per unit at 20,000 pcs—far cheaper than running another apology email campaign.
Structure is design too
One universal size is usually a lazy choice. A 2-3 SKU strategy performs better for most apparel brands. Example:
- 10" x 13" for small apparel/accessories
- 12" x 15.5" for medium bundles
- 14.5" x 19" for bulky orders
Flap length should usually sit around 1.5" to 2". Seal width often lands at 10-15 mm for better hold. Return-strip options help brands with 15%+ return rates, especially in fashion. These are core printed poly mailers design tips, not fluff.
Respect print constraints and prepress rules
Keep important text at least 8-10 mm away from seams. Maintain barcode quiet zones (left/right clear margin) so scanners don’t choke. Add bleed according to supplier dieline—usually 3 mm minimum, sometimes 5 mm depending on conversion tolerance. Avoid ultra-thin lines under 0.25 pt; they can break up on film.
Orientation should match packing workflow. If packers load with flap at top, keep front-panel visual direction consistent across SKUs. Small operational choices save seconds per order. At 1,500 orders/day, seconds become labor cost. I know “seconds” sounds tiny until you’re staring at overtime payroll on a Friday night.
Sustainability messaging without greenwashing
Customers read claims more critically now. If you state recycled content, publish the number (“contains 50% post-consumer recycled content”) and keep supplier documentation on file. If recyclable only through store drop-off streams, say that clearly. The EPA guidance is a useful baseline for disposal language.
For fiber-based inserts or labels, FSC chain-of-custody claims should be verifiable; check standards at FSC.org. I’m not a legal advisor, so treat this as operational guidance, not legal compliance advice. Specific claims build trust. Vague eco copy does the opposite.
Bottom line: the strongest printed poly mailers design tips combine branding, production limits, and fulfillment logic in one file—not three disconnected conversations.
Cost and Pricing Breakdown for Custom Printed Poly Mailers
Money time. Everyone asks for the “best price,” then sends mismatched specs to three vendors and wonders why quotes swing by 40%. Keep specs consistent or your comparison is junk. Smart printed poly mailers design tips include pricing logic before design approval, not after.
Main cost drivers:
- Size (larger footprint = more film + ink)
- Gauge/thickness (2.25 mil vs 3.0 mil)
- Print colors (1-color to full process)
- Coverage percentage (light logo vs full flood)
- Quantity tier (1,000 vs 10,000 vs 50,000)
- Freight mode (ocean, truck, air)
Typical pricing from recent quotes I negotiated (US delivery, flexo, standard adhesive):
| Spec Example | Qty | Print Setup | Unit Price (EXW) | Estimated Landed (US warehouse) |
|---|---|---|---|---|
| 10" x 13", 2.5 mil, 1 color | 5,000 | $180 plate fee | $0.11 | $0.14-$0.16 |
| 12" x 15.5", 2.75 mil, 2 colors | 10,000 | $320 plate fee | $0.13 | $0.16-$0.19 |
| 14.5" x 19", 3.0 mil, 2 colors + return strip | 25,000 | $460 plate fee | $0.17 | $0.20-$0.24 |
| Digital short run, 10" x 13", full color | 1,000 | No plate | $0.35-$0.48 | $0.39-$0.55 |
One-time costs include plate/cylinder and artwork cleanup. Repeat runs are cheaper if nothing changes. Change one color station or dimensions and setup charges usually return. I’ve seen brands pay another $250 because someone “just nudged” a logo in final art. That phrase should come with a warning label.
Hidden traps are where margin leaks:
- Oversized mailers: more void space and potentially higher carrier charges.
- Underspec film: punctures, returns, refunds, reshipments.
- Weak adhesive: in-transit openings and claim headaches.
- Tiny order quantities: high unit cost plus rush reorder freight later.
Budget backward. Set a target landed Packaging Cost Per order (say $0.28). Subtract expected freight/storage ($0.06), then choose a mailer spec around $0.22 landed max. That framework beats emotional design decisions every time.
Put tolerances in writing. Ask suppliers for gauge tolerance (for example ±5%), size tolerance (±3 mm), and seal strength test method. Good printed poly mailers design tips always include enforceable specs.
Step-by-Step Process and Timeline to Launch Your Mailers
Predictable outcomes come from process. My best-performing clients follow one. My chaotic clients skip steps and pay for fixes. Think of these printed poly mailers design tips as insurance for your launch.
Step 1: Lock functional requirements first
Define what goes in the bag: dimensions, packed weight, edge profile, fragility, expected return rate. A 0.8 lb hoodie bundle needs different film than a 0.2 lb tee. Write this in a one-page spec sheet before design starts.
Step 2: Build artwork on supplier dieline
Don’t design on random mockup templates. Request the exact supplier dieline with seam, flap, adhesive zone, bleed, and safe area marked. Submit AI or print-ready PDF with outlined fonts and linked assets. These foundational printed poly mailers design tips prevent most prepress drama.
Step 3: Proof smart, not lazy
Get a digital proof every time. For larger runs (10,000+), request a physical sample or press proof. Check color, opacity, and seal performance with your actual product inside. One client skipped sample approval to save four days and lost three weeks fixing flap adhesion failure. Penny-wise, dollar-foolish.
I’ve been on those emergency calls. Nobody sounds calm, and everyone suddenly wishes they had waited for the sample.
Step 4: Approve a preproduction checklist
- Pantone callouts confirmed
- Barcode location + quiet zone approved
- Seam allowances acknowledged
- Carton labeling format set (SKU, qty, PO, lot)
- AQL or QC expectations aligned
Quality teams love clarity. Ambiguity creates arguments later.
Step 5: Production + QC + freight timeline
Typical timeline after deposit and final proof:
- Prepress/plate prep: 3-5 business days
- Printing and converting: 8-12 business days
- QC and cartonization: 1-3 business days
- Transit: 3-7 days domestic truck, longer for ocean routes
Realistic total is often 12-20 business days plus transit. Add buffer. Freight gets messy. Ports clog. Trucks miss appointments. Planning around perfect conditions is fantasy.
Step 6: Arrival inspection before full rollout
Randomly audit at least 1-2 cartons per pallet on receipt. Measure dimensions, run seal peel checks, and do a basic rub test on print. If your brand ships 5,000+ orders/week, create a simple incoming QC SOP and train receiving staff in 30 minutes. Strong printed poly mailers design tips don’t stop at artwork; they include warehouse reality.
“We thought inspection was overkill until we caught a mixed-lot carton where 400 bags had weak side seals. That one check saved us a customer support fire.” — DTC operations manager, apparel client in Texas
Common Printed Poly Mailer Mistakes (and Expensive Fixes)
I’ve made some of these mistakes myself. Early in my career, I approved a run from a monitor-only proof and got a muddy navy that looked nearly black indoors. We reprinted 15,000 pieces. Expensive lesson. Also, yes, I did stare at the ceiling that night replaying every decision.
Here are non-negotiable printed poly mailers design tips built from real scars.
Mistake 1: Designing for screen, not film
Fix: use realistic tolerances, physical references, and supplier proof standards. Film + ink + finish changes perception. Every time.
Mistake 2: One-size-fits-all mailer strategy
Fix: run 2-3 sizes. That usually cuts void space and can reduce shipping costs by measurable amounts. I’ve seen $0.34/order average savings for brands shipping 2,000 orders/month. That’s more than $8,000/year.
Mistake 3: Under-spec film gauge and adhesive
Fix: match material to product weight and route risk. For heavier apparel bundles, step up to 2.75 or 3.0 mil and verify seal performance with loaded drop tests. Teams using ISTA methods should align with ISTA transit test guidance for consistency.
Mistake 4: Ignoring warehouse workflow
Fix: add orientation cues and standardize flap direction across SKUs. Packing speed improvements of 5-10 seconds/order are common when presentation stays consistent.
Mistake 5: Missing compliance marks or disposal instructions
Fix: include recycling symbols, required warnings where applicable, and country markings if your channel requires them. Review before final art release, not after production starts.
Mistake 6: Ordering too little and paying later
Fix: set reorder points using average weekly usage and lead-time buffers. If lead time is 4 weeks and you use 3,000/week, reorder before hitting 15,000 on hand. Rush freight will crush any “savings” from tiny initial buys. I once watched a team spend five figures on rush air just to avoid a three-day stockout. Nobody celebrated that invoice.
These printed poly mailers design tips aren’t theory. They are direct fixes to common operational pain points you’re gonna hit if you skip planning.
Expert Tips and Next Steps: Turn Printed Poly Mailers Design Tips Into a Live Order
Ready to order? Keep execution simple and strict. Ask sharper questions. Suppliers respect buyers who know their specs. Here are final printed poly mailers design tips for turning planning into purchase.
Ask for data in writing
During quote review, request:
- Gauge tolerance range (example ±5%)
- Seal strength testing method and minimum threshold
- Ink adhesion/rub resistance notes
- Failure-rate benchmark from recent similar runs
I once negotiated a 1.5% reprint credit clause with a Shenzhen supplier after they missed seal specs on two prior jobs. You can ask for accountability if PO language is clear. This one habit separates experienced buyers from perpetually frustrated ones.
Pilot before full rollout
Run a 2-4 week pilot with two design versions or two sizes. Track:
- Damage/claim rate
- Packing time per order
- Customer mentions on social
- Return usability
- Landed packaging cost per shipment
Data beats opinion. Founder taste matters, but metrics pay the bills.
Use a launch scorecard
Score each criterion 1-5:
- Print consistency across batches
- Seal reliability in transit
- Brand readability at first glance
- Warehouse packing efficiency
- Total landed cost vs target
If any score lands below 4, revise specs before scaling volume.
Execution checklist
- Finalize specs sheet (size, gauge, adhesive, finish, print colors)
- Request apples-to-apples quotes from 2-3 vendors
- Submit artwork package (AI/PDF, Pantone refs, dimensions)
- Approve proof + sample
- Place PO with QC terms and delivery window
- Set reorder threshold in your inventory system
Actionable takeaway: before placing your next PO, run a 30-minute internal review with design, ops, and procurement using one shared spec sheet. Confirm six items only—size set, gauge, adhesive type, print method, QC tolerances, and reorder point. If any item is fuzzy, pause and fix it. That single meeting prevents most expensive mailer mistakes.
Final thought: treat mailers as a performance asset, not branded wrapping. Apply these printed poly mailers design tips well and you’ll get stronger unboxing impressions, fewer shipping issues, cleaner warehouse execution, and better unit economics on every shipment. And if you ever find yourself arguing about a 1 mm logo shift at 11:47 PM before press lock, welcome to packaging. You’re officially one of us.
FAQs
What are the most important printed poly mailers design tips for small brands?
Start with high-contrast branding and clear hierarchy before adding decorative graphics. Use 2-3 right-sized SKUs instead of one universal size. Prioritize seal strength and film gauge based on product weight (for example 2.5-3.0 mil for heavier apparel bundles). Then run a 2-4 week pilot and track packing speed, damage rate, and customer feedback.
How much do custom printed poly mailers usually cost per piece?
Unit cost depends on quantity, size, gauge, print method, and number of colors. A common range is around $0.11-$0.20 EXW for medium-to-large flexo runs, with first-run plate fees from roughly $180 to $500 depending on color stations and artwork complexity. Landed cost should include freight, duties where relevant, and receiving handling. The cheapest quote often becomes the most expensive if failure rates are high.
How long does it take to produce printed poly mailers from design approval?
Typical timing is 12-20 business days plus transit. Prepress may take 3-5 days, production 8-12 days, QC 1-3 days, then freight. Physical sampling can add time but usually prevents costly full-run errors. Set reorder points early so you avoid panic air freight.
What file setup is best for printed poly mailers design and print quality?
Use vector files (AI/PDF), outline fonts, and build from supplier dielines with bleed and safe zones. Add Pantone callouts for critical brand colors. Keep barcodes and fine text away from seams, folds, and adhesive zones. Confirm all dimensions against the actual converted size, not only flat mockup dimensions.
Can printed poly mailers be eco-friendlier without sacrificing durability?
Yes. Recycled-content film can work if performance is validated through sample testing (seal integrity, puncture resistance, rub durability). Keep ink coverage efficient and include clear disposal instructions customers can follow. Document environmental claims with supplier certifications or test records so messaging stays specific and credible.