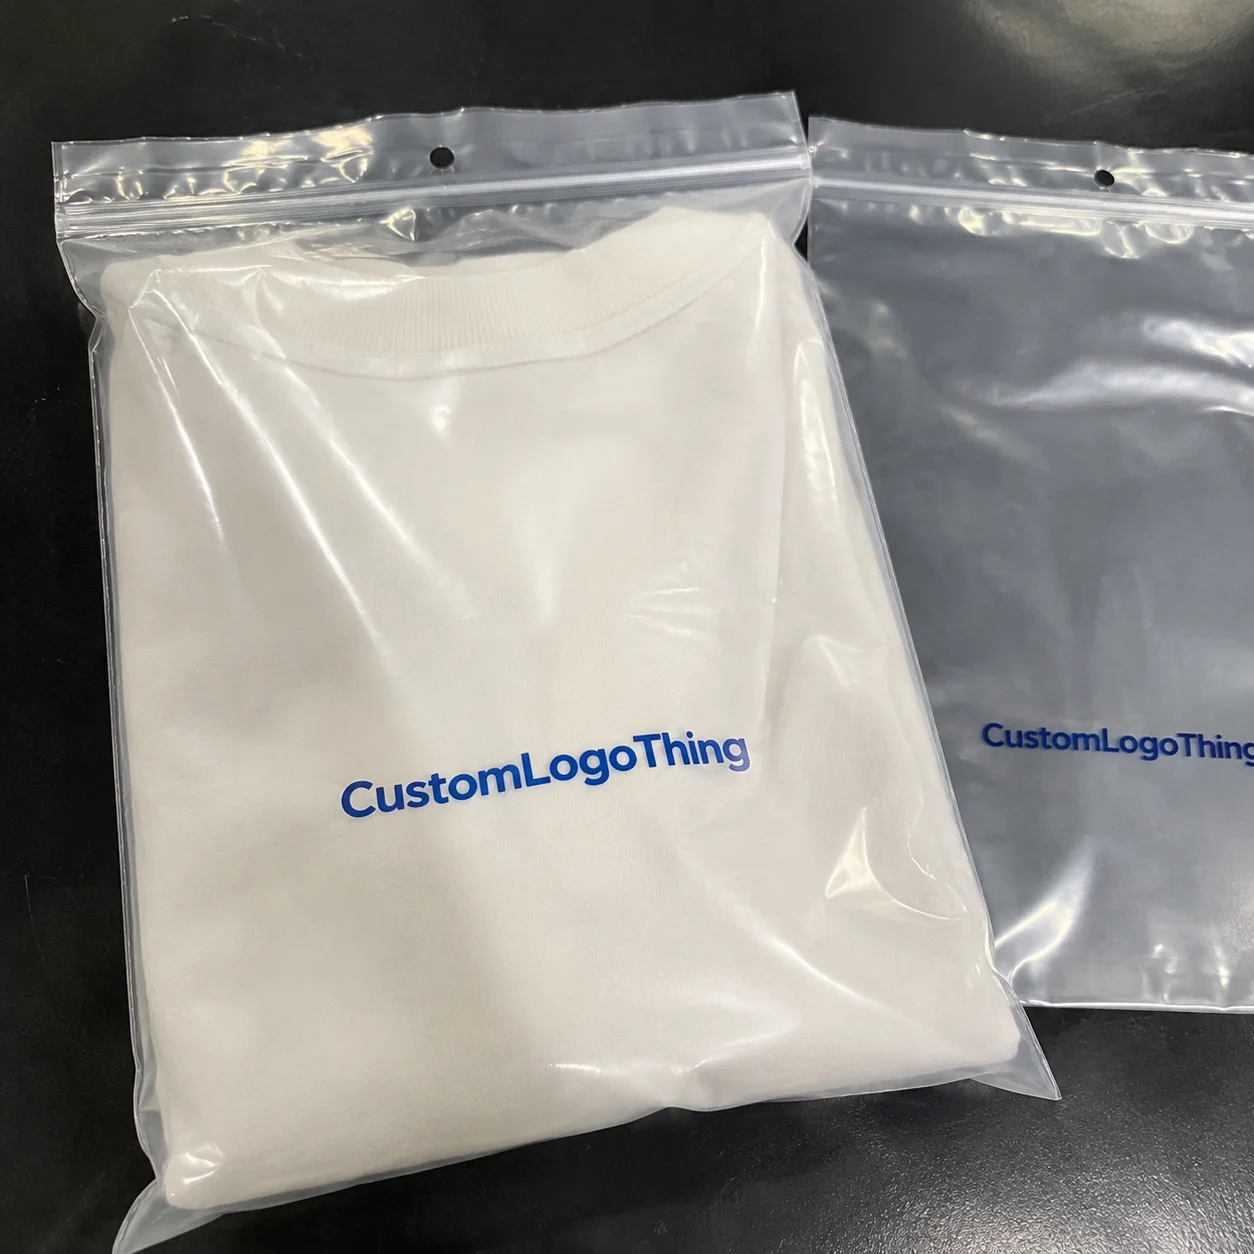
Buyer Fit Snapshot
| Best fit | Shipping Supplies Design Packaging projects where brand print, material claims, artwork control, MOQ, and repeat-order consistency need to be specified before quoting. |
|---|---|
| Quote inputs | Share finished size, material target, print colors, finish, packing count, annual reorder estimate, ship-to region, and any compliance wording. |
| Proofing check | Approve dieline scale, logo placement, barcode or warning zones, color tolerance, closure strength, and carton packing before bulk production. |
| Main risk | Vague material claims, crowded artwork, missing packing details, or unclear freight terms can make a low unit price expensive after revisions. |
Fast answer: Shipping Supplies Design Packaging: Material, Print, Proofing, and Reorder Risk should be specified like a repeatable production item. The safest quote records material, print method, finish, artwork proof, packing count, and reorder notes in one written spec.
Production checks before approval
Compare the actual filled-product size with the drawing, then confirm tolerance on folds, seals, hang holes, label areas, and retail display edges. Reserve space for logos, QR codes, warning copy, and material claims before decorative graphics fill the panel.
Quote comparison points
Review material grade, print process, finish, sampling route, tooling charges, carton quantity, and freight assumptions side by side. A quote is only useful when the supplier can repeat the same color, closure quality, and packing count on the next order.
I still remember a factory floor in Dongguan where a buyer proudly showed me their “budget” mailer. It was $0.04 cheaper than the stronger version on a 5,000-piece run, which sounded great until the first pallet of ceramic mugs came back with 11% damage and a very angry customer service team. I swear, that moment aged me a little. That is Shipping Supplies Design Tips in real life: the cheap-looking choice can become the expensive one very fast, especially once freight, returns, and rework hit the ledger.
Shipping supplies design tips are not about making boxes pretty for the sake of it. They are about choosing and arranging boxes, mailers, labels, inserts, tape, and cushioning so the product arrives intact, the packer works fast, and the brand looks competent instead of sloppy. I’ve spent 12 years in custom printing, and the same lesson kept showing up in factory visits, buyer meetings, and supplier negotiations from Shenzhen to Ningbo: design affects protection, freight, labor, and perception at the same time. If you ignore one of those, the rest usually gets more expensive. Honestly, I think that is why so many “simple” packaging decisions end up becoming emergency meetings with spreadsheets open at 7:30 p.m.
For Custom Logo Things, I’d frame shipping supplies design tips like this: the best packaging balances durability, cost, and usability. Not one metric. All three. I’ve seen teams save $0.08 on a carton and lose $1.40 in replacements, another $0.35 in customer support time, and a few repeat buyers. That math is not impressive. It is just bad packaging with a nice logo on it, usually approved too late in the process to fix without a rush fee.
Shipping Supplies Design Tips: Why Small Packaging Choices Matter
People love to talk about “branding,” but the first thing your shipping supplies design tips should solve is damage control. If a carton crushes, a poly mailer tears, or an insert lets the product rattle around like loose coins, the customer does not care how elegant your logo looked. They care that the item arrived broken or scuffed. And they will absolutely remember the broken thing more vividly than your beautifully kerned typeface, especially if it came from a $0.12 mailer that looked fine on a sample table in Guangzhou.
Here’s the plain-English version of shipping supplies design: it is the process of choosing transit packaging elements so they protect the product, move efficiently through order fulfillment, and still represent the brand. That includes shipping materials like corrugated boxes, kraft mailers, poly mailers, tissue, foam, molded pulp, branded tape, and labels. It also includes the invisible stuff: fit tolerance, closure strength, stackability, and how quickly a packer can actually use the material without hunting for a knife or extra void fill. I remember one packing line in Suzhou where the tape dispenser was practically a required personality trait; if you didn’t know its little quirks, the whole station slowed down like a stubborn elevator on the 8th floor.
I visited a cosmetics fulfillment line in Shenzhen where the operator had to fold three flaps, insert two pads, tape four edges, and then peel a tiny sticker from a curled roll. Average pack time was 1 minute 18 seconds per unit across a 400-unit afternoon sample. We changed the box structure, moved the label panel to the top right, and reduced it to 43 seconds. Same product. Same brand. Different shipping supplies design tips applied with a little common sense and a 2 mm shift in the dieline.
Shipping supplies design tips also affect freight cost in ways people underestimate. A box that is 1.25 inches too large can trigger higher dimensional weight charges, especially in ecommerce shipping where carriers bill by cubic size as much as actual pounds. Toss in extra void fill and you are paying to ship air. Air is not a product. Your carrier loves it, though. I’ve never once seen a carrier say, “You know what, just keep the empty space for free.” On a 3,000-order month, that difference can be the cost of a small ad campaign.
Good packaging also reduces labor friction. Faster closures, clearer label areas, fewer insert parts, and consistent fold lines all make packing easier. That matters in order fulfillment because a design that saves 8 seconds per unit on 5,000 orders is not “tiny.” It is 11.1 labor hours. I have watched suppliers quote beautiful custom packaging that looked amazing in renders and then collapsed on the line because nobody tested how a tired picker would fold it on a busy Friday. That sort of thing makes me want to politely stare at a sample for longer than necessary while someone fetches the production sample from the wrong shelf again.
So yes, shipping supplies design tips are about protection. But they are equally about economics and customer perception. A package that arrives clean, compact, and easy to open makes the brand feel trustworthy. A package that arrives dented, over-taped, or swimming in filler makes the brand feel careless. People remember that, whether the shipment came through a regional hub in Dallas or a cross-border route into the UK.
“We thought we were saving money with the thinner mailer,” one client told me after a rough quarter. “Turns out we were funding returns, replacements, and three very unhappy wholesale accounts.” Exactly. Packaging is not a decoration budget.
How Shipping Supplies Design Works in Real Operations
Shipping supplies design tips only make sense if you understand the actual workflow. I always start with the product, not the artwork. Measure the product’s length, width, height, weight, fragility, and accessory count. A candle with a glass lid is not packaged like a stack of folded tees, and a hardcover journal is not handled like a liquid refill pouch. Obvious? Sure. Yet I still see teams choose packaging by guessing from the website photo, which is a wonderfully confident way to create avoidable headaches before a 2,000-unit launch.
The workflow usually goes like this: product dimensions first, then carton or mailer selection, then insert design, then sealing method, then label placement, then final carrier handling. If the product shifts inside the box, the insert design failed. If the box bursts at the seam, the closure system failed. If the label gets wrapped around a curve or hidden under branding, the shipping process slows down. Shipping supplies design tips have to cover the whole sequence, not just one pretty mockup on a PDF someone approved on a Monday morning.
Shipping lane matters too. Local parcel shipping can tolerate different packaging than long-haul freight, and international transit has its own headaches. Moisture changes. Temperature swings. More handling points. Rougher last-mile delivery. I once saw a brand shipping scented candles to the UK in a thin retail-style mailer because it looked cute in the studio. On the first long-haul run, the corners crushed during pallet compression and then again during local carrier transfer. Cute did not survive Birmingham. It barely survived the sorting hub in Coventry, honestly, and the replacement cost landed close to $2.60 per unit after re-shipments.
Structural design, print design, and operational design all need to work together. Structural design is how the box folds, stacks, resists crush, and opens. Print design is where the brand message, barcode, handling icons, and legal copy sit. Operational design is how the packing team uses the thing at speed. You can have a gorgeous full-color carton and still ruin the line if the fold sequence is awkward or the insert requires both hands and a prayer. I’ve seen that prayer part happen more than once in a factory near Foshan where the operator had 14 seconds to hit the hourly target.
Material choices that actually matter
Among the most practical shipping supplies design tips is choosing the right material for the route. A 32 ECT corrugated carton may be fine for light items moving short distances, but heavier products or fragile goods often need stronger board, better flute selection, or a custom insert. For mailers, thickness and seal performance matter a lot. A thin poly mailer might work for soft goods, while a 200 gsm kraft mailer can offer a more premium feel and stronger puncture resistance. Tape grade matters too. I have seen low-tack tape fail in cold storage in Chicago and humidity in Houston just because someone saved a few cents on the roll, and then acted surprised when the seal peeled back like a bad bandage.
Moisture resistance is another piece people skip. If your product crosses climate zones or sits on a porch overnight, transit packaging should account for humidity, condensation, and exposure. That can mean coated board, better adhesive, or a poly-lined insert. For brands selling through ecommerce shipping channels, that extra protection can prevent ugly returns that never should have happened, especially on routes from Shenzhen to Seattle during rainy season when cartons can pick up enough moisture to matter.
To see how material decisions fit into the overall system, I often point clients toward industry resources like the ISTA test standards and the Packaging School and industry packaging guidance. I’m not saying every package needs lab-grade certification. I am saying you should stop guessing. A basic drop test and compression check costs less than one round of replacements, and a simple test plan can be run in 2 to 3 days before you place a 10,000-piece order.
Shipping Supplies Design Tips for Cost, Pricing, and Materials
Let’s talk money, because packaging departments love to pretend cost is a dirty word. It is not. Cost is the game. Shipping supplies design tips should always account for material cost, print cost, assembly labor, storage space, shipping weight, and damage risk. If you only compare unit price, you are probably comparing the wrong thing, and the invoice will eventually remind you of that in a very specific way, usually after the cartons have already landed at the warehouse in Long Beach or Newark.
Here is a simple truth from supplier negotiations: spending $0.12 more on a stronger carton can save $0.40 in void fill, $0.18 in labor, and another $1.20 in returns. That is not theoretical. I ran that exact kind of math with a skincare brand using oversized stock boxes in a Ningbo-to-California fulfillment flow. The smaller custom size cost more per unit, but their dimensional weight dropped, and they cut breakage on glass bottles by nearly 40% after switching to a tighter insert. I remember the operations manager looking at the numbers, then looking back at me, and saying, “So we were paying extra to be wrong?” Yep. That was the entire issue.
When clients ask for shipping supplies design tips, I usually break the cost buckets into these pieces:
- Material cost: board, film, adhesive, coating, insert material.
- Printing cost: number of colors, coverage, plate or setup fees, special finishes.
- Assembly labor: how many folds, tapes, inserts, and manual steps.
- Storage space: how much room stock packaging occupies before use.
- Freight cost: carton weight and size, especially dimensional weight.
- Damage and return risk: the silent killer of “cheap” packaging.
I also tell buyers to compare options on a like-for-like basis. A quote for a custom printed box is meaningless if one supplier used 32 ECT board, another used 44 ECT, one included white ink, and one did not. Same with inserts. If one quote includes a die-cut pulp insert and another includes loose kraft crinkle, you are not comparing the same package. You are comparing headaches, and the headache is usually priced into the “cheap” quote later as extra freight or a second production run.
| Option | Typical Unit Cost | Best For | Main Tradeoff |
|---|---|---|---|
| Plain kraft mailer | $0.18 to $0.32 | Lightweight soft goods, samples, low-fragility items | Limited branding and lower crush resistance |
| Custom printed shipping box | $0.42 to $1.10 | Premium ecommerce shipping, boxed retail goods, subscription packs | Higher setup cost and storage space |
| Poly mailer | $0.05 to $0.14 | Apparel, soft goods, returns processing | Weak protection for rigid or fragile products |
| Branded tape + stock box | $0.28 to $0.55 combined | Fast-moving order fulfillment, moderate branding needs | Less premium unboxing experience |
| Molded insert system | $0.20 to $0.80 | Fragile, premium, or multi-component products | Tooling and lead time can be longer |
Those numbers vary by quantity, region, and specifications, obviously. A 5,000-piece run in Shenzhen won’t price the same as a 500-piece rush job in California. But the pattern stays the same: a packaging choice that looks cheaper on paper can cost more after freight, storage, and claims are counted. I have seen buyers celebrate a $0.03 savings and then spend $3,000 fixing the damage created by that decision, especially when the cartons were overpacked into a 40-foot container and arrived with crushed corners.
Minimum order quantities and tooling fees also matter. Custom sizes can feel expensive up front, especially if you are used to stock boxes from a distributor like Uline. But if your product is consistently forced into a box that is too large, you pay for extra board, extra filler, and extra dimensional weight every single shipment. Over a full quarter, the custom size often wins. Not always. But often enough that it deserves the math, especially when a die-cut insert costs $280 to tool and the annual savings reach $4,800.
If you are building a broader packaging program, the team at Custom Logo Things can usually help you structure the choices across Custom Packaging Products, Custom Shipping Boxes, and Custom Poly Mailers. That is especially useful if you are trying to standardize multiple SKUs without turning the warehouse into a labyrinth of mismatched carton sizes and half-used tape rolls.
Step-by-Step Shipping Supplies Design Tips Process
The best shipping supplies design tips follow a process. Random guessing is not a process. It is a gamble, and the house usually wins. Here is the sequence I use when I’m helping teams choose shipping materials for actual launch dates and not just pretty concept boards approved in a conference room in Los Angeles or Shanghai.
Step 1: Measure the product and define the risk
Start with dimensions, weight, surface sensitivity, and accessory count. A glass bottle with a pump, an instruction card, and a sample sachet needs different package protection than a paperback book or folded apparel. I also ask where the product fails most often. Is it corner crush, vibration, moisture, puncture, or seal failure? That answer changes the whole package, and it is much easier to answer after a 50-unit pilot than after 500 customer complaints.
Step 2: Map the shipment path
Trace the package from the packing bench to the carrier conveyor, then to the truck, sorting center, delivery van, and porch. Every handoff is a stress point. Long-haul routes and international transit usually need more resistance than local deliveries. If your package will be stacked on pallets or moved through rough last-mile handling, your transit packaging should reflect that reality instead of your brand mood board, which is not a substitute for freight data from actual lanes.
Step 3: Choose primary, secondary, and cushioning layers
Primary packaging touches the product. Secondary packaging holds it. Cushioning fills the void and absorbs shock. That sounds simple, but this is where shipping supplies design tips save money. If your product is already in a rigid retail carton, you may not need another bulky layer. If it is fragile, a snug outer carton plus molded pulp or die-cut foam may be the better move. I’ve seen teams overbuild the package just because they were nervous. Extra material is not automatically better. It is only better if it solves a measured risk, and a 350gsm C1S artboard insert is sometimes enough where a foam block would just add cost and landfill weight.
Step 4: Prototype and test
Build a sample and test fit first. Then test closure strength, drop behavior, and pack-out speed. An ISTA-style drop sequence is better than crossing your fingers and sending the package to a customer as the test lab. I would rather spend $150 on samples than $1,500 on claims. That is the easiest decision in packaging, and on many projects the sample round takes 3 to 5 business days if the dieline is already locked.
Step 5: Pilot with real staff
Put the sample on the actual packing table with the actual team. Watch them use it for 20 to 50 units. You will see issues no render can reveal: tape pulls too hard, inserts snag, labels curl, and fold lines confuse new staff. This is where shipping supplies design tips stop being theory and start being useful. Adjust the dieline, shift the label panel, trim the insert, then run another small test, ideally before you commit to the full 5,000-piece production order.
One of my favorite examples came from a subscription snack brand in Austin. Their box looked great, but the insert used a tight tab that caught on the packer’s glove. After one 30-minute pilot, we changed the tab angle by 7 millimeters and added a thumb notch. Assembly time dropped by 14 seconds per unit. That sounds tiny until you multiply it by 12,000 boxes a month. Tiny changes can be annoyingly powerful, especially when they save 46 labor hours over a quarter.
Common Shipping Supplies Design Mistakes to Avoid
The biggest mistakes in shipping supplies design tips are usually obvious in hindsight and expensive in real time. The first is choosing packaging that looks premium but is structurally weak. I’ve seen gorgeous matte black mailers with terrible seals. Pretty on a shelf. Useless in transit. Customers do not give bonus points for aesthetics after a torn seam ruins their order, especially if the shipment traveled from a warehouse in Illinois to a residential porch in winter.
The second mistake is oversized packaging. Too much empty space means more void fill, more cubic inches, and often more dimensional weight. It also means the product moves around more unless you add even more packing material. That is how a $0.22 mailer becomes a $0.90 headache. Oversizing is one of the most common shipping supplies design tips failures I see in ecommerce shipping audits, and it is maddening because the fix is usually so straightforward: use a carton that fits within 0.25 to 0.5 inches of the packed product where possible.
Packer ergonomics gets ignored a lot too. If the box needs two people to fold correctly, the line slows down. If the tape dispenser jams every 17 units, mistakes go up. If the insert only fits one way but is not clearly marked, staff flip it until it “kind of” works. Kind of is not good enough. It leads to inconsistent closures and damage, and that becomes very visible once you cross 1,000 orders a week.
Another mistake: overprinting everything. Branding matters, sure. But if the entire surface is covered in art, the barcode gets buried, the handling icon disappears, or the shipping label has nowhere clean to go. Then your beautiful package spends extra time at the fulfillment table because someone has to hunt for a flat spot. I like strong branding. I also like packages that scan. Call me old-fashioned, but a 4 x 6 shipping label needs a clear panel, not a full-bleed collage.
Skipping testing is the last big one. “It should be fine” is how people end up paying for returns and negative reviews. I had a client who refused to test a rigid mailer because the sample “felt strong.” It cracked on the first cold-weather shipment because the film became brittle in low temperatures. One test cycle would have caught it. Instead, they learned by refunding orders. A very expensive lesson, and one nobody was eager to repeat, especially once the replacement run needed a 9-business-day lead time from proof approval.
“The package was beautiful,” the operations manager said, “but beauty is not the KPI.” That line still makes me laugh, mostly because it was true.
Expert Shipping Supplies Design Tips from Factory and Supplier Negotiations
Factory visits teach you what mockups hide. I once walked a paperboard line in Guangdong where the supplier’s sample looked perfect, but the compression test data told a different story. Their glossy proof had nothing to do with the carton’s actual strength. We asked for board specs, caliper, compression numbers, and moisture handling details before moving forward. That should be standard. Instead, too many buyers still choose packaging from a render and a smile, then discover the practical issues only after a 20-foot container has already sailed.
Supplier vetting is one of the strongest shipping supplies design tips I can give. Ask for samples. Ask for board grade. Ask for adhesive specs. Ask for test data, especially if the product is heavy or fragile. If a supplier cannot explain the difference between print appearance and structural performance, keep moving. A nice mockup is not evidence. It is just a nice mockup, and it does not tell you whether the glue line will hold at 85% humidity in a warehouse outside Bangkok.
Negotiating total landed cost matters more than unit price. I learned this the hard way in a quote review with a supplier in Shenzhen who offered a “cheap” printed mailer. The unit price was attractive, but freight was higher because the cartons nested poorly, and storage cost went up because the stacks were awkward. By the time we added receiving, breakage, and the labor required to handle them, the quote was not cheap at all. It was expensive with marketing on top, and the finance team noticed within the first month.
Print design should also stay simple when the business case calls for it. One-color or two-color branding can deliver better ROI than full-coverage art if the package is moving fast through order fulfillment and the key goal is recognition, not luxury. A clean logo, a strong color panel, and clear handling space often outperform “let’s print every square inch” by a mile. I’ve seen very expensive full-bleed artwork get trashed by scuffs and conveyor rub anyway. That little layer of optimism did not help the carton survive the trip through a regional hub in Memphis.
Timing is another place where shipping supplies design tips save launches. Build in sample approval, dieline revisions, production lead time, and inbound receiving. If you think your new package will be ready in 10 days, you are probably forgetting one of those steps. I’ve seen a 2-millimeter insert tweak delay a launch by 8 business days because nobody planned for second-round signoff. Packaging timelines are rarely dramatic. They are just annoyingly cumulative, like a dozen tiny paper cuts to the schedule, and a typical custom run takes 12 to 15 business days from proof approval plus another 3 to 7 days for ocean or domestic transit depending on the region.
For brands trying to align sustainability and performance, I often suggest looking at FSC-certified paper options and recycling guidance from FSC or environmental practices from the EPA recycling resources. That does not mean every package needs to chase the greenest possible story. It means you should choose materials with eyes open, not vibes, and ideally with specs like 100% recycled kraft liner or water-based adhesive when the application allows it.
And yes, here is the boring win that saved money twice in one project: during one factory visit in Dongguan, we reduced a foam insert by 4 millimeters, and it cut both breakage and assembly time. No flashy graphics. No marketing campaign. Just a smaller insert, a tighter fit, and fewer complaints. Boring wins money. I’ll take boring, especially when the supplier quotes the new die-cut insert at $0.27 per unit for 5,000 pieces and the old one was costing $0.41 plus extra void fill.
Those are the shipping supplies design tips I trust after actual negotiation, not webinar theatre. If a supplier can’t discuss compression, caliper, nesting, lead time, and finishing cleanly, they are probably selling you decoration. I’m in the business of packages that arrive intact, with clear specs, a realistic lead time, and no surprises when the cartons hit the dock.
Next Steps for Better Shipping Supplies Design Tips
If you want shipping supplies Design Tips That Actually move the needle, start with an audit. List your top three damage issues, top three packing slowdowns, and top three shipping cost drivers. That gives you a useful map instead of a vague “we should improve packaging” note that dies in a meeting. A one-page audit with current unit cost, breakage rate, and pack time is usually enough to find the first savings opportunity.
Next, pull everything into one sheet: product measurements, photos of damage, current supplier specs, unit prices, and your current pack time. If the team uses different assumptions, you will get different answers. I’ve watched companies argue about packaging for 45 minutes before realizing one person was quoting a 1,000-piece run and another was quoting 10,000. Same package. Wrong math. It is not glamorous work, but neither is chasing down a shipment that arrived in pieces from a factory in Vietnam because the box wall was 3 mm thinner than expected.
Then order two or three sample versions and test them with real staff. Track time, waste, seal quality, and breakage. Do not just ask, “Do you like it?” Ask, “How long did it take to pack?” and “Did anything fail after 50 units?” Those are better questions for shipping supplies design tips because they measure operations, not feelings. If you can, run the test over 100 units across two shifts so you capture the difference between a fresh team and a tired one.
Finally, create a decision rule for future packaging. If a change saves money, reduces damage, or speeds packing, keep it. If it does none of those things, cut it. Simple. Ruthless, maybe. But packaging budgets do not care about sentiment, and neither do carrier invoices when dimensional weight jumps from 1.4 lb to 2.2 lb because the carton was chosen by instinct instead of measurement.
I’ll leave you with the same advice I give buyers after a long supplier call: start with one SKU, not the whole catalog. Fix the worst offender first. Once that package works, repeat the process across the rest. That is how shipping supplies design tips become actual results instead of another neat checklist on a shared drive, and it is usually how you get the fastest payback in 30 to 60 days.
If you apply shipping supplies design tips with real specs, real test data, and a little skepticism, you will reduce damage, control dimensional weight, and make order fulfillment faster. That is the whole point. Better shipping supplies design tips are not about making packaging fancier. They are about making it work, consistently, from the first 500-piece run to the next 20,000 units. So before you approve the next box, mailer, or insert, check the fit, verify the seal, and test the route the way the package will actually travel. That one habit usually saves the most money, and it keeps the whole shipping operation from getting kinda expensive for no good reason.
FAQs
What are the best shipping supplies design tips for fragile products?
Use a snug outer carton, strong inserts, and cushioning that stops movement instead of just filling space. I’d also test the package from the actual drop heights your carrier sees, usually 30 to 36 inches for parcel handling, and run at least 10 samples through corner-drop and edge-drop checks. Keep the fragile item away from the corners and side walls, because that is where impact damage is most likely to happen, especially on routes that include regional hub transfers in Atlanta or Ontario.
How do shipping supplies design tips help reduce costs?
They reduce damage, which cuts replacement and customer service costs. They also help avoid oversized boxes, so you pay less in dimensional weight and waste less void fill. In many packing lines, better design also speeds assembly by 5 to 15 seconds per unit, which adds up fast in order fulfillment. On a 4,000-order month, a 10-second gain saves about 11 hours of labor, which is meaningful even before you count fewer returns.
What should I test first when applying shipping supplies design tips?
Start with fit, closure strength, and pack-out speed. If the package is hard to assemble or the closure fails under light pressure, the rest of the test does not matter much. After that, run a small transit test with real shipping conditions and confirm that labels, barcodes, and handling instructions stay visible and readable. A simple 25-unit pilot in the actual packing area usually reveals more than a polished mockup ever will.
How long does the shipping supplies design process usually take?
Simple stock-based updates can move quickly if you only change inserts, labels, or tape. Custom packaging usually takes longer because you need sample review, dieline revisions, and production lead time. I’d build in extra time for testing too, because skipping that step usually costs more later than waiting a few extra business days. For many factories in Shenzhen or Dongguan, a straightforward custom box takes 12 to 15 business days from proof approval, while more complex inserts can push the timeline to 18 or 20 business days.
Can shipping supplies design tips improve branding too?
Yes. Packaging is often the first physical brand touchpoint the customer sees. A clean structure, readable branding, and consistent shipping materials make the brand feel more trustworthy. The trick is keeping performance and presentation balanced, because pretty packaging that arrives crushed is not branding. It is a complaint. A well-placed logo, a clear unboxing sequence, and a box that opens cleanly in under 20 seconds can do more for perception than another full-color layer ever will.