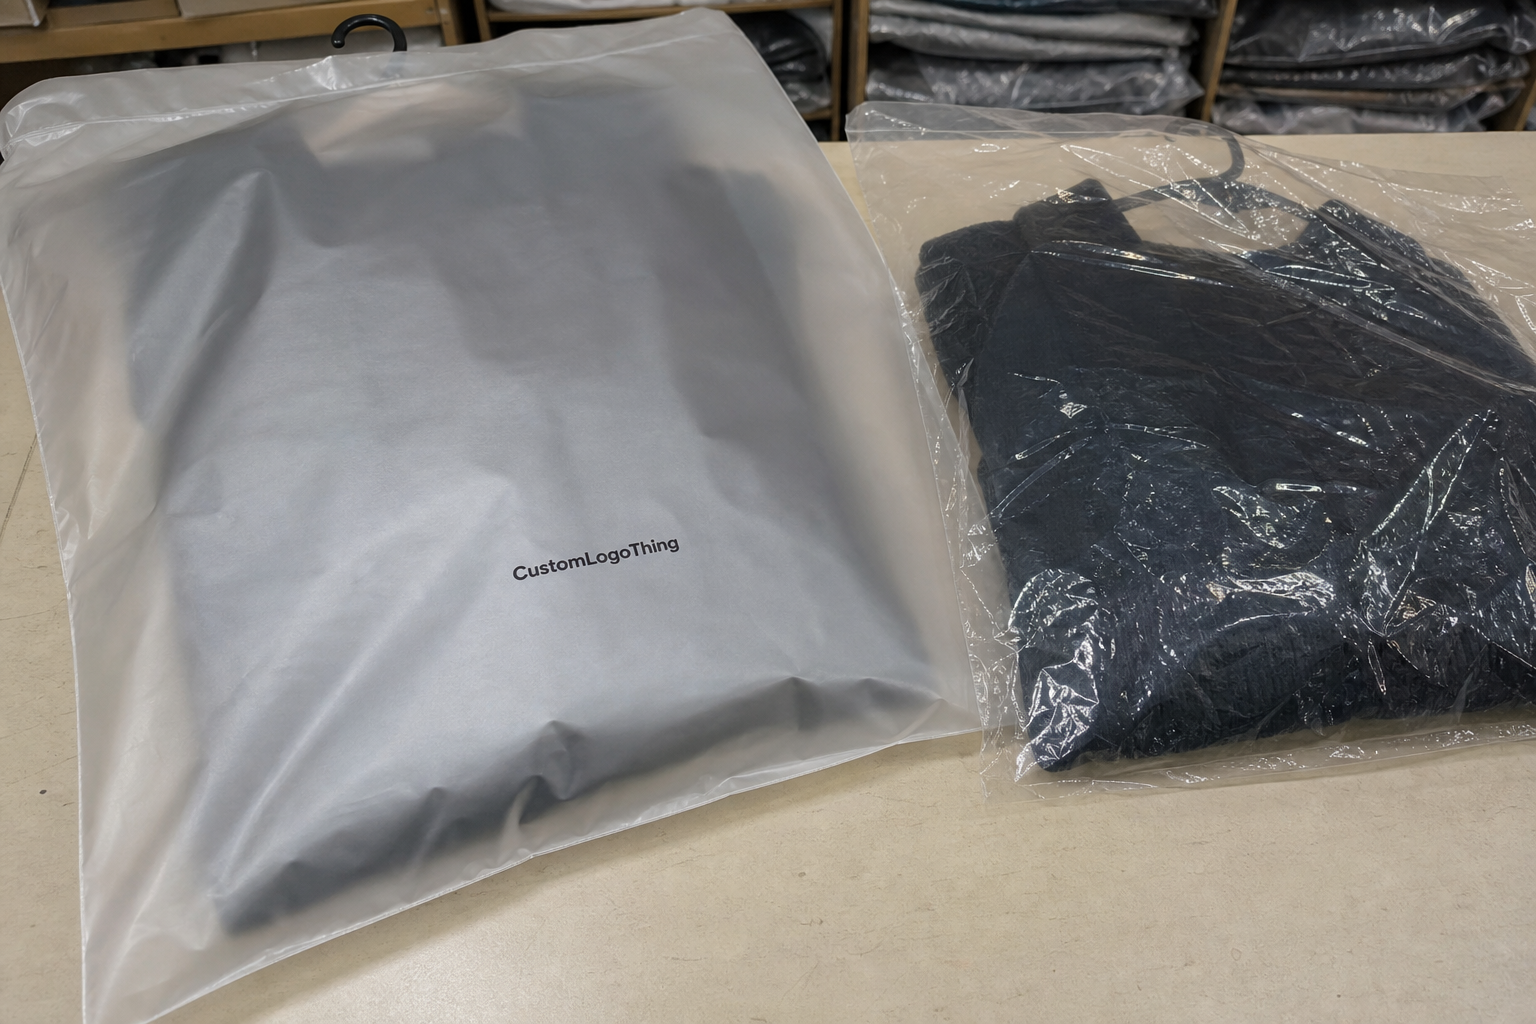
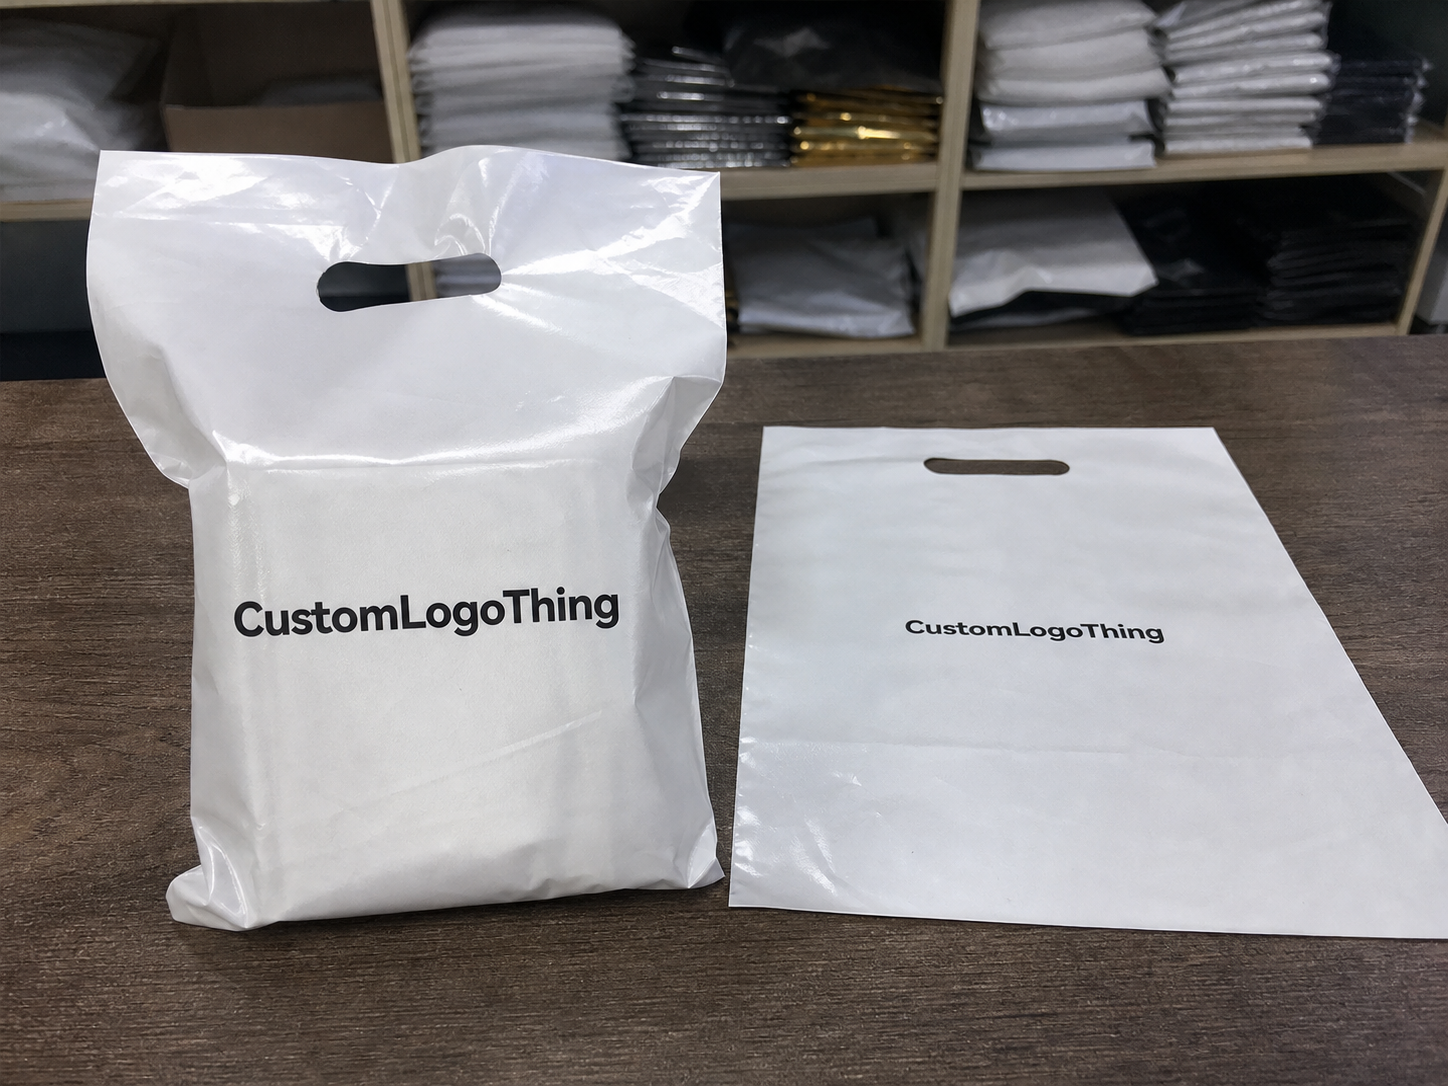
A silicone patch can look perfect in your hand and still fail on the garment. That is the first practical lesson in Silicone Patches for Apparel b2b sourcing. Buyers are not just buying a molded logo. They are buying how that logo behaves after stitching, heat pressing, washing, folding, carton packing, and retail handling.
Silicone patches are flexible molded branding components used on apparel, bags, uniforms, outerwear, headwear, workwear, and performance gear. Most are made from PVC-free silicone rubber and can include raised lettering, recessed details, debossed fields, color-filled areas, beveled edges, stitch channels, or heat-transfer backing.
They are popular for a reason. Silicone carries dimension better than a flat woven label and usually feels cleaner than a bulky embroidered badge. But the material has limits. Ignore those limits and you get curled edges, stiff hand feel, weak adhesion, muddy color fill, or a sewing operator quietly hating your trim spec. None of that is charming.
Silicone Patches for Apparel B2B Sourcing Starts at the Garment
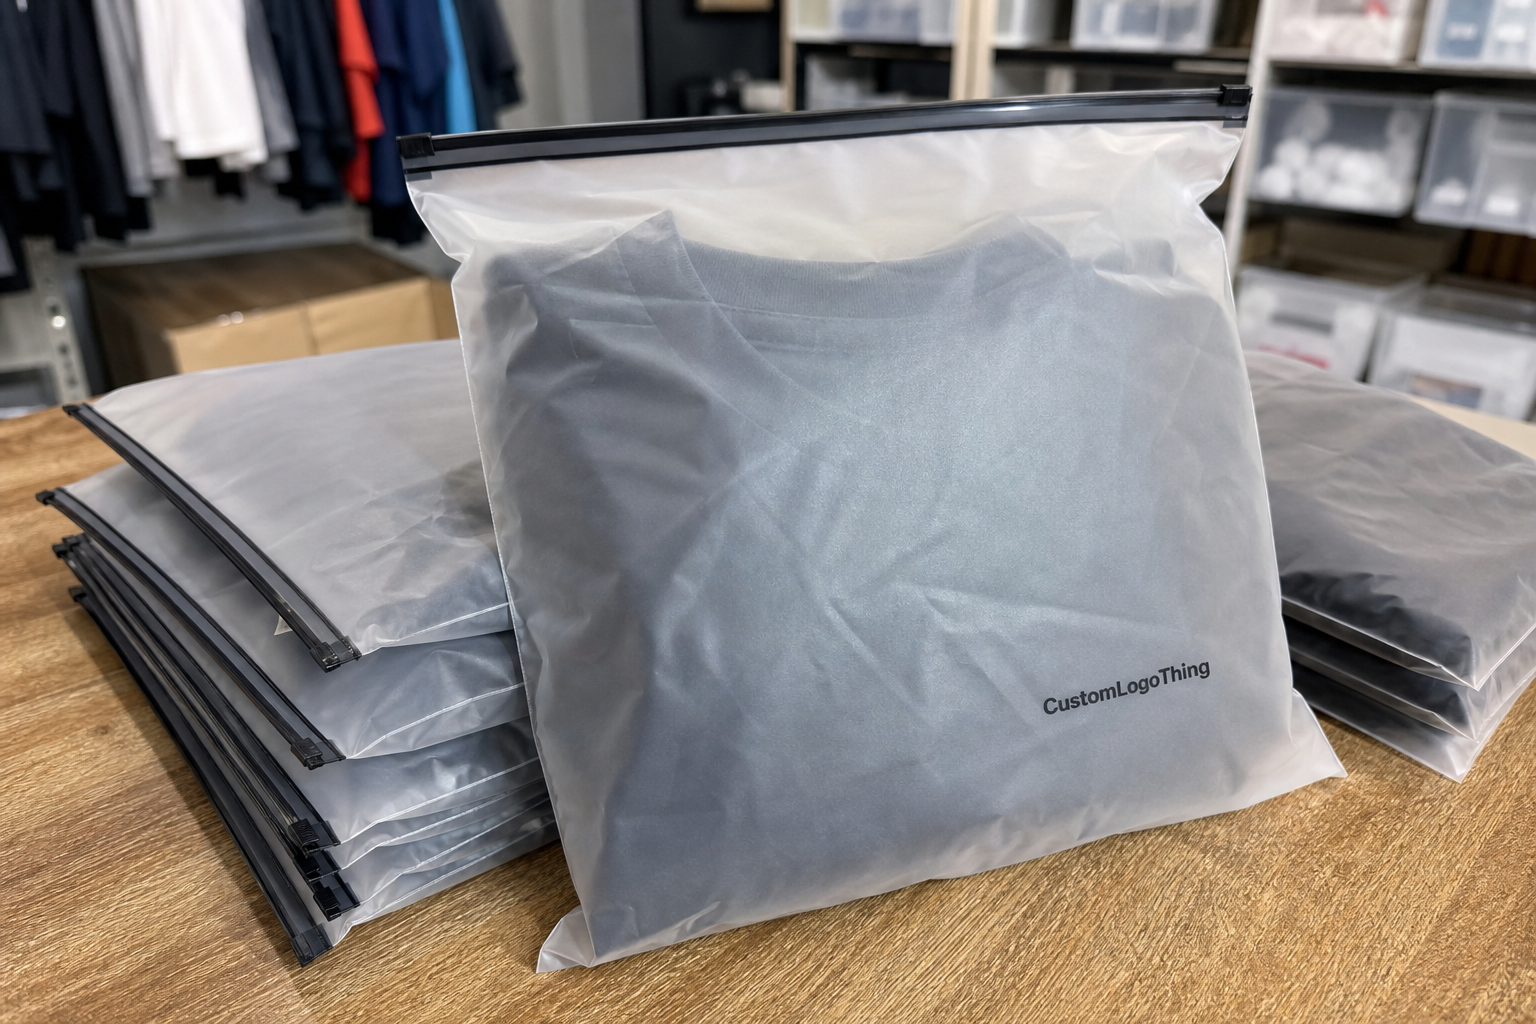
Most sourcing mistakes begin with treating the patch as a standalone decoration. Start with the garment instead: fabric weight, fiber content, stretch, wash cycle, placement, seam allowance, and packing method. A 2.5 mm raised silicone badge may look sharp on a 320gsm fleece hoodie. The same badge can feel like a refrigerator magnet on a 150gsm jersey T-shirt.
Silicone patches differ from woven labels or embroidery patches because tooling controls the final shape. You are dealing with mold design, cavity depth, color fill sequence, wall thickness, backing selection, and trim handling at the sewing floor. A woven label can often be adjusted by changing yarn colors or loom settings. A molded silicone patch may need a tool revision if the logo stroke is too thin, the border is too shallow, or the stitch groove sits in the wrong place.
Common uses include streetwear chest badges, sleeve branding, zipper pulls, outdoor gear logos, private-label trims, teamwear identification, retail hangtag combinations, and bag patches with grommet or rivet points. Many apparel programs also pair patches with polybags, barcode labels, hangtags, and carton routing as part of a larger trim package. For repeat programs, Custom Logo Things supports these details through Wholesale Programs, where quantities, packing, and reorder accuracy matter more than they do on a one-off promo order.
Practical callout: Approve the patch on the actual garment panel whenever possible. A loose sample tells you color and finish. A sewn or pressed sample tells you whether the trim belongs on that fabric.
Placement changes everything. A patch on a flat chest panel has different demands than one wrapped around a beanie cuff or sewn near a sleeve seam. Curved areas need more flexibility. Stretch fabrics need careful edge design. Outerwear can usually carry more thickness, but coated shells may reject heat-transfer films if the adhesive system is wrong.
How Molded Silicone Patches Are Made and Attached
The production flow usually starts with artwork cleanup. A supplier converts the logo into mold-ready vector art, separates colors, defines raised and recessed zones, and checks whether fine lines have enough silicone wall thickness to mold cleanly.
After proof approval, the order moves through mold design, mold making, silicone mixing, color filling, curing, demolding, trimming, inspection, backing application, and packing. Each stage can affect the final trim. A patch is small, yes. It still has a production process. Pretending otherwise is how deadlines slip.
Buyers often hear terms like 2D, 2.5D, and 3D. In plain language, 2D is mostly flat with simple raised or recessed areas. 2.5D adds more visible relief, such as raised lettering over a lower background. 3D uses rounded or sculpted surfaces where the logo has more shape. Deeper relief needs practical spacing. Tiny negative spaces, thin script fonts, and sharp inside corners can trap air or fill poorly.
Color also needs restraint. Solid color fill is common. Layered colors, translucent silicone, glow effects, and reflective details may be possible, but each effect changes cost, sampling time, and inspection risk. Pantone references are useful targets, not magic spells. Cured silicone can look slightly different under daylight, LED warehouse lighting, and retail lighting. For critical brand colors, ask for a physical color chip or pre-production sample. A monitor approval is not enough.
Attachment options should match the garment. Sew-on patches may use a stitch groove, raised border, or flat perimeter. Heat-transfer backing can work well on compatible fabrics, but it needs the right temperature, dwell time, pressure, and peel method. Temporary adhesive backing is usually for positioning only; it should not replace sewing on apparel that will be washed. Hook-and-loop backing works for tactical gear and uniforms. Rivets, grommets, or molded holes may suit bags and heavy outerwear.
Give the apparel factory handling instructions. A heat press at 150-165 degrees Celsius for 10-15 seconds may be suitable for one film and fabric pairing, while another coated nylon may scorch, shrink, or reject adhesion. Needle size, thread tension, stitch distance from the raised edge, and seam allowance can change the final look. For packaging and distribution planning, organizations such as ISTA publish transport testing resources that help buyers think beyond the trim itself and consider how finished goods move through cartons.
Key Specs Buyers Should Lock Before Requesting a Quote
A good quote starts with a clean spec. Send finished size, thickness, shape, number of colors, artwork format, raised or recessed areas, edge style, backing type, quantity, packing method, delivery location, and target in-hands date. If any of those items are missing, the supplier has to guess. Guesses become rework.
- Artwork: Vector AI, EPS, SVG, or print-ready PDF is preferred; low-resolution PNG files usually need cleanup.
- Size: Give width and height in millimeters or inches, plus tolerance expectations if placement is tight.
- Thickness: Many apparel patches fall around 1.5-3.5 mm, depending on garment type and design depth.
- Colors: Provide Pantone references and identify which areas are raised, recessed, or background fill.
- Backing: Choose sew-on, heat-transfer, hook-and-loop, adhesive positioning, or mechanical attachment.
- Packing: Define bulk bagging, separators, bundle counts, individual polybags, barcode labels, or carton marks.
Thickness deserves more attention than it usually gets. A thin 1.2-1.8 mm patch can feel premium on lightweight knits because it flexes with the fabric, but it may lose visual depth or curl if the border is poorly designed. A thicker 2.5-3.5 mm patch can look substantial on outerwear, backpacks, and work jackets. Put that same patch on a soft T-shirt and it may drag the fabric down. There is no universal best thickness. Anyone selling one is guessing.
Edges are not just cosmetic. A straight-cut edge is clean, but it can make sewing alignment less forgiving. A rounded bevel gives a softer hand and can reduce snagging. A raised border frames the logo and can protect color-filled areas. A stitch groove helps operators keep a consistent line, especially on larger orders. Heat-transfer perimeters need enough flat bonding area, often several millimeters, so the film can grip the fabric without lifting after wash testing.
Set tolerances before production. For many trim programs, small dimensional variation is normal, especially on flexible molded parts. If the patch must fit inside a pocket frame, align with embroidery, or sit between two seam lines, tell the supplier the placement constraint. A 1 mm difference may not matter on a backpack front. It can matter a lot on a narrow sleeve panel.
Compliance also belongs in the early brief, not after bulk goods are made. Buyers may need phthalate-free material statements, restricted substance documentation, skin-contact review, children’s product evaluation, or brand-specific chemical lists. For responsible paperboard, tags, and packaging paired with apparel trims, FSC resources can help buyers understand chain-of-custody language, although silicone itself is not an FSC material. For chemical restrictions, the end market and brand requirements drive the testing plan. Confirm the standard before production.
Cost, MOQ, and Unit Cost Drivers for Custom Silicone Badges
Pricing is built from several pieces: tooling, sample cost, unit cost, color complexity, patch size, thickness, backing, finishing labor, inspection level, packaging, freight, and testing paperwork. A quote that looks cheap can become expensive if it excludes the mold fee, sample revisions, or rush shipping needed to meet the garment factory’s trim deadline.
The mold fee is usually a one-time setup cost tied to the exact design. Change the finished size, deepen the logo, adjust the border, or move a stitch groove, and the old mold may no longer work. Small art changes can sometimes be handled during proofing. Physical mold revisions are a different conversation.
| Cost driver | Typical range or impact | Buyer note |
|---|---|---|
| Mold/tooling | Often about $60-$250 for standard apparel patch molds | Higher for large, deep, multi-cavity, or highly detailed designs |
| Unit cost | Often about $0.35-$1.80 per patch at B2B quantities | Size, colors, thickness, and backing move this number quickly |
| MOQ | Commonly 100-500 pieces for custom work | Small runs carry more setup cost per unit |
| Sample timing | Often 5-10 business days after proof approval | Complex color fill or special backing can add time |
| Bulk timing | Often 12-20 business days after sample approval | Quantity, inspection, and freight route affect delivery |
MOQ is less about a supplier being difficult and more about setup reality. Silicone must be mixed. Colors must be prepared. Molds must be run. Inspection must be organized. If you order 100 pieces, those setup steps are spread across very few units. If you order 5,000 pieces, unit cost usually improves, but forecasting needs to be tighter because excess trims in the wrong color or size tie up cash.
Design choices that raise cost include multiple color fills, tiny lettering, double-sided molding, translucent effects, glow pigments, reflective films, individual polybagging, barcode labels, heat-transfer backing, and stricter AQL inspection. Compare total landed cost, not unit price alone. Include tooling, samples, revisions, freight, duties, cartons, and the cost of stopping a sewing line because patches arrived late.
Also check what the quote assumes about rejects. Molded silicone parts can have small cosmetic defects: dust, surface marks, uneven fill, trapped air, or edge flash. A stricter inspection level reduces risk but adds labor. For retail apparel, that may be worth it. For an internal uniform program, the acceptable standard may be different. Define it instead of arguing after the cartons arrive.
Process and Timeline From Artwork to Bulk Delivery
A sensible sourcing sequence looks like this: initial brief, supplier review, quotation, artwork proof, mold setup, pre-production sample, sample approval, bulk production, quality inspection, packing, freight booking, and delivery. Skip steps and you might save a few days on paper. Then you lose two weeks fixing something the sample would have caught. Classic.
Simple one-color patches move faster. Multi-color molds, small cavities, compliance testing, heat-transfer backing, or repeated artwork edits extend the calendar. A realistic apparel trim schedule often allows 1-3 business days for quote review, 2-4 business days for proofing and corrections, 5-10 business days for sampling, and 12-20 business days for bulk production after approval. Freight is separate. Air may take several days once booked, while ocean or consolidated freight needs earlier planning.
Sample approval should be physical whenever possible. Check the finished size with a ruler. Bend the patch. Press it against the garment panel. Look at the logo depth, edge quality, surface finish, color separation, flexibility, backing adhesion, and stitch channel placement. If the patch will be sewn near a pocket, zipper, or sleeve seam, test that placement before bulk production. Two millimeters can matter when an operator is guiding fabric under a presser foot.
For heat-transfer patches, run a real application test. Use the intended press settings, actual garment fabric, and the same peel method planned for production. Then wash it. Look for edge lift, cracking, distortion, shine marks on the fabric, or adhesive bleed. A patch that survives one careful lab press may still fail if the factory floor has inconsistent pressure or worn press pads.
Build the schedule backward from the garment factory’s trim deadline, not the retail launch date. Apparel production needs labels, patches, zippers, buttons, thread, hangtags, and polybags ready before the line can run smoothly. If patches arrive after cut panels are waiting, the factory may resequence work, add storage handling, or push your order behind another program. That delay can cost more than the patches themselves.
Shipping deserves a sober look. Air freight helps urgent launches, but silicone trim can be dense, and heavy cartons make air expensive. Ocean or consolidated freight can lower cost on large trim orders, but it needs more planning and stronger carton marking. If you are coordinating silicone patches with other branded pieces, a structured Wholesale Programs workflow can help keep proofs, quantities, and delivery windows in one place.
Common Mistakes That Create Patch Defects or Delays
The first mistake is sending only a low-resolution logo and expecting the supplier to make every judgment. Silicone molding needs clean vector art, workable line weights, minimum spacing, and clear instructions for raised and recessed details. If the original logo has tiny text below 1.5 mm tall, it may need simplification for molding. That is not a design failure. It is physics being annoying but correct.
The second mistake is approving only a digital mockup. A render cannot prove flexibility, hand feel, color under real light, or wash behavior. For apparel sourcing, a physical sample is the checkpoint that catches curled edges, stiff thickness, muddy color fill, or a stitch groove that sits too close to the raised logo.
Overcomplicated artwork causes plenty of defects. Tiny letters, narrow gaps, sharp inside corners, and several small color islands can trap air, bleed visually, or blur after curing. A patch viewed from three feet away on a jacket sleeve does not need every detail from a full-size brand mark. Cleaner artwork often looks more premium because the molded edges are crisp.
Attachment mistakes are just as common. Heat-transfer backing should not be assumed for coated fabrics, heat-sensitive synthetics, rib knits, or highly textured fleece without testing. Temporary adhesive is helpful for positioning, but it is not a durable wash solution. Stitch lines placed too close to raised silicone make the sewing operator fight the trim, which leads to uneven seams, puckering, or skipped stitches.
Packing can damage good patches before they reach the sewing floor. Glossy surfaces may scuff if loose parts rub inside a carton. Mixed colors can transfer dust or debris. Heavy stacks can create pressure marks if parts are packed too soon after curing or without separators. Ask whether patches will be counted by bundle, layered with release sheets, bagged by color, or packed to match the garment factory’s line feeding plan.
Another quiet problem is version control. Apparel programs often have size runs, colorways, regional compliance needs, and staggered delivery dates. If the patch art changes between sample approval and reorder, label the revision clearly. Mold A and mold B may look similar in an email thread. They do not behave the same in production if one has a different border height or backing film.
Building a Clean Silicone Patch Sourcing Brief
A clean brief saves money because it reduces assumptions. Start with final vector artwork, target size, number of colors, Pantone references, desired thickness, raised and recessed areas, edge style, backing method, garment fabric, wash expectations, quantity tiers, delivery location, and required in-hands date. If the order supports a retail apparel launch, include the garment factory’s trim deadline too.
- Send the final logo in vector format and identify any elements that may be simplified for molding.
- State the intended placement, such as left chest, sleeve, hem, beanie cuff, backpack front, or zipper pull.
- Share fabric composition and weight, such as 80/20 cotton-poly fleece at 320gsm or coated nylon shell fabric.
- Choose the attachment path: sew-on, heat-transfer, hook-and-loop, rivet, grommet, or adhesive for positioning.
- Ask for quantity breaks, such as 250, 500, 1,000, 2,500, and 5,000 pieces, so pricing can be compared fairly.
- Define packing needs, including bulk cartons, bundle counts, color separation, barcode labels, or individual polybags.
If construction is still open, ask for two or three practical sample options. One thinner sew-on version may suit T-shirts or lightweight hoodies. One thicker raised-border version may suit outerwear. One heat-transfer version can be tested on the actual fabric panel. Paying for a few sample paths often costs less than forcing one untested spec into bulk production.
Ask for photos or short videos of the pre-production sample being flexed, bent, and shown beside a ruler. Scale and pliability are hard to judge from a flat render. A 45 mm patch and a 60 mm patch can feel completely different once placed on a sleeve, especially if the garment has stretch or a curved seam.
Evaluate suppliers by the questions they ask. A capable partner should ask about application, fabric, lead time, compliance, packing, and final use. If the response is only a low unit price with no discussion of backing, stitch channel, wash testing, or delivery timing, be cautious. Cheap trim that misses the sewing window is not cheap. It is just a small object causing a large problem.
For many buyers, the strongest process is to treat patches, hangtags, bags, and carton labels as one coordinated trim package rather than a scatter of separate purchases. If that fits your program, Custom Logo Things can support repeat ordering and quantity planning through Wholesale Programs. The main point is simple: silicone patch sourcing works best when the patch is treated as part of the garment system, not as a last-minute decoration ordered after production pressure has already started.
FAQs
What should I prepare before silicone patch sourcing for apparel?
Prepare vector artwork, finished dimensions, color references, desired thickness, backing method, garment fabric details, order quantity, delivery deadline, and any compliance or testing requirements. If the patch will be sewn or heat pressed, share the exact garment panel or a fabric swatch so the supplier can advise on stitch channel, edge design, and attachment method.
Are silicone patches better than woven labels for B2B apparel programs?
Silicone patches are better when the brand wants a raised, rubber-like trim with strong dimension, weather resistance, and a modern hand feel. Woven labels are usually thinner, softer, and more economical for neck labels, care labels, and high-detail textile branding. The right choice depends on placement, garment type, wash requirements, and the kind of brand signal the trim needs to carry.
What affects the cost of custom silicone patches for clothing?
Main cost drivers include mold complexity, patch size, thickness, number of colors, backing type, quantity, inspection level, packaging, freight, and testing needs. A low unit cost can still be expensive if tooling, sampling, rush shipping, or rejected bulk production is missing from the comparison.
How long does B2B silicone patch production usually take?
Timing depends on artwork readiness, mold complexity, sample revisions, production quantity, backing method, and freight route. A practical schedule often includes a few days for quote and proof review, 5-10 business days for sampling after proof approval, and 12-20 business days for bulk production after sample approval. Freight time comes after that.
Can silicone patches be washed, dried, and used on performance apparel?
Yes, well-made silicone patches can perform well on many washable apparel items, but the attachment method must match the fabric and care instructions. For performance fabrics, coated textiles, or stretch garments, test the patch on the actual material for adhesion, flexibility, puckering, and wash durability before approving bulk production.