Buyer Fit Snapshot
| Best fit | Poly Mailer Returns Management projects where brand print, material claims, artwork control, MOQ, and repeat-order consistency need to be specified before quoting. |
|---|---|
| Quote inputs | Share finished size, material target, print colors, finish, packing count, annual reorder estimate, ship-to region, and any compliance wording. |
| Proofing check | Approve dieline scale, logo placement, barcode or warning zones, color tolerance, closure strength, and carton packing before bulk production. |
| Main risk | Vague material claims, crowded artwork, missing packing details, or unclear freight terms can make a low unit price expensive after revisions. |
Fast answer: Poly Mailer Returns Management: Film, Print, MOQ, and Carton Packing should be specified like a repeatable production item. The safest quote records material, print method, finish, artwork proof, packing count, and reorder notes in one written spec.
Production checks before approval
Compare the actual filled-product size with the drawing, then confirm tolerance on folds, seals, hang holes, label areas, and retail display edges. Reserve space for logos, QR codes, warning copy, and material claims before decorative graphics fill the panel.
Quote comparison points
Review material grade, print process, finish, sampling route, tooling charges, carton quantity, and freight assumptions side by side. A quote is only useful when the supplier can repeat the same color, closure quality, and packing count on the next order.
Tips for Poly Mailer Returns Management: Why Returns Get Messy Fast
The first time I watched a return lane collapse over a label mismatch, I was standing on a warehouse floor in Shenzhen with a clipboard, a coffee that had gone cold, and three pallets of “maybe usable” stock stacked near the dock. One wrong return label, one missing SKU code, and suddenly that neat little shipment in a poly bag became dead inventory, a chargeback fight, and two angry emails from a brand owner who thought the problem was “just the mailer.” That’s why tips for poly mailer returns management matter. Not because they sound polished in a deck. Because one sloppy return can cost you $3.50 to $7.00 in labor, plus the product loss if nobody catches it fast, and sometimes another $0.22 to $0.48 in packaging waste when the item has to be repacked.
Here’s the plain-English version: poly mailer returns management is how you receive returned bags, sort them, inspect them, decide what happens next, and get the right items back into inventory or out of the building. That sounds simple until you’ve got wrinkled labels, crushed corners, and a team member trying to guess whether a returned sweatshirt is resellable or should go straight to quarantine. I’ve seen this happen with everything from apparel to soft goods to subscription kits. In one Dallas facility, a pile of 143 returns sat in “temporary review” for four business days because nobody owned the disposition step. The mailer itself is not the whole story. The return path is where the real mess shows up.
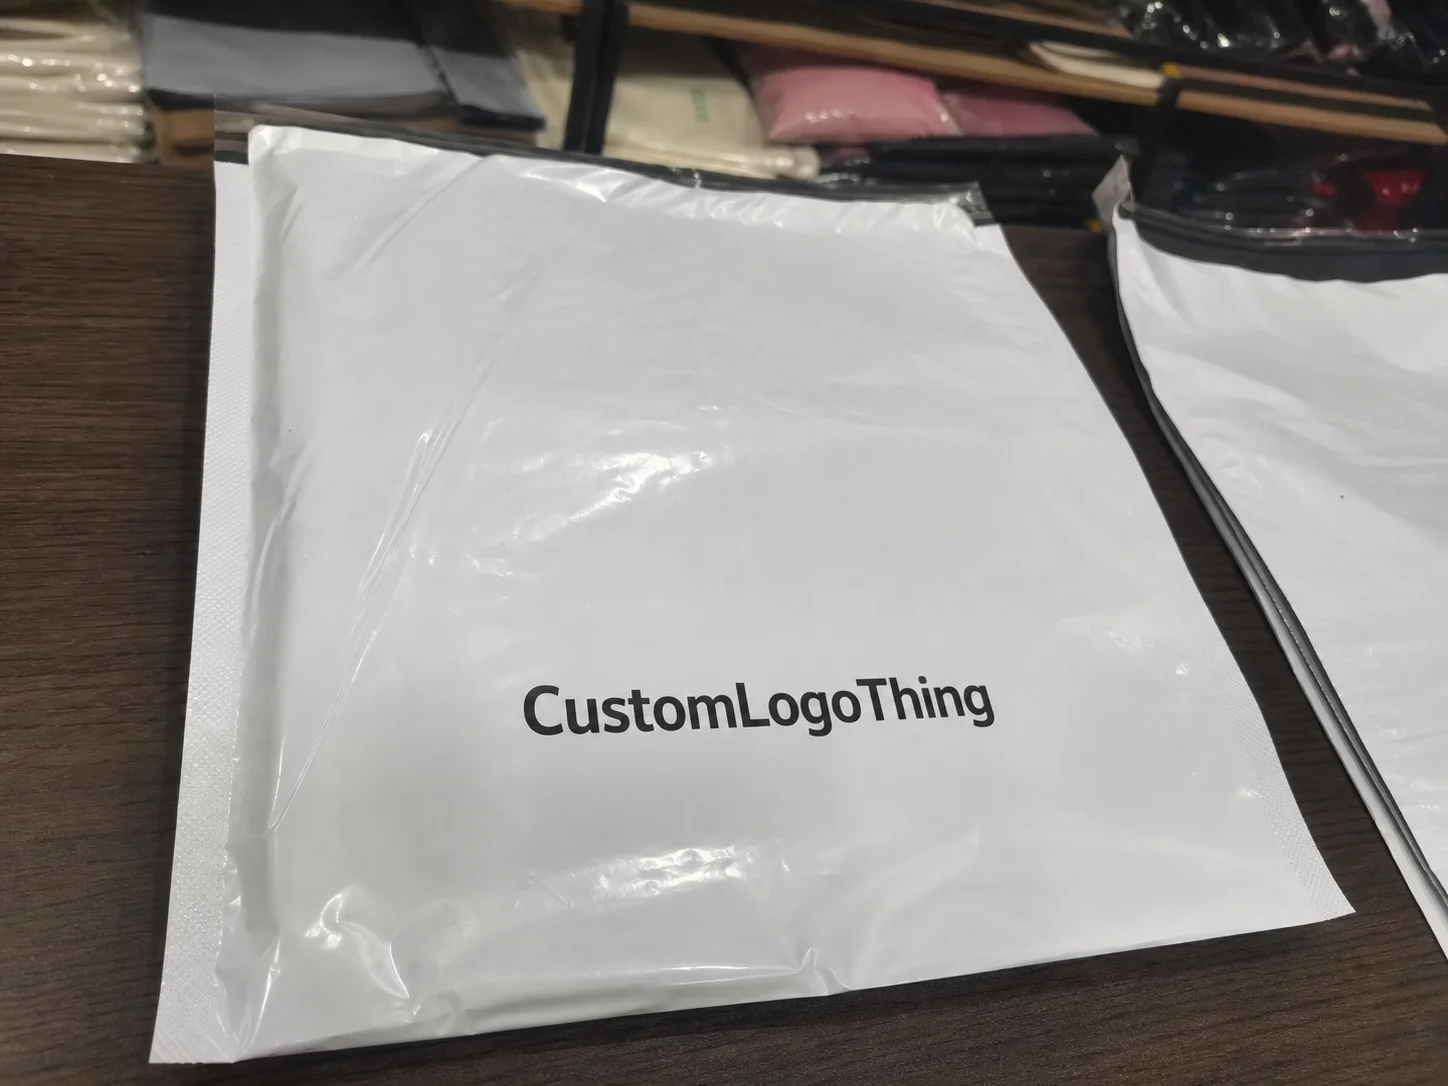
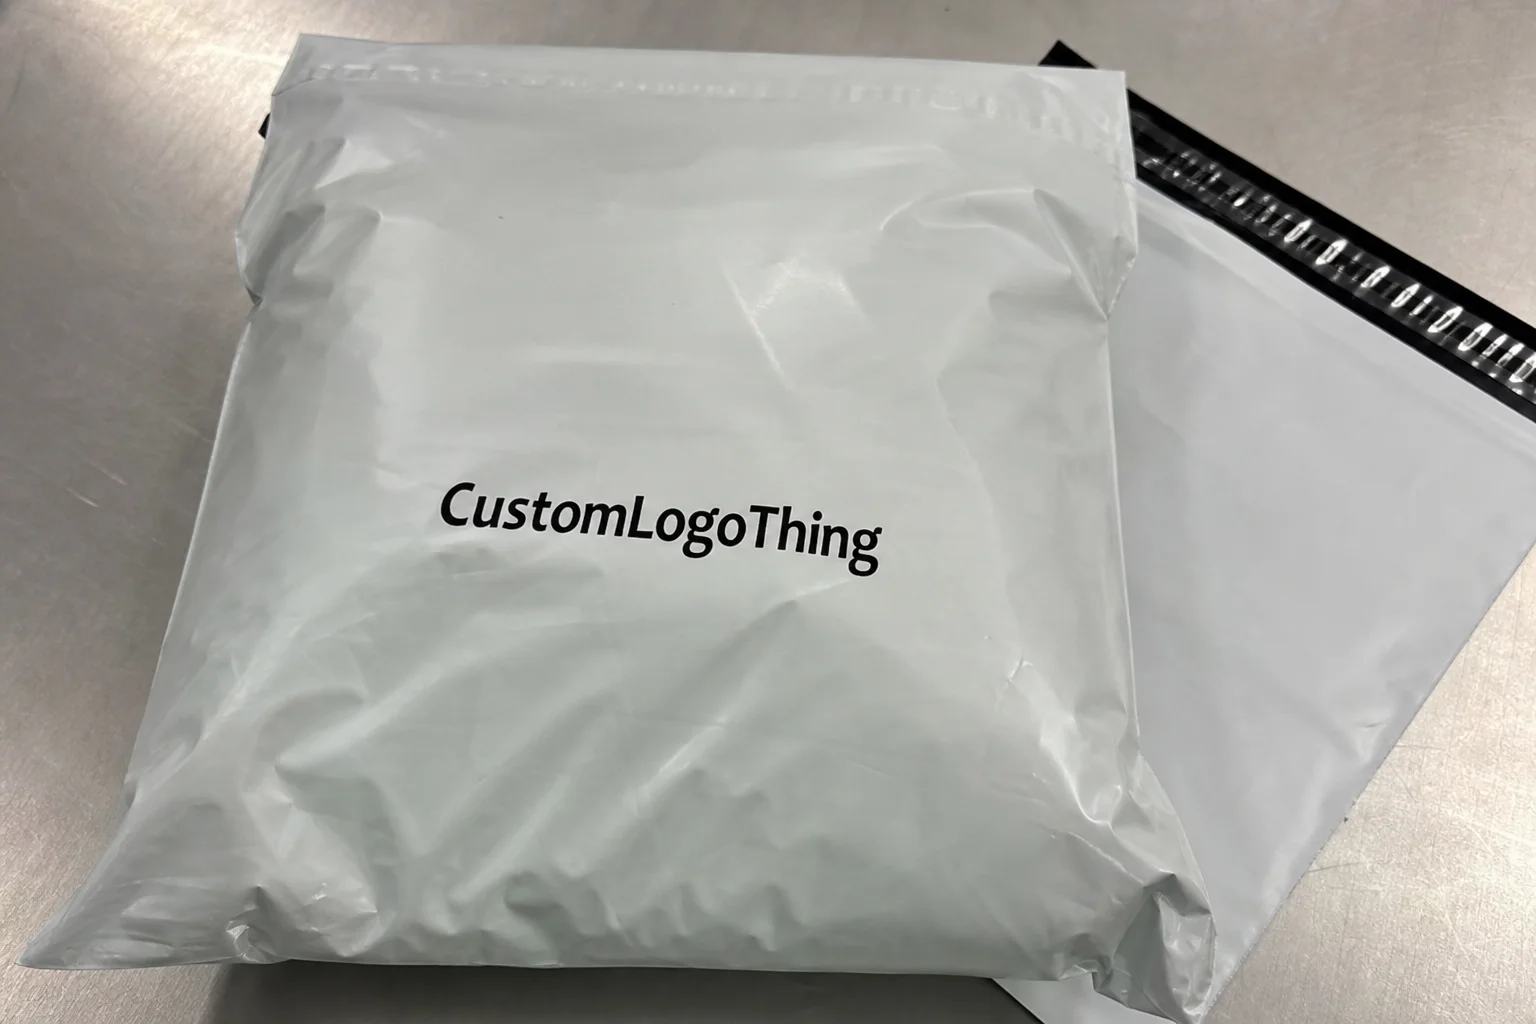
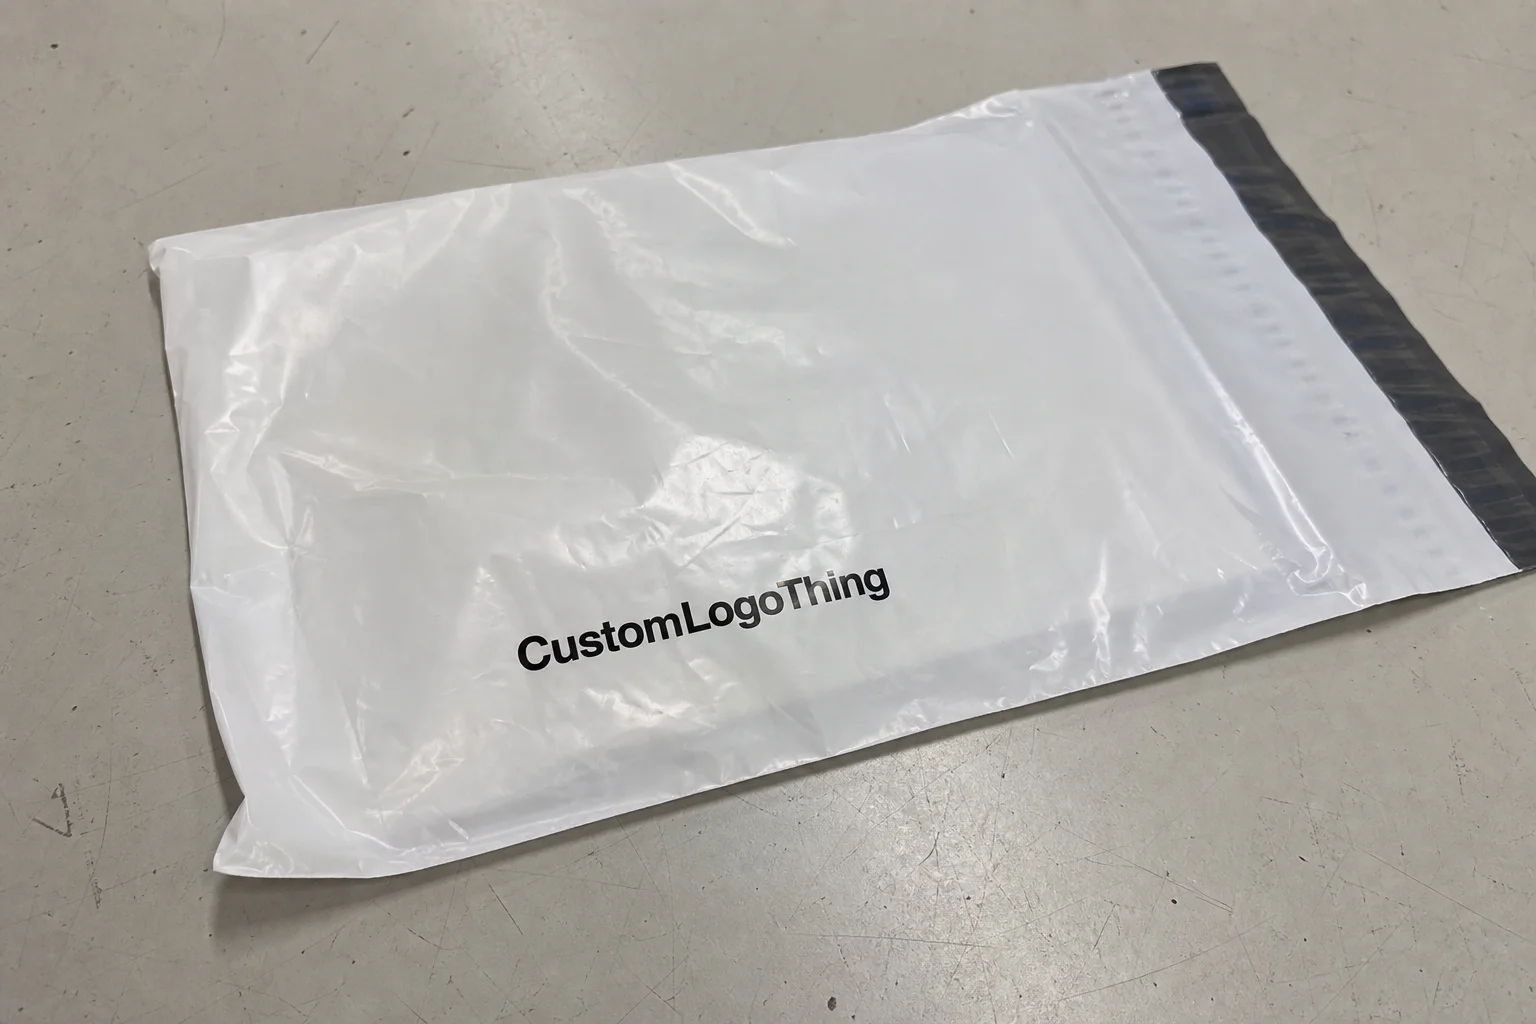
Poly mailers are popular because they’re cheap, light, and fast to ship. A plain 2.5 mil mailer can land around $0.18 to $0.29 per unit at 5,000 pieces, and printed versions often still beat corrugated on outbound freight by $0.40 to $0.85 per parcel for apparel orders under 2 pounds. Great. But once a customer sends the item back, that same material can be too torn, too crumpled, or too poorly labeled to make receiving easy. So the goal with tips for poly mailer returns management is not perfection. That ship sailed when the first customer taped a grocery receipt to the bag and called it a return label. The goal is lower labor, fewer damage claims, faster restocking, and fewer arguments with customer service.
I’ve negotiated with suppliers who swore their “heavy duty” mailer was 2.75 mil, then the sample arrived looking like it had been stretched by a bad gym routine. A decent supplier in Ningbo or Dongguan can usually quote Custom Poly Mailers in 12 to 15 business days from proof approval, but only if the spec sheet is complete: 2.75 mil thickness, 1.5-inch seal flap, and 120 gsm ink coverage if you’re printing both sides. Honestly, I think that’s why I’m blunt about this: if your return workflow is weak, a cheap mailer becomes expensive fast. The rest of these tips for poly mailer returns management are practical fixes, not theory, and they come from seeing what happens when the receiving team has to sort chaos at 7:00 a.m. on a Monday.
How Poly Mailer Returns Management Works in Real Operations
Good tips for poly mailer returns management start with the actual journey of the return, not some ideal flow chart someone drew after lunch. A customer requests a return. Your system generates an RMA or a prepaid label. The package gets dropped off at a postal counter, locker, or carrier hub. Then it lands at your dock, where someone scans it, checks the SKU, and routes it based on condition. If the item is clean and complete, it may go straight to restock. If it has damage or missing parts, it gets quarantined, refurbished, donated, recycled, or discarded. In many U.S. warehouses, that first touch should happen within 24 hours of receipt, because each extra day increases the risk of pileups and missed refund windows.
That’s the simple version. The real version has a lot of moving parts. A small brand might have one warehouse associate opening every return by hand, while a larger fulfillment center uses barcode scanners, exception codes, and a return management system tied to the WMS. Either way, the process breaks at the same spots: unreadable labels, split seams, overpacked returns, and no written SOP. I’ve walked a facility in Dongguan where the team had a bin labeled “mystery returns.” That bin was full of things nobody wanted to own. Not a strong system. More like a confession, and one that cost about 18 minutes per cycle because each parcel had to be reopened twice.
tips for poly mailer returns management also change depending on the product. A lightweight tee in a 2.5 mil poly bag may be fine for reuse if the seal and print area are intact. A beauty item, electronics accessory, or kit with inserts may need a stricter inspection because contamination or missing accessories can kill resale value. If the mailer is reusable, you need to ask whether the adhesive strip still holds after one peel, whether the tear strip is intact, and whether the exterior is presentable enough for a second trip. If it’s not reusable, that decision should be clear in the SOP so nobody wastes time debating it at the carton opener. A 1-page SOP posted at the receiving station in Monterrey or Memphis can prevent a 15-minute argument over a bag that should have been discarded immediately.
Warehouse staff handle receiving and sorting. Customer service handles the policy side and the complaints. Software handles the labels, status updates, and refund triggers. If one of those three is missing, the process drags. I’ve seen a brand lose half a day because the label file imported without the right return reason codes. Small issue. Big headache. The better tips for poly mailer returns management make sure those three roles talk to each other before the first package hits the dock, and they do it with actual fields—SKU, reason code, return channel, disposition—not a vague note in a spreadsheet.
Here’s a simple comparison that I’ve used with clients who wanted a clean return lane without hiring four more people:
| Return Operation Size | Typical Workflow | Common Bottleneck | Practical Fix |
|---|---|---|---|
| Small brand, under 100 returns/day | Manual scan, visual check, hand-sorted bins | No clear condition rules | Use a 1-page SOP and color-coded bins |
| Mid-size e-commerce brand | RMA label, barcode scan, inspection, disposition | Delayed status updates | Automate return reason codes and alerts |
| Large fulfillment center | Inbound sorting, QC station, WMS routing | Exception handling | Separate damaged, resaleable, and hold items immediately |
If you want the short version of the best tips for poly mailer returns management, it’s this: reduce decision-making at the dock. The fewer “let me ask my manager” moments you create, the faster your operation moves. I learned that the hard way when a client’s team spent 11 minutes per return debating whether a slightly wrinkled shirt could go back into stock. Eleven minutes. At that pace, you don’t have a returns process. You have a slow-motion pileup, and one that can eat 3.5 labor hours on just 19 returns.
Key Factors That Affect Poly Mailer Returns Management Costs
The cost side of tips for poly mailer returns management is where people usually get surprised. They focus on saving $0.04 per mailer and ignore the $4.25 it takes to process a bad return. That’s not savings. That’s a trade-off with terrible math, especially if the item has to be repacked in a new bag that costs $0.19 to $0.31 and a new label that adds another $0.03 to $0.07.
Start with postage. If you offer free returns, you’re paying outbound or reverse shipping, depending on the policy. Then add labor. A trained receiver at $18 to $24 per hour can still cost you $0.75 to $1.50 per return just to open, scan, and sort if the items are clean. Add inspection time, and you’re often at $3 to $7 per return before you even count repackaging, disposal, or inventory write-off. If the item is damaged or mislabeled, that number climbs fast. A return that needs photos, supervisor approval, and a customer-service ticket can cross $8.50 in handling within one afternoon.
Mailer construction also matters. A stronger 2.75 mil or 3.0 mil virgin poly mailer can reduce tear complaints and split seams. Recycled poly is often fine for low-risk goods, but the print quality and seal consistency vary more than some sales reps like to admit. Tamper-evident options help for higher-value shipments, especially when return fraud is a concern. And yes, thickness matters. A flimsy mailer may save one cent and cost you ten minutes of cleanup after a split return. That’s not efficiency. That’s comedy with invoices and a very expensive floor sweep in a warehouse in Ho Chi Minh City or Savannah.
I’ve sat through pricing calls where the factory quoted a mailer at $0.16, then added $180 for print setup, $95 for custom die work, and another charge for “special adhesive upgrade.” One buyer thought they were getting a bargain because the base price looked low. By the end, the landed cost was closer to $0.23 to $0.28 per unit before freight. The same thing happens with some suppliers you’ll see through ULINE or local converters: the bag price looks friendly, then custom inserts or print setup quietly show up and eat the margin. That’s why tips for poly mailer returns management need to include supplier math, not just packaging choice. If you’re sourcing in Guangzhou, Ho Chi Minh City, or Mexico City, ask for the full landed quote: unit price, plate fee, packaging carton, and domestic freight to the warehouse door.
Branded mailers versus plain mailers is another trade-off. Branded bags can help your recognition and make the unboxing look polished. They can also make returns feel more intentional if the reverse side includes clear instructions. But if your return volume is high, durability and label placement matter more than a fancy logo. I’ll take a clean, well-sealed mailer over pretty artwork any day if the returns team can process it faster, especially when the artwork requires a second pass at the printer and adds 3 to 5 business days to the schedule.
Here’s a practical cost comparison I use when clients ask whether upgrading the mailer is worth it:
| Mailer Type | Approx. Unit Cost | Return Handling Impact | Best Use Case |
|---|---|---|---|
| Basic 2.5 mil poly mailer | $0.18 to $0.22 | Higher tear risk, faster to pack outbound | Low-value, low-return-risk items |
| Reinforced 2.75 mil mailer | $0.22 to $0.30 | Better seal and less split damage | Apparel and soft goods with moderate returns |
| Tamper-evident or tear-resistant mailer | $0.30 to $0.48 | Improves return security and inspection clarity | Higher-value or fraud-sensitive products |
From an operations standpoint, the best tips for poly mailer returns management are the ones that cut hidden labor. A bag that closes right, labels cleanly, and survives transit can save you hours every week. And yes, I’ve seen a customer-service team burn six hours on one bad batch of returns because the labels were placed too close to the seam and the scanner kept rejecting them. Six hours. For bad label placement. Painful, but fixable, and usually avoidable if you specify a 2-inch label-safe zone on the front panel.
If you want to pressure-test packaging decisions against recognized standards, I like to point teams toward the ISTA test standards and the EPA recycling guidance. Those won’t run your warehouse for you, but they help you think clearly about performance and end-of-life handling. A 35 lb drop test, for example, tells you more about real parcel behavior than a glossy spec sheet ever would.
Step-by-Step Process for Better Poly Mailer Returns Management
If you want tips for poly mailer returns management that actually change the numbers, build the process in stages. Don’t start with software dashboards and hope the dock magically behaves. Start with packaging, policy, labels, receiving, inspection, and disposition. That order matters, and in a site handling 250 returns a day, it matters a lot.
- Design return-friendly packaging. Use a poly mailer with enough seal strength, label space, and tear resistance for the product category. A 2.75 mil bag with a 1.5-inch seal area works better than a flimsy generic pouch for most apparel, and it gives the dock team a cleaner edge to inspect.
- Set return rules before shipping. Tell the customer what condition counts as resaleable, what needs to stay in original packaging, and where the return label goes. Put that in the box or on the mailer flap. Seriously. Spell it out in 12-point type, not tiny gray text.
- Automate the label flow. Use barcodes, RMAs, or a return portal so the warehouse gets readable data before the package arrives. Human handwriting is charming on birthday cards, not on inventory paperwork, especially when the package was sent from Atlanta to Reno and arrives without a return reason.
- Inspect immediately on arrival. Check SKU, quantity, packaging integrity, and visible damage first. That sequence prevents wasted work and keeps the receiving line from backing up by 15 to 20 minutes.
- Route by condition. Restock, refurbish, quarantine, donate, recycle, or discard. Pick one lane per item. No limbo piles. No “we’ll decide later” totes sitting by the dock in a warehouse aisle.
- Document with photos and notes. Take a picture if the bag is split, the label is unreadable, or the item is contaminated. This helps with chargebacks and customer disputes, and it only takes 20 to 40 seconds per item if the station is set up correctly.
- Report weekly. Track return reasons, damage rate, average processing time, and the percentage that reenters inventory. A weekly report with five metrics is far more useful than a monthly report with 19 lines of jargon.
That workflow sounds basic because it should be basic. I’ve watched a mid-size apparel brand in Los Angeles cut their average return handling time from 9.5 minutes to 4.2 minutes by adding color-coded bins and a two-step scan process. They didn’t buy a fancy machine. They just stopped making the staff guess. The best tips for poly mailer returns management often save money because they eliminate confusion, not because they add technology, and the color coding cost them less than $80 in labels and plastic tags.
For a small brand, the workflow might be even simpler. One person opens the parcel, scans the label, checks the item, and drops it into one of three bins: restock, hold, or discard. For a larger fulfillment center, the same logic still applies, but with more documentation and a WMS routing rule so inventory status updates happen within hours, not days. Aim for same-day receiving, 24-hour inspection, and a 48-hour restock target where possible. If you can’t hit that, track the delay by stage. Otherwise you’ll only know you’re behind, not why. A 72-hour backlog in Phoenix can quietly turn into a 9-day refund dispute if the carrier scan and warehouse scan don’t match.
A good receiving checklist for tips for poly mailer returns management should include these first checks:
- SKU matches the return authorization
- Quantity is correct
- Mailer seal is intact or failed
- Label is legible and scannable
- Product is clean, dry, and complete
- Any inserts, accessories, or tags are present
I once watched a factory team in Vietnam save a client from a nasty write-off because they caught one missing accessory before restocking 800 units. That’s the sort of thing a disciplined receiving process catches. If you skip it, you end up with “good” inventory that isn’t actually good. And then someone in customer service gets the blame for a stock issue that started on the dock, usually because the accessory bag was never checked against the packing list.
For packaging breadth beyond mailers, our Custom Packaging Products page is a decent starting point if you’re comparing formats across kits, inserts, and outer packaging. Sometimes the mailer is not the real problem. Sometimes the whole pack-out needs a rethink, especially if the insert is 350gsm C1S artboard, the mailer is only 2.5 mil, and the tear strip fails before the customer even reaches the return desk.
Common Mistakes in Poly Mailer Returns Management
The biggest mistake in tips for poly mailer returns management is assuming the return path can be ignored because outbound packaging “worked fine.” Fine for shipping out does not mean fine coming back. The most common errors are painfully predictable: wrong mailer size, weak seal closure, bad label placement, and no return instructions. Any one of those can turn a $12 return into a $19 headache, and if the item needs relabeling or repacking, the labor can reach $5.60 before the product even gets checked back into stock.
Another classic mistake is the idea that all returns should be reopened and restocked immediately. No. Please don’t do that. I’ve seen contaminated returns mixed into clean inventory because someone wanted to move fast. The result was a hold on the entire bin, a reinspection session, and a small pile of customer complaints. One bad item can contaminate the status of twenty good ones if your team is sloppy, and the mess usually starts with a rushed scan in a facility that’s trying to clear 180 parcels before lunch.
Ignoring packaging condition is another expensive blind spot. A torn mailer may mean the product was exposed to moisture or dirt. A wrinkled label may mean the return was rerouted through manual processing, which increases the chance of mismatch. If you don’t track return reasons, you won’t know whether your problems are coming from sizing, seal failure, customer misuse, or carrier handling. The best tips for poly mailer returns management always include reason-code tracking because that’s where the pattern shows up, whether the issue is “wrong size” in Chicago or “seal failure” in Austin.
Here’s the part I tell clients when they try to save pennies on packaging and lose dollars in labor: if your mailer saves $0.03 but creates one extra minute of handling, you’re upside down fast. One minute at warehouse labor rates can cost more than the mailer itself. That’s not theory. That’s payroll, and it is exactly why a 2.75 mil bag can outperform a cheaper 2.3 mil version when the return lane is busy.
Another issue is poor customer communication. If your return policy is hidden in tiny text or buried in a footer, support tickets rise. A messy returns policy can create more support emails than the product ever did. I’ve seen brands with beautiful Printed Poly Mailers and terrible return instructions. The result? Customers guessed, staff guessed, and everyone wasted time. Pretty packaging won’t fix confusing rules, especially when the return label is only valid for 14 days and nobody tells the buyer that up front.
The smartest tips for poly mailer returns management reduce friction before the package leaves your building. If your outbound pack-out does not clearly show how to return the item, you’re setting your warehouse up for extra labor later. That’s a design failure, not an operations surprise, and it can usually be fixed with one insert, one printed panel, and a 2-minute customer email template.
Expert Tips for Poly Mailer Returns Management That Save Time
Now for the stuff I actually tell buyers when they ask for tips for poly mailer returns management that save time without turning the operation into a science project. Start with the mailer itself. Preprinted return instructions on the flap or inside panel help more than people expect. A simple line like “Scan this label, keep the item in original packaging, and include all accessories” cuts confusion. It’s boring. It works, and it works especially well on mailers produced in Guangzhou, where print registration and flap placement can be controlled to within a few millimeters.
For higher-value shipments, I like tear-resistant or tamper-evident poly mailers. They cost more, usually in the $0.30 to $0.48 range depending on volume and print complexity, but they reduce disputes when a package looks tampered with. That matters if you’re handling cosmetics, accessories, or items where missing pieces trigger refunds. Test adhesive strengths too. I’ve had factories in Ningbo send me three versions of the same bag with different hot-melt adhesives. The cheapest one failed in cold storage and humid transit. Surprise? Not really. A 1.5-inch hot-melt strip might be enough for Southern California, but it can fail after three days in a refrigerated cross-dock.
Ask your supplier for sample drop tests and seal tests before you order at scale. Not a sales deck. Real samples. Tape them, press them, drop them from waist height, and check the seam after 24 hours. If the vendor won’t do that, I’d be cautious. The good suppliers don’t flinch when you ask for evidence. I’ve had better negotiations with suppliers who showed me burst-rate data than with ones who just kept repeating “very strong, very strong.” In one test run, a vendor in Hanoi failed six of ten seam checks before production ever started, which saved a client from a 20,000-piece mistake.
Software can save real time too. Use return reason codes so you can see whether the issue is fit, damage, wrong item, or buyer’s remorse. Automate RMAs so staff aren’t typing each one by hand. Use barcode scanning at receiving. Segment returns by product type so one messy category does not slow down the rest of the lane. These are basic tips for poly mailer returns management, but they’re the basics that keep margins from bleeding, and they matter whether your WMS is NetSuite, ShipHero, or a custom tool built in-house.
Here’s a practical set of upgrades, from simplest to more advanced:
- Simple: add printed return instructions and a clearer label placement guide.
- Moderate: create return reason codes and a scan-to-sort workflow.
- Advanced: tie your RMA system to warehouse disposition rules and photo documentation.
I also recommend a quick internal audit once a month. Pull 25 returns and measure three things: seal failure rate, label readability, and time to restock. If you don’t measure, you’ll only have opinions. Opinions are cheap. Labor is not. That’s one of the most underrated tips for poly mailer returns management I can give you. If the average restock time is 31 minutes for one category and 6 minutes for another, the pattern is in your process, not your team’s attitude.
Tips for Poly Mailer Returns Management: Next Steps and FAQ
The best way to put tips for poly mailer returns management into action is to audit your current process with real numbers. Look at return rate, average handling time, damage rate, and the percentage of returns that reenter inventory within 48 hours. If you can’t answer those four questions, you’re flying blind. Not dramatically blind. Just enough to be expensive, and usually by a few thousand dollars per month in avoidable labor and write-offs.
Start with one packaging change at a time. Test a stronger seal, a different mailer thickness, or a better return label placement. Don’t change five things and then claim the result came from the one you liked most. That’s how teams fool themselves. I’ve seen brands spend $4,000 on a redesign and then have no idea whether the new mailer or the new insert fixed the issue. Measure one variable. Then the next. A supplier in Xiamen can turn around a revised sample in 7 to 10 business days, which is fast enough to compare one flap width against another without losing a whole season.
Build a simple checklist for your warehouse team and customer service reps. Keep it to one page if you can. Include scan steps, inspection rules, condition categories, and the escalation path for damaged or questionable items. If your team needs a meeting to understand the checklist, the checklist is too complicated. The strongest tips for poly mailer returns management are often the simplest ones because they’re easier to follow on a noisy dock with three pallets arriving at once and one printer jammed at 8:15 a.m.
My concrete recommendation: spend the next 30 days tracking damage rate, return processing time, and cost per return. Then compare before-and-after numbers after one packaging or workflow change. If the mailer upgrade saves you $0.02 but cuts 90 seconds off handling, that’s real money. If it does nothing, cut it. Packaging should earn its place. A 5000-piece order with a $0.19 per unit delta adds up to $950, which is enough to justify a better adhesive or a clearer instruction panel.
And yes, if you need the final sentence to remember, here it is: the smartest tips for poly mailer returns management are the ones that reduce labor, improve clarity, and stop bad returns from eating your margin.
What are the best tips for poly mailer returns management for small brands?
Use one clear return workflow with barcode labels, inspection rules, and a simple disposition chart. Choose mailers that balance low cost with enough strength to survive a return trip, ideally around 2.5 to 2.75 mil for light apparel and soft goods. If you can keep the receiving checklist to six checks and the restock target to 48 hours, even a team of two can manage the lane without piling up inventory.
How can I lower the cost of poly mailer returns management?
Reduce labor by scanning returns immediately and routing them by condition. Lower damage and rework costs by testing mailer seal strength and material thickness before ordering large volumes, and check whether your labor cost is closer to $18 or $24 per hour before you estimate savings. A better label zone, a stronger adhesive strip, and one fewer handling step can save $0.60 to $1.20 per return in many operations.
What timeline should I use for poly mailer returns management?
Aim for same-day receiving, 24-hour inspection, and 48-hour restock when possible. Track delays by stage so you can see whether the bottleneck is inbound sorting, inspection, or inventory updates instead of guessing at the problem. For outsourced packaging or custom mailer changes, plan 12 to 15 business days from proof approval and add 3 to 7 days for freight, depending on whether the factory is in Shenzhen, Dongguan, or nearby.
Which packaging issues cause the most return problems with poly mailers?
Weak adhesive seals, oversized mailers, unreadable labels, and torn seams are the biggest troublemakers. Poor labeling and weak closure often create extra customer complaints even when the product itself is fine, which is why label placement deserves more attention than it gets. A label placed within 0.5 inch of the flap edge can trigger scanner failure, while a 1.5-inch safe zone usually gives better results.
Should I use branded mailers for better returns management?
Branded mailers can help with recognition and customer experience, but they do not fix a bad return process. If returns are common, prioritize durability, label placement, and clear instructions over fancy print, then decide whether branding is worth the extra setup cost. A printed mailer with 350gsm C1S artboard inserts, for example, may improve presentation, but it will not reduce handling time unless the return path itself is clear.