A resealable pouch can look polished in a mockup and still fail in production if the artwork ignores the zipper, seal bands, or finish. zip lock pouch printing is not just a branding exercise. It changes the usable panel area, the way the bag is filled, and how the package reads under retail lighting and warehouse handling. The practical job is to make all of those constraints agree with each other.
That is why buyers who think in flat artwork often run into trouble. A pouch is not a poster. It has folds, seals, a closure system, and tolerances that shrink the design space faster than most teams expect. If the file is built around the actual structure, the order is easier to quote, easier to approve, and less likely to generate avoidable revisions.
The point is simple: structure first, graphics second. That sequence saves money, but it also improves the finished bag. A pouch that feels deliberate on shelf usually had a disciplined spec behind it.
What zip lock pouch printing actually changes
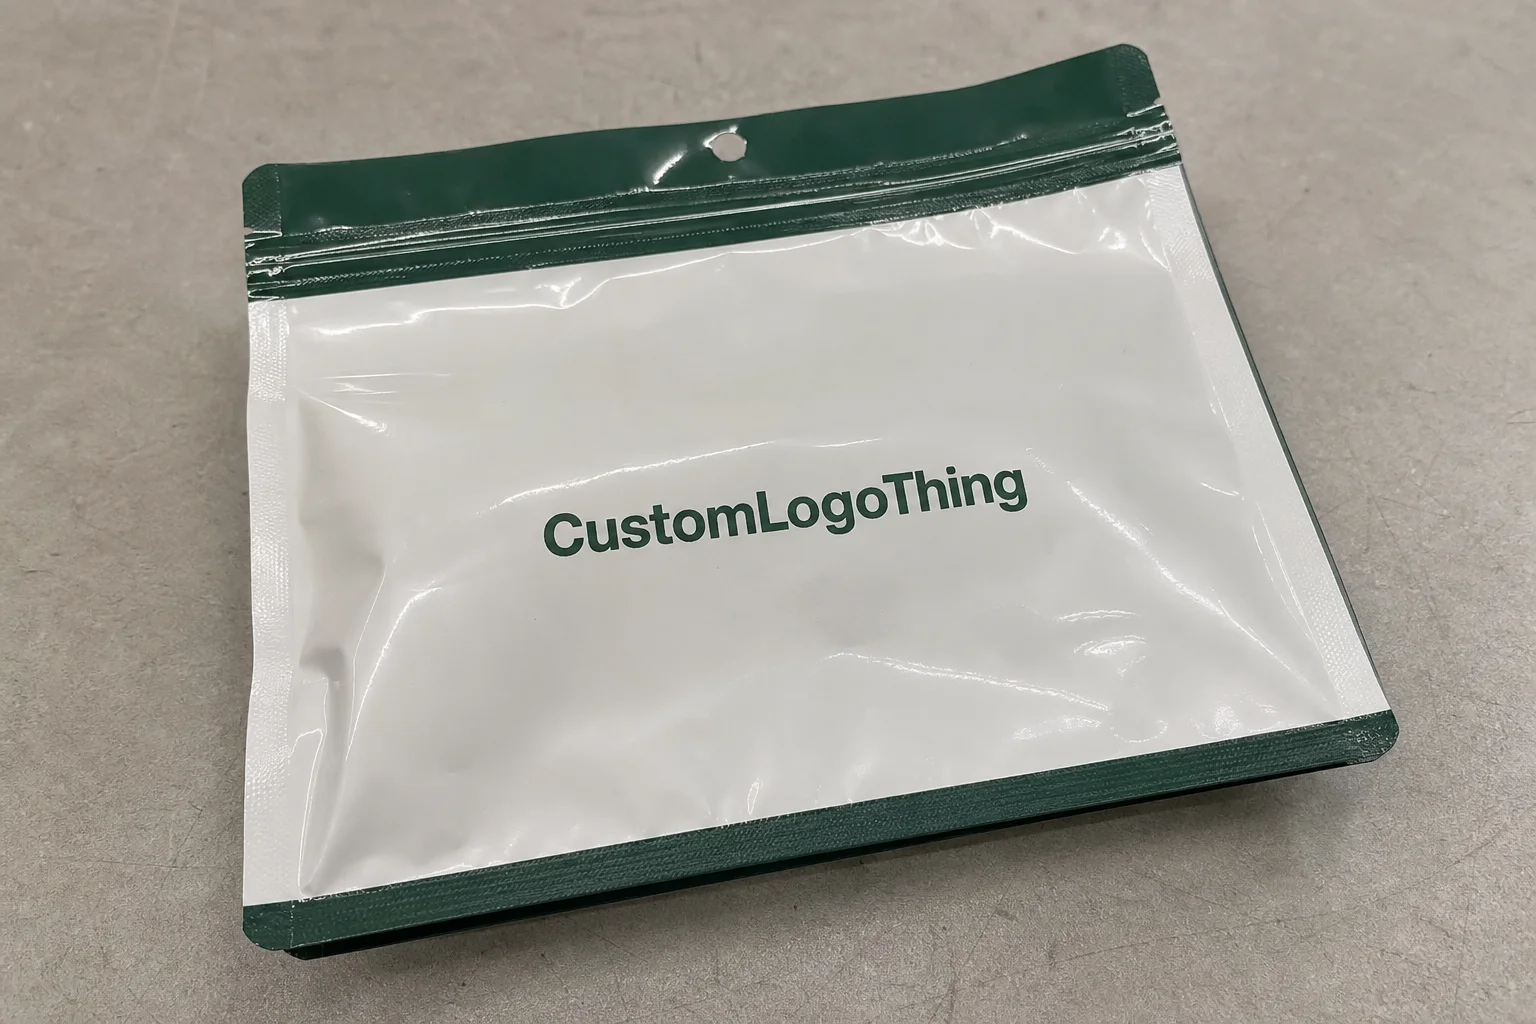
At a basic level, zip lock pouch printing places branding, product claims, nutrition panels, ingredients, barcodes, and compliance text directly onto a flexible resealable package rather than relying on a separate label. That sounds straightforward until the zipper, headspace, gusset, and seal area start taking space out of the layout. A label can be moved. A printed pouch cannot be adjusted as casually once the production file is locked.
The biggest shift is operational. Printed pouches remove one application step and usually give the brand a more integrated appearance, but they also tie the graphics to a fixed pouch size and structure. If the product line changes often, that rigidity matters. If the design is stable and the volume is repeatable, the tradeoff usually pays off.
The zipper zone is where many first-time buyers get caught. On a screen, the top panel looks generous. In reality, the closure tape, seal margin, and trim allowances reduce the safe area fast. Place a headline too close to the top and the artwork starts competing with the closure. Place a barcode too low and a gusset fold can distort it. These are not cosmetic issues. They affect scanability, machinability, and shelf presentation at the same time.
In food, supplements, pet treats, coffee, and sample kits, the packaging brief often includes more than artwork. Buyers usually need space for lot coding, net weight, regulatory text, and sometimes a clear window. That is the kind of detail a flat mockup hides and a dieline exposes. Good suppliers ask for dimensions, fill weight, zipper type, and closure style before they touch the file.
There is also a practical inventory angle. Printed pouches reduce labeling labor, but they are less forgiving if a product name changes or the regulatory copy gets updated. For a short promotion, a label on blank stock can be the safer choice. For a steady SKU, full print tends to look cleaner and behave more predictably on line.
How the print surface and zipper design work together
The print surface and zipper design have to be planned together because the film stack determines both appearance and usable space. A matte laminated film behaves differently from gloss. A metallized substrate reflects light differently again, which affects the apparent darkness of small text and the sharpness of fine lines. Transparent structures create another problem: unless the artwork has enough contrast and white underprint, the printed elements can disappear against the product itself.
For most pouch programs, the conversation starts with the print method. Digital printing works well for short runs, multiple SKUs, and fast proof cycles. Flexographic printing usually becomes more efficient as order volume rises and the design stays stable. The fit is not just about volume, either. Digital is often easier for versioning. Flexo is often better for repeat production once the file is settled. Neither method makes a poor layout acceptable.
Seal margins deserve more attention than they usually get. If critical copy sits too close to the heat-seal area, the bag can look crowded even if the digital proof looked balanced. Side gussets add another layer of complexity because a panel that looks roomy in a flat file may lose visible space after folding. The same is true for barcodes, QR codes, and legal text. They need a safe zone, not just room on paper.
Clear windows are useful, but they cut into print real estate. They also complicate color. If the brand wants a bright logo on transparent or metallic film, white ink may be necessary under the color build. That adds cost and can influence color consistency. In practice, the question is not whether the artwork looks good on screen. It is whether the design still reads clearly after the substrate, zipper, and finish do their work.
One detail buyers sometimes miss: zipper style changes more than closure feel. Press-to-close profiles, child-resistant closures, and wider or narrower zipper tapes all alter the top margin and sometimes the filling behavior. A pouch that appears spacious in a mockup can lose enough headroom that the front panel design has to be rebuilt. The dieline should come before the final layout, not after.
Cost, pricing, MOQ, and unit cost drivers
Pricing for zip lock pouch printing depends on size, film structure, zipper style, print coverage, finish, and volume. That list sounds ordinary until the order includes special effects such as matte varnish, soft-touch coating, metallic film, or a white underprint layer. Each of those choices adds setup or material cost. A small bag with a simple design can price very differently from a large barrier pouch with full-coverage print and a premium tactile finish.
As a rough working range, blank stock with a pressure-sensitive label can run about $0.15 to $0.35 per bag before label costs, depending on pouch size and material. Digital printing often lands around $0.22 to $0.48 per bag for lower or moderate quantities. Flexographic printing can fall to roughly $0.14 to $0.32 per bag at scale, though the front-end setup is higher. These are not quote promises. They are working benchmarks that help buyers compare options without pretending every pouch is identical.
| Option | Typical unit cost | Best for | Main tradeoff |
|---|---|---|---|
| Blank stock + pressure-sensitive label | $0.15-$0.35 per bag plus label cost | Very short runs, frequent artwork changes | Extra application step and a less integrated look |
| Digital printing | $0.22-$0.48 per bag | Lower MOQs, multiple SKUs, quicker proofing | Higher per-piece cost at larger volumes |
| Flexographic printing | $0.14-$0.32 per bag at scale | Stable designs, repeat orders, larger volumes | Plate and setup cost, less room for late changes |
MOQ is where many buyers misread the economics. A 2,000-piece run may be the right move for a launch, but if the SKU will repeat for several months, the per-piece premium can outweigh the convenience. The opposite mistake happens too: a team overcommits to a large run before the label claims are locked, then pays for revision cycles that could have been avoided with a smaller test order.
Material choice changes pricing in a quiet but meaningful way. A standard PET/PE laminate is usually easier to source than a more complex barrier structure. Metallized films can improve shelf presence and moisture resistance, but they may require more careful ink control. Recyclable or mono-material options are increasingly requested, yet the performance tradeoff depends on the product and on local recycling acceptance. A recyclable claim is only useful if the material actually fits the distribution and disposal path.
Artwork changes after approval are expensive because they interrupt the production sequence. A moved logo, a revised warning statement, or a changed barcode can trigger a new proof and sometimes a new setup fee. By the time the pouch has been plated, printed, or queued in press, even a small content change can reset timing. That is why disciplined quoting starts with real dimensions and final copy, not a concept deck.
If you need a broader view of bag formats, barrier options, and production capability, review the Manufacturing Capabilities page before comparing suppliers. The best quote is the one built on the same spec, not three different interpretations of it.
Production steps and turnaround from file to shipment
A clean order usually follows the same path: spec review, dieline confirmation, artwork prep, proofing, setup, production, finishing, inspection, and packing for shipment. zip lock pouch printing moves fastest when the buyer has already settled the dimensions, finish, zipper style, and copy deck before the file enters prepress. The schedule slows down when those decisions are still changing.
A practical workflow looks like this:
- Confirm pouch size, zipper style, finish, fill weight, and barrier requirement.
- Approve the dieline and safe zones before final artwork is built.
- Provide vector logos, linked fonts, or flattened files at the correct resolution.
- Review a color proof and check any spot colors or white ink layers.
- Lock the production file and hold the spec steady through packing.
Lead time depends on print method and finishing complexity. A straightforward digital order with approved files may move in about 8-12 business days after proof approval. Flexographic jobs, especially those with custom tooling, broader coverage, or special finishing, often land closer to 12-18 business days. Shipping adds another variable, especially for export cartons or palletized freight. If a supplier gives only one date without separating proofing, production, and transit, the schedule is too vague to trust.
Quality control usually happens in layers. First comes file review, where the supplier checks bleeds, fonts, image resolution, and the safe area around the zipper and seals. Next is color review, often against a proof or controlled reference. During production, operators watch registration, seal integrity, and print consistency. Final inspection catches scuffing, trim errors, zipper function, and carton count. A buyer who knows these checkpoints can ask better questions and catch problems earlier.
Distribution testing matters more than many packaging teams expect. Some buyers reference ISTA testing protocols to gauge whether the pouch and its outer packaging can survive vibration, compression, and handling stress. That matters if the product will be carton-packed, palletized, or shipped through a rough retail chain. A pouch that survives an internal sample move may behave very differently under transport conditions.
Artwork, materials, and finish choices that change results
Artwork preparation looks simple until the package folds. Flexible film does not behave like a sheet of paper. Small alignment shifts can make text feel compressed, and a layout that looked spacious on a monitor can feel tight once the pouch is sealed and filled. Build the file to the final pouch size, not to a generic canvas. Keep important copy inside the safe zone, and keep barcodes far from the zipper and any heat-seal region.
Color management needs the same discipline. CMYK is fine for many builds, but a spot color can give a logo more consistency across repeat runs. On translucent or metallic films, white ink often acts as a foundation rather than decoration. Without it, the design can lose contrast and shift in appearance from one batch to the next. That is why suppliers usually ask for the substrate before they discuss color accuracy.
Finish choices are not decorative details. Matte reduces glare and can make a product feel calmer or more premium. Gloss sharpens color and performs well under bright retail lighting. Soft-touch finishes add tactile depth, but they cost more and can show abrasion differently during transit and shelf handling. Each finish changes how the package is read by a buyer standing under imperfect light, which is the only setting that matters in the end.
Material choice deserves equal attention. Transparent films show the product but demand stronger contrast. Barrier films improve protection against oxygen or moisture, but they also change how the printed surface reads. Metallized layers create strong shelf presence, though they need careful underprinting if the design has fine text. For secondary components or paper-based inserts, some brands also look for FSC-certified sourcing, especially when environmental claims are part of the package story.
There is a real difference between a pretty sample and a production-ready pouch. A sample can flatter a weak design. Production exposes everything: scuff resistance, zipper function, film memory, color drift, and whether the code still scans after the bag has been handled a few times. That is why the most useful approval question is not “Does it look good?” It is “Will this still look good after filling, packing, transit, and shelf handling?”
Common mistakes that waste samples and budget
The most avoidable mistake is designing before the pouch structure is confirmed. A lot of wasted sample spend comes from artwork built on an imaginary rectangle. Once the zipper, gusset, and seal band are mapped, the file usually needs another pass. zip lock pouch printing is unforgiving of late assumptions. If the bag changes after approval, the budget can disappear into new proofs, new setup, and a lost production slot.
Another recurring issue is placing important copy too close to the top edge. Headlines, claims, and barcodes can all be clipped by the closure area or crowded by the seal margin. On a monitor, the margin looks small. In production, it is the difference between a clean panel and a pouch that feels crowded.
Overcomplicated artwork causes its own problems. Tiny type, thin lines, and subtle gradients may look refined in the design file, but they are harder to hold consistently on flexible film. If the design depends on low contrast, the print method matters more and proofing becomes more sensitive. Digital printing can handle some short-run complexity well, but only if the file is clean. Flexographic printing can be efficient at volume, but it usually rewards clearer, more stable graphics.
The fastest quote is usually not the cheapest quote. It is the one that has the pouch size, zipper style, finish, and artwork state written down before anyone opens a proof file.
A screen mockup is useful for early decisions, but it is not enough for approval. Screen color, surface reflection, and pouch curvature all shift the final appearance. A physical proof or a controlled color reference is worth the time when the product depends on shelf presence. That is especially true for metallic films, white ink builds, and dark matte finishes, where small shifts read as larger changes.
The last mistake is treating revisions as harmless after the order is placed. They are not. A minor text change can force a new setup, a new proof cycle, or a missed production window. In packaging, late edits do not just cost money. They cost time, and time is usually the tighter constraint.
Next steps for a clean first order
If the first order needs to run smoothly, assemble the spec before asking for pricing. The supplier needs pouch dimensions, zipper type, finish, quantity, fill weight or product volume, barrier expectations, and the actual artwork files. When those pieces are missing, the quote is only an estimate. When they are present, the conversation gets useful fast.
Request a proof checklist and make sure it covers color expectations, seal margins, barcode placement, file responsibility, and approval signoff. That sounds procedural, but it protects both sides. It also reduces the odds that a layout issue is discovered after material has already been committed.
Compare at least two or three spec-based quotes. Not generic quotes. Spec-based quotes. One supplier may be stronger on digital runs with low MOQs, another may be better suited to flexographic repeat orders, and a third may offer more practical advice about zipper geometry or finish selection. The right option is not always the lowest line item. It is the one that matches the run length, shelf requirements, and timeline without forcing compromises you did not plan for.
Before approving zip lock pouch printing, lock the artwork, confirm the lead time in writing, and verify whether proof or setup charges apply if changes are made after signoff. If the supplier can map the job against the capabilities on Manufacturing Capabilities, you will get a better read on what is realistic and what is not.
The practical sequence is stable: define the structure, price against real specs, check the proof against actual safe zones, and approve the final file only after the pouch format is fully defined. That approach turns a packaging order into a controlled process instead of a sequence of expensive corrections.
FAQ
What should I prepare before requesting zip lock pouch printing quotes?
Have the pouch size, zipper type, finish, quantity, and product weight or fill volume ready. Send print-ready artwork when possible, or at least a clear logo, copy deck, and reference examples. Confirm whether you need food-safe materials, a clear window, a matte finish, or a specific barrier level.
How does zip lock pouch printing affect MOQ and unit cost?
Lower quantities usually raise unit cost because setup, proofing, and production prep are spread across fewer pieces. More colors, special finishes, and custom structures can increase MOQ or push pricing higher. Standardized sizes and simpler artwork usually produce the best cost per bag.
What file type is best for zip lock pouch printing artwork?
Vector files are preferred for logos, text, and line art because they stay sharp at production size. If you use raster images, supply them at print resolution and confirm color expectations with the supplier. Always ask for the dieline before finalizing layout so critical elements do not land in seal or zipper zones.
How long does production usually take for printed zip lock pouches?
Timeline depends on proof approval, material availability, print method, and order size. Fastest jobs are the ones with approved artwork, confirmed specs, and no last-minute revisions. Ask for separate timing on proofing, production, and shipping so you know where the schedule can shift.
Can I print near the zipper on a zip lock pouch?
Sometimes, but the usable print area depends on the pouch construction and seal margins. Critical text and barcode placement should stay clear of the zipper and any heat-seal zones. A supplier should confirm the safe area on the dieline before you approve final artwork.