Roll Labels Material and Printing Guide for Buyers
Roll Labels Material and Printing Guide: What Buyers Often Miss
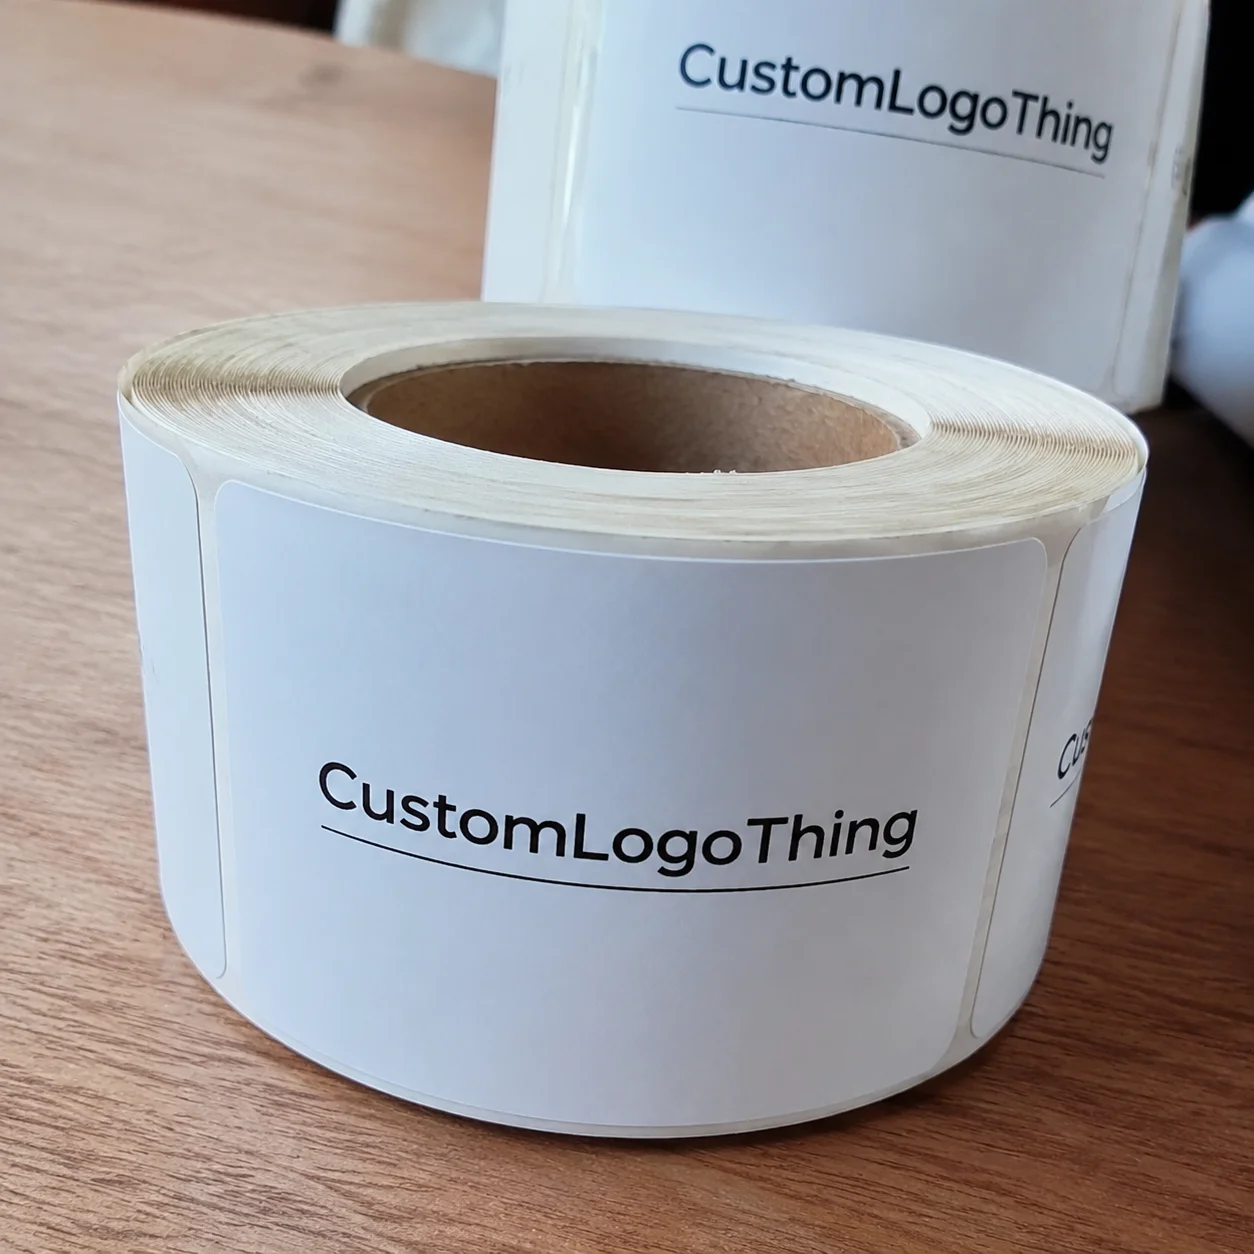
Two roll labels can look nearly identical before application. Put one on a chilled beverage bottle and the other on an oily HDPE jar, a squeezable tube, or a high-speed applicator, and the difference shows quickly. One stays flat. The other tunnels, lifts, smears, wrinkles, or refuses to scan. That is the practical reason a roll labels Material and Printing guide matters: a label is not just printed decoration. It is a small packaging component with a job.
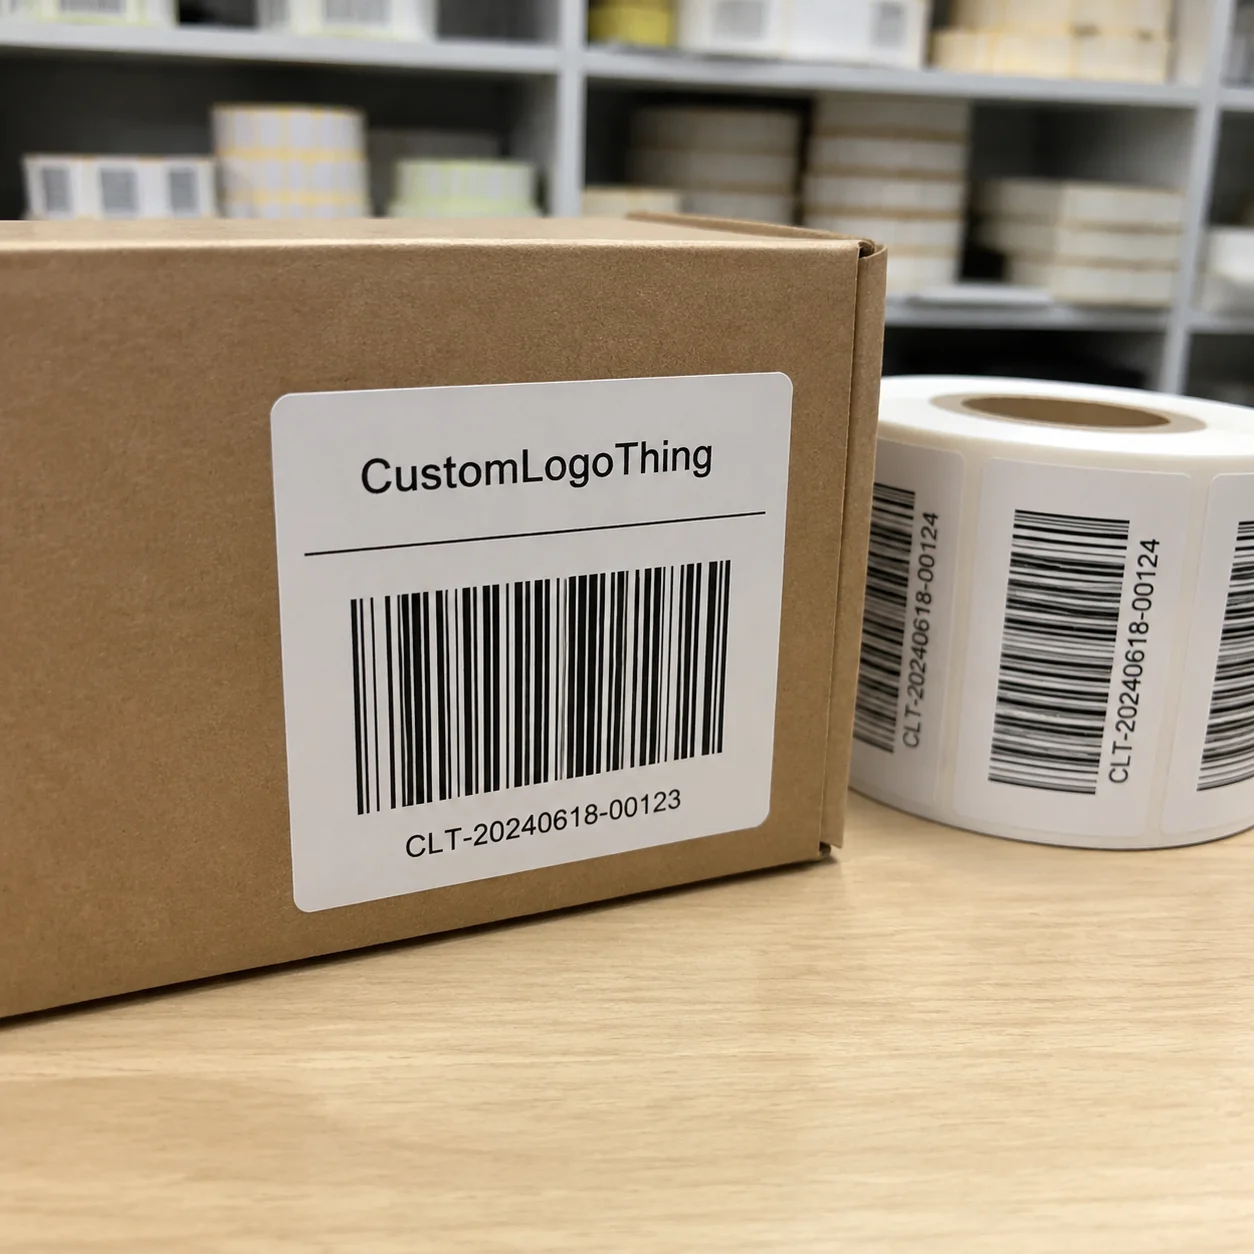
A roll label is a pressure-sensitive label supplied on a wound roll, commonly on a 1-inch or 3-inch core. The labels are spaced, die-cut, stripped, and oriented for hand application, table-top dispensers, semi-automatic labelers, or production equipment. The construction sounds simple until the quote is built. Face stock, adhesive, liner, ink system, varnish or laminate, unwind direction, label gap, core size, roll diameter, and copy position can all decide whether the finished rolls run cleanly.
Most label failures start before artwork approval. A buyer may arrive with a finished design, then answer packaging questions later. I think that order causes more reprints than people admit. Artwork matters, but the best-looking design still fails if the stock cannot handle condensation, the adhesive cannot bond to a curved plastic surface, or the barcode loses contrast under retail lighting.
Practical rule: specify the container, fill conditions, storage temperature, handling level, and application method before locking the label stock, adhesive, print method, and finish.
The decisions below affect performance and price: paper versus film, adhesive type, printing process, finish, roll format, quote factors, production timing, and quality checks. If the container and label dimensions are already known, quoting moves faster. If not, treat the label spec as part of the package, right alongside bottles, jars, pouches, folding cartons, and corrugated cardboard shippers.
How Roll Label Materials Work on Bottles, Jars, Boxes, and Pouches
Paper labels are usually the economical, highly printable choice for dry goods, candles, retail jars, bakery boxes, cartons, and short-life products with limited moisture exposure. Common paper stocks include semi-gloss paper, matte paper, vellum, kraft paper, and textured estate papers. They print well, accept varnish cleanly, and keep unit cost down, especially on standard rectangles, squares, circles, and ovals.
Paper has limits. Refrigeration, ice buckets, oil, repeated handling, wet bathrooms, and damp storage can expose weakness in both the face stock and the adhesive. A paper label may be fine on a dry pantry jar. The same construction may struggle on a cold-fill beverage, a body scrub container, or a glass bottle that sweats during distribution.
Film labels are built for water resistance and durability. White BOPP, clear BOPP, polypropylene, polyester, and vinyl are common choices for bath products, cosmetics, beverages, refrigerated foods, squeeze bottles, outdoor items, and compliance labels. BOPP and polypropylene are flexible and widely used for consumer packaging. Polyester is tougher and often preferred where heat, chemicals, abrasion, or long service life matter.
Stock color changes more than the background. White film gives opacity and bright color. Clear BOPP creates a no-label look on glass or clear plastic, but it usually needs white ink behind graphics, small text, and barcodes. Metallic stocks can make color feel deeper and more expensive. Kraft paper signals a natural or handmade position, especially for dry foods and biodegradable packaging concepts. Specialty stocks may include recycled content, post-consumer waste content, or FSC certified paper, although availability depends on the exact construction and the printer's supply chain.
Adhesive deserves as much attention as the face stock. Permanent adhesive is standard for many retail products. Removable adhesive works for promotions, temporary labels, and surfaces that should not be marked permanently. Freezer-grade adhesive is made to hold at low temperatures, often around -40 degrees F depending on the product. Repositionable adhesive gives a short correction window. Aggressive adhesive may be needed for textured glass, rough paperboard, low-energy plastics, wet environments, or containers that receive heavy handling.
Container material changes the decision. Glass is usually label-friendly, but texture, cold fill, condensation, and tight curves can still cause problems. PET bottles are common and generally workable. HDPE and polypropylene containers can be harder because some plastics have lower surface energy, which makes it more difficult for adhesive to wet out and build bond strength. Pouches add another complication: they flex. A stiff label that looks excellent on a flat proof can crease or bridge when the pouch is filled, squeezed, or heat-sealed.
Roll format looks like a logistics detail. It is not. Paper liners are common and cost-effective. Film liners may improve dispensing consistency on faster equipment. Machine-applied labels need the right gap, die-cut spacing, matrix removal, roll tension, unwind direction, core diameter, and maximum outside diameter. If an applicator accepts only an 8-inch outside roll diameter on a 3-inch core, that detail belongs in the spec before production begins.
Good material matches are usually straightforward once the conditions are clear: clear BOPP for a clean glass bottle, white polypropylene for bath products, kraft paper for dry pantry goods, and polyester for industrial or safety labels that need staying power. For buyers building a larger branded packaging set, Custom Labels & Tags can sit alongside hang tags, sleeves, cartons, and other printed components without forcing every item into the same material.
Printing Methods, Color, and Finish Choices That Change the Final Label
Digital printing is the flexible option for short to mid-size runs, multiple SKUs, variable data, seasonal artwork, and full-color designs without plate costs. It is often a good fit for 250 to 10,000 labels per version, though that range shifts with label size, material, finish, and press setup. Digital roll labels can also reduce waste when a brand has ten flavors, three scent lines, or frequent ingredient updates.
Flexographic printing is usually more efficient for larger runs, repeat orders, spot colors, specialty inks, and high-volume production. Flexo uses plates and requires more setup, but unit cost can drop once the run is large enough. It also handles varnishes, metallic effects, cold foil, and certain specialty constructions very well. Offset printing is more common for sheets, cartons, and some commercial print work. Roll labels are most often produced by digital or flexographic methods.
Color is not only a file setting. CMYK builds most full-color images. Pantone spot colors help hold brand-critical tones across repeat orders. Clear and metallic films need extra planning because CMYK inks are not naturally opaque. White ink may be printed as a backing plate under color or as visible white artwork on clear stock. Rich black can look strong, but tiny reversed type inside rich black can fill in if the line weight is too fine.
Finish changes feel, durability, and cost. Gloss varnish gives shine and moderate rub protection. Matte varnish reduces glare and keeps the label understated. Gloss laminate adds stronger scuff and moisture resistance. Matte laminate gives a refined look with better protection than varnish alone. Soft-touch laminate feels excellent on premium cosmetics or specialty foods, although it can show fingerprints and raise the quote. UV coating, foil stamping, embossing, debossing, and spot treatments can add shelf impact if the budget and timeline support them.
| Option | Best Use | Typical Buyer Note |
|---|---|---|
| Gloss varnish | Dry retail goods and moderate handling | Lower cost than laminate, but less protection against moisture and scuffing |
| Matte laminate | Cosmetics, premium foods, and handled packages | Often adds a few cents per label on small runs, depending on size and coverage |
| Clear BOPP with white ink | No-label look on glass or clear plastic | White backup improves color strength and barcode readability |
| Foil stamping | Premium logos, seals, and limited artwork areas | Usually adds tooling or setup cost, so it suits higher-value products |
Prepress protects a surprising amount of label quality. Provide bleed, safe zones, dielines, barcode quiet zones, minimum line weights, outlined fonts, 300 dpi images at final size, and clear notes for white ink or foil. Transparent labels need extra care around knockouts because any unprinted area will show the container or product behind it.
The strongest label specs connect color choices to the actual substrate. A warm cream background on paper, a clear label over amber glass, and a metallic label under gloss laminate will not produce the same visual result, even if the PDF looks controlled. Ask for a drawdown, material swatch, or production sample when color is risky or brand-critical.
Cost, Pricing, and Quote Factors for Custom Roll Labels
Label pricing is driven by material, adhesive, label size, quantity, number of versions, print method, ink coverage, finishing, die requirements, and roll configuration. A 2 x 3 inch white BOPP label with digital print and gloss laminate will not price like a 4 x 5 inch metallic label with foil and freezer adhesive. Label count matters more than roll count.
Unit cost drops as quantity rises because setup time, press calibration, waste allowance, die setup, color checks, and finishing are spread across more labels. As a broad planning range, a simple digital roll label might land around $0.08 to $0.22 each at 5,000 pieces. Smaller quantities can be noticeably higher. Large flexographic repeat runs can price lower per unit, but plates, tooling, and minimums need to make sense for the order.
Shape affects cost too. Standard rectangles, squares, ovals, and circles are usually more economical because existing dies may be available. Custom die-cuts, sharp corners, tight radiuses, complex silhouettes, and delicate negative spaces can add tooling cost and slow matrix stripping. If the waste matrix breaks during stripping, production speed drops. That cost shows up somewhere.
Premium materials and finishes raise the quote, but they can prevent expensive failures. Clear films, metallic stocks, freezer adhesives, laminates, foil, embossing, soft-touch coatings, and specialty recycled materials all cost more than a basic semi-gloss paper label. A label that survives a refrigerated distribution chain may still be cheaper than relabeling 3,000 jars after edges lift in storage.
Minimum order quantity depends heavily on the method. Digital printing often supports lower minimums for prototypes, market tests, or many SKU versions. Flexographic labels, embellished labels, and specialty constructions usually need higher counts to make setup economical. A useful quote request should include dimensions, quantity per version, material preference, use environment, artwork files, finish, core size, unwind direction, and application method.
Comparing vendors only by the lowest unit price can blur the real differences. Ask whether the quote includes proofing, die charges, plate charges, setup fees, rewind requirements, material substitutions, freight, and overs or unders. Also confirm whether the printer is quoting the exact adhesive and finish requested or a near equivalent. That small substitution can matter on freezer goods, oily products, textured containers, and automatic application lines.
If you are comparing packaging options, review whether the supplier can support the full specification, not just print the artwork. The Manufacturing Capabilities page is a useful place to evaluate process options before committing to a stock, finish, or run size.
Process and Timeline: From Artwork File to Finished Rolls
A typical roll label order moves through specification review, material confirmation, artwork preflight, proofing, press setup, printing, coating or laminating, die-cutting, matrix removal, slitting, rewinding, packing, and shipping. Each step sounds small. Together, they decide whether the rolls arrive ready for hand labeling or ready to run on equipment without stopping every few minutes.
Proof type matters. A digital proof shows layout, copy, dieline position, unwind orientation, and general color intent on screen. A hard copy proof can help with size, readability, and finish expectations, though it may not be produced on the exact production press or material unless specified. A production sample is closer to the final label, but it adds time and cost. It is most useful for higher-risk projects such as freezer labels, clear labels, unfamiliar containers, and labels that must run on specific equipment.
Standard digital roll label jobs with clean files and common materials may be ready in roughly 5 to 10 business days after proof approval. More complex orders, flexographic setup, custom dies, unusual adhesives, foil, embossing, or special laminates may run closer to 12 to 20 business days. Jobs can take longer if material must be sourced.
Rush orders are sometimes possible when specs are standard, files are clean, dies already exist, and materials are in stock. Unusual adhesives and embellishments are different. A freezer-grade adhesive on a specialty clear film with foil is not the kind of job anyone should rush without testing.
Quality checks during production usually include color review, registration, die-cut alignment, roll tension, label count, splice control, barcode scan checks, and visual inspection for hickeys, scratches, voids, and laminate defects. For transport and distribution testing, buyers may also reference standards from organizations such as ISTA, especially if labeled products will ship through parcel networks or mixed retail distribution.
Finalize container samples, fill conditions, and application method early. If the package changes from glass to PET, or from room-temperature fill to cold fill, the label spec may need to change too. That is easy before proof approval and painful after plates, dies, or material orders are already moving.
What Should a Roll Labels Material and Printing Guide Include?
A roll labels material and printing guide should include the label's job, not only its appearance. Identify the container, choose the face stock, match the adhesive to the surface and environment, select the print method, confirm the finish, define the roll format, and test the label on the real package.
For practical buying, the guide should answer six questions: What surface will the label touch? Will the product face water, oil, freezing, heat, abrasion, or sunlight? Is paper, BOPP, polypropylene, polyester, kraft, or metallic stock best? Should the label use permanent, removable, aggressive, freezer-grade, or repositionable adhesive? Will digital or flexographic printing fit the quantity and color requirements? What core size, unwind direction, roll diameter, and label gap does the applicator require?
That sounds procedural because it is. Labels fail in physical ways. Ink scuffs. Edges lift. Paper fibers swell. Barcodes lose contrast. Rolls telescope during application. A complete spec turns those risks into information a printer can price and produce.
Common Material and Printing Mistakes That Cause Label Problems
The first big mistake is choosing paper for a wet, oily, refrigerated, or heavily handled product where film and laminate would perform better. Paper can be beautiful, especially textured paper or kraft paper. Beauty does not stop fiber swelling, edge lifting, or scuffing when the environment is wrong.
Adhesive mismatch is just as common. Labels can lift from textured glass, oily plastic, curved tubes, frozen goods, cold-fill products, or low-energy containers such as some polypropylene surfaces. Low surface energy plastics are harder to bond to because the adhesive does not wet out as easily. Testing on the real container is the cleanest way to avoid guessing.
Clear labels bring their own traps. Without white ink, full-color artwork can look weak or translucent, and it may disappear against amber bottles, dark liquids, or colored plastic. Adhesive texture can also show through clear stock, especially on textured surfaces. Barcodes printed on clear material may fail if contrast is not controlled with a white backup area.
Roll direction gets ignored until labels hit the machine. Core size, outside roll diameter, leading edge, copy position, and unwind direction all matter for dispensers and automatic labelers. A hand-applied roll can be forgiving. A machine-applied roll is less patient.
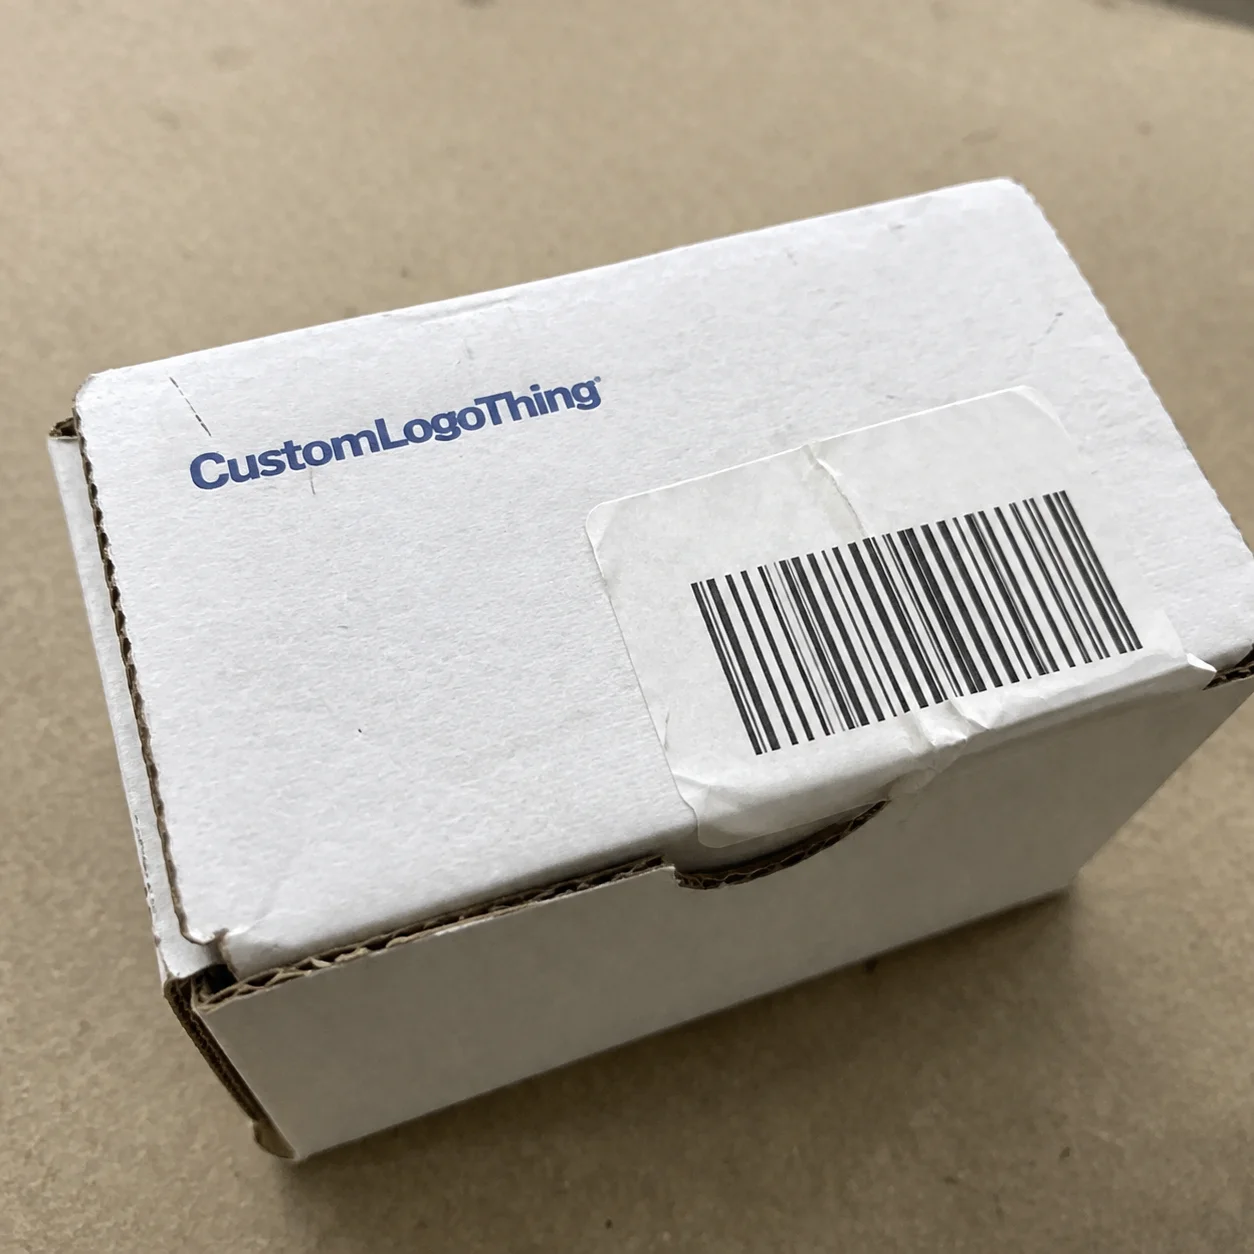
Barcode and compliance issues deserve extra caution. Small type, insufficient contrast, missing quiet zones, varnish glare, curved placement, condensation, shrink distortion, and scuffed ink can all reduce readability. For UPCs and QR codes, confirm size and scan performance on the final material and finish, not only on a PDF.
Artwork file problems are preventable. Low-resolution images, missing bleed, RGB colors, unoutlined fonts, unsupported transparency effects, and dielines mixed into print art can slow prepress and invite errors. A clean file package should separate the dieline from printed art, mark spot colors clearly, and identify any white ink, foil, embossing, or varnish plates.
Next Steps: Build a Label Spec That Printers Can Price and Produce
A usable label specification does not need to be fancy. It needs to be complete. Before requesting pricing, gather the label size, shape, quantity, number of designs, container material, application surface, fill conditions, storage environment, expected handling, finish preference, and whether labels will be applied by hand or machine. Fewer adjectives, more production facts.
- Size and shape: width, height, corner radius, and whether an existing die is acceptable.
- Material: paper, white BOPP, clear BOPP, polypropylene, polyester, metallic, kraft, or specialty stock.
- Adhesive: permanent, removable, freezer-grade, aggressive, repositionable, or specialty adhesive for difficult surfaces.
- Finish: gloss varnish, matte varnish, gloss laminate, matte laminate, soft-touch laminate, foil, embossing, or spot treatment.
- Roll format: core size, unwind direction, outside diameter, label gap, and copy position.
- Files: vector dieline, bleed, safe area, outlined fonts, high-resolution images, CMYK or spot color callouts, and notes for white ink or foil.
Test the label on the real package whenever possible, especially for refrigerated, frozen, oily, squeezable, curved, textured, or outdoor-use products. A quick bench test is not a full lab program, but even 24 to 72 hours on a filled container can reveal edge lift, tunneling, scuffing, or poor readability before the full order is produced.
Narrow choices by performance first, appearance second, and budget third. Honestly, I think this is what many buyers get wrong. A beautiful label that lifts, wrinkles, smears, or scans poorly becomes more expensive after relabeling, rejected shipments, repacking labor, or delayed launch dates.
Ask for material samples or a small production run if the surface or environment is uncertain. That is especially wise with textured glass, flexible pouches, squeeze tubes, freezer products, outdoor products, oily formulas, and containers made with recycled plastics. Not every issue can be predicted from a spec sheet.
Use this roll labels material and printing guide as a working checklist before requesting pricing, approving proofs, or committing to a full production run. The right stock, adhesive, print method, finish, and roll format will make the label easier to price, easier to produce, and far more likely to behave properly on the package it was made for.
Frequently Asked Questions
What is the best material for roll labels on products that get wet?
Film materials such as white BOPP, clear BOPP, polypropylene, or polyester usually perform better than paper in wet or humid conditions. For bath, beverage, refrigerated, or ice bucket use, pair the film with a moisture-resistant adhesive and a gloss or matte laminate for extra scuff protection. The right choice still depends on the container surface, fill temperature, storage conditions, and whether the label must survive oils, cleaners, or frequent handling.
How does printing method affect roll label pricing?
Digital printing is often more cost-effective for lower quantities, multiple SKUs, variable designs, or fast setup because it does not require printing plates. Flexographic printing can be more economical at higher quantities and is often preferred for repeat runs, spot colors, specialty inks, and certain embellishments. The final price also depends on size, material, adhesive, finish, die-cut shape, roll direction, and total label count.
What information should I provide for a custom roll label quote?
Provide label dimensions, shape, quantity, number of artwork versions, material preference, finish, adhesive needs, and whether labels are hand-applied or machine-applied. Include container details such as glass, PET, HDPE, metal, cardboard, pouch film, or another surface, plus any refrigeration, freezing, oil, water, or outdoor exposure. Send artwork files if available, along with core size, unwind direction, and maximum roll diameter if the labels must fit a specific applicator.
Can clear roll labels be printed with full-color artwork?
Yes, clear labels can be printed in full color, but white ink is often needed behind colors to keep them bright and readable. Without white ink, CMYK colors may look translucent and can shift depending on the color of the container or product behind the label. Clear labels also need careful planning for adhesive appearance, barcode contrast, fine text, and any areas meant to look completely transparent.
How long does custom roll label production usually take?
Timing depends on artwork readiness, material availability, proof approval, print method, quantity, custom die requirements, and finishing steps such as lamination or foil. Standard digital roll labels with clean files and common materials may be ready in about 5 to 10 business days after proof approval. Labels requiring specialty adhesives, custom tooling, or complex embellishments may need 12 to 20 business days or longer if materials must be sourced.