Few packaging formats carry as much work per square inch as branded bubble mailers. They protect the product, present the brand, and survive the rough parts of fulfillment without adding the bulk of a carton. For lightweight items, that combination is hard to beat. The mailer arrives first, the product follows, and customers form an impression before they even touch the item inside.
That matters more than many buyers expect. A clean outer package can raise the perceived value of a modest item, while a flimsy or generic mailer can make even a good product feel underprepared. For apparel, cosmetics, accessories, supplements, and other compact goods, branded bubble mailers often sit in the sweet spot between cost control and presentation. They are not flashy by default. They just do a lot of useful work.
The buyer's job is to make sure the structure fits the product, the print fits the film, and the price fits the margin. That sounds simple until you start comparing film thickness, bubble density, seal strength, artwork limits, and freight assumptions. The details decide whether the mailer feels polished or merely printed. For broader comparison across formats, the Custom Packaging Products page is a useful reference point for seeing how flexible and rigid options solve different shipping problems.
Why branded bubble mailers punch above their weight
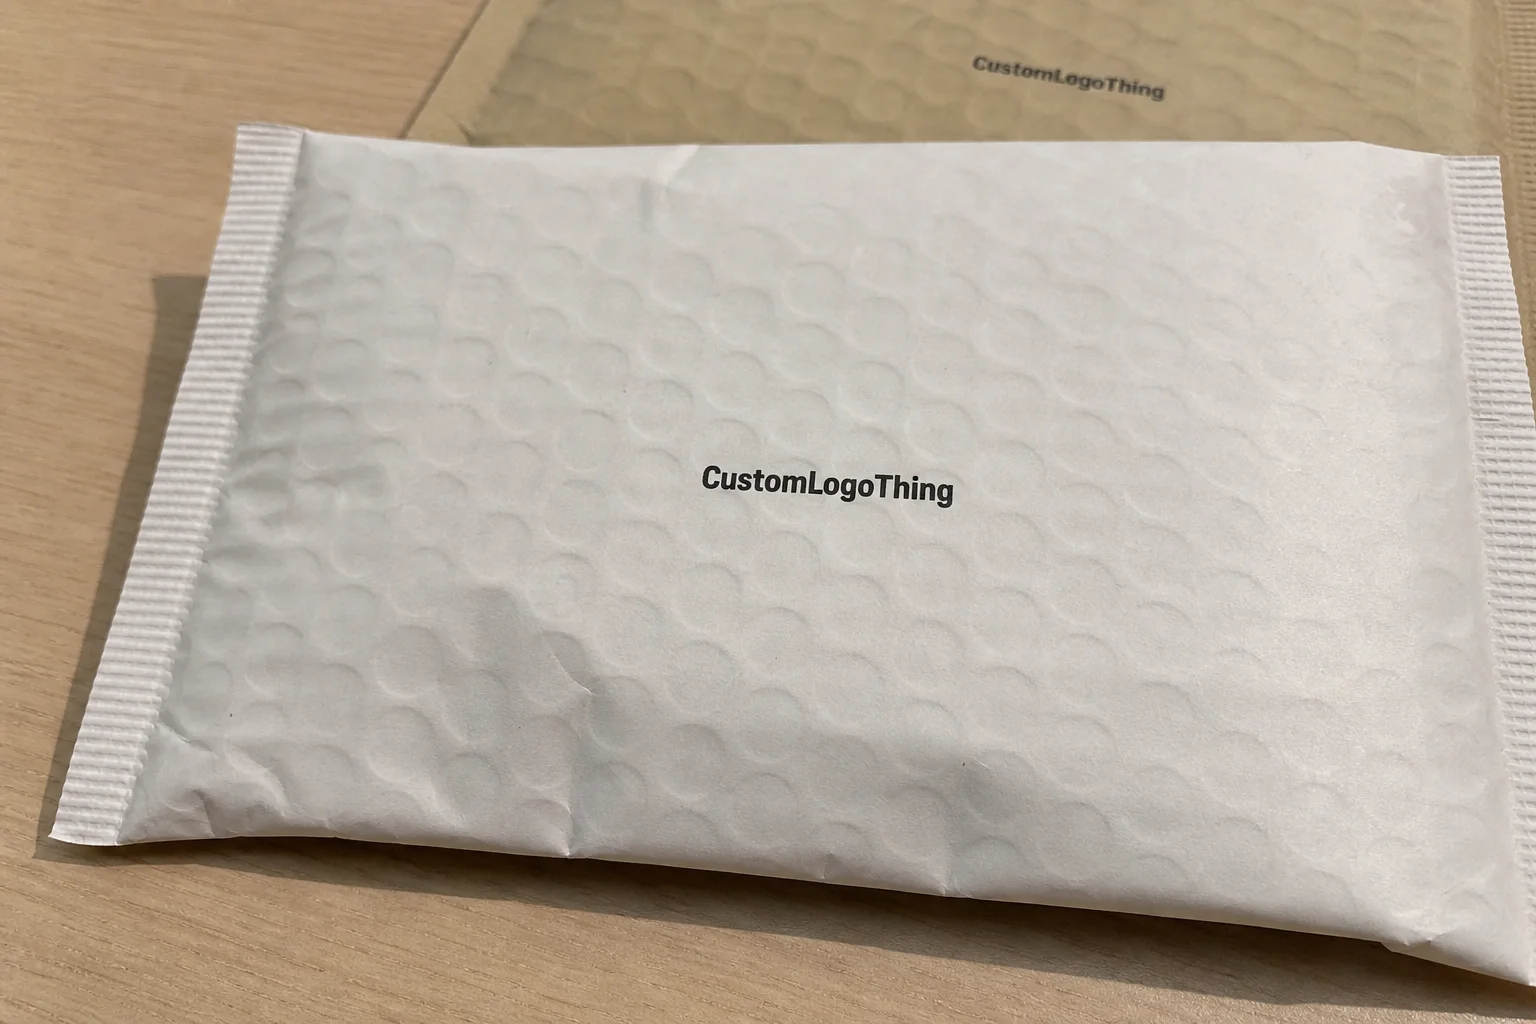
A plain padded mailer can move product from warehouse to doorstep just fine. A branded one does more than that. It gives the shipment a clear identity and makes the delivery feel intentional, even if the item itself is small. That shift in perception is not cosmetic trivia. It affects how the customer reads the entire order.
For products with low bulk and relatively high margin, the outer package often becomes a visible part of the brand system. A compact skincare set or a pair of accessories may not justify a rigid box, yet a printed mailer can still create the sense that the order was prepared with care. The effect is subtle but measurable in customer perception. The package looks planned rather than improvised.
The protective role matters just as much. A bubble interior cushions against minor impacts, abrasions, and the handling that happens between pack-out and delivery. The outer layer resists scuffing and gives the package a cleaner face for print. That is why these mailers are common in direct-to-consumer programs where the product does not need a carton, but also cannot be dropped into a thin poly bag.
Use cases tend to cluster in a few categories:
- Cosmetics, where presentation and light cushioning both matter.
- Apparel, especially folded items that benefit from slim shipping.
- Accessories, where scratch protection is more important than crush resistance.
- Supplements and retail goods, where a professional outer layer supports repeat orders.
For many brands, the appeal comes from the ratio of spend to effect. The mailer does not need elaborate decoration to improve the experience. A disciplined logo placement, a controlled color palette, and the right surface finish can shift the package from generic to branded without pushing shipping costs into box territory.
“A good mailer does not need to be loud. It needs to be coherent: the right size, the right seal, and a print that survives handling well enough to still look deliberate on arrival.”
If you are comparing this format with a non-padded option, the Custom Poly Mailers page is a useful benchmark because it shows how padding changes protection, stiffness, and unit cost.
Materials, print options, and size choices that matter
The construction usually starts with a poly outer film bonded to a bubble interior. Suppliers vary the exact spec, but a common setup uses an outer layer in the 40 to 60 micron range with a small-bubble liner. Heavier-duty versions add thickness, stronger sealing, or a denser feel in the hand. That can improve puncture resistance, but it also raises cost and makes the mailer less flexible in packing.
Print method has a bigger effect on the final look than many teams expect. Simple spot-color printing usually produces cleaner results on flexible film, especially when the brand mark has sharp edges and strong contrast. Full-coverage artwork can look excellent too, but only if the film, ink, and curing process are handled with discipline. Fine details are riskier. Thin lines, tiny type, and busy gradients can break up near folds or seams.
Size is one of the easiest places to make an expensive mistake. Choose the mailer around the packed product, not the product alone. Include inserts, tissue, sleeves, closures, and any outer wrap that ships with the item. If the mailer is too tight, packing slows down and the seal can deform. If it is too large, the contents shift and the package feels looser than it should.
Three specs deserve close attention during quoting and sample review:
- Opacity, if the contents should not be visible through the outer layer.
- Seal strength, because a weak adhesive becomes a fulfillment problem quickly.
- Puncture resistance, especially for products with hard corners, clips, or edges.
Finish also changes how the brand reads in real use. A glossy surface can make colors look richer, but it can reflect more light and show scuffing differently. A softer finish can feel more restrained and premium, though it may not deliver the same visual pop in photos. There is no universal best choice. The right finish depends on product category, fulfillment environment, and how the package should appear when the customer opens the parcel.
Buyers who want to compare transit performance should ask whether the supplier tests against recognized methods such as ISTA procedures. The International Safe Transit Association provides a useful reference for transit testing standards. If recycled content or disposal claims are part of the purchase, the EPA recycling guidance is a better starting point than guessing. Claims around recyclability need to match local collection realities, not just the label on the material spec.
The most reliable orders treat print, material, and size as one system. If one element is mismatched, the whole package can look less refined than a plain mailer with better structure. That is the part buyers learn the hard way: the visual layer cannot compensate for a weak fit.
Process, timeline, and production steps from proof to ship date
A standard order usually follows a predictable path: quote request, artwork review, proofing, approval, production, packing, and freight booking. The fastest runs are the ones where dimensions, artwork, quantity, and delivery target are already fixed before the first vendor call. Every missing detail adds back-and-forth. Every round of back-and-forth adds days.
Artwork is usually the slowest part. Low-resolution files, vague color targets, and unclear print boundaries stretch the proof cycle. A design that looks fine on a screen can fail on press if the flat size is not mapped correctly. Mailers are unforgiving about placement. A logo too close to a fold, seam, or seal line will not look centered once the package is formed.
Lead times vary by quantity and complexity, but a straightforward order often moves from proof approval to production in roughly 12 to 18 business days. More complex projects take longer if tooling changes, special material sourcing, or pre-production samples are involved. Freight is separate from factory time. Buyers often collapse those two timelines into one and then wonder why the launch slips.
Before approving a quote, ask for these details in writing:
- Final dimensions and the allowed size variance.
- Material spec, including outer film and bubble construction.
- Print method, number of colors, and usable print area.
- Estimated production time after proof approval.
- Shipping terms and whether freight is included or separate.
A sample or pre-production proof is worth the extra step if the program will run at real volume. A mailer that looks fine in a PDF can still underperform if the adhesive feels weak, the film is thinner than expected, or the artwork lands too close to a seam. If you want to see how packaging decisions are evaluated in actual programs, the Case Studies section is a better guide than a generic product sheet.
The point of a disciplined production process is not speed alone. It is predictability. The sample should resemble the mass-produced run closely enough that operations teams do not have to sort through unexpected differences on arrival.
Cost, MOQ, and what drives unit cost
Pricing for branded bubble mailers is shaped by material thickness, print coverage, color count, order volume, finish, and any special construction choices. A light print on a standard build costs less than a full-coverage design on a thicker mailer. There is no real shortcut around that. More material and more setup time both move the quote upward.
MOQ is tied to setup economics. Lower quantities usually carry a higher unit price because the press setup, color calibration, and proofing work are spread across fewer pieces. Larger runs reduce the per-unit cost, even though the total order value rises. That is normal and should be planned for rather than treated as a pricing flaw.
| Order Size | Typical Unit Price | What Usually Drives It | Best Fit |
|---|---|---|---|
| 1,000-2,000 pcs | $0.34-$0.58 | Setup, proofing, and lower volume spread | Launch tests and small programs |
| 5,000 pcs | $0.18-$0.28 | More efficient press time and material purchasing | Growing DTC brands with steady volume |
| 10,000+ pcs | $0.12-$0.22 | Lower unit setup burden and better freight efficiency | Stable shipping programs |
Those figures are directional. They move with film thickness, bubble density, ink coverage, special effects, and size. Freight can also alter the real landed cost more than buyers expect. A factory quote that looks low can become the most expensive option once cartons, pallets, inbound shipping, and handling are added. The number to compare is landed cost, not the bare unit price.
When comparing vendors, insist on identical specifications. If one quote uses a different size, different film, or a different shipping assumption, the comparison is broken before it starts. A quote that includes freight cannot be compared directly with one that excludes it. Sample costs should also be part of the budget. If the sample round is treated as an afterthought, the buying process is already under-specified.
The cheapest option is not always the best value. A slightly higher unit cost can be the better purchase if it reduces seal failures, improves print consistency, and lowers repack or damage rates. Once a mailer starts creating work downstream, the nominal savings disappear quickly.
How to choose the right structure for protection and branding
Start with the product, not the packaging trend. A soft garment has different protection needs than a glass vial or a boxed skincare item. If the item scratches easily, the inner bubble layer matters more. If the product is lightly compressible and the main goal is presentation, a slimmer build may be enough. Overspecifying the mailer because thicker sounds safer usually leads to higher costs without much extra value.
A heavier mailer is not automatically better. More thickness can help with awkward corners or handling abuse, but it can also create storage issues, slow down packing, and make the material less pleasant to work with on a fast line. For most fulfillment setups, the best structure is the one that protects the item cleanly without making pack-out awkward.
Return flow deserves attention too. If the same outer mailer may be reused for returns, the adhesive and film integrity need to support more than one trip. That is common in apparel and other direct-to-consumer categories where a customer might send the item back in its original package. In those cases, the spec should be written around repeat handling rather than a one-way shipment.
Branding should support the structure, not strain it. Large graphics can work, but they should not crowd the seams or cover handling cues. A simple logo with proper spacing often looks more premium than a dense design that tries to fill every available area. The best print layout is usually the one that respects the limitations of the substrate.
For sustainability-focused programs, ask whether the mailer contains recycled content and whether the supplier can document it. If paper components are part of a broader packaging system, FSC documentation can be checked through the Forest Stewardship Council. Keep the claims precise. Packaging terms get stretched easily, and buyers should avoid promising recyclability or recycled content without a paper trail.
The clearest way to think about branded bubble mailers is as part of the shipping system. They sit between production, fulfillment, transit, and unboxing. Every one of those stages affects the spec. If the package is too weak, too loose, or too visually busy, the brand pays for it later in customer perception and operational friction.
Common mistakes that make custom mailers look cheap
The first mistake is artwork that tries to do too much. Flexible packaging does not reward tiny detail the way rigid cartons can. Thin type fills in, small borders break apart, and low-contrast graphics disappear under warehouse lighting. On a mailer, simpler design usually looks more confident.
The second mistake is approving a sample without testing it on a real packing line. A mailer can look fine on a desk and still fail in production because it inserts poorly, seals crookedly, or scuffs when stacked with other units. Real handling reveals issues that visual review never catches.
Color mismatch creates another layer of disappointment. Screen color, proof color, and press output are never identical. If the approval process does not include realistic tolerances, the buyer may end up chasing a shade that was never going to reproduce exactly on film. That is not a defect so much as a process gap.
Size tolerance gets overlooked too often. If product dimensions vary from batch to batch, the mailer should be sized for the largest likely version. Otherwise the average fit looks fine on paper and awkward in real use. The customer never sees the SKU spreadsheet. They see the package that arrived too tight or too loose.
“A package usually looks cheap for one of two reasons: the material was underspecified, or the design asked the printer to do something the substrate could not support.”
The final mistake is treating appearance as more important than function. A bold print cannot rescue a weak adhesive. If the seal fails in transit, the branding disappears from the customer's mind very quickly. Presentation and performance have to stay aligned.
Next steps before you request samples or a quote
Before contacting suppliers, gather the core information: product dimensions, packed weight, target quantity, artwork files, delivery date, and any compliance or sustainability requirements. Missing inputs make the first quote vague and hard to compare. Clear inputs usually produce better pricing and fewer follow-up questions.
Then test the actual product in the mailer. A dummy insert is not enough. Real product testing shows whether the seal closes cleanly, whether the contents move excessively, and whether the package still looks sharp after handling. That matters even more for branded bubble mailers, because the print only earns its keep if the structure survives the trip intact.
Request at least two quotes against the same spec sheet. That keeps the comparison honest on construction, print coverage, lead time, and landed cost. If one supplier offers a cleaner proof process or more consistent sample-to-production matching, that can outweigh a modest price gap.
Decide what matters most before placing the order. Some brands prioritize presentation. Others care most about protection or the lowest landed cost. Some need the fastest turnaround because a launch date is fixed. There is no universal best answer, only a better fit for the product, the route, and the fulfillment process.
Kept on that level, branded bubble mailers are not a decorative extra. They are a practical shipping component that can protect the product, reinforce the brand, and keep operations moving at a sensible cost. That balance is the real value.
How do branded bubble mailers compare with plain bubble mailers?
Branded versions turn the outer package into a visible part of the customer experience, while plain mailers mainly handle the protective function. The right choice depends on how much recognition, unboxing value, and presentation matter for the product. For high-volume DTC shipments, the branding premium often makes sense if the outer package is part of the brand story.
What MOQ should I expect for custom branded bubble mailers?
MOQ depends on construction, print method, and the supplier's setup requirements. Smaller quantities usually cost more per piece because setup is spread across fewer units. A practical approach is to ask for pricing at several volume tiers so you can see where the unit cost drops enough to justify a larger run.
How long does the production timeline usually take?
The timeline depends on proof approval, print complexity, material availability, and order size. A smooth order can move quickly once the artwork is approved, but freight time should always be counted separately from factory time. Keeping those two timelines distinct helps prevent launch delays.
What size should I choose for my product?
Measure the finished packed product, not just the item itself. Inserts, tissue, sleeves, and closures all change the fit. Leave enough room for a clean seal and enough clearance for the bubble layer to cushion without overstretching the seams. If product batches vary, test the largest likely version before final approval.
What affects the price of branded bubble mailers the most?
Material thickness, print coverage, number of colors, order quantity, and special finishes usually have the biggest impact. Freight and packaging assumptions can also change the real landed cost, so the quote should show exactly what is included. A quote only helps if the specs are truly comparable across vendors.