The Branded Hang Tags for Sample kits material thickness guide is one of those spec details that gets filed under “later,” until a tag bends in transit, curls against a pouch, or tears at the punch hole. Then it becomes the first thing anyone notices. In sample packaging, that small sheet of board can decide whether the brand feels thoughtful or improvised.
Sample kits are hard on printed components. Cartons get stacked. Inserts shift. A tag that looked perfect on press can arrive with a dog-eared corner, ink scuffing, or a stress crack around the hole. Thickness is only part of the story, but it affects nearly everything the buyer experiences: durability, readability, assembly time, and how the tag sits next to other materials such as folded inserts, corrugated cardboard shippers, tissue, or product sleeves.
The right stock depends on kit weight, attachment method, print coverage, and whether the hang tag is decorative or carrying actual product information. The best choice is rarely the heaviest one. It is the one that survives the trip, stays flat enough to read, and does not slow down kitting.
Why thickness matters in sample-kit hang tags
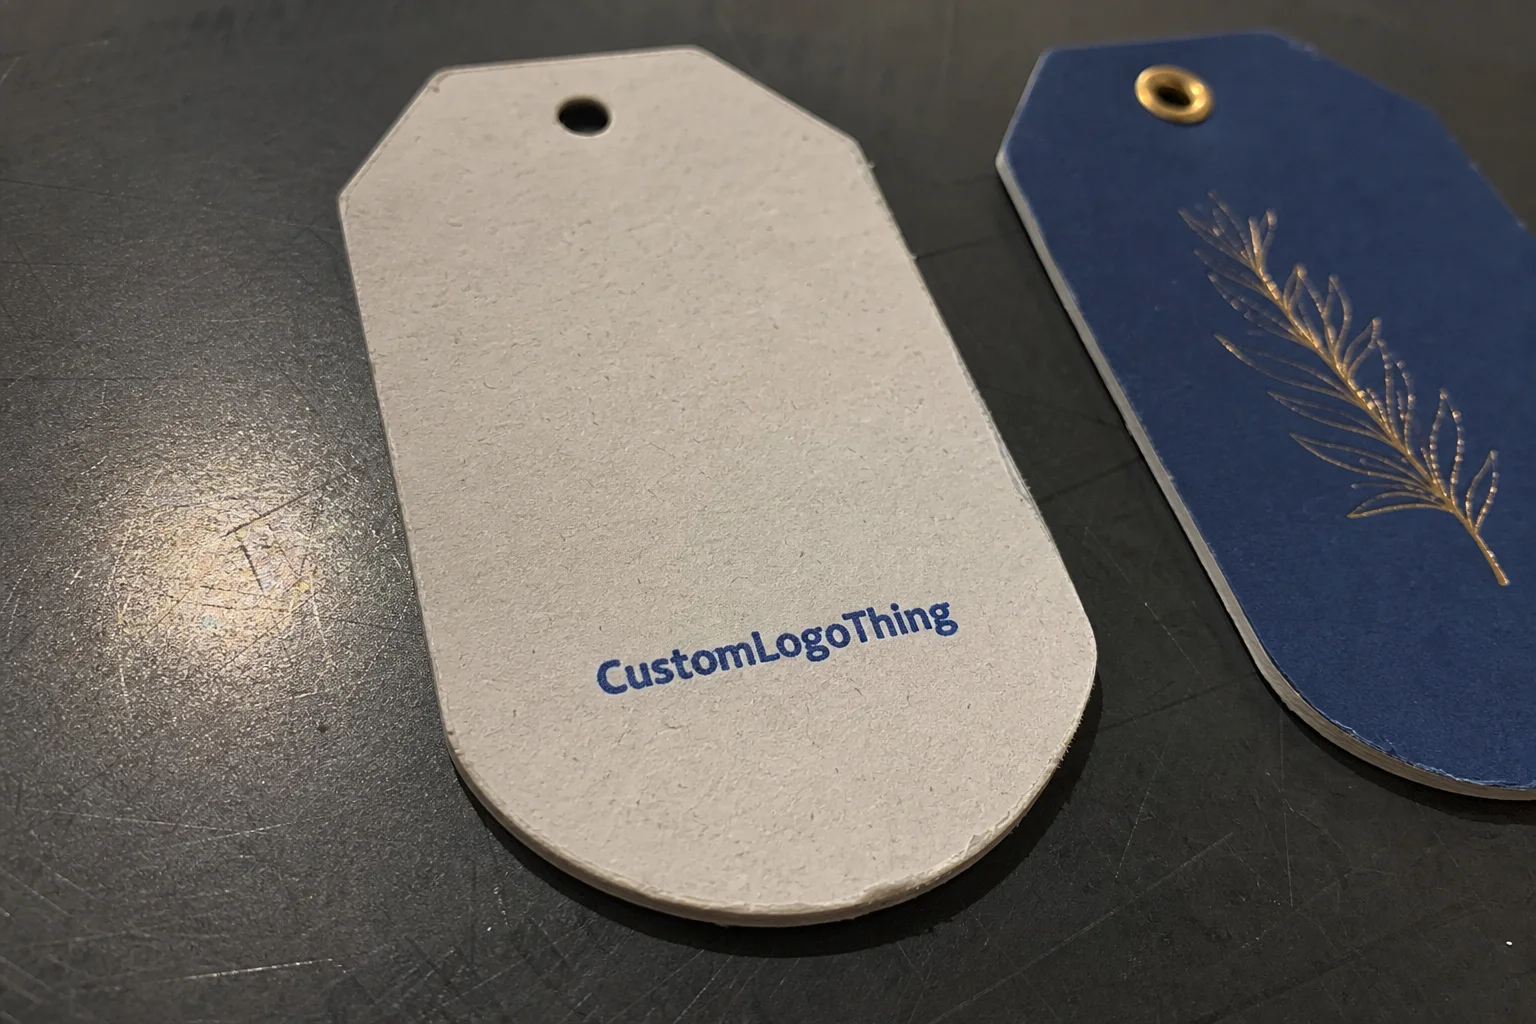
Thickness changes more than hand feel. A thin tag can read as economical or temporary, especially inside a premium sampling box. A thicker tag usually signals more intent, but only if it still behaves well at the punch, the fold, and the string. Buyers notice that difference quickly, often before they read the copy.
The terminology can be confusing. Printers may quote paper weight, caliper, point, or GSM. Those numbers overlap but do not mean the same thing across every material. A 14 pt coated stock does not behave exactly like a 14 pt uncoated stock. GSM is useful for comparing broad ranges, but it does not tell you how stiff the piece will feel or how it will survive handling.
For sample kits, the hang tag is often the brand’s only physical cue before the product is opened. That means it has to hold up in shipping, stay readable under mixed lighting, and survive handling by sales reps, distributors, and end buyers. If it curls, scuffs, or tears early, the whole kit feels less finished.
A tag does not need to be the heaviest component in the box. It does need to stay flat, readable, and intact long enough to earn its place.
Thickness also affects how the tag interacts with the rest of the package. A lightweight insert tucked into a paper mailer has different demands than a tag tied to a bottle sample or clipped onto a pouch. The ideal stock is often the one that balances durability with easy assembly, not the one that simply feels thickest in your hand.
How hang tag thickness affects look, feel, and function
Thinner stocks are easier to bend, punch, fold, and tie. They can feel light and cost-conscious, which suits high-volume sampling runs or programs with frequent SKU changes. The tradeoff shows up fast: too thin, and the tag can wrinkle in transit, especially if it rubs against the edge of a mailer or gets tucked under a sealed flap.
Thicker stocks feel more deliberate. They resist edge curl, hold a cleaner profile, and usually photograph better for sales decks or e-commerce kits. That said, a very stiff tag can be annoying to assemble. If the hole sits too close to the edge, heavier board can split under pressure or slow threading on the kitting line.
Print performance shifts with stock thickness too. Heavy ink coverage on a thin tag may show waviness or telegraph through the back. Soft-touch coating can deepen the perceived premium feel, but it also changes surface friction. Foil, embossing, and debossing behave differently on rigid versus flexible stock, and not every finish needs the thickest board to look premium.
Edge wear is another practical issue. When a sample kit ships with multiple inserts, the hang tag can get rubbed from both sides. Thicker stocks usually tolerate that better, especially when the kit is packed tightly. If the tag must sit flat on a bottle, pouch, or folded presentation card, thickness also affects whether it stays in place or starts to lift at the corners.
Category matters. Beauty and wellness kits often call for a refined, tactile feel. Apparel sampling may need a more flexible tag that moves with the garment or pouch. B2B product samples can need more data space, so the tag may function closer to a compact information card. Same format. Very different demands.
Key material and design factors to compare
Thickness should not be chosen in isolation. Material type changes how the same nominal weight behaves. Coated cardstock gives sharper color and smoother solids. Uncoated stock feels more tactile and accepts writing better. Kraft paper creates an earthy look, though the natural fibers can soften fine detail if the artwork is dense. Recycled materials can fit sustainability-led branding well, but recycled fiber content can alter stiffness and surface finish enough to matter in production.
If the kit needs a greener story, ask whether the paper is FSC certified and whether the mill clearly states recycled content. That matters more than vague eco language. A tag made from post-consumer waste fiber may support a lower-impact brief, but it does not make the entire package biodegradable packaging. Coatings, inks, synthetic strings, and adhesives can change the end-of-life picture quickly.
Design details matter almost as much as stock selection. Hole placement near the edge can make a good board fail under tension. Rounded corners usually travel better than sharp ones. Die cuts and tear-away perforations can look clever, but they narrow the range of thicknesses that will run cleanly through production.
Attachment method is part of the spec, not an afterthought. Cotton string, elastic loop, plastic fastener, adhesive dot, and stapled placement all change how much stiffness the tag can tolerate. A thick tag tied to a narrow string may look premium, but the hole can become a stress point if the sample kit is shaken in transit.
Artwork complexity can push the choice too. Large solid backgrounds, tiny type, and dense barcodes all benefit from a stock that prints cleanly and stays flat. If the hang tag also carries ingredient details, usage notes, or a QR code, give yourself enough rigidity to preserve readability after handling.
For teams comparing packaging families, our Case Studies page shows how different formats perform across retail and direct-mail programs. If the hang tag needs to sit alongside other branding pieces, our Custom Labels & Tags category is a practical place to compare constructions before you lock a spec.
Cost, pricing, and unit cost tradeoffs
Price is driven by more than thickness alone. Material grade, print method, finishing, die cutting, packing format, and special shapes all influence the quote. In many programs, the biggest jump comes from a specialty board or finish rather than the thickness number by itself.
Here is a realistic comparison for a typical 2" x 3.5" sample-kit hang tag run of 5,000 pieces. These are indicative ranges, not a universal quote sheet, because coverage, region, and finishing change the final number.
| Option | Typical Thickness | Best Use | Indicative Unit Cost |
|---|---|---|---|
| Standard coated card | 12 pt to 14 pt | Simple branding, high-volume sampling | $0.08-$0.16 |
| Premium coated board | 16 pt to 18 pt | Beauty, wellness, apparel presentation kits | $0.14-$0.24 |
| Kraft or recycled board | 14 pt to 18 pt | Natural look, sustainability-led messaging | $0.12-$0.26 |
| Soft-touch laminated stock | 16 pt to 20 pt | Premium gift kits, curated product launches | $0.20-$0.38 |
| Foil, emboss, or custom die cut | Varies | Hero kits, limited runs, brand moments | $0.28-$0.60+ |
MOQ and setup fees can distort unit price more than buyers expect. If you need three versions for three sample SKUs, press setup may matter more than raw paper cost. A thicker board with simple print can still land below a thinner stock with foil, a custom shape, and a protective coating.
Mailing weight and assembly labor belong in the budget too. A tag that is 20 percent thicker may add little to unit print cost, but it can slow kitting if the hole is harder to thread or if the stack takes longer to align. For recurring sample programs, those seconds add up.
From a packaging buyer’s point of view, the right question is not “What is the most premium stock?” It is “What stock gives the best balance of perceived value, durability, and total landed cost for this kit format?” That answer changes when the kit ships in a flat mailer versus a rigid carton.
For transit-heavy programs, many teams use ISTA transit testing guidance as a practical check for how packaging components behave under vibration, drop, and compression. If the tag survives the test pack, it is more likely to survive the real shipment.
Process and timeline: from spec sheet to delivery
The production flow is straightforward, but timing is not always. A clean project moves through brief, material selection, proofing, prepress, printing, cutting, finishing, packing, and shipping. Problems usually appear when the thickness choice changes late, because die lines, punch size, and finishing tolerances may need to be reviewed again.
A practical timeline for standard tags is often 12 to 15 business days from proof approval. Add specialty stock, soft-touch lamination, foil, or a complex die cut, and 15 to 20 business days is more realistic. If the printer has to source a specific FSC certified board or a recycled sheet with a narrow caliper range, allow a little extra time for material confirmation.
Samples matter here. Ask for swatches or printed samples before you lock the order. A sheet can look perfect on screen and feel wrong in hand. The difference shows up most often when brands compare a coated 14 pt tag with a recycled 16 pt tag; the proof may look similar, but the stiffness and edge behavior can be completely different.
Assembly coordination is the final bottleneck. If the hang tag is one part of a full sample kit, it should be finalized before kitting begins. Otherwise, the line has to stop for rework, which is expensive and avoidable. That is especially true when tags must be matched with mailers, tissue, stickers, inserts, or product samples arriving from multiple suppliers.
Teams building sustainability-led programs should also ask for documentation on recycled content, certification, and coating choices. The FSC certification standards are a useful baseline for paper sourcing, but they do not replace a full review of inks, adhesives, and attached components.
Step-by-step checklist for choosing the right thickness
Start with the job the tag has to do. Is it decorative only, or does it also carry product data, handling instructions, or a QR code? A decorative tag can tolerate a lighter stock. A functional tag that gets read several times usually needs more rigidity and better curl resistance.
- Define the use case: decorative, informational, or both.
- Match the stock to the shipping method and handling level.
- Choose material first, then thickness.
- Request samples with the final finish and hole punch.
- Check readability, bend resistance, and assembly time before approval.
Shipping method changes everything. A lightweight mailer with no internal tray is far harder on a tag than a rigid presentation box. If the sample kit is mailed in volume, the tag has to tolerate compression and friction. If it is handed over in a meeting, the premium feel may matter more than long-haul durability.
Material first, thickness second is the cleanest way to spec the job. Recycled fiber boards, kraft paper, and coated stocks behave differently at the same nominal weight. If you skip that step, you may choose a number that sounds right but performs poorly once it is printed and punched.
Printed samples should always include the actual finish and attachment method. A bare swatch tells you almost nothing about the real result. Soft-touch laminate, aqueous coating, or a tight hole punch can change stiffness and surface feel enough to alter the final decision.
Before approval, inspect three things in the full kit context: does it stay readable, does it resist bending, and does it slow the assembly line? If any one of those fails, revise the stock or construction. That is cheaper than discovering the issue after a 2,000-unit kitting run.
Common mistakes that make sample-kit tags underperform
The most common mistake is choosing stock by appearance alone. A mockup on a flat table can look excellent, then fail as soon as it rides inside a packed kit. The surrounding components change the outcome. That is especially true when the tag rubs against a pouch seam, a bottle shoulder, or the edge of a corrugated insert.
Over-specifying thickness is the next trap. Buyers often assume thicker equals better, then discover the tag is too stiff to thread or folds awkwardly. A premium effect can disappear fast if the assembly crew has to force every piece through the hole.
Finish choices can also backfire. Heavy dark coverage on the wrong stock can create drying delays, scuffing, or unwanted curl. Foil can look sharp, but if the paper is too flexible the effect may crack or distort at the bend line. Testing matters more than brochure language.
Another miss is ignoring the attachment system. Hole size, string type, and tag weight have to work together. A narrow punch on a thick board can tear under stress. A flimsy loop on a heavy tag can look weak even if the print is excellent.
The final mistake is approving a prototype in isolation. A tag can look balanced alone, then feel oversized once it sits next to the rest of the sample kit. Always review the whole assembly. That is where the actual brand impression happens.
Expert tips for better branded hang tags on sample kits
Use thickness as a signal, not a trophy. Reserve premium board for hero kits, launch mailers, or sales enablement packs. For routine sampling, a slightly lighter stock often delivers better economics without making the brand feel cheap.
Test the tag inside the full package, not on its own. Friction, humidity, and shipping compression can change the final feel more than most buyers expect. A tag that looks crisp in the office may arrive with a soft edge after a cross-country shipment.
If the tag has to do double duty, give it enough structure to stay readable after handling. That may mean moving from 12 pt to 16 pt, or shifting from an uncoated sheet to a lightly coated one. A few points of thickness can make the card behave more like a confident information piece.
Ask your printer for two options side by side. Small differences are hard to judge from a quote sheet. In hand, a 14 pt board next to an 18 pt board reveals more than a spec table ever will. The better choice is often obvious once you compare the two in the actual kit context.
Keep the layout aligned with the board choice. Minimal branding, disciplined typography, and careful spacing usually look stronger on heavier stock than crowded graphics do. If the design is already busy, adding more thickness can make the piece feel dense rather than premium.
For teams building multiple packaging touchpoints, consistency matters. The same design system should carry from the sample tag to the label, insert, and outer carton. That is where a Branded Hang Tags for sample kits material thickness guide becomes useful: it keeps the team focused on a stock that supports the whole package, not just one isolated component.
In practice, the right choice is the one that survives handling, supports the brand, and keeps the kit easy to assemble. If you want the tag to carry a premium story without creating production friction, start with the use case, compare two thicknesses in hand, and lock the spec before the rest of the sample program is scheduled.
What thickness works best for branded hang tags for sample kits?
The best thickness depends on whether the tag is decorative, informational, or shipped in a high-handling kit. Most buyers should compare at least two stock options in hand before deciding, because the right feel changes with coating, finish, and attachment method.
Do thicker sample kit hang tags always look more premium?
Not always. Thickness helps, but print quality, finish, and design restraint can matter just as much. An overly thick tag can feel awkward or be difficult to attach, which weakens the premium effect instead of improving it.
How does thickness affect hang tag pricing?
Thicker and specialty stocks usually raise unit cost, especially when paired with finishes like foil or soft-touch. The biggest cost swings often come from setup, MOQ, and finishing rather than thickness alone.
Should I choose coated or uncoated stock for sample kit hang tags?
Choose coated stock if you want sharper color and a more polished finish. Choose uncoated or textured stock if you want a tactile, understated look or easier writing space.
How far in advance should I finalize thickness before production?
Finalize thickness before proof approval so the printer can confirm cutting, punching, and finishing compatibility. Locking it early also helps avoid delays when the hang tags need to be kitted with other sample packaging components.