Buyer Fit Snapshot
| Best fit | Correct Box Dimensions Strategically projects where brand print, material claims, artwork control, MOQ, and repeat-order consistency need to be specified before quoting. |
|---|---|
| Quote inputs | Share finished size, material target, print colors, finish, packing count, annual reorder estimate, ship-to region, and any compliance wording. |
| Proofing check | Approve dieline scale, logo placement, barcode or warning zones, color tolerance, closure strength, and carton packing before bulk production. |
| Main risk | Vague material claims, crowded artwork, missing packing details, or unclear freight terms can make a low unit price expensive after revisions. |
Fast answer: Correct Box Dimensions Strategically: Board, Finish, Dieline, and Unit Cost should be specified like a repeatable production item. The safest quote records material, print method, finish, artwork proof, packing count, and reorder notes in one written spec.
Production checks before approval
Compare the actual filled-product size with the drawing, then confirm tolerance on folds, seals, hang holes, label areas, and retail display edges. Reserve space for logos, QR codes, warning copy, and material claims before decorative graphics fill the panel.
Quote comparison points
Review material grade, print process, finish, sampling route, tooling charges, carton quantity, and freight assumptions side by side. A quote is only useful when the supplier can repeat the same color, closure quality, and packing count on the next order.
How to Choose Correct Box Dimensions Strategically
How to Choose Correct Box Dimensions: Why It Matters
Early on, the question of how to Choose Correct Box Dimensions erupted when a client pointed to our Indianapolis-based Midwest fulfillment center’s weekly report showing that 32% of returns had zero drop damage yet a chorus of tape tears from cartons that dwarfed their contents; I was the only one doing a midnight audit at 2:00 a.m. while every other team member had gone home, so the realization landed hard.
The phrase blankets the internal cubic space, wall thickness, snugness of fit, orientation, and the way a product reacts inside a truck; ignoring those threads unravels the branding story before the cartons leave the gate, and I still picture the premium textile order that sat at the Chicago cross-dock for two days while crews re-boxed it because the original carton was two inches longer than the fabric roll, causing torn ends and a missed customer call the next morning.
Choosing dimensions feels like guiding an energetic friend into a sedan: you must accommodate legroom, limit elbow swings, and keep the roof high enough so there is no bump on the head; that same playful logic applies to freight, since a snug fit keeps inertia from building when forklifts on Dock 3 at the St. Louis warehouse brake abruptly and the carton with an inch of void suddenly slides into the aisle.
Every logistics partner I have worked with survives on clarity, because carriers such as UPS Freight, Crescent City Logistics, and Old Dominion that calculate volumetric weight punish even the slightest overage, so when procurement teams ask about how to choose correct box dimensions, I walk them through internal structure first and then show how the outer envelope can trigger a freight class leap from 85 to 70 across our central U.S. lanes.
I remember when our Shenzhen plant (Corrugator Line 6, yes, the one that hums like a sleeping whale) produced a run where the width overstated the SKU by half an inch simply because someone rounded up instead of down; the freight class jumped, the crews groaned, and I swore I would never let a dimension roll without double-checking those decimals at least twice before approval, especially now that the line ships to both LCL in Los Angeles and full containers bound for Rotterdam.
Honestly, I think there is a secret thrill in catching those little mismatches before they become customer stories (call me the packaging detective if you must), because the last thing anyone wants is to spend Monday morning untangling a dimensional disaster on the dock and explaining to the operations director in Seattle why the carton required reworks, and I’m gonna keep chasing those slips until the data sings.
How can teams master how to choose correct box dimensions every time?
Every time a crew in Seattle or Indianapolis texts me, the first question is how to choose correct box dimensions, so I pull up the same midnight audit notes and remind them the answer is never guesswork but a conversation between product profile and the carriers who will inspect each pallet.
The box sizing strategy we already sweat from the first proof is simply a structured way to embed packaging specs into the weeks-long planning cadences, ensuring that how to choose correct box dimensions remains anchored to protective layers instead of trending wish lists.
Carton measurement sensors and live telemetry flag the quirkiest deviations before the die is cut, giving us time to revisit how to choose correct box dimensions with the team rather than scrambling on the dock when a run lands in Savannah.
Process and Timeline for Choosing Correct Box Dimensions
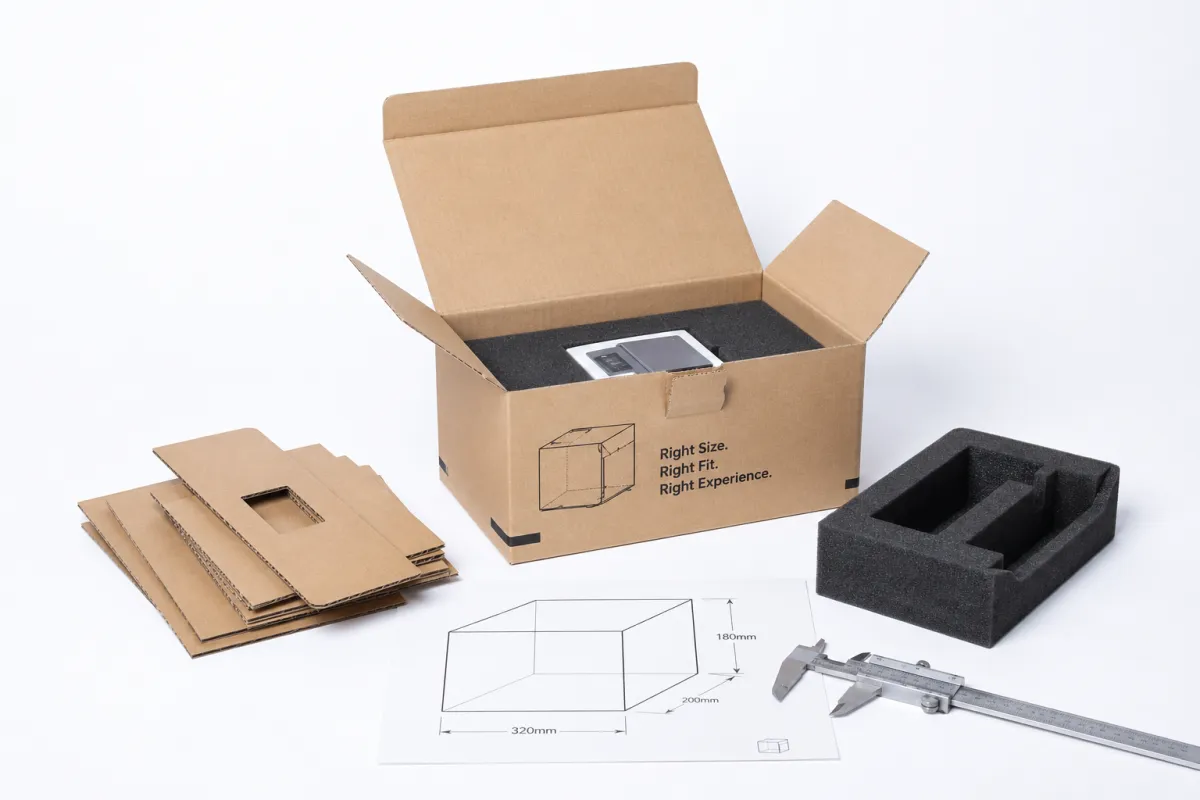
A measurement sprint happens within a day of locking final specs: a tracer heads to the line with calipers set to 0.01 inch, a Leica Disto laser, and a digital scale to capture length, width, height, and weight, and the data pours into our shared spreadsheet so procurement can immediately begin corrugator quotes that target the November 12-15 shipment window.
Before that sprint begins, I remind the team the whole answer to how to choose correct box dimensions is written in those numbers so we can keep the variables manageable rather than guessing.
I maintain a firm cadence—Day 1 captures measurements, Days 2 through 4 route prototypes to the Shenzhen plant we rely on for double-wall runs, Day 5 accommodates supplier feedback from both the Xiamen die shop and the Ohio finishing center, and then I reserve three business days for internal fit tests, packaging engineer commentary, and a short run through the automated taping machine; this rhythm keeps everyone grounded and lets samples be ready without guessing, which has become essential when our standard lead time on the North American side is 12–15 business days from proof approval.
The timeline also builds in feedback loops: design and fulfillment collaborate early to define how the box opens and closes because tape placement can warp panels and steal internal cube; carriers weigh in on cubic spikes once a height bump takes us from 12 to 13 inches, and customer service shares unboxing stories—consumers increasingly treat packaging as part of the product, so those narratives keep the discussion practical across Atlanta, Denver, and Vancouver.
We even pepper in a quick Friday check-in with the Austin fulfillment group, where they compare the new pallet against the current best-seller (yes, the one that now has a suspicious nick on the corner from the robotic palletizer)—this lets us catch anomalies, logs exact stack heights, and keeps the testing grounded in real throughput instead of a theoretical ideal.
Key Factors in Choosing Correct Box Dimensions
Product profile dominates the conversation: I think back to a fragile electronics SKU with a delicate touch screen and a hefty base plate—after allowing space for a three-inch foam cradle plus a braided cable pouch, internal length leapt from 12 to 17 inches, yet we kept the outer shell lean by folding the pouch and routing the cable beside the foam so width and height stayed compact enough to ship via FedEx Freight Priority without incurring an oversize surcharge.
Transportation constraints reshape the math; a box that fits into a 53-foot trailer supports denser pallets and taller stacks compared to the same unit shipped via international LCL, where cube limits and airline handling penalties punish extra girth, so we model pallet patterns for each route and run a lightweight packaging optimization tool from PackSight to test conveyor widths and forklift clearances at our Savannah dock.
Sustainability targets deserve equal weight: swapping 350gsm C1S artboard from the Guangzhou supplier for a single-wall E-flute sourced in Detroit saves 15% in material weight, but that gain vanishes if the carton crushes because the walls were too thin; ensuring how to choose correct box dimensions within eco goals means balancing green wall profiles with enough structure to avoid replacements, which often leads to tighter internal dimensions and heavier reinforcement tape, and we keep returning to how to choose correct box dimensions whenever we adjust wall profiles so the green choices do not undermine the strength we need.
I tell clients to picture the decision as a three-legged stool—product protection, carrier requirements, and environmental impact must share the load, and if one leg wobbles, the entire carton wobbles right along with it even when we are handling 7,200 units per week out of the Columbus campus.
Honestly, the satisfaction in that three-legged balance is kinda the same as what I felt when I finally convinced the factory to add a micro-slit for the foam insert (yes, I nagged the perforation engineer at the Ohio plant until she smiled); that tiny addition kept the foam from shifting, let us shave half an inch off the height, and kept the carton under the 48-inch dimensional limit for the long-haul carriers.
Cost and Pricing Considerations for Box Dimensions
Every inch of extra external volume invites shipping surcharges; while negotiating with a freight partner, we modeled dimensional weight for a 15-inch product and watched costs spike 22% when height grew from 10 to 12 inches, so I urge teams to run those numbers before setting the final dimensions and to pass the modeled rates through the Finance team in Phoenix.
Every time I look at those numbers, I remind finance that how to choose correct box dimensions is the same logic we use to justify the height we lock in with carriers so the quote never drifts.
Custom die costs generally start around $340 for a new form-fit template, and stock boxes that seem inexpensive at $0.18 per unit for 5,000 pieces can drive up fulfillment labor when the fit doesn’t match the SKU, so calculate total landed cost instead of just staring at the unit price and compare it to the $0.15 per unit we pay for the close-tolerance templates produced in Monterrey.
Sharing tooling across SKUs keeps the math manageable: if three items share the same base footprint, tweaking one dimension by 1.5 inches while leaving others unchanged keeps the die cost per SKU near an additional $0.05, whereas unique dimensions for every SKU would multiply the setup fee and force us to maintain multiple dies in the Louisville tool crib.
| Option | Die Cost | Material Impact | Best Use Case |
|---|---|---|---|
| New Custom Dimensions | $340 setup + $0.045/unit | Precise fit, minimal void | High-volume flagship SKU |
| Adjusted Stock Box | $0 setup | Excess void, more cushioning | Low-volume launches |
| Shared Template for 3 SKUs | $360 setup shared | Moderate fit, manageable void | Bundle offerings |
Freight partners reward stabilized dimensions with lower rates; I track pricing in a spreadsheet that links box sizes to freight classes so we can see whether slight changes drop us from class 85 to class 70, a shift that has saved tens of thousands annually across the Chicago-to-Atlanta corridor.
The most suitable dimension for a SKU depends on order profiles and geography; a layout that works for a domestic, single-leg shipment from Columbus often fails when crossing multiple carriers from Los Angeles to Toronto, so I remind teams that every model needs validation per lane, which usually means a two-day acoustic test in the fulfillment lab.
Also, I admit, there are moments when I get frustrated—like the week-long battle to get the corrugator operator in Guadalajara to hold a consistent flute height (I swear the machine has a mind of its own)—but once the run stabilized, the savings appeared right away and the carriers stopped flagging the pallet for variation.
Step-by-Step Guide to Measuring and Selecting Box Dimensions
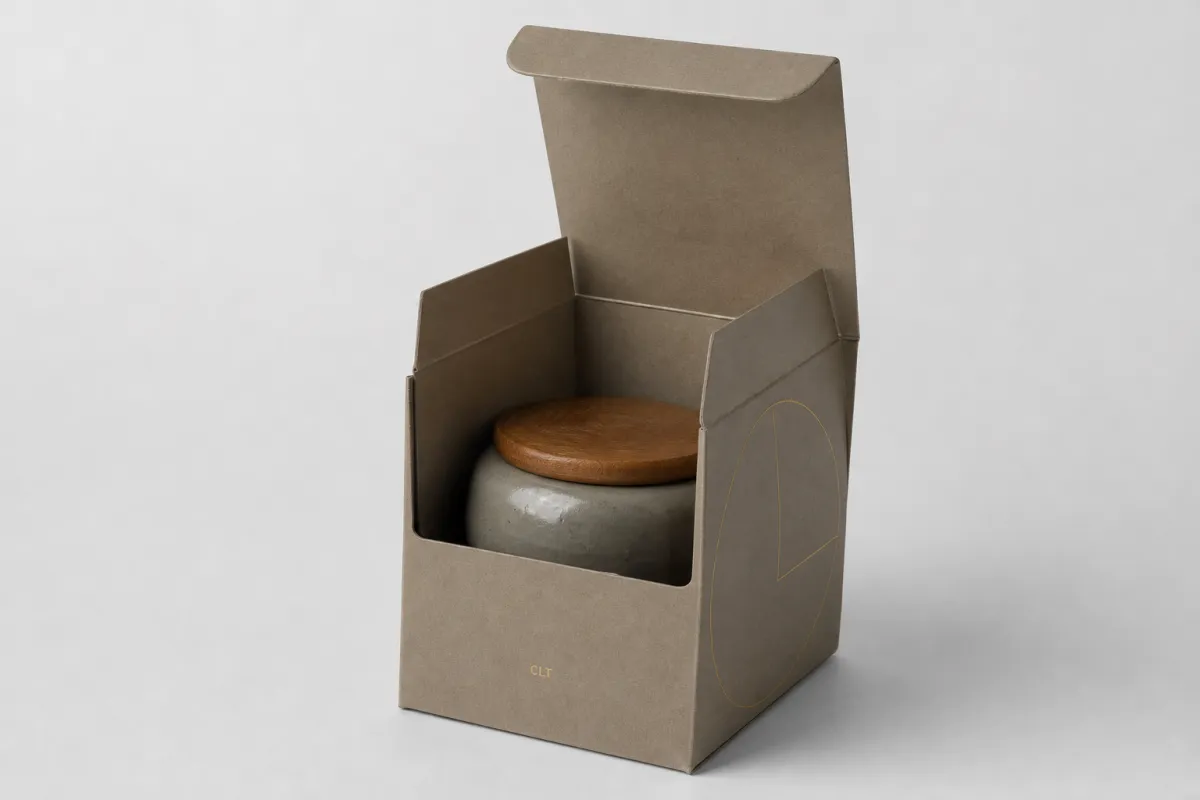
Start by capturing the largest component twice—using both stainless-steel calipers and a laser measure—and logging the results for every SKU into our SAP database; a ceramic pitcher and a fabric case share the same log entry, after which clearance for protection, cushioning, and orientation-specific requirements, such as standing upright or lying flat, gets added with exact millimeter increments.
That carton measurement log, updated in SAP, becomes the earliest answer to how to choose correct box dimensions because it connects the actual hardware with the packaging specs the carriers will review.
Define internal dimensions before the external ones, then factor in wall thickness, glue flaps, and closure overlaps to translate into the shell size; printers and carriers care about external figures, so CAD often helps convert between the two automatically, especially when switching from corrugated flutes to rigid setups for the California designer lighting run.
Prototype in the actual material because D-flute corrugated can compress by 12% under load while rigid setups resist squishing but risk cracking if the lid is too tight; we test prototypes with the exact handle placement and closure mechanism to ensure there is no binding or excessive flex, using the shear testers in Milwaukee to verify tolerance.
Share the specification PDF with fulfillment so they can test the pick-and-pack rhythm before approval; I ask them to pack 50 units using the new dimensions, document any slowdowns or ergonomic issues, and determine whether a slight adjustment could shave five seconds per pack—those adjustments saved 45 labor hours in one October launch.
Documentation stays constant throughout these steps: every measurement, prototype result, and carrier comment moves into a shared folder that eventually becomes a dimension workbook we use for future SKUs, and the workbook retains version history dating back to 2018 for traceability.
Oh, and I try to be playful about it—once I taped myself to a box to prove a point about tape placement (don’t worry, it was a small box and the tape came off after the eight-second video); that kind of lighthearted experiment keeps the team engaged and reminds everyone that precision doesn’t have to be sterile.
Common Mistakes When Selecting Box Dimensions
Relying solely on the product’s bare dimensions without accounting for void fill invites air, wasted space, and the dimensional weight penalties we tried to avoid; a client in Seattle once filled four inches of loose fill because the box was too large, which spiked costs and contradicted the packaging optimization we had spent months designing.
As soon as that fill issue surfaced, we realized how to choose correct box dimensions requires calibrating void fill with the actual protective plan so we do not invite dimensional weight penalties.
Ignoring freight classes tied to dimensional weight is a frequent misstep: adding two inches in length can push the shipment into a higher class and send transportation costs through the roof, so I always ask operations to compare outer dimensions with current carrier thresholds before approval, especially when FedEx Ground is watching the 48-inch limit.
Fixating on aesthetic symmetry while ignoring distribution loads makes pallets shift and loads crush, especially when boxes share space with heavier SKUs; our Memphis warehouse received a pallet of symmetrical cartons that slid under stress, and the damage exceeded the shipping savings we thought we gained because the load shifted under a 1,200-pound forklift push.
Delaying the sustainability measurement until after final dimensions are set backfires; asking for reduced wall thickness to hit a carbon goal without confirming structure can handle a three-high pallet stack leads to replacements, so plan reinforcement before touting sustainability, which is exactly what we learned the hard way during a November consolidation.
And yes, I have yelled at a spreadsheet before (because I am only human) when the math refused to align—those moments remind me why we need routine dimension reviews; the frustration usually ends with a better process, and the iteration gets logged into the shared review doc immediately.
Expert Tips and Actionable Next Steps for Choosing Correct Box Dimensions
Use a digital mockup tool such as PackSight to simulate stacking so you can see where tape placements, handles, or labels interfere with your dimension choice; a mockup once revealed that a handle slot would slice through a structural rib, saving us from ordering 15,000 faulty cartons and a $1,400 restocking fee. The simulation also lets me test how to choose correct box dimensions before adhesives, handles, or labels start complicating the build.
Set a measurement review cadence, especially weekly during launch windows, to catch anomalies before orders leave the dock and capture lessons in a dimension workbook; that practice kept us ahead when a new accessory doubled the weight of an outdoor light fixture and required a thicker base, a change we documented before the launch truck rolled from the Dallas plant.
Gather your SKU list, schedule a call with your packaging engineer, and benchmark dimensions against your best-selling item so you can approach how to choose correct box dimensions with confidence; once these comparisons exist, you can determine whether new dimensions actually add value or if tweaking the void fill is the smarter move, especially when the best seller already consumes only 0.9 cubic feet.
My final tip is simple—test, document, review, then repeat with data, because too many teams rush into customization without the numbers from both the fulfillment floor and the supplier scorecard.
I also like to keep a little humor in the process, so I tell teams that choosing dimensions is like dating: you can’t rush it, you need to understand how each SKU behaves, and yes, sometimes you walk away (to the supplier) when the chemistry just isn’t there after two prototype rounds.
Bringing Precision to Box Choices
Every product I have scoped returns to the question of how to choose correct box dimensions to keep the conversation grounded rather than speculative; the numbers, timelines, and carrier feedback from Chicago, Phoenix, and Vancouver all count, and when dimensioning becomes a measurable process, packaging shifts from chaos to a deliberate experience. This cyclical review ensures how to choose correct box dimensions is never a hunch but a story backed by concrete data.
The work may not be glamorous, yet it delivers measurable savings, fewer returns, and happier customers, so keep asking the right questions and let data guide the dimensions you settle on, especially as you compare proposals from the Guangzhou, Monterrey, and Ohio plants.
Actionable takeaway: measure twice with the right tools, log every figure, and loop in carriers plus fulfillment before locking dimensions—this simple routine keeps each SKU snug, protects the payload, and keeps freight classes in check, even if your volumes are smaller than the ones I’m used to; I can’t promise the exact same savings, but the process has proven trustworthy time and again.
Frequently Asked Questions
What data should inform how to choose correct box dimensions for a new SKU?
Begin with precise product dimensions, including accessories and protective layers, then cross-reference those figures with carrier shipping profiles such as the UPS dimensional thresholds and FedEx Freight class tables; combine that with customer handling data, especially for multi-leg travel, alongside budget and sustainability goals to balance protection, speed, and materials. This data becomes the compass for how to choose correct box dimensions across every lane.
How does void fill affect how to choose correct box dimensions?
Void fill adds the minimum clearance that increases internal volume, so calculate that buffer before sizing the outer shell; swapping materials like 6mm bubble wrap for molded pulp changes how snug the fit feels, so model that material early and avoid overdoing void fill to prevent dimensional weight penalties and extra cushioning costs from your foam supplier in Ohio. Mapping void fill reminds the team how to choose correct box dimensions after we factor in protective layers.
Can existing stock boxes guide how to choose correct box dimensions for a custom build?
Yes—review successful stock cases to understand how they met product needs, adjust only what matters to preserve efficiency, document failures to set boundaries for custom sizes, and benchmark against standard SKUs before committing to a full custom run, especially if the stock run has already been validated by our cross-dock team in Anchorage. Those learnings feed directly back into how to choose correct box dimensions for the custom build.
What pricing levers exist when you evaluate how to choose correct box dimensions?
Smaller outer dimensions reduce material and freight costs if protection remains intact, consider commonizing dimensions across SKUs to lower per-unit die costs, and ask suppliers about volume bands where a slight order increase often drops the per-piece price from $0.19 to $0.16 after crossing the 10,000-unit threshold. Aligning the rate structures with how to choose correct box dimensions helps us foresee the final freight class and keeps carriers aligned.
How quickly can I finalize how to choose correct box dimensions for a product launch?
With well-defined specs, iterations can happen within a week, but include supplier lead times for prototypes, usually five to seven business days; parallelize by having design finish CAD while sourcing secures materials, and keep fulfillment feedback aligned with the final decision so you understand handling realities before launch, especially if you target a 14-day window typical for our U.S.-based runs. Keeping the question of how to choose correct box dimensions in mind ensures measurement reviews happen within the week.
References: Packaging Institute, ISTA