A good sticker can sit on a laptop for three years, carrying a logo through coffee shops, airports, classrooms, coworking tables, and the occasional bad Wi-Fi situation. A button may only be worn for one event day, but for those six or eight hours it sits at eye level on a jacket, tote, lanyard, or volunteer shirt. That split explains why custom buttons and stickers work so well as a paired branded set: one is built for staying power, the other for visibility in a crowd.
They are small pieces with different jobs. Stickers become part of someone’s personal gear, product packaging, notebook, water bottle, mailer, or shipping box. Buttons are more public and more temporary: easy to hand out, easy to wear, easy to spot across a booth or campus table. Planned together, they can support a launch, fundraiser, merch drop, retail loyalty program, school event, creator bundle, or trade show without consuming the whole budget.
What Custom Buttons and Stickers Actually Do Together
The common mistake is treating the two items as unrelated giveaways. One file goes to a button vendor, another file goes to a sticker printer, and the pieces arrive looking close enough but not coordinated. The red shifts slightly. The logo sits too small on the button. The sticker feels premium, while the button looks like a leftover. None of that ruins an event, but it weakens the set.
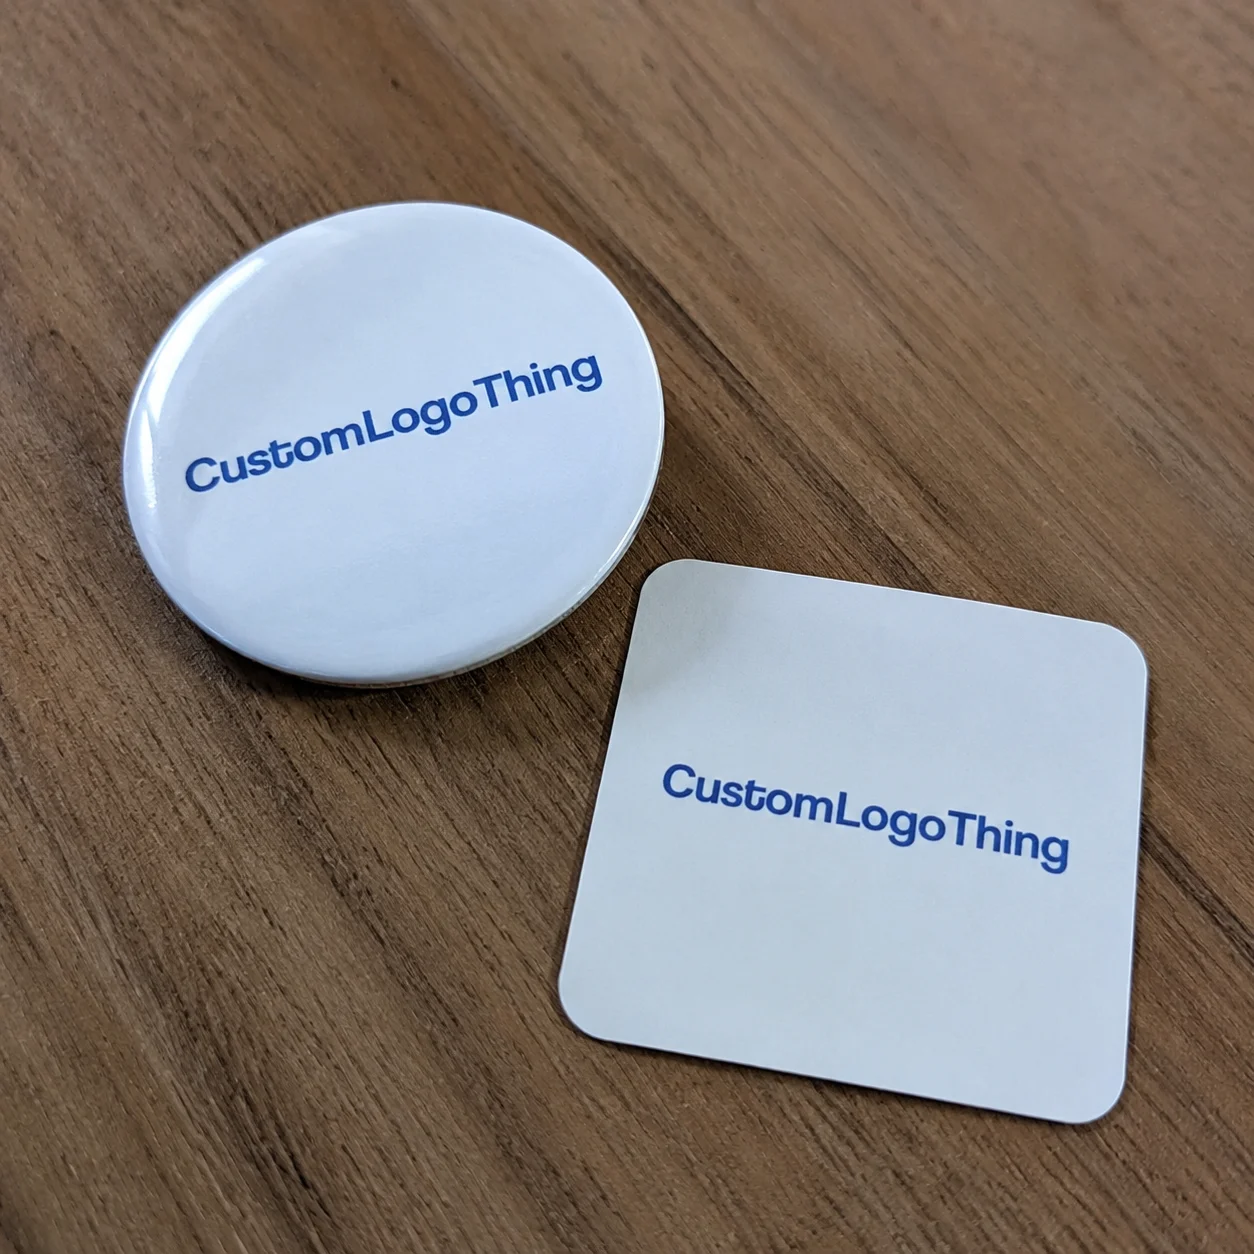
Buttons and stickers are low-cost, high-touch promotional products. They get handled, worn, peeled, shared, packed into orders, and photographed. That physical interaction matters. A 2.25-inch button with a short campaign phrase can do the loud work at an event, while a 3-inch vinyl logo sticker keeps working long after the tablecloth is folded and the banner stand is back in its case.
A button is usually a wearable printed piece built from a metal shell, printed face paper, a clear protective film, and a back component. The back might be a standard safety pin, clutch back, magnet, bottle opener, mirror, or flat back for special assembly. During production, the printed face wraps around the metal shell, so artwork has to be designed for that curve rather than treated like a flat circle.
A sticker is an adhesive printed graphic made from paper, vinyl, BOPP, clear film, or a specialty face stock. It can be die cut to the outer shape of the art, kiss cut on a backing sheet, grouped into sticker sheets, or supplied on rolls for packaging and labeling. Finishes such as matte lamination, gloss UV coating, soft-touch film, holographic material, and removable adhesive all change how the piece feels and how long it lasts.
These items also connect naturally with branded packaging. A sticker can seal tissue in a box, reinforce package branding on a mailer, or act as a bonus insert inside Custom Packaging Products. A button can turn the same campaign art into something wearable for staff, fans, donors, or attendees. Together, they create a small brand system instead of a loose pile of swag.
Practical callout: If the button needs to be read across a room, use fewer words and stronger contrast. If the sticker is meant to stay on a laptop or bottle, spend more attention on material, adhesive, and finish.
How Button and Sticker Production Steps Work
Button production is mechanical, which is part of its appeal. The artwork is set up with bleed, a face area, and a wrap area. It is printed, cut into circles, stacked with clear film, and pressed over a metal shell. A crimping machine folds the paper and film around the shell, then locks the chosen back into place. Finished pieces are checked for centered art, clean edges, secure backs, surface scratches, and accurate packing count.
That wrap area is not decoration space. It bends around the edge during assembly, so small text, QR codes, legal lines, and fine borders should stay inside the safe zone. On a 1.25-inch button, the usable face can feel much smaller than buyers expect. A logo that looked generous on screen can feel cramped after the crimp.
Sticker production follows a different path. Files are checked for size, resolution, color mode, bleed, and cut line. The printer selects the material, prints the art, adds lamination or coating if specified, then cuts the shape. Die-cut stickers are cut all the way through the face and liner to create the final outer shape. Kiss-cut stickers cut through the sticker face but leave the backing intact, which makes peeling easier and works well for small or delicate shapes. Sticker sheets combine several designs on one backing sheet. Roll labels are better for automated or hand-applied product packaging, especially on jars, bottles, pouches, boxes, and mailers.
Digital printing is often the best fit for short runs, multiple designs, and quick campaign tests because it avoids many plate or screen setup costs. Offset, screen, and flexographic printing can make more sense for large quantities, spot colors, specialty inks, metallics, fluorescents, or roll label programs. Not always. The right method depends on quantity, artwork, material, finish, and tolerance for color variation.
Proofing is the control point. Before production begins, check the size, cut path, spelling, logo placement, color notes, finish, backing, adhesive, and quantity. Coordinated button-and-sticker sets often move through separate production lines, so matching color and schedule requires clear specs from the start. CMYK output on button paper and CMYK output on white vinyl will not always match perfectly without planning.
Key Specs That Change Durability, Look, and Feel
Size drives the feel of a branded set. A 1-inch button is small, collectible, and subtle, but it cannot carry much text. A 1.25-inch or 1.5-inch button works for logos, icons, pronouns, short slogans, and club marks. A 2.25-inch button is the common event workhorse because it reads well on clothing without feeling oversized. Larger buttons, such as 3 inches, are bold and useful for campaigns, concerts, retail displays, or staff identification, though fewer people wear them casually after the event.
Back style changes use and price. Standard safety pin backs are economical and familiar. Clutch backs feel more like lapel pins but may cost more and work better on heavier fabric. Magnets are useful for lockers, office cabinets, refrigerators, and retail fixtures, though magnet strength and surface type matter. Mirror backs, bottle opener backs, and flat backs turn the same printed face into a different object entirely.
Sticker material matters even more. Paper is fine for indoor budget use, packaging seals, envelopes, notebooks, and short campaigns. Vinyl is a stronger choice for laptops, water bottles, coolers, helmets, outdoor gear, and anything that may see moisture or abrasion. Clear film gives a no-label look on glass, plastic, or colored packaging, although white ink may be needed if the design must stay opaque. BOPP is common for product labels because it resists moisture better than paper and runs well in roll formats.
Finish is both visual and functional. Gloss makes colors pop. Matte reduces glare and can feel more refined. Soft-touch lamination gives a velvety hand, but it may show scuffs more easily on dark solids. Holographic and metallic films add movement and shelf appeal. UV-resistant lamination can help outdoor stickers resist fading. Removable adhesive is useful for temporary campaigns, while permanent adhesive is better for long wear. Freezer-grade adhesives are made for cold surfaces, and high-tack adhesives can help on textured or low-energy plastics.
Color deserves a sober conversation. Most full-color promotional printing is built around CMYK, so bright RGB web colors usually dull down in print. Pantone matching may be available, but it depends on the process and material. Fluorescent orange, metallic silver, and true neon pink are not standard CMYK colors; they need special inks, screens, foils, or films. If color is mission-critical, ask about a physical sample or drawdown before approving a full run.
| Spec Choice | Best Use | Typical Cost Effect | Buyer Note |
|---|---|---|---|
| 1.25-inch button | Small logos, badges, school clubs | Lower than large formats | Keep text very short |
| 2.25-inch button | Events, campaigns, merch tables | Moderate and predictable | Good balance of visibility and wearability |
| Paper sticker | Indoor packaging seals and handouts | Usually lowest | Not ideal for moisture or abrasion |
| Vinyl sticker with lamination | Laptops, bottles, outdoor gear | Higher than paper | Better long-term brand impression |
| Holographic or metallic sticker | Merch drops and collector sets | Premium | Plan artwork so effects show through |
Matching the button and sticker visually does not mean forcing both pieces to use identical artwork. Sets often look stronger when each item has a job: a bold slogan on the button, a clean logo sticker, and perhaps a secondary illustration sticker that carries the campaign mood. Same palette, same typography, same brand voice; different layouts.
Cost and Pricing Factors Buyers Should Know
Pricing usually comes down to quantity, size, material, print method, finish, cut complexity, packaging, proofing needs, and shipping requirements. Buttons often have a predictable unit cost because the shells, films, and backs are standardized. Stickers can swing more widely because a 3-inch paper circle, a laminated die-cut vinyl mascot, and a clear BOPP roll label are three different production jobs.
As a practical planning range, simple round buttons in common sizes may land around $0.35 to $0.90 each at a few hundred pieces, then drop as quantities climb into the thousands. Large buttons, specialty backs, mirrors, magnets, or bottle openers push the number up. Stickers might run around $0.12 to $0.35 each for simple higher-volume paper pieces, while durable laminated vinyl stickers in smaller custom shapes may sit closer to $0.45 to $1.50 each depending on size, quantity, and finish. These are not fixed quotes. Freight, material availability, artwork count, and packing method can all move the number.
Setup costs can sound irritating, but they often reflect real work: die setup, artwork prep, specialty ink setup, plate charges, color matching, or machine setup. Digital sticker runs may avoid hard tooling for simple shapes, while specialty die cutting or flexographic roll labels may involve more front-end cost. Custom buttons also require assembly time and component setup even if the art itself is simple.
Minimum order quantities vary. Some suppliers support small digital sticker runs of 50 or 100 pieces. Button programs often become more efficient at 100, 250, 500, or 1,000 pieces because setup and handling get spread across more units. For coordinated custom buttons and stickers, bundling can simplify kitting and package branding, but it does not automatically reduce production cost unless quantities, artwork versions, and packing steps are planned together.
Ask for quotes with complete specs: size, quantity, material, finish, backing, adhesive, artwork count, packaging method, delivery zip code, and required arrival date. If the set will be packed into subscription boxes, influencer mailers, retail kits, or sample packs, say so early. Packing method can add labor, and labor is real cost.
Lowest unit price is not always the best value. A paper sticker that curls on a cold beverage bottle or a button with text disappearing into the crimp can make the whole campaign feel careless. Better material may add a few cents, but it can protect the impression built through packaging design, printed boxes, labels, and other campaign pieces.
Timeline, Lead Time, and Approval Milestones
A clean order usually moves through quote request, spec confirmation, artwork upload, prepress check, digital proof, proof approval, production, quality control, packing, and shipping. The most common misunderstanding is lead time. It usually starts after proof approval, not after the first email, the first quote, or an upload of a blurry logo that still needs cleanup.
For standard button and sticker programs, many orders can be produced in roughly 7 to 15 business days after proof approval, depending on quantity and complexity. Larger orders, multiple designs, specialty films, Pantone matching, custom kitting, roll labels, or unusual backs may need 15 to 25 business days or more. Rush work may be possible, but rush jobs demand discipline: fewer versions, available materials, fast proof approval, and simple packing.
Missing artwork causes delays. So do low-resolution files, unclear cut lines, tiny revisions spread across multiple emails, late Pantone requests, specialty materials, and freight constraints. If an event date is fixed, build a buffer. A well-produced set that arrives the day after a campus campaign, retail launch, or trade show has lost most of its value.
Coordinated sets need schedule alignment. The buttons may finish before the stickers, or the stickers may be waiting on lamination while the buttons sit packed. If the final shipment needs to include both pieces in one kit, the schedule has to account for inspection and assembly. That is especially true for merch bundles, mailer inserts, and retail launch kits tied to product packaging.
- Final artwork: approved logo, slogan, illustration, spelling, and legal marks.
- Size and layout: button face, wrap area, sticker dimensions, and cut shape.
- Materials: button backing, sticker face stock, adhesive, and lamination.
- Production details: quantity per design, packing method, and overage needs.
- Delivery: ship-to address, carrier constraints, and required in-hands date.
For shipping-sensitive campaigns, ask how cartons will be packed and labeled. If pieces are headed into a larger distribution program, basic carton organization can save hours on the receiving end. Standards from groups such as ISTA are more often discussed for transit testing and packaged-product distribution, but the same logic applies here: know how the goods will move before the deadline gets tight.
Common Artwork and Ordering Mistakes to Avoid
The first big artwork mistake is placing important text too close to the button edge. The wrap and crimp can distort or hide small details, especially on 1-inch and 1.25-inch sizes. Keep the logo, headline, and required marks inside the safe zone, and let backgrounds, patterns, or color fields extend into the bleed.
Tiny QR codes are another trouble spot. A QR code that scans on a 27-inch monitor may fail once it is printed at 0.35 inch wide on a glossy curved button. Thin type, delicate serifs, low-contrast color pairs, and hairline outlines also suffer at small sizes. Use bolder shapes and fewer words.
File quality matters. RGB web graphics, screenshots, social media images, and compressed JPEGs are not the same as print-ready artwork. Vector files such as AI, EPS, or editable PDF are best for logos, type, and sticker cut paths. High-resolution PNG, TIFF, or PSD files can work for full-color illustrations if they are built at final print size, usually 300 dpi or higher.
Sticker cut paths need to be clear. Die-cut art with tight corners, tiny interior cuts, or narrow bridges can be slow to cut, difficult to weed, and easier to damage. A kiss-cut sheet may solve some handling issues because the backing supports smaller shapes. Simple circles, squares, rounded rectangles, and ovals are usually more economical than intricate silhouettes.
Material mismatches are easy to avoid if you picture the real use. Paper stickers are not the right choice for coolers, bottles, outdoor gear, damp warehouses, or kids’ helmets. Vinyl or laminated film will usually perform better. If the sticker touches food packaging, cosmetics, candles, or regulated products, ask about the right label construction and any applicable handling requirements. The FSC system may also be relevant if certified paper materials are part of the brand’s sourcing goals.
Ordering too few extras is a quiet budget problem. Staff take samples. Retail displays need replacements. Fulfillment teams damage a few pieces during packing. Influencer kits expand at the last minute. A 5% to 10% overage is often cheaper than a small emergency reorder, though the right number depends on campaign size and storage space.
Next Steps for Planning a Clean, Reorderable Set
Start with the campaign goal. Are you trying to drive booth traffic, thank donors, add value to product packaging, support a school club, launch retail packaging, or build a merch bundle? Then define the audience and the real use: worn on clothing, stuck to a laptop, sealed on a mailer, added to a notebook, placed on a bottle, or packed into a customer order.
Build the spec around that use case. A simple planning sheet should include item name, finished size, quantity, material, finish, button backing, sticker adhesive, artwork version, packing method, delivery deadline, and reorder notes. If the sticker is part of a label program, compare it with related Custom Labels & Tags so the adhesive, roll direction, and finish do not fight the rest of the package.
Design a family of graphics instead of forcing one layout onto every object. A button can carry the rally cry. A sticker can carry the logo. A second sticker can carry an illustration, mascot, campaign mark, or limited-edition detail. This gives people a reason to keep more than one piece, and it lets each format breathe.
Keep source artwork organized. Save editable vector files, outlined font versions, linked images, cut paths, approved color references, and final proofs in one folder. Label files with size and version, not just “final” or “final-new.” Reorders move faster when the production team can see exactly what was approved last time.
Review the quote beyond unit price. Compare durability, finish, proofing support, packing method, freight, arrival date, and whether the supplier understands the set as a coordinated program. A cheap button and an expensive sticker can still be the wrong mix if neither supports the campaign goal.
A clean branded set is not complicated, but it rewards clear thinking. Choose the purpose, match the materials to the environment, approve the proof carefully, and give the schedule enough room. Custom buttons and stickers are easiest to order well when they are treated as a small branded system with clear specs, approved artwork, and a realistic timeline.
FAQ
What is the best size for branded buttons and sticker sets?
For buttons, 1.25-inch to 2.25-inch sizes are common because they balance visibility with wearability. For stickers, 2-inch to 4-inch sizes are popular for laptops, packaging inserts, notebooks, water bottles, and event handouts. The best size depends on how much text you need, where the item will be used, and whether the piece is meant to be worn, collected, mailed, or applied to a product.
How much do custom button and sticker bundles usually cost?
Cost depends on quantity, size, button backing, sticker material, finish, cut shape, number of designs, packaging, and shipping. Larger quantities usually lower the unit cost, but specialty effects like holographic film, metallic ink, or custom kitting can increase the total. For an accurate quote, provide final sizes, quantities, artwork count, materials, finishes, deadline, and delivery location.
What artwork files work best for custom buttons and stickers?
Vector files such as AI, EPS, or editable PDF are usually best for logos, text, and cut paths. High-resolution PNG, TIFF, or PSD files may work for full-color illustrations or photos if they are sized correctly for print. Button artwork should include bleed and a safe zone, while sticker artwork should include a clear cut line when a custom shape is needed.
Are vinyl stickers better than paper stickers for promotional use?
Vinyl is usually better for water bottles, laptops, outdoor use, coolers, helmets, and surfaces that may see moisture or abrasion. Paper stickers can be a good budget choice for packaging seals, indoor giveaways, notebooks, envelopes, and short-term campaigns. The right choice depends on exposure, expected lifespan, surface type, and the impression you want the item to make.
How long does it take to produce custom buttons with stickers?
Production timing depends on proof approval, quantity, materials, finish, number of designs, packaging requirements, and shipping method. Lead time generally starts after artwork and proofs are approved, not when the quote request is submitted. For event-driven orders, build in extra time for proof review, quality checks, packing, freight movement, and possible carrier delays.


