A shopper’s thumb often breaks the sticker before their eyes fully register the box. That tiny seal can become the first physical branded moment, which is why custom one touch stickers deserve more attention than they usually get in packaging design meetings.
They are easy to underestimate. A subscription kit, bakery bag, candle carton, or tissue-wrapped apparel order may rely on the box for structure, but the sticker creates the pause. It can signal “fresh,” “sealed,” “limited,” “gift-ready,” “authentic,” or “handled with care” in less than two square inches.
The wrong sticker does the opposite. It curls at the edge. It tears the tissue. It covers the barcode. It looks like an afterthought added five minutes before shipping.
What Custom One Touch Stickers Actually Do for Packaging

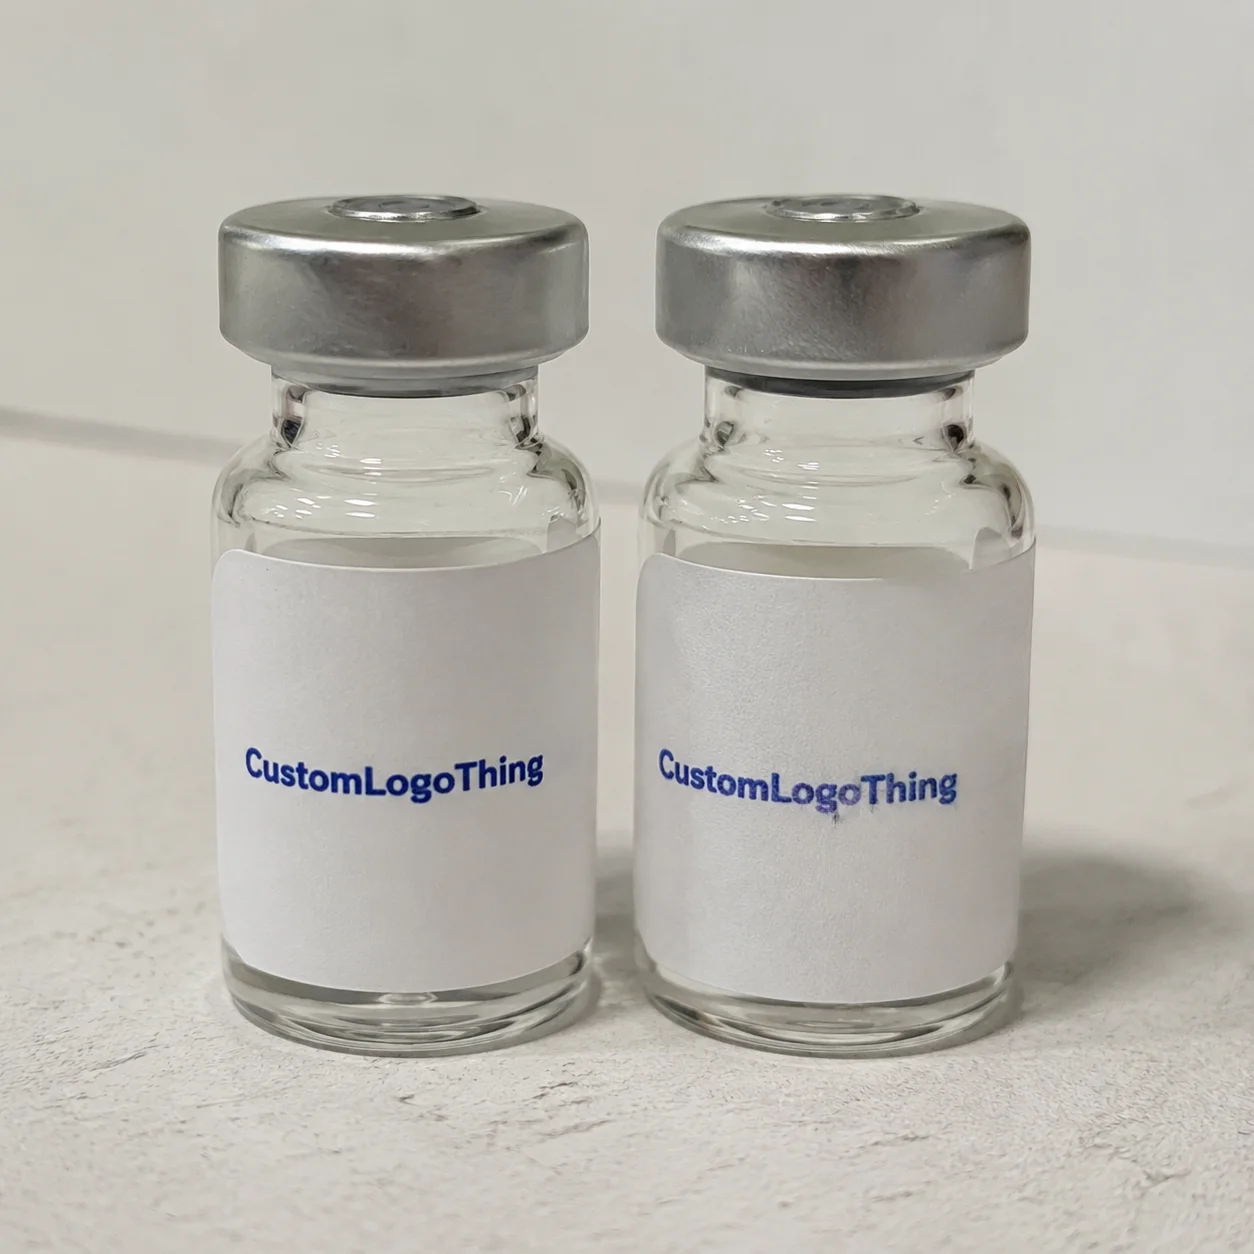
Custom one touch stickers are branded adhesive labels or seals designed for quick application, instant recognition, and low-friction packing. A packer peels, places, presses, and moves on. No tape gun. No glue. No cure time. No jig unless the placement is unusually precise.
The phrase covers several use cases. For one brand, it may mean an easy-peel logo sticker closing tissue paper. For another, it may mean a tamper-style seal across a folding carton flap. It can also describe a QR label, promotional burst, product authentication mark, batch sticker, or small branded accent added by hand at the final packing station.
That flexibility is the useful part. Stickers are small-format packaging tools with an outsized influence on perception. They can make a plain kraft mailer feel intentional, help retail packaging stand out on a crowded display, or let an ecommerce brand test a seasonal message without committing to a full run of Custom Printed Boxes.
Stickers are not only decoration. They are part of the package branding system.
A printed box carries structure and broad visual identity. A sticker can carry batch information, limited-edition artwork, promotional urgency, a QR code, compliance copy, or a campaign message that changes every few weeks. That makes it practical for brands with frequent SKU changes, seasonal drops, short runs, or retail tests where printed cartons would be too rigid or too expensive.
You see them on mailer boxes, tissue wrap, jars, candle packaging, bakery bags, apparel poly mailers, subscription kits, cosmetic tubes, and countertop display packs. The best programs are planned with the same discipline as product packaging: surface, adhesive, finish, handling, speed, and failure risk all matter.
Packaging callout: A sticker that looks “cheap” often failed before printing began. The usual culprit is a mismatch between surface, adhesive, size, and application method.
The design may be beautiful and still fail if it is applied to dusty kraft board with the wrong adhesive. Or if the label wraps around a tight radius and lifts after twelve hours. Or if the finish scuffs before the box reaches the customer.
Good sticker planning starts before artwork. It starts with the package surface, the hand that applies it, the environment it must survive, and the point in the customer journey where it will be seen or broken.
How One-Touch Stickers Work on Boxes, Bags, and Wraps
A sticker looks simple because most of the engineering is hidden. The typical construction includes a facestock, adhesive layer, release liner, print layer, and optional finish. Facestock may be paper, BOPP film, vinyl, clear film, kraft paper, metallic stock, or a textured specialty material. Finishes can include gloss, matte, soft-touch lamination, foil, embossing, or spot UV.
The “one touch” value is operational. A packer can pull a label from a roll or sheet, align it with a flap or wrap, press once, and continue packing. For a team sealing 800 boxes in a day, shaving even 3 seconds per package saves 40 minutes of labor. Fulfillment speed is often where small packaging components earn their keep.
Adhesive choice is where many projects succeed or fail.
Smooth glass jars usually accept labels well. Coated paperboard behaves differently from dusty kraft. Corrugated mailers can have fibers, ridges, recycled content, or surface dust that reduce bond strength. Plastic pouches may need a stronger film-compatible adhesive. Cold-chain packaging, oily cosmetic tubes, and textured recycled stock each create their own problems.
Permanent adhesives are common for closures, long-term branding, and tamper-style seals. Removable adhesives make sense for temporary promotions, reusable containers, sample kits, or retail packaging where residue would frustrate the customer. Resealable packaging may require a specialized adhesive that can survive multiple openings without tearing the substrate.
There is also the question of initial tack versus final bond. Some adhesives grab quickly, which helps on fast packing lines. Others build strength over several hours. That distinction matters if packages are sealed, stacked, and shipped the same afternoon.
Rolls are usually better for higher-volume packing lines, label dispensers, and consistent orientation. Sheets work well for boutique packing stations, events, samples, and low-volume fulfillment where staff apply a few dozen at a time. Neither format is automatically better. The right answer depends on volume, placement accuracy, storage space, and who applies the sticker.
Roll direction deserves more attention than it gets. A label wound the wrong way can force packers to rotate every sticker, slow the line, or place seals upside down. For a logo mark, that may look sloppy. For a QR code, arrow, batch number, or closure tab, it can create real usability problems.
Environment matters too. Storage temperature, humidity, surface cleanliness, and application pressure all influence the bond. A sticker applied to a cool jar in a humid room may behave differently after 24 hours. For shipping-heavy ecommerce, it is reasonable to test against handling expectations informed by distribution standards such as those from ISTA.
Key Specs to Decide Before You Design the Sticker
Start with size and placement. Not color. Not logo position.
Measure the exact flap width, closure point, jar curve, bag fold, or tissue overlap where the sticker will sit. A 2-inch circle may look fine on a screen and clumsy on a 1.25-inch carton lip. Curved surfaces need special attention because larger labels can wrinkle or lift at the edges.
Shape changes both design and production. Circles feel friendly, versatile, and fast to apply. Rectangles carry more information, including ingredients, barcodes, or QR codes. Ovals work nicely on jars and candles because they soften the visual edge. Custom die-cuts create shelf impact, but they can add setup complexity and may be slower to weed or finish on certain materials.
Material choice should follow the packaging surface and use environment. Paper labels are cost-efficient for dry indoor packaging. BOPP is a strong all-rounder for moisture resistance, oils, and sharper print durability. Vinyl can handle tougher exposure, though it may be more than a simple indoor product needs. Clear film creates a printed-on-container effect, especially on glass or smooth plastic.
Kraft stock fits natural branding, but color shift is real. White, yellow, pale blue, and pastel inks can look muted on brown paper. If a color must match a brand standard, ask how it will be produced on the selected stock. Some projects need white ink underprinting or a different material to keep the color from drifting.
Finish is not just aesthetic. Matte can signal understated premium. Gloss gives color more pop on retail packaging. Soft-touch feels luxury but may scuff depending on handling. Foil works for gifting, holiday drops, and premium cosmetics. Spot UV can highlight a logo or pattern, though small details need enough line weight to reproduce cleanly.
- Artwork: Vector logos are preferred for clean edges, especially below 3 inches wide.
- Bleed: Many labels need about 0.0625 to 0.125 inch of bleed beyond the cut line.
- Safe margin: Keep text and QR codes away from edges, curves, and seal folds.
- Color: CMYK proofing is standard, but spot colors may be used for tighter brand matching.
- Scanning: QR codes and barcodes need contrast, quiet zones, and real-device testing.
The cheapest sticker is often the wrong sticker if it curls, smears, blocks a barcode, or looks misaligned on the actual package. Before design starts, write down the surface type, application method, storage conditions, exact dimensions, quantity range, finish preference, and whether the label must survive moisture, oil, cold, or abrasion.
If the sticker is part of a wider packaging system, review related options such as Custom Labels & Tags so the sticker, hang tag, carton label, and closure seal do not fight each other visually.
One more practical check: decide whether the sticker needs to be beautiful after opening. A tissue seal may be destroyed by design. A jar label, refill pouch label, or authenticity mark may need to look good for weeks. The expected lifespan should influence material, finish, and adhesive.
Cost, Pricing, MOQ, and Unit Cost Drivers
Sticker pricing is usually driven by quantity, size, material, print method, finish, die-cut complexity, roll versus sheet format, and proofing or setup needs. MOQ, or minimum order quantity, protects production efficiency. The best value often appears once setup cost is spread over enough units.
For a simple paper logo seal, a buyer might see a small-run unit cost that feels high because prepress, setup, proofing, cutting, and finishing do not disappear just because the order is small. A larger run can reduce the per-sticker cost significantly, but only if the design, size, and packaging format will stay stable.
Ordering 25,000 labels before testing the adhesive on a new kraft mailer is not savings. It is inventory risk.
| Sticker Option | Typical Use | Cost Impact | Buyer Watchout |
|---|---|---|---|
| Paper matte circle | Tissue seals, bakery bags, dry indoor boxes | Lower | Can fail in moisture or heavy handling |
| BOPP film label | Jars, cosmetics, pouches, damp conditions | Medium | Needs the right adhesive for plastic or glass |
| Foil or spot UV sticker | Gift packaging, premium launches, retail displays | Medium to high | Small text and fine lines may not reproduce well |
| Custom die-cut seal | High-impact package branding or limited campaigns | Higher | Setup and waste can increase with complex shapes |
| Roll labels | Fulfillment lines and repeat packing workflows | Efficient at volume | Roll direction must match how staff apply labels |
As a broad planning range, simple paper stickers may land around $0.03 to $0.12 per unit at higher quantities, while small specialty runs with foil, textured stock, or custom shapes can move into the $0.18 to $0.40 range or higher. Those are planning figures, not a quote. Material market changes, print coverage, finish, size, freight, and proofing needs can shift the number.
Premium add-ons are not automatically wasteful. Foil, embossing, textured facestock, waterproof films, and extra-durable adhesives can raise cost, but they may also lift perceived value. A $0.22 seal on a $75 candle gift set may be rational. The same seal on a low-margin sample pouch may not be.
Hidden cost risks are less glamorous: ordering the wrong adhesive, skipping samples, misjudging label size, changing artwork after proof approval, or discovering that staff apply the sticker upside down because the roll orientation is wrong. Prepare dimensions, quantity, material preference, finish, intended surface, indoor or outdoor use, roll or sheet format, and deadline before asking for pricing.
Waste rate matters. If a cheaper label tears during application, sticks to gloves, or misfeeds in a dispenser, the invoice price stops telling the truth. A one-cent saving can disappear quickly if packers throw away five labels per hundred packages.
Price should be treated as a performance equation. The right unit cost balances brand impact, application speed, waste rate, and the cost of packaging failure.
Process and Timeline from Artwork to Finished Rolls
The usual production flow is straightforward: inquiry, spec confirmation, artwork review, quote, digital proof, approval, printing, finishing, die-cutting, quality check, packing, and shipping. The friction appears in the gaps between those steps.
Delays commonly start with incomplete artwork or vague dimensions. “About two inches” is not a spec. A supplier needs final size, shape, quantity, material direction, finish, surface, and deadline. If the sticker needs to close a box flap, include the flap width and a photo. If it must scan as a QR code, provide the code at the actual print size and test contrast early.
A digital proof confirms layout, cut line, size, copy, and color intent. It does not perfectly show foil reflection, soft-touch feel, paper texture, or the way clear film disappears on glass. For high-stakes launches, physical samples are worth the extra planning. They catch problems a screen cannot show.
Standard paper labels can often move faster than specialty constructions. A routine order with clean artwork may be planned in roughly 5 to 10 business days after proof approval, depending on workload and shipping. Foil, embossing, specialty adhesives, waterproof films, custom dies, or large roll quantities may require 10 to 20 business days or more. Rush options may exist, but they usually depend on material availability and production capacity.
Build buffer time around events that punish lateness: product launches, trade shows, subscription box drops, influencer mailers, seasonal retail windows, and wholesale shipments. Add time for shipping, internal approval, photography, kitting, and fulfillment team training if the sticker changes the packing workflow.
Quality control should be defined before production begins. On a basic sticker order, that may mean checking size, cut accuracy, color, print clarity, roll count, and liner release. On a more demanding order, it may include barcode scans, edge-lift checks, rub tests, moisture exposure, cold storage checks, or application trials on the actual package.
Faster turnaround is possible when buyers provide clean vector artwork, exact measurements, clear quantity targets, surface details, and quick proof feedback. Slowness often has less to do with printing and more to do with missing decisions.
Common Mistakes That Make Stickers Look Cheap or Fail
The most common mistake is designing on a screen without testing on the real box, bag, jar, or wrap. A sticker is not viewed in isolation. It is touched, bent, pressed, stacked, scanned, shipped, chilled, or handled by someone moving quickly.
Size errors are easy to miss until the first sample arrives. Too small and the sticker feels accidental, like a spare label from an office drawer. Too large and it wrinkles across a curve, lifts at the corners, covers required copy, or fights the natural fold of the package. For closure seals, the bend radius matters more than many designers expect.
Adhesive mismatches create expensive failures. Permanent adhesive on a removable campaign can leave residue and annoy customers. Paper stock in a damp environment can wrinkle or tear. Removable adhesive on a security closure may lift during transit. A label that works on coated paperboard may not work on dusty kraft or recycled corrugate.
Design overload is another quiet killer. Small circles cannot carry a logo, tagline, QR code, website, ingredients note, social handle, and seasonal message without becoming visual noise. If the sticker is meant to be read at arm’s length, fewer words usually win.
Color and contrast deserve a real test. Low-contrast QR codes fail. Thin reverse text can fill in. Metallic effects behind small copy reduce legibility. Brand colors shift on kraft and clear materials because the background changes the perceived ink. If sustainability claims are part of the message, make sure the packaging and sourcing language is supportable; resources from the Forest Stewardship Council can help buyers understand responsible fiber sourcing claims.
Operational mistakes are less visible but just as costly. Sheets may slow a packing team that should have rolls. Roll direction may force awkward wrist movement. A sticker may require alignment so precise that packers lose speed. Or the design may ignore how staff naturally hold and seal the package.
- Check for edge lift after 24 hours.
- Inspect print registration and cut accuracy.
- Scan every barcode or QR code at actual size.
- Test on the real packaging surface, not a desk sample.
- Review finish consistency under bright and warm light.
For closure stickers, also test opening behavior. A seal that tears too aggressively can damage a premium carton. A seal that peels away too cleanly may fail to communicate tampering. The right result depends on the package’s job: gift presentation, security, freshness, branding, or simple closure.
Quality control does not need drama. It needs consistency. First articles or samples should be reviewed before a large production run, especially for custom one touch stickers used as closures, security indicators, or high-visibility product labels.
Next Steps: Build a Sticker Brief Before You Request Samples
Before requesting samples, build a short sticker brief. Photograph the packaging surface. Measure the placement area. Choose a preferred shape. List the conditions the sticker must survive: room-temperature storage, refrigeration, moisture, oil, abrasion, direct handling, retail display lighting, or shipping vibration.
A good brief does not need to be fancy. It needs to be specific. Include quantity, finished size, material preference, finish, adhesive type, roll or sheet preference, artwork file, launch date, and shipping destination. If the sticker belongs to a broader product packaging system, include photos of the box, bag, jar, wrap, or display tray so the supplier can judge scale and placement.
Samples are especially useful when the sticker affects sealing, moisture resistance, barcode scanning, premium presentation, or high-volume packing speed. Apply samples to actual packaging for at least one day. Look for edge lift, wrinkles, color appearance, scuffing, scan performance, and whether staff can apply the sticker quickly without second-guessing orientation.
Compare options by total performance, not only the lowest quote. Durability, waste reduction, packing speed, customer impression, and reprint risk all sit inside the true cost. A sticker that saves two seconds per pack and reduces rejected packages may outperform a cheaper label that fails under real handling.
If you are still shaping the larger branded packaging mix, browsing Custom Packaging Products can help connect stickers with boxes, bags, tags, inserts, and other package branding pieces. The strongest systems rarely rely on one component alone.
Use the brief to discuss custom one-touch sticker options with a packaging supplier so the first quote reflects the real surface, timeline, and budget. Better inputs usually mean fewer revisions, cleaner samples, and a sticker that works when a customer’s hand finally breaks the seal.
FAQ
What are custom one touch stickers used for?
They are used for branded seals, product labels, closure stickers, QR promotions, tamper-style packaging accents, and quick visual upgrades on boxes, bags, jars, and wraps. They work best when a buyer wants fast application, flexible branding, and a lower-cost alternative to fully printed packaging.
How much do custom one-touch labels cost?
Cost depends on size, quantity, material, adhesive, finish, shape, roll or sheet format, and specialty effects such as foil or embossing. Unit cost usually drops as order volume increases because setup and production costs are spread across more stickers.
What is the best material for branded one touch stickers?
Paper works well for dry indoor packaging, BOPP or vinyl is better for moisture resistance, clear film creates a minimal printed-on look, and kraft stock suits natural branding. The best choice depends on the surface, storage conditions, handling, desired finish, and whether the sticker must resist water, oil, cold, or abrasion.
How long does production take for custom one touch sticker orders?
Timeline varies by artwork readiness, proof approval speed, quantity, material availability, finish complexity, die-cut requirements, and shipping method. Standard labels are often planned around 5 to 10 business days after proof approval, while foil, embossed, waterproof, or custom-shaped stickers may require 10 to 20 business days or more.
Should custom one touch stickers be ordered on rolls or sheets?
Rolls are better for higher-volume packing, label dispensers, consistent placement, and faster fulfillment workflows. Sheets are practical for small batches, samples, events, boutique packing stations, and teams that apply stickers by hand in lower quantities.