Custom Canning Labels for Jars and Bottles That Have to Work, Not Just Look Good
Custom canning labels do more than identify a product. They tell a shopper what the item is, how premium it feels, and whether the brand took the packaging seriously. On chilled jars, wet bottles, and retail products that get handled all day, the label is also a functional component. If the wrong construction is used, it peels, wrinkles, smears, or slides before the product even leaves the cooler.
That is why custom canning labels should be treated as a production specification, not just artwork. The face stock, adhesive, liner, and finish all affect how the label performs on glass, metal, and coated plastic. A good design on the wrong stock is still a bad label. Packaging does not care how nice the mockup looked on a laptop.
For small brands, the label is often the fastest way to improve shelf presence without changing the container or the filling line. For larger brands, it is one of the easiest places to introduce waste if the spec is sloppy. A label that runs well saves time at application, reduces rework, and cuts the odds of inventory being rejected later. That matters more than a fancy proof.
Why custom canning labels change the package experience
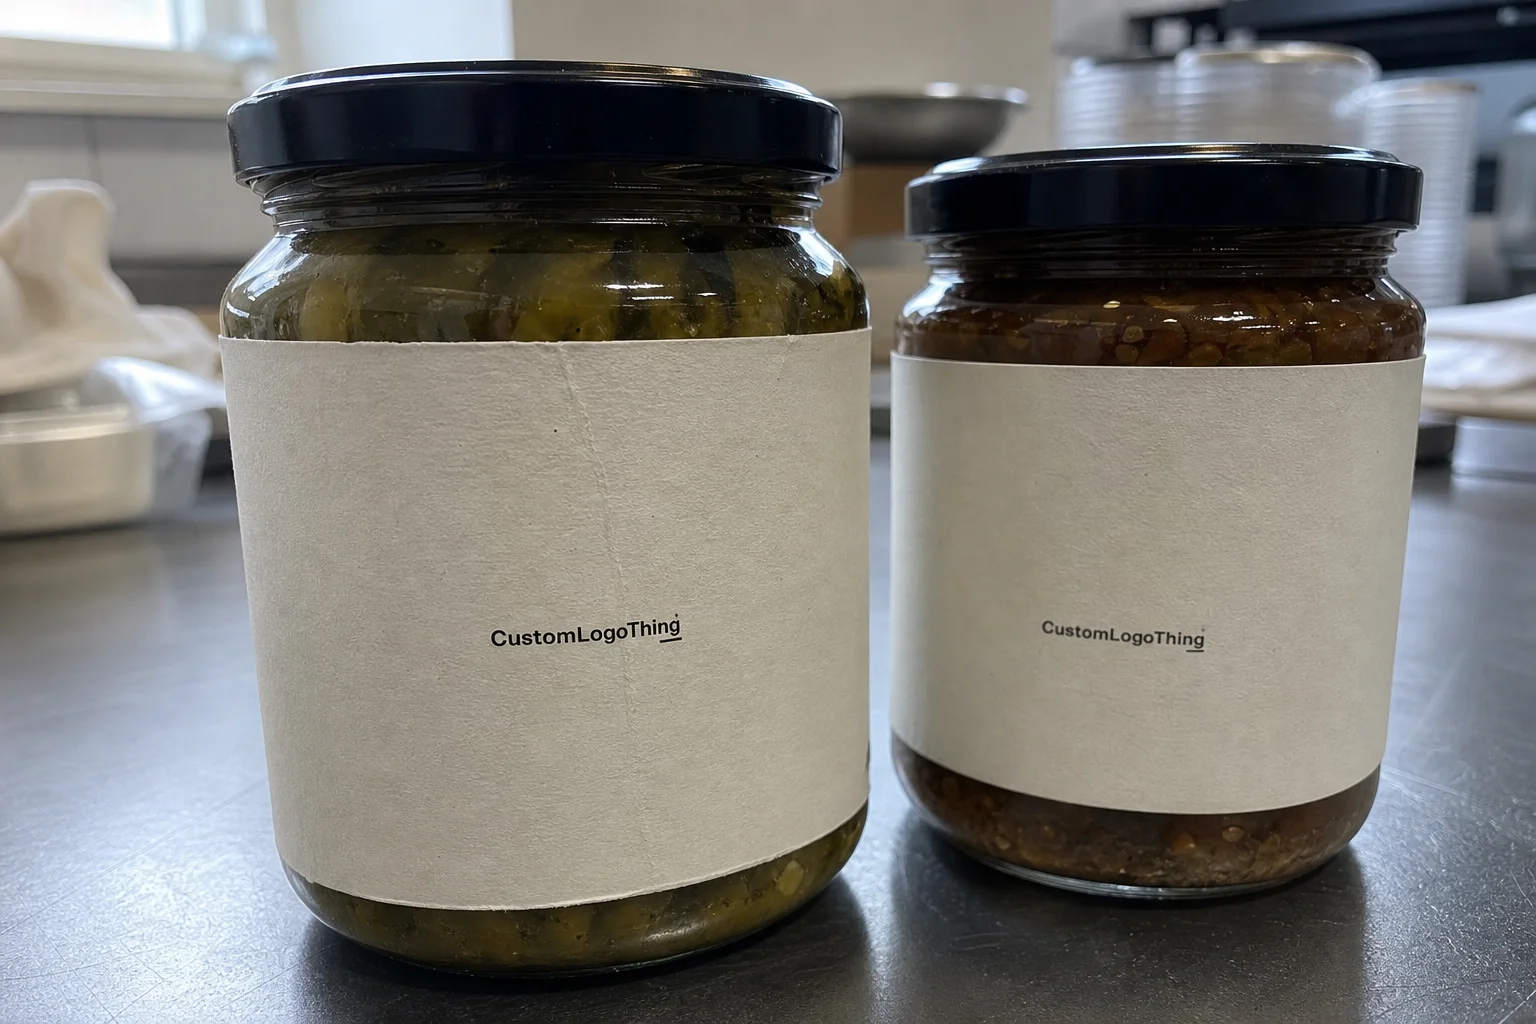
On a jar or can, the label carries most of the visual load. Container shape matters, but the label usually decides whether the product feels polished or improvised. That is especially true for refrigerated sauces, preserves, pickles, craft beverages, and other packaged foods that sit in humid conditions and get touched repeatedly.
From a buyer’s point of view, custom canning labels sit at the intersection of branding and operations. They have to communicate the product clearly, fit the package correctly, and survive the conditions the product actually sees. A label that looks clean in dry light can fail the moment condensation appears. A label that tracks perfectly on a sheet can still misbehave on a curved jar wall.
I keep coming back to the same point because it gets ignored: the label is not a separate design exercise. It is part of the package system. If the container, fill temperature, storage condition, and application method are not considered together, the result is usually expensive frustration. And yes, the label is usually the first thing everyone blames.
There is also a speed advantage to getting the label spec right early. If the jar or bottle is already locked, the label is often the most flexible part of the package. That makes it the right place to improve the look, tighten the budget, or reduce application problems without redesigning the entire product. Brands that manage multiple SKUs often keep label construction consistent across lines so procurement stays sane and production does not get weird.
A label that survives the sample table can still fail in a cooler. The real test is the package under the same moisture, temperature, and handling conditions it will see in production and retail.
That is why application method matters too. Hand-applied labels, semi-automatic applicators, and high-speed roll-fed systems all put different stress on the material. A label that works for a small batch operation may not behave the same way on a faster line. The visual target can be identical. The construction probably should not be.
How labels stay put on curved, cold surfaces
A label is built from four basic parts: face stock, adhesive, liner, and print process. Every one of them affects performance. The face stock determines appearance and durability. The adhesive determines how well the label bonds to the container. The liner affects converting and application. The print process affects color, opacity, and finish consistency.
Cold and wet surfaces expose weak specs quickly. On cans and jars, the usual failures are edge lift, bubbling, tunneling, crooked placement, and labels slipping during application. Some of those are cosmetic. Some are structural. If the material is too stiff for the container curve, it fights the panel instead of settling onto it. If the adhesive is not rated for condensation, the bond may never fully hold.
Material choice is where a lot of buyers lose money. Paper can work for dry shelf items and short display runs, but it is a poor match for refrigeration, ice buckets, or repeated wet handling unless the conditions are tightly controlled. Polypropylene is a common upgrade because it handles moisture better and still prints cleanly. Polyester is tougher and more abrasion-resistant, which makes it useful for harsher handling or longer storage. Clear film can look refined on glass, but it asks more from the artwork and the container surface.
Finish affects both appearance and usability. Gloss tends to boost color and make branding pop from a distance. Matte cuts glare and usually helps readability under bright store lighting. Soft-touch creates a more premium tactile feel, though it is usually chosen for presentation rather than punishment. Clear labels can be strong visually, but only if the bottle or jar surface is clean, consistent, and free of print defects under the label.
For packaging that may face transit, compression, or temperature swings, test the label the same way you would test any other package component. Broader packaging references from groups like ISTA and packaging.org can help frame the bigger picture, but the actual label still has to be validated on the real container. There is no substitute for that.
Cost and pricing drivers
Pricing for custom canning labels usually comes down to a short list of variables: size, shape, material, print colors, finish, quantity, and whether the labels are shipped as cut sheets or rolls. That sounds basic because it is basic. The problem is that buyers often compare quotes without keeping those variables constant, then wonder why the numbers do not line up.
For small and mid-size orders, setup matters. Digital production can reduce tooling costs, but short runs still carry overhead. If artwork changes late, the job may need to be reproofed or reset. That is where a low quote can stop being a low quote. Larger quantities usually lower the per-label cost, though specialty films, white ink, foil, or custom finishing can keep the price higher even at volume.
There are also costs that hide in the margins. Tight registration, unusual die shapes, clear film, opaque white underprint, and premium finishes can all increase press time and waste. A simple rectangle with one or two colors will run more efficiently than a contour-cut label with multiple panels and exact alignment requirements. Not a mystery. Just physics and machine time.
| Label Type | Typical Use | Approximate Cost at 5,000 Units | Notes |
|---|---|---|---|
| Paper with matte finish | Dry shelf jars, short display runs | $0.10-$0.18 each | Lowest cost, least moisture resistance |
| Polypropylene film | Refrigerated jars, chilled bottles | $0.14-$0.26 each | Good balance of cost, durability, and appearance |
| Clear film with specialty print | Premium beverage and gourmet products | $0.18-$0.34 each | Needs clean container surfaces and careful artwork prep |
| Polyester or specialty film | Harsh handling, high abrasion, longer storage | $0.22-$0.40 each | Higher durability, often used for tougher conditions |
Those numbers are not universal. They are useful as planning ranges, not promises. Order quantity, substrate availability, and finishing requirements can move the price quickly. If you are comparing custom canning labels across multiple SKUs, ask for several quantity breaks so you can see where the unit economics actually change. A jump from 1,000 to 5,000 pieces often matters more than a minor artwork revision.
If sustainability is part of the buying criteria, do not stop at the label stock. Look at the container, the shipper, and the full packout. The EPA recycling guidance at epa.gov/recycle can help frame disposal and material discussions, but the right choice still depends on the product’s environment and the substrate it will be applied to. A label that is theoretically recyclable is not useful if it falls off in the cooler.
Production steps and timeline
A clean label order usually follows the same sequence: collect specs, confirm the dieline, review artwork, approve proofs, print, finish, convert, and ship. The jobs that move fastest are the ones that arrive with exact dimensions, a sample container, and a realistic quantity target. The jobs that stall usually start with guesswork.
Three things slow custom canning labels down more than anything else: incomplete artwork, unclear sizing, and proof changes after the job is already set up. If the label panel is estimated instead of measured, the proof cycle tends to drag. If the curve of the jar or bottle is not accounted for, the design may have to be reworked. If the customer wants to “just nudge a few things” after approval, the schedule gets longer and the cost usually goes with it.
Lead time depends on the construction. A straightforward digital run can often move in about 5-10 business days after proof approval if stock is available and there are no changes. More complex work, especially clear film, foil accents, custom shapes, or specialty finishing, can take 12-15 business days or longer. If the labels need to survive refrigeration or ice contact, testing should be built into the schedule instead of squeezed in at the end.
That last piece matters. A label can be visually correct and still be wrong for the line. A small change in bottle diameter, fill temperature, surface energy, or applicator speed can change the result. If the product is seasonal or still being refined, I would rather see a short test run than a full release built on hope. Hope is not a quality-control plan.
Proofing saves money only if it is done on the right substrate. A flat paper proof may help catch layout issues, but it does not tell you how the label will behave on a chilled, curved container. For custom canning labels, the material proof matters almost as much as the artwork proof. The label has to look good and behave correctly.
Choosing material, adhesive, and finish
The container should drive the recommendation. Glass jars, aluminum cans, and plastic bottles do not accept labels the same way. Neither do coated, textured, or slightly flexible surfaces. That is why custom canning labels are never just a design choice. They are a material and process decision disguised as branding.
Adhesive selection is one of the most misunderstood parts of the order. Permanent adhesive is usually the right fit for labels that need to survive storage, shipping, display, and resale. Removable adhesive is useful only when clean removal is actually required and the surface can support it. If the package will be cold, damp, or lightly oily during application, the adhesive has to be chosen for that condition, not for the spec sheet fantasy version of the product.
Here is the practical breakdown:
- Paper: economical and easy to print, but limited for moisture and abrasion.
- Polypropylene: a solid general-purpose film for cold or damp environments.
- Polyester: stronger and more abrasion-resistant, useful for harsher handling.
- Clear film: good for premium presentation when the container surface is clean and the artwork is controlled.
Finish should support the product story and the environment. Matte can make small text easier to read on busy shelves. Gloss can make color fields look brighter and more energetic. Soft-touch is often used for premium jams, sauces, or beverages because of how it feels in the hand. Clear labels work well when the jar or bottle is part of the identity, but they require disciplined design and cleaner application surfaces than most buyers expect.
There is no universal best option. There is only the best option for that product, that container, and that production line. If the product spends time in a cooler, handle that as a real operating condition. If the label will be applied by hand, leave room for placement tolerance. If it will run through equipment, make sure the roll format, core size, and spacing are compatible before the order is approved.
Common mistakes that cause peeling or waste
The most common mistake is designing the label as if it will live on a flat sheet forever. It will not. A shape that looks neat on a computer screen can wrap badly around a curved jar or a tapered bottle. If the label is too tall, too wide, or too rigid, the edges are usually the first failure point.
Artwork mistakes cause a lot of preventable rework. Low-resolution files, weak contrast, text too close to the trim, and crowded legal copy all increase the odds of a bad result. If the product will be stored in refrigeration or handled with damp hands, the text needs more breathing room and stronger contrast than a dry shelf item. Tiny type and wet containers do not mix well.
Material mismatch is probably the biggest operational problem. A stock that performs fine on a sample sheet may fail once the product is chilled. The same label can also behave differently on glass, coated metal, and plastic, so the exact container matters. If you are using custom canning labels across several SKUs, test each one instead of assuming the first successful spec translates everywhere. That shortcut usually costs more later.
Application speed matters too. Manual placement and machine placement both have limits. If the roll direction is wrong, the core size is wrong, or the spacing does not match the applicator, the result can be jams, crooked labels, and wasted material. For high-volume production, the label spec has to work on the line, not only in the design review.
Another common miss is skipping real-world testing. The proof gets approved, the labels get printed, and nobody chills the container or handles it the way a customer will. That is a neat way to discover edge lift after inventory is already sitting in a warehouse. Test under the actual use conditions. Cold, wet, touched, stacked, shipped. All of it.
Expert tips and next steps
If you want the order to move quickly, start with three pieces of information: an exact container measurement, a sample jar or bottle, and a clear description of how the product will be stored and handled. Those details narrow the material, adhesive, and finish before the quote is even finalized. Less guessing. Fewer delays.
Ask for the proof on the actual material whenever possible. Artwork approval alone does not tell you how the label will feel, how the colors will land, or how the adhesive will behave on a chilled surface. That matters a lot for custom canning labels because the construction is part of the final result. A beautiful proof on the wrong stock is just expensive paper.
If the product is still being refined, start with a realistic quantity and a short test run. The first order should answer the practical questions: Does the label stay flat? Does it stay readable when wet? Does the finish fit the brand? Does the roll run cleanly on the applicator? Those answers are more useful than a speculative large run that has to be scrapped or reworked.
For brands thinking about the broader packaging system, evaluate the label alongside the rest of the packout. If the product also uses Custom Printed Boxes or other retail packaging components, the easiest efficiency gains often come from reducing waste across the full system instead of treating each item as a separate problem. Packaging decisions tend to be connected whether people admit it or not.
Before placing the order:
- Measure the container and confirm the label panel.
- Send a sample jar or bottle.
- Specify storage conditions, including refrigeration or ice contact.
- Choose the applicator method, if any.
- Approve a proof on the actual substrate.
Do that, and custom canning labels become easier to buy, faster to approve, and far less likely to create a production headache. The goal is not a prettier label file. The goal is a label that survives the actual package journey.
FAQs
What should I know before ordering custom canning labels for cold storage?
Use a moisture-resistant material and an adhesive rated for refrigeration or condensation. Test the label on the actual container after chilling it, because cold surfaces change how adhesives behave. Make sure the artwork stays readable when the container is wet or handled with gloves or damp hands.
How do I choose the right adhesive for custom canning labels?
Choose permanent adhesive for labels that must stay in place through storage, shipping, and resale. Use removable adhesive only when clean removal matters and the surface allows it. Match the adhesive to the container material, because glass, coated metal, and plastic do not all respond the same way.
Why do custom canning labels peel on jars or cans?
Peeling usually comes from surface moisture, poor wrap geometry, or the wrong adhesive. Curved containers can stress the edges if the label is too stiff or too large for the panel. Dirty, oily, or very cold surfaces can also prevent a full initial bond during application.
What affects the price of custom canning labels most?
Quantity, material, print process, finish, and shape all affect the unit price. Special features like clear film, white ink, or unusual die cuts usually increase cost. Artwork setup and proofing complexity can also influence overall pricing, especially on small runs.
How fast can custom canning labels be produced?
Timeline depends on proof approval, material availability, finishing, and quantity. Simple digital runs can move quickly, while specialty materials or complex finishing add time. The fastest orders are the ones that arrive with finished artwork, exact dimensions, and a clear application method.
For brands that need dependable custom canning labels, the best results come from matching the container, the environment, and the application method before the first print run starts. That is the difference between a label that merely looks good and one that actually carries the product from fill line to shelf without drama.


