Most people judge custom chocolate box packaging before they taste the chocolate. That is how gift buyers behave, how shelf decisions happen, and how unboxing choices are made in seconds.
The box has two jobs: protect delicate pieces from movement, grease, and crush, and signal value quickly enough to justify the price. If the structure feels flimsy, the product looks cheaper. If the fit is sloppy, the brand looks careless.
Clean structure, a proper insert, and a finish that matches the product usually beat visual noise. The best box is rarely the loudest one on the table.
Why Custom Chocolate Box Packaging Sells Before the Tasting Does
Chocolate is emotional packaging. People buy it as a gift, a reward, or a small luxury, so the box is part of the decision. A premium truffle assortment in a thin carton with loose cavities can look cheaper than a simpler rigid box with a tight insert and a controlled opening.
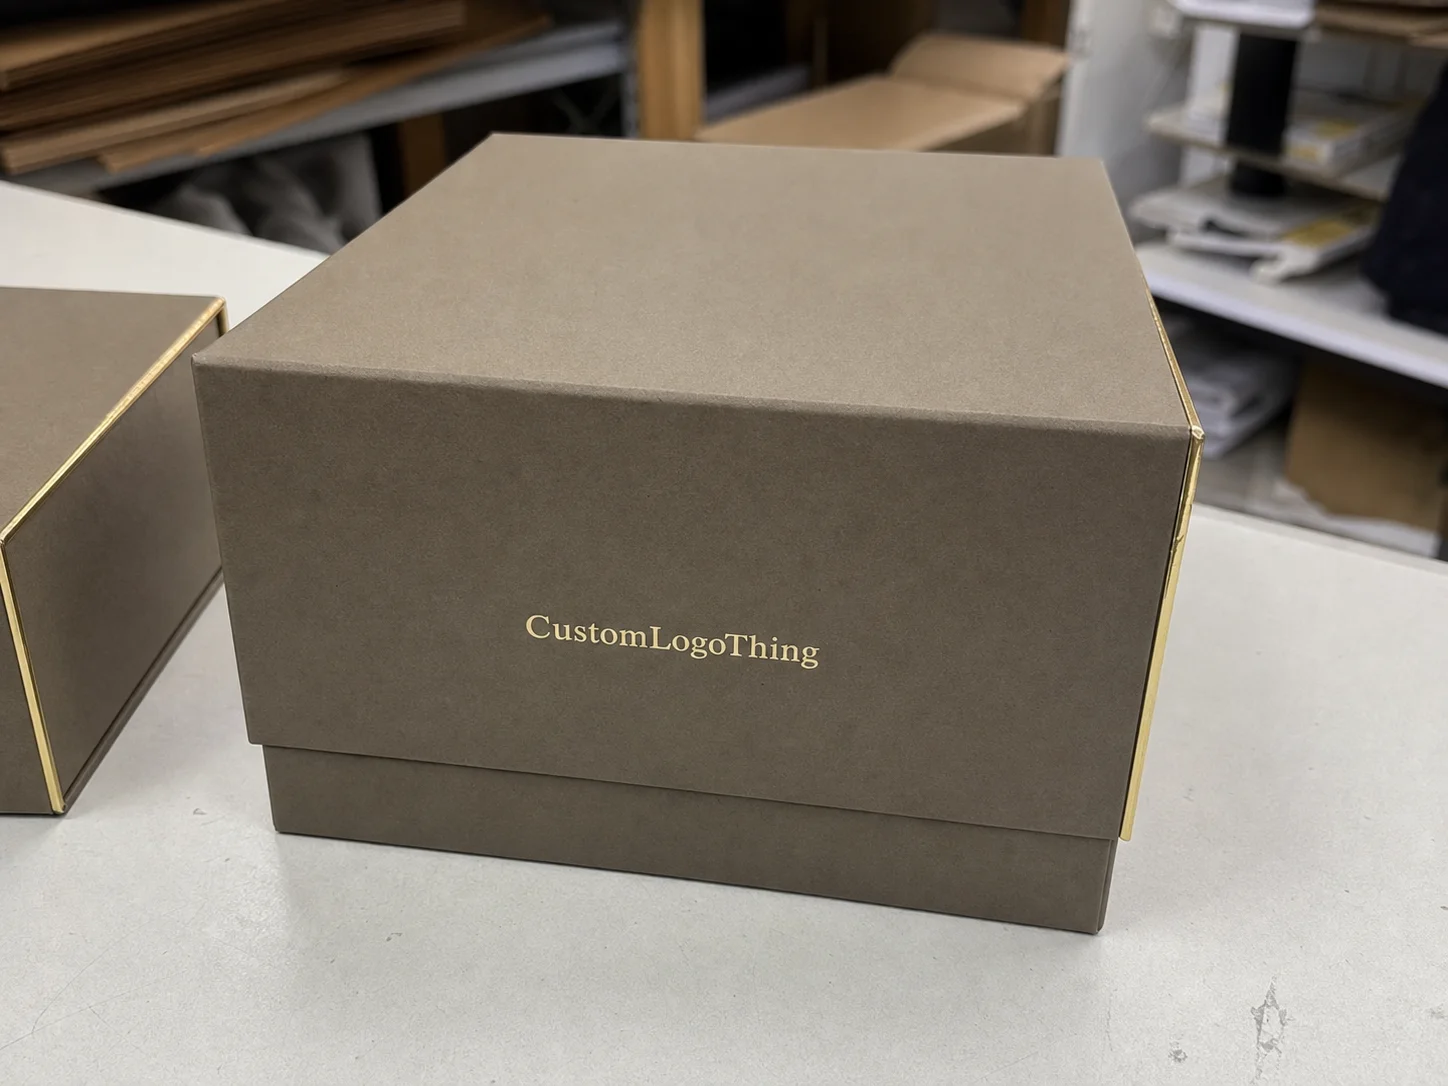
Shape, color, and opening style do real work. A drawer box with a ribbon pull reads more deliberate than a plain tuck carton. Matte black with restrained foil can feel upscale without becoming theatrical. A window can help sell variety, but only if the chocolates look clean and the surface will not show fingerprints.
The tension is simple: luxury chocolate needs to look elegant and survive handling. If the pieces shift, the product feels damaged even when the flavor is excellent. That is why structure matters before artwork. In food gifting, first impressions move fast.
Pretty art does not rescue a bad fit. If the chocolates rattle, the box already lost.
The better question is not how to make the box prettier, but how to build one that protects the product, feels worthy of the price, and still works in production without avoidable cost. That is the practical starting point for custom chocolate box packaging.
What Chocolate Box Packaging Actually Includes
People often say “the box” as if it is one thing. It is not. A complete chocolate pack usually includes the outer carton or rigid shell, an internal insert, a closure style, a surface finish, and sometimes a freshness or tamper feature. High-end programs may also use a liner, a paper wrap, or a sleeve that carries the branding while the main structure stays clean.
There are three broad levels of custom work. Stock boxes are off-the-shelf formats with labels or light print added. Semi-custom programs use standard structures with custom graphics, inserts, or sleeves. Fully custom builds change dimensions, board grade, structure, and print setup so the box fits a specific assortment. The cost difference is usually setup, tooling, and assembly.
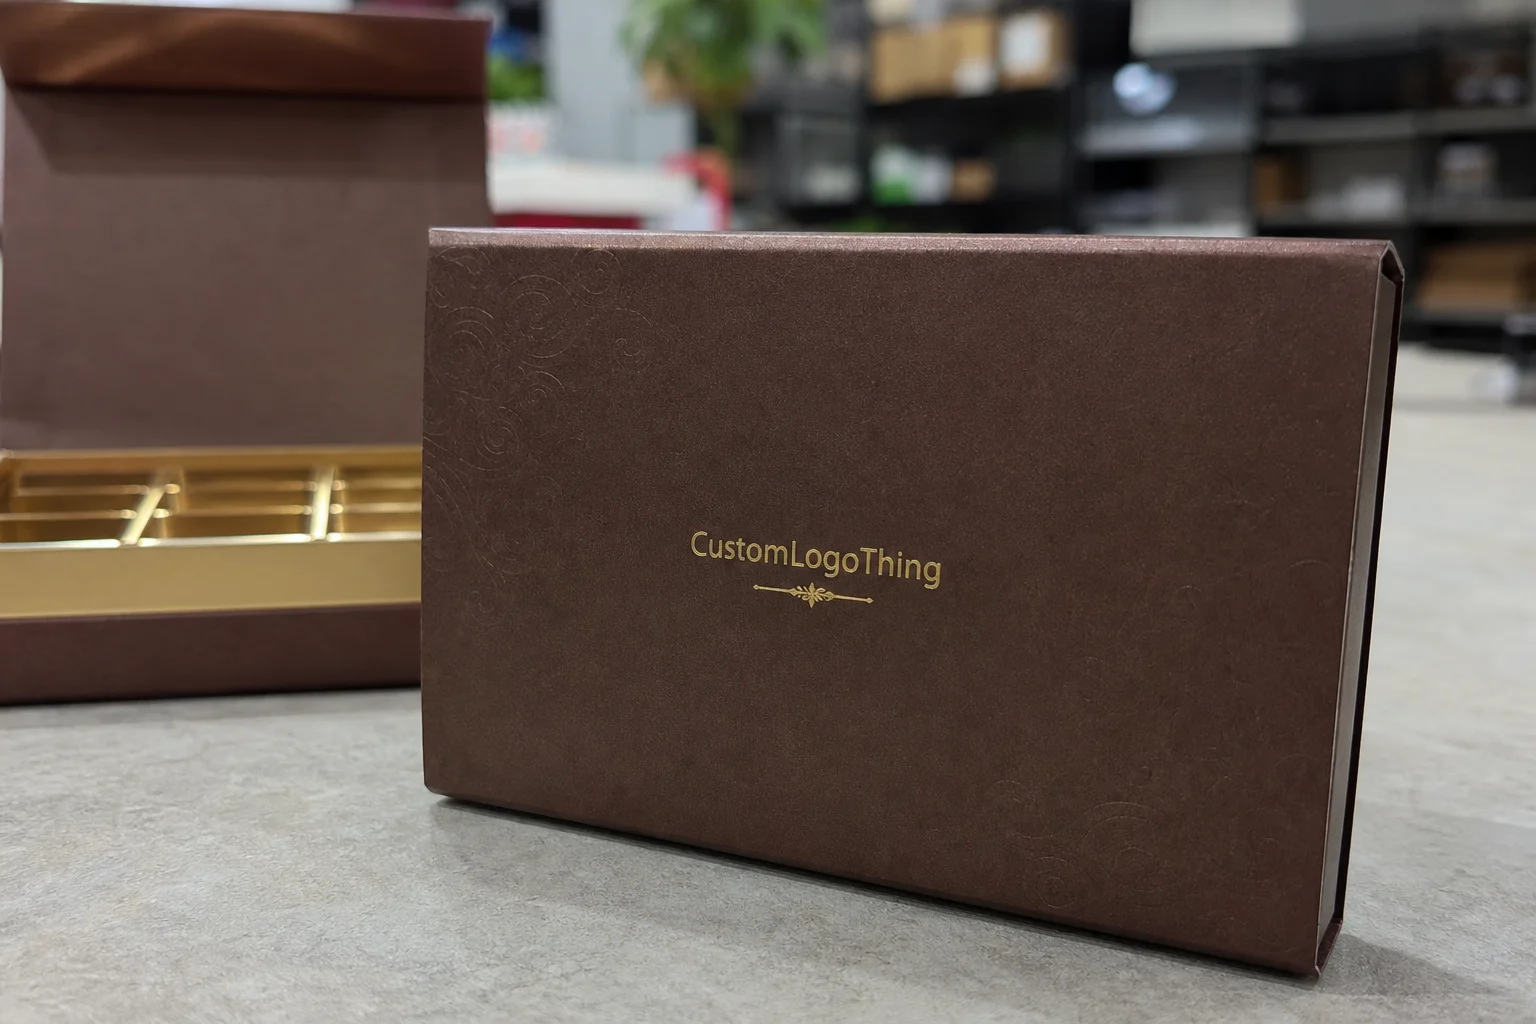
Common formats include tuck end cartons, two-piece rigid boxes, drawer boxes, sleeves over trays, and window boxes. Each has a different feel and abuse tolerance. A tuck carton is efficient and lightweight. A rigid two-piece box feels more premium and suits gifting well. A drawer box gives a slower reveal. A sleeve can add branding without forcing a full custom print run for every seasonal version.
The insert does the real work. Molded pulp is solid for sustainability and separation. Paperboard dividers are economical and printable. PET trays hold shape well but may not fit every sustainability target. Foam-like alternatives can protect fragile pieces, though they do not always match a premium food brand’s positioning.
Details people skip cause problems later: grease resistance, odor transfer, compression strength, and whether the interior surface will hold up under transport. A glossy exterior can look sharp, but if the inside scuffs easily or absorbs oils, the first impression collapses fast.
How the Process and Timeline Usually Works
The process usually starts with an inquiry, then moves into pricing, dieline review, artwork setup, proofing or sampling, production, finishing, packing, and shipment. Delays usually happen in the same places: artwork revisions, missing dimensions, late approvals, and material backorders.
The most important number is the exact chocolate dimension, not an estimate. If the insert pocket is even a few millimeters off, the pieces shift or compress, and the box stops looking premium. That matters more with truffles, bonbons, and hand-finished chocolates because those pieces vary more than rigid bars or molded squares. A competent supplier will ask for piece size, weight, layout, and pack count before they finalize the insert.
Timeline depends on structure. Simple folding cartons move faster. Rigid boxes usually take longer because they require more assembly and finishing steps. For a straightforward run, sampling may take 7 to 14 business days if the artwork is ready and the structure is standard. Production often takes 12 to 25 business days after approval. Rigid or highly finished builds can run longer. Freight is a separate clock if the packaging is produced offshore.
For transit validation, a real packaging team looks at distribution testing instead of guessing. The standard most often referenced for parcel abuse is ISTA, especially for drop and vibration methods that mimic handling in the real world. That matters if the box is meant to ship.
Approvals should be written and specific. If the proof is approved with a note like “make it pop more,” expect confusion later. That is not a spec.
Material, Finish, and Insert Choices That Affect Protection
Material choice changes everything. Paperboard is usually the budget-friendly workhorse for lightweight cartons and sleeves. SBS board gives a smoother print surface and better presentation. Corrugated adds crush resistance and is useful for shipping outers or mailer-style product packaging. Rigid board delivers the strongest premium feel and is common for gift sets, seasonal collections, and assortments that need a higher shelf price.
Finish changes perception faster than color does. Matte lamination looks calmer and more premium than high gloss. Soft-touch feels expensive, but it can show scuffs more easily in some runs. Foil stamping gives a clear visual cue without heavy ink coverage. Spot UV can highlight a logo or pattern, though it works best when used sparingly. Embossing and debossing add tactility, which matters because people often remember touch longer than palette.
Food details deserve attention. Chocolate can pick up odors, and some inks or board systems can transfer scent if the packaging is poorly specified. Grease migration is another issue. If the product is oily or filled, the inside surface needs to be chosen with care. A liner, barrier coating, or food-safe contact layer may be necessary depending on the chocolate and shelf-life target.
Insert choice should match the assortment:
- Individual squares: simple cavities or partitions work well.
- Truffles: deeper pockets and tighter tolerance matter more.
- Pralines and bonbons: separated compartments reduce scuffing.
- Bars: form-fitting trays or sleeves usually make more sense than oversized cavities.
- Mixed assortments: modular inserts help the layout stay consistent across flavors.
There is also a sustainability tradeoff. FSC-certified paperboard can support a better materials story, but the build still has to function. A recyclable design that crushes in transit is not sustainable. If a cleaner materials story matters, FSC is the certification most buyers recognize quickly.
Cost, Pricing, MOQ, and Quote Variables
Packaging pricing is driven less by the box name and more by structure, size, print coverage, finish, and order quantity. A small rigid set with custom inserts costs more than a simple printed carton because the labor and setup are higher.
The main cost drivers are straightforward:
- Material grade: thicker board, better wrap paper, and food-safe liners add cost.
- Print coverage: full-bleed art and multiple colors raise prep and press time.
- Special finishes: foil, embossing, spot UV, and soft-touch all add steps.
- Insert complexity: more cavities, deeper die cuts, and unusual shapes increase tooling and labor.
- Assembly method: flat-shipping cartons are usually cheaper than pre-built rigid boxes.
MOQ matters in practical terms. Lower runs help with demand testing, seasonal launches, or a new flavor line. Higher runs usually lower unit cost because setup, tooling, and handling are spread across more units. Chasing a lower unit price by over-ordering can trap cash in inventory.
Here is a simple way pricing often looks for a few common structures. These are working ranges, not promises, because final cost depends on size, finish, region, and print count.
| Box Style | Typical MOQ | Approx. Unit Cost Range | Best Use |
|---|---|---|---|
| Printed tuck carton | 1,000 to 5,000 | $0.18 to $0.65 | Lightweight assortments, retail packaging, lower-cost gifting |
| Sleeve with tray | 1,000 to 3,000 | $0.35 to $0.95 | Seasonal SKUs, flavor changes, controlled branded packaging |
| Two-piece rigid box | 500 to 2,000 | $1.10 to $3.20 | Premium gifts, truffle assortments, higher perceived value |
| Drawer box with insert | 500 to 2,000 | $1.30 to $3.80 | Luxury presentation, direct-to-consumer sets, limited editions |
Ask for pricing at multiple quantities, sample cost, die charges, plate charges, and freight. Then calculate landed cost. A cheap unit price with expensive freight and a weak insert is not a win.
If you are comparing vendors, ask for a quote that spells out structure, board spec, finish, insert type, and packing method. If any of those are missing, the quote is incomplete. A real supplier can usually work from the same file set used for Custom Packaging Products without turning the process into a scavenger hunt.
Step-by-Step Ordering Plan for a Clean Launch
The cleanest projects start with the product, not the graphics. Define the chocolate count, each piece’s dimensions, total weight, and whether the box needs to survive shelf display, parcel shipment, or both. A retail-only gift box can be lighter than a mailer-ready set.
Then gather the working assets in one place: logo files, brand colors, product photography, legal copy, barcode data, and any seasonal messaging. If the brand has packaging design rules, send them early. A neat file package saves time and avoids the common “we assumed” problem that shows up after a bad proof.
The dieline controls folds, bleed, glue zones, safe areas, and how the package closes. Treat it casually and you get cutoffs, awkward seams, or print that lands where the fold should have been.
A sample review should cover fit, print accuracy, finish quality, closure strength, insert alignment, and packing speed on the line. If the sample takes too long to assemble, that is a real production cost. If the lid opens too loosely, that is a shipping problem waiting to happen. If the insert compresses the product, the spec needs correction before production begins.
- Confirm dimensions and piece count.
- Choose structure and insert type.
- Approve the dieline with final copy.
- Review sample fit, finish, and closure.
- Lock the spec sheet before production.
That last step matters more than people think. Once the spec is approved, every change affects material usage, print setup, and timeline. Revisions are normal. Late revisions are expensive.
Common Mistakes That Turn a Good Box Into a Bad Buy
The biggest mistake is choosing a box for visuals only. A beautiful lid means little if the chocolate shifts during transit, smears against the inner wall, or arrives with crushed corners. In food packaging, protection and presentation are the same job.
Sizing errors come next. Too much empty space reads cheap and careless. Too little space crushes delicate pieces and makes unboxing annoying. A box should feel designed, not improvised. If the insert requires force to load or the product has to be wedged into place, the specification is wrong.
Brand mismatch is another problem. Luxury chocolate in a candy-style box looks confused. Discount-style graphics on handcrafted truffles look worse. The box needs to match the product promise. If the chocolate sells as a gift, the packaging should feel giftable.
Overdoing finishes causes trouble too. Foil, emboss, spot UV, and heavy coatings can look good in isolation, but stacked together they obscure hierarchy and push the box into a crowded, overworked look. They also raise cost and make production less forgiving. A cleaner spec often performs better.
Paperwork mistakes create the dumbest problems. If the order does not clearly state dimensions, pack counts, insert layout, or approval notes, the result is easy to dispute and hard to fix. Clear specs protect both sides.
Expert Tips and Next Steps Before You Order
Order a physical sample or prototype before you commit, especially if the chocolates are handmade, fragile, or sold as gifts. Screen proofing will not tell you how the lid feels, how the insert grips the pieces, or whether the box survives a rough delivery route.
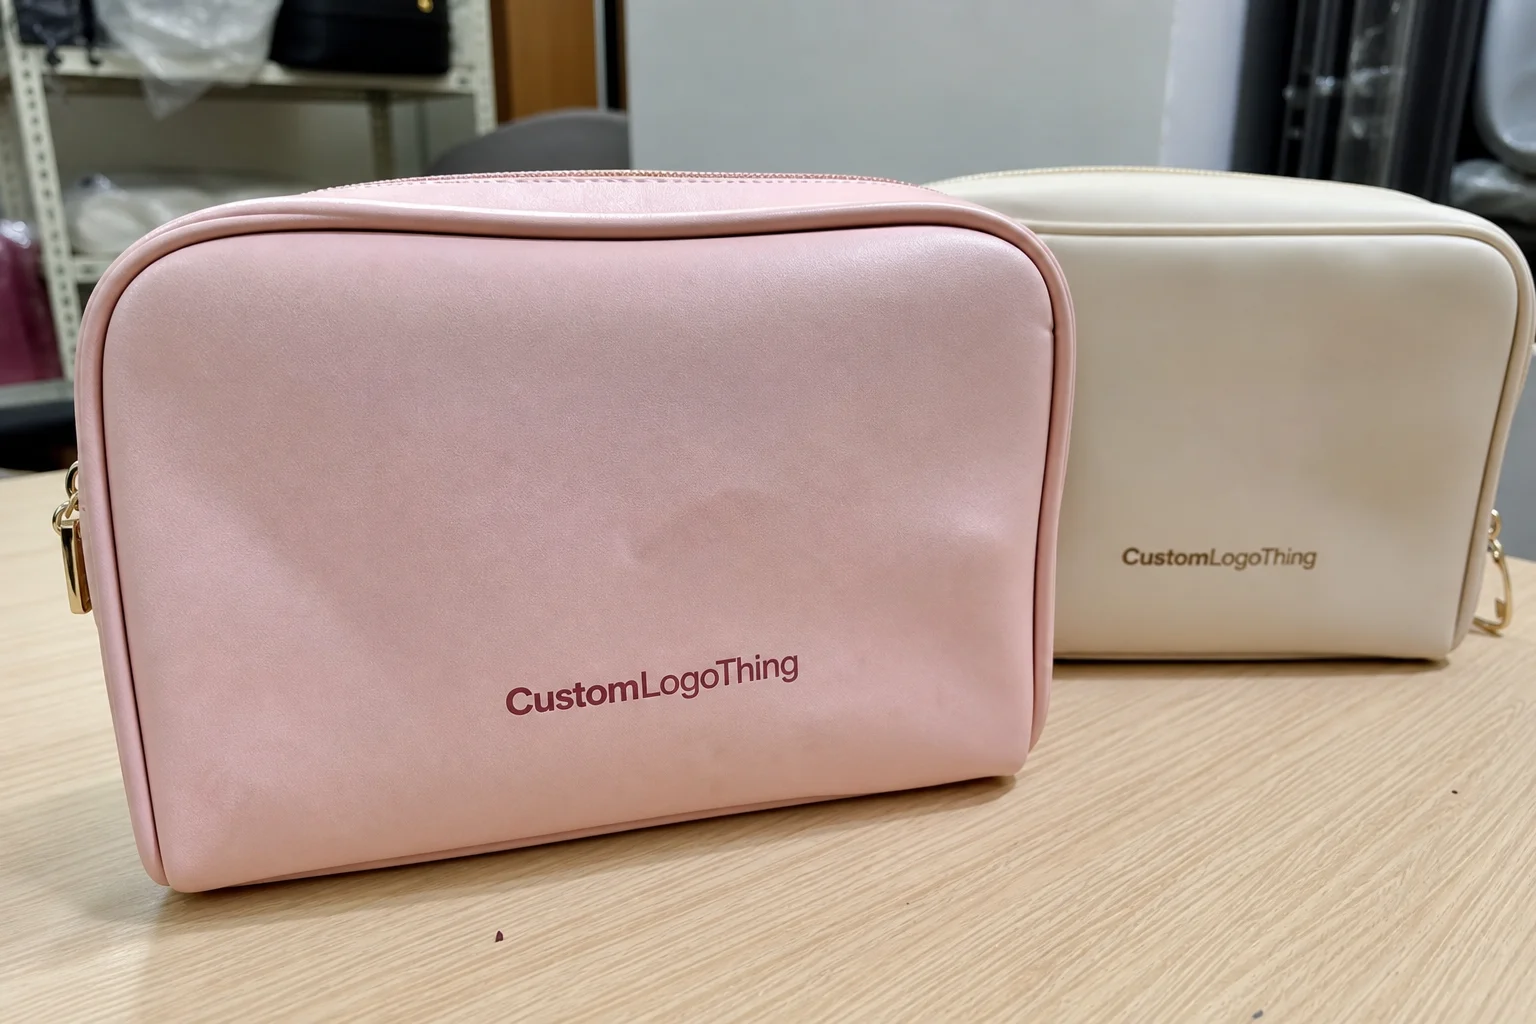
If you have several flavors or assortments, consider one core structure with interchangeable graphics. A sleeve, label, or insert swap is usually easier to manage than building a new box for every SKU. That keeps package branding consistent and gives you a better shot at controlling cost across the line.
Retail handling and shipping need to be planned together. Boxes often pass a shelf test but fail a transit test, or the reverse. If the product ships direct to consumer, ask whether the carton needs added compression resistance, a mailer, or a secondary outer shipper. If it only sits in a shop, focus more on display impact and opening experience.
Ask for a spec sheet before approval. It should confirm material, dimensions, finish, insert type, quantity, timeline, and packing method. If that sheet is vague, the production order will be vague too.
The practical move is to gather the product measurements, target quantity, artwork files, and budget range first, then send them together. That gives you a cleaner quote, a better sample, and fewer surprises. custom chocolate box packaging works best when structure, print, and logistics are decided as one system.
How much does custom chocolate box packaging usually cost?
Pricing depends on material, size, print coverage, finish, and whether inserts or hand assembly are required. Unit cost usually drops as quantity rises, but setup fees and freight still need to be included in the real budget. Ask for quotes at several volume tiers so you can see where the price break makes sense.
What box style works best for truffles and assorted chocolates?
Rigid two-piece and drawer-style boxes usually feel the most premium and protect delicate assortments well. Paperboard cartons can work if the insert does the real protection and the product is less fragile. The best choice depends on piece size, weight, and whether the box needs to survive shipping or only retail display.
How long does the process take from quote to delivery?
Sampling usually takes the longest if artwork or fit needs revision. Production time varies by structure, finish, and factory workload, and shipping can add a separate lead time. Get a timeline that separates sample approval, manufacturing, and freight so nobody confuses them.
What artwork files do I need for chocolate box packaging?
Send vector logo files, editable text, brand colors, and any barcode or compliance copy. Use the dieline as the working file so bleed, fold lines, and safe areas are correct. If the box has foil, embossing, or spot UV, those elements usually need separate layers or labels.
Can one custom box work for multiple chocolate flavors?
Yes, if the internal fit stays consistent and only the branding layer changes. Sleeves, stickers, labels, or insert swaps are the easiest way to reuse one structure across several SKUs. This approach usually reduces cost and keeps the packaging line simpler.