Custom lid boxes do more than cover a product. They shape the opening experience, affect how the package performs in transit, and influence how efficiently the line runs. That makes them a packaging decision, not just a visual one.
For brands, the value is clear. A well-made lid-and-base box creates a clean reveal and supports premium positioning without relying on heavy graphics or oversized formats. For operations teams, the useful question is simpler: does it close consistently, hold its shape, and survive handling without waste or rework?
The best result sits between those priorities. If the closure is sloppy, the finish fails, or the insert shifts, the box stops earning its place. The standard should be straightforward: it should look right and work right.
Why Custom Lid Boxes Punch Above Their Weight
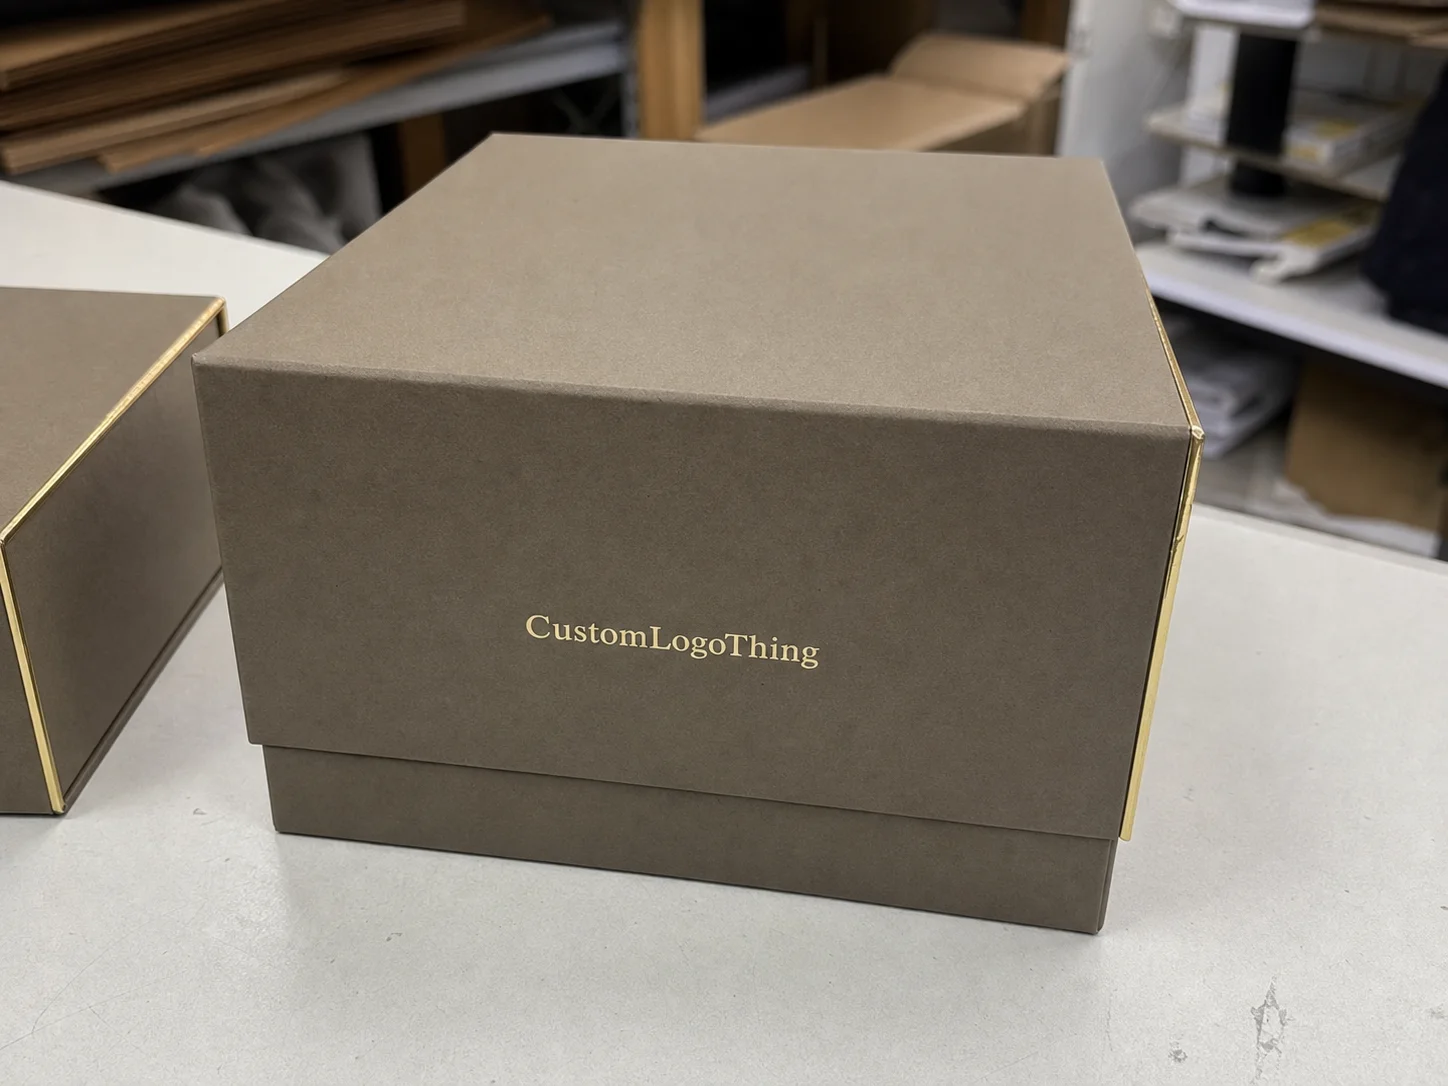
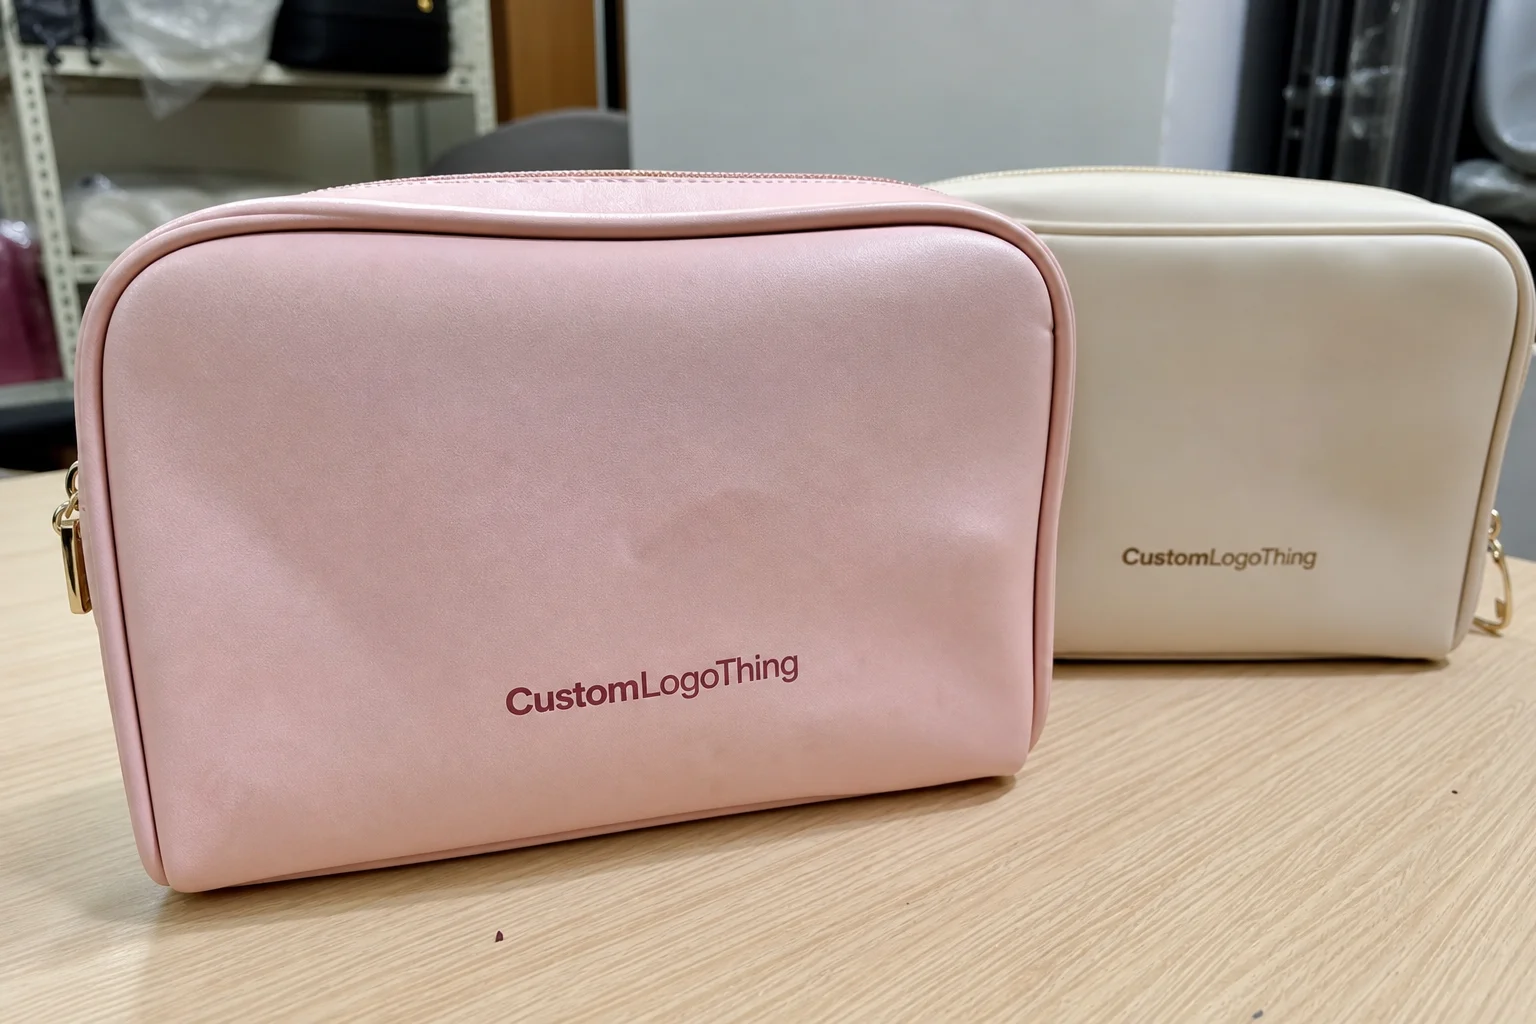
The structure has an immediate advantage: it controls the reveal. A lift-off lid or telescoping lid slows the opening moment and makes the product feel more deliberate, which is why the format is common in cosmetics, accessories, electronics, gift sets, and premium food packaging.
That does not mean every item needs a rigid presentation box. A mailer or corrugated shipper may be better when transit protection matters more than shelf presence. But if the objective is package branding, this format usually outperforms a plain carton because it signals value without visual clutter.
There is also a practical benefit. A well-designed lid-and-base box packs consistently, stacks cleanly, and is easier for staff to close the same way every time. If the board and overlap are right, corner crush drops and the package becomes easier to trust in storage and inspection.
“A box earns its keep if the 500th unit closes as cleanly as the first one. If it only looks good in the sample room, it is not finished.”
That applies to retail packaging and gifting programs alike. A prototype can look perfect and still fail once it meets production tolerances, shipping pressure, and routine handling. The strongest Custom Printed Boxes make the hard parts invisible because the structure was chosen for the job.
How the Lid-and-Base Structure Works
At its core, the structure has two parts: a base that holds the product and a lid that fits over or onto that base. The variables that matter most are lid depth, base depth, wall thickness, and overlap. Those dimensions determine fit, feel, and closure behavior.
Three common versions come up repeatedly. A snug-fit lid is shallow and closes with little movement. A telescoping lid covers more of the base wall and usually feels more substantial. A shoulder-style box adds an inner shoulder so the lid settles into place with a cleaner reveal. It costs more, but the finish is more refined.
Fit is where many projects fail. The product dimensions may be correct, yet the finished box can still bind because wrap paper, coating, insert thickness, or manual assembly changed the internal clearance. For rigid builds, half a millimeter can matter. In some cases, a little more clearance is safer than a tight closure that frustrates packing.
Product shape matters as much as size. Square items are straightforward. Bottles, sets with accessories, and curved products need more planning. A die-cut insert can lock everything in place, but it has to fit the true packed dimensions, not the optimistic size on the spec sheet. If the item rattles, the box feels cheap. If it is too tight, packing slows down and damage risk rises.
From a handling standpoint, the structure stacks well when the geometry is right. That helps in warehousing, kitting, and retail replenishment. Buyers reviewing Custom Packaging Products often care about that stability as much as the finish.
Board, Inserts, and Finish Choices That Change Performance
Material choice does most of the work. Light retail goods can often use paperboard or folding-carton stock when the box is mainly about print presentation. Premium sets usually need rigid board wrapped in printed paper so the walls hold shape and the edges look clean. Corrugated board belongs in the conversation when transit strength matters more than shelf polish.
Thickness should match the product. A 300-400 gsm paperboard can work for lightweight packaging, while rigid set-up boxes often use chipboard around 1.5-3.0 mm. Thicker board is not a free upgrade. It adds weight, increases freight cost, and can create fit issues if the cavity is already tight.
Inserts are easy to under-spec and expensive to ignore. A simple paperboard cradle may be enough for a light kit. Foam may be better for fragile items. Die-cut supports, partitions, and layered inserts can reduce movement and cut returns, especially for multi-item sets. Good insert design is mechanical, not decorative: it manages shock, spacing, and packing speed at the same time.
Finish options change both look and cost. Matte lamination reads quieter and more modern. Gloss adds contrast. Soft-touch gives a richer hand-feel but shows wear differently. Foil, embossing, and spot UV can be effective focal points, but each one adds production steps and another place for variation. Interior print can be useful for gift packaging because it adds a second reveal without changing the outer structure.
If sustainability or sourcing claims matter, ask for the paper spec up front. FSC-certified material is a common request for Brands That Need a paper trail. If the box has to travel through rough distribution channels or protect a fragile product, it is also reasonable to ask whether the design should align with an FSC paper standard or an ISTA test approach. Those are different questions, and both belong early in the process.
The point is simple: the box should support the product and the operating model. Pretty helps. Durability helps. A build that only delivers one of those is usually the wrong build.
Pricing, MOQ, and Custom Lid Boxes Cost Drivers
Pricing usually comes down to six variables: size, board grade, print coverage, finish complexity, insert count, and tooling. If one changes, the quote changes. That is why two boxes with the same outer dimensions can land in very different price bands. A plain printed lid box and a foil-stamped rigid set with custom inserts are not comparable jobs.
MOQ matters because setup costs get spread across the order size. A 5,000-unit run may have a higher total than a 1,000-unit run, but the unit price often drops as volume rises. The part that confuses buyers is the split between one-time costs and recurring unit costs. Sample charges, structural revisions, print plates, and special tooling should be visible in the quote.
| Structure | Typical Use | Indicative Unit Cost | What Moves the Price |
|---|---|---|---|
| Paperboard lid-and-base box | Light retail goods, gifts, promotional kits | $0.25-$0.70 | Print coverage, board weight, simple insert work |
| Rigid lift-off lid box | Premium retail packaging, presentation sets | $1.10-$2.80 | Chipboard thickness, wrap paper, lamination |
| Telescoping rigid box | Higher-end sets, larger items, layered presentations | $1.40-$3.80 | Lid depth, alignment tolerance, interior print |
| Shoulder-style rigid box | Luxury packaging, launch kits, gift programs | $1.80-$4.50 | Extra board components, wrap complexity, assembly time |
Those numbers are directional. A small run with heavy foil and tight tolerances can cost more than a larger run with simple print and no insert. The cheapest quote is not always the lowest-cost outcome. If the box slows packing, scuffs easily, or fails fit checks, the savings disappear quickly.
For cleaner comparisons, ask every vendor for the same spec: exact dimensions, material callout, finish, insert count, target quantity, and whether the box is intended for shipping or shelf presentation. That removes most false apples-to-oranges quotes and keeps lower pricing from masking missing details.
If you are narrowing options, compare structure first, not sales language. Start with a short list from our packaging options, then compare what the box actually has to do. That approach is less exciting and more reliable.
Process and Lead Time: From Dieline to Delivery
The production process is linear, but delays usually come from unclear inputs. The starting point is the brief: dimensions, product use, quantity, finish, and insert needs. Then the supplier prepares a dieline. After that, you approve structure, supply artwork, review proofs, confirm a sample if needed, and release the order into production.
- Brief and measurement: product dimensions, closure style, insert needs, and target quantity.
- Dieline and structural approval: confirm panel sizes, folds, overlap, and clearances.
- Artwork prep: set bleeds, safe zones, and print-ready files.
- Sampling: check fit, appearance, and closure behavior before full production.
- Production and finishing: print, laminate, cut, wrap, assemble, and inspect.
- Shipment: pack flat or assembled, depending on the structure and freight plan.
The same three problems cause most delays. The first is a late dimension change after dieline approval. The second is artwork that arrives without bleed, with low-resolution assets, or with copy that still needs legal review. The third is vague sample feedback. “Make it better” is not actionable. Neither is “make it feel more premium.”
For simple paperboard builds, a realistic lead time is often 10-15 business days after proof approval if materials are in stock. Rigid boxes, wrap finishes, foil, and custom inserts usually push that to 15-25 business days, and multiple revision rounds extend it further. Transit time sits on top of that, so if the launch date is fixed, ask for a stage-by-stage timeline instead of a single promised delivery date.
For fragile or high-value items, it can also be worth asking whether the package needs drop or compression validation. In those cases, an ISTA-aligned test is more useful than more aesthetic debate because it focuses on how the box behaves under stress.
Common Mistakes That Quietly Raise Reject Rates
The biggest error is sizing the box from the product listing instead of the packed product. Listed dimensions usually ignore wrap, insert thickness, assembly tolerance, and closure clearance. A box that looks correct in a spreadsheet can end up too tight on the line or too loose in the hand. Both outcomes are expensive.
Another frequent problem is overspending on finish while underfunding structure. A high-gloss or foil-heavy box makes sense if the package sits on shelf and has to sell itself. It makes less sense if the box mostly lives inside shipper cartons or storage shelves. In that case, board quality, insert quality, and closure fit matter more than decorative extras.
Inserts cause trouble too. If the item can move, corner damage rises. If the insert is too tight, packing slows and frustration goes up. If it is too loose, the box feels cheap the moment someone lifts it. A simple insert that fits cleanly is better than an elaborate layout that fails under daily use.
Artwork timing creates another avoidable mess. If the visual design is approved before the structure is locked, logos can drift across folds, barcodes can collide with glue flaps, and copy can end up in cutoff zones. That turns into rework, not just inconvenience. Rework affects plates, files, and scheduling.
Quality control should be basic and strict. Check closure fit, corner integrity, print registration, finish adhesion, and insert placement. Verify that the sample matches the production spec, not just the render. The box should open cleanly, close consistently, and survive handling without looking tired after one pass through the room.
The cleanest summary is this: strong custom lid boxes are usually restrained, not flashy. They close properly, protect the product, and communicate value without turning into an expensive science project.
Next Steps: Build a Quote-Ready Spec
If you want cleaner quotes, start with a spec that answers the real questions. Measure the packed product, not just the item itself. State the use case clearly: retail display, gift presentation, or shipping protection. List any inserts, partitions, or custom cavities. Include the preferred finish, target quantity, and whether artwork is ready or still in progress.
Then add the operating details. Should the box arrive flat or assembled? Does the pack line need fast closure, or can it tolerate a more precise fit? Is the main goal shelf appeal, freight efficiency, or protection? Those answers change the recommended structure, board, and closure style, and they make supplier comparisons more honest.
If the item is fragile, unusual, or expensive enough that a fit failure would hurt, ask for a structural sample or prototype before the full run. That matters most on rigid builds, multi-component kits, and branded packaging that has to hit a specific visual standard. A sample costs less than a production correction.
For teams building a broader packaging program, it helps to compare lid boxes against other custom packaging products so each SKU gets the right format instead of forcing everything into one template. Package branding works better when the structure matches the job.
Once the spec is clear, quotes get cleaner, revisions shrink, and production surprises drop. That is the real value of planning custom lid boxes with end use in mind.
FAQ
What should I know before ordering custom lid boxes?
Measure the packed product, not just the item itself. The lid needs enough clearance to close cleanly without crushing the contents or leaving the item loose. Decide whether the box is for retail display, gift presentation, or shipping protection before requesting a quote, because those uses do not share the same build priorities.
How do I choose the right lid style for custom lid boxes?
Use a snug or telescoping style if presentation matters and you want a clean reveal. Choose a deeper base or a stronger insert if the product is fragile, layered, or likely to shift during transit. Match the closure style to the packing workflow so staff can assemble the box without fighting the fit.
What drives custom lid boxes pricing the most?
Size, board thickness, print coverage, and finishing complexity usually have the biggest effect on cost. MOQ changes the unit price because setup costs are spread across a larger or smaller run. Custom inserts, special coatings, and structural revisions can add more cost than simple artwork changes.
How long do custom lid boxes usually take to produce?
Simple paperboard builds may take 10-15 business days after proof approval if materials are available. Rigid boxes, wrapped finishes, foil work, and custom inserts usually take longer. If the date matters, ask for the schedule by stage, not just the final delivery estimate.
What do I need to request an accurate custom lid boxes quote?
Provide product dimensions, target quantity, material preference, finish requirements, and any insert or partition needs. Share whether the box is for shipping, retail, or gifting so the supplier can recommend the right structure. Include artwork status and timeline needs so the quote reflects both cost and production timing.