custom Decals and Stickers tampa bay: Order Smart
What Custom Decals and Stickers Tampa Bay Buyers Should Know First
A small sticker can outlast a printed flyer by months. It may sit on a laptop, storefront window, cooler, delivery box, vehicle door, retail package, or jobsite tool long after a brochure has been tossed. That staying power is useful, but only if the material, adhesive, finish, and artwork match the setting.
The terms sticker and decal overlap in everyday ordering. Stickers are often smaller, promotional, packaging-focused, or label-like: giveaway stickers, product seals, QR code labels, food container branding, short-run event pieces. Decals are usually built for tougher duty or cleaner installation on windows, equipment, walls, vehicles, mirrors, signage, marine gear, and outdoor surfaces.
The name matters less than the job. A buyer asking for “stickers” may need laminated vinyl decals with outdoor adhesive. Another asking for “decals” may only need paper labels on a roll for dry packaging. The useful question is blunt: what does the finished piece have to survive?
Around Tampa Bay, common applications include storefront graphics, event handouts, contractor truck logos, brewery packaging, boat gear, real estate signs, gym mirrors, food service containers, product labels, and equipment identification. Each one stresses the product differently. Glass is smooth. Corrugated boxes can be dusty. Some plastics resist standard adhesives. Vehicles see sun, heat, rain, washing, and curved panels.
Buyers also need to think past the print. Will the decal be hand-applied or installed by a crew? Does it need to remove cleanly after a promotion? Will the surface be cold, wet, textured, waxed, oily, or cleaned with chemicals? Those details shape the quote, the material recommendation, and the expected lifespan.
The smartest orders begin with surface, size, quantity, exposure, artwork, and deadline. Bring those details early, and custom decals and stickers Tampa Bay projects become easier to price, easier to produce, and far less likely to fail after installation.
How Sticker and Decal Materials Work in Real Conditions
The printable top material, often called the face stock, drives much of a sticker’s behavior. Paper works well for short-term indoor use: bakery boxes, shopping bags, dry retail packaging, mailer inserts, handouts, and simple seals. It prints sharply and can feel warmer than plastic film. It also dislikes rain, cooler condensation, repeated handling, and long sun exposure.
White vinyl is the practical workhorse. It handles moisture, hand contact, mild curves, and outdoor use better than standard paper when paired with the right adhesive and finish. For many regional buyers, vinyl is the safer default because heat, humidity, sun, and frequent handling are ordinary conditions, not edge cases. A typical outdoor decal may use 3 to 4 mil vinyl with solvent, eco-solvent, latex, or UV-cured ink. Laminate is often added when abrasion, cleaning, or UV exposure is expected.
Clear vinyl suits glass, jars, bottles, minimalist packaging, transparent displays, and designs where the surface should show through. There is one major catch: printed colors on clear film can look weak unless white ink is printed behind them. Without that white layer, a red logo on a window may turn translucent and disappear into reflections.
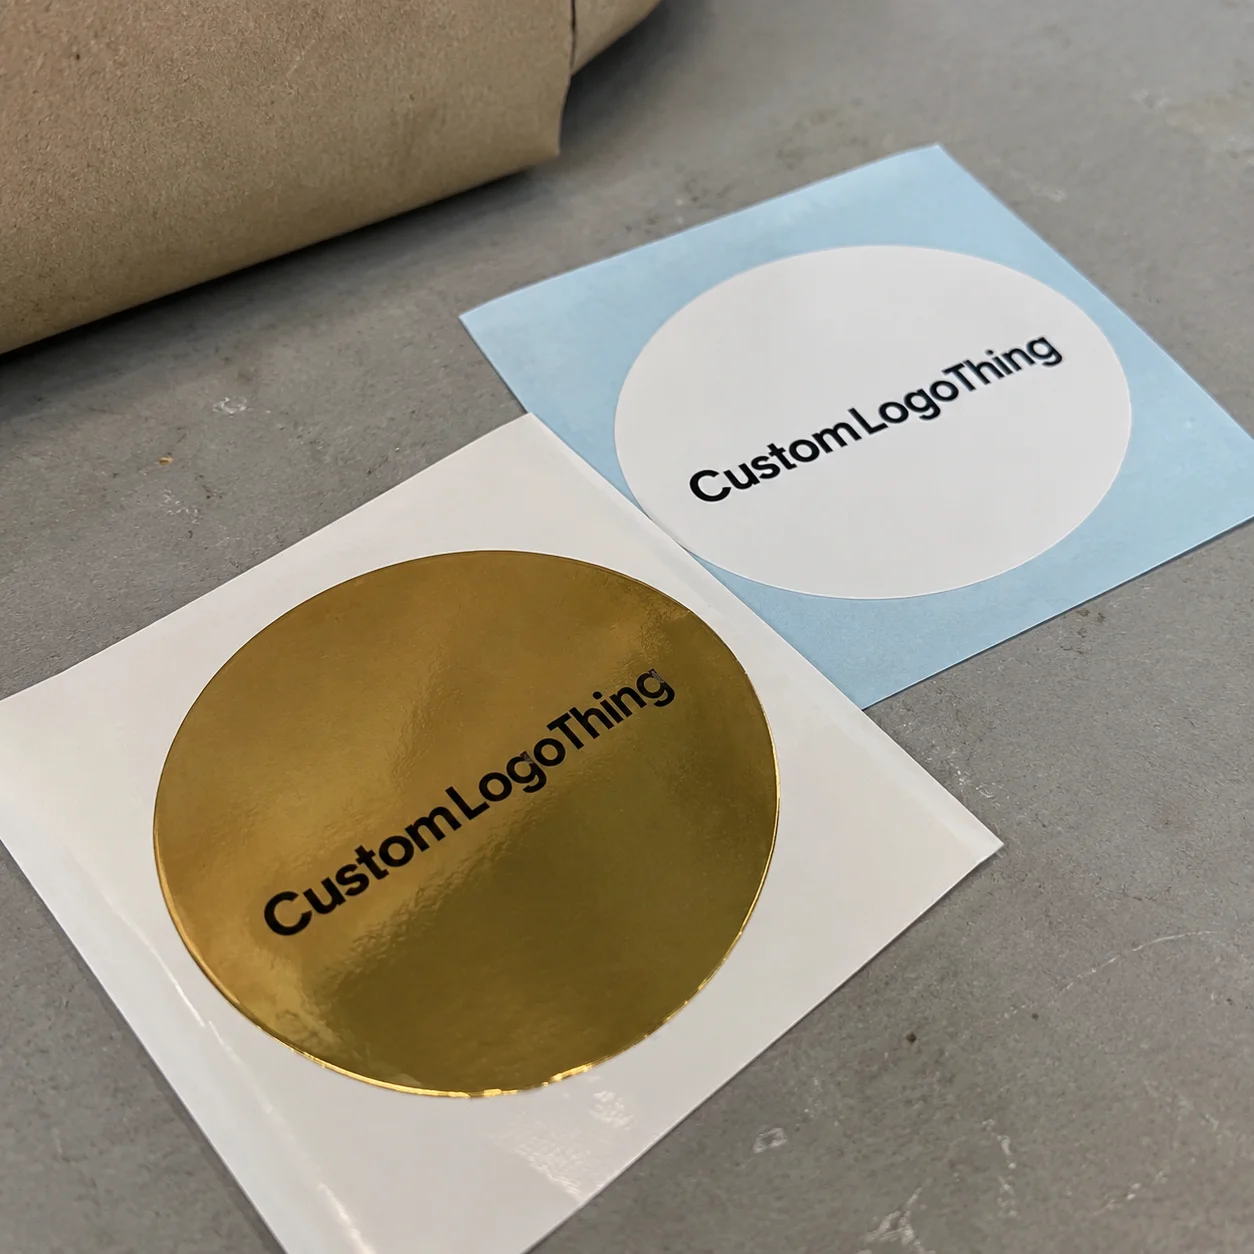
Static cling is different because it does not use adhesive. It works best on clean glass for temporary window graphics. It can be useful for short-term promotions, but it is not a substitute for a permanent outdoor decal. Specialty films such as metallic, holographic, brushed, or textured stock can create a premium retail effect, although they often raise cost, limit ink behavior, and require more testing.
Finish changes both appearance and performance. Gloss gives color punch and sharper contrast, especially for bold logos. Matte reduces glare on windows, gym mirrors, product labels, and premium packaging. Soft-touch creates a more refined feel, but it is usually better suited to indoor packaging than rough outdoor handling. Laminate adds a protective film over the print, helping with scratches, scuffs, cleaning, and sunlight.
Adhesive selection deserves the same attention as the face stock. Permanent adhesive is appropriate for long-term branding. Removable adhesive fits temporary promotions, seasonal window graphics, and surfaces where residue would create problems. Repositionable adhesive gives installers more forgiveness during placement. Low-tack adhesive can protect delicate surfaces, but it may not hold in high-touch, wet, hot, or rough environments.
Surface compatibility is where many good-looking jobs go sideways. Glass, painted metal, corrugated boxes, plastic containers, sealed wood, powder-coated finishes, curved drinkware, refrigerated cases, and marine equipment do not behave alike. Low-energy plastics such as polyethylene and polypropylene are especially tricky because many adhesives do not spread and grip well on them.
If the order is large, unusual, or mission-critical, test before scaling. Standards vary by application, but organizations such as ISTA are useful references for packaged-product distribution thinking, especially when labels must survive handling, transit, compression, and environmental shifts.
Pricing, MOQ, and Quote Factors for Decals and Stickers
Sticker pricing is shaped by size, quantity, material, print method, shape, finish, adhesive type, and final format. The same 3-inch logo can price differently as roll labels, sheeted stickers, individually cut singles, kiss-cut decals, or contour-cut vinyl pieces that require weeding. That is why “I need 500 logo stickers” usually leads to follow-up questions.
Quantity matters because setup, proofing, press calibration, cutting, finishing, and packing time get spread across the run. A short digital run may be practical at 100 or 250 pieces. A larger run of 5,000 or 10,000 can lower the unit cost significantly, provided the material and finishing method are efficient.
As a broad planning range, a simple 3-inch digitally printed vinyl sticker may land around $0.18 to $0.45 per piece at several thousand units. Specialty films, laminate, complex contour cutting, small-batch production, multiple artwork versions, or individual packing can push that higher. Short runs often look expensive per piece because the fixed production work does not shrink with the order.
Minimum order quantity is not just a sales rule. It is a production efficiency issue. Some digitally printed decals can start at lower minimums because setup is flexible. Roll labels, laminated outdoor decals, specialty materials, custom dies, and multi-version product label runs may need higher minimums to justify press time and finishing setup.
Shape affects price more than buyers expect. Circles, squares, ovals, and rectangles are straightforward to quote and cut. Intricate contours, tiny interior islands, sharp points, thin borders, and delicate script lettering slow down cutting and weeding. A mark that looks elegant on screen can become fragile if the final decal is too small for the cut path.
Durability upgrades add cost, but replacement costs more. Thicker vinyl, UV laminate, weather-resistant adhesive, scratch protection, and specialty finishes are not automatically needed for every order. For outdoor signage, vehicle decals, coolers, boat gear, and high-touch equipment, they often protect the budget by keeping graphics intact longer.
| Option | Common Use | Typical Cost Impact | Buyer Note |
|---|---|---|---|
| Paper sticker | Indoor packaging, bags, giveaways | Lower | Best for dry, short-term use |
| White vinyl sticker | General branding, equipment, containers | Moderate | Good balance of durability and print quality |
| Laminated outdoor decal | Vehicles, windows, coolers, marine gear | Higher | Better for UV, abrasion, and cleaning exposure |
| Specialty film | Premium retail packaging or promotional graphics | Higher | Ask about white ink and minimums |
Before requesting pricing, gather the final size, quantity, application surface, indoor or outdoor use, desired lifespan, artwork file, finish preference, delivery deadline, and final format. Decide whether the pieces should arrive on rolls, sheets, or as individual decals. That one detail affects packing, application speed, and sometimes the equipment used to finish the order.
Process and Timeline: From Artwork to Finished Stickers
A typical order moves through quote, material selection, artwork submission, proofing, approval, printing, finishing, quality check, packing, and shipping or pickup if available. The job does not truly move until size, quantity, material, artwork, and proof are settled.
Artwork review catches problems before they become waste. A production team checks resolution, bleed, cut paths, color setup, small text, thin lines, and whether the design can survive trimming or contour cutting. Raster images are commonly requested at 300 dpi at final size. Logos and cut paths are better as vector files, usually AI, EPS, or print-ready PDF, because they scale cleanly and give cutting equipment a smooth path.
A digital proof is more than a preview. It confirms size, cut line, orientation, approximate color, quantity, material, finish, and special notes before production starts. Monitor color never matches ink on vinyl, paper, clear film, or metallic stock perfectly. Brand-critical colors should be discussed early, especially if Pantone references, prior samples, or existing packaging need to be matched.
Production rhythm depends on equipment and material, but the sequence is familiar. The job is printed, then dried or cured depending on the ink system. Laminate is applied if specified. Pieces are kiss-cut, die-cut, or contour-cut. Excess vinyl may be weeded away for decals. Rolls are slit. Sheets are trimmed. Singles are counted, stacked, banded, or packed.
Quality control is not glamorous, but it is where the order earns trust. Checks should catch obvious print defects, banding, incorrect counts, registration problems, rough cuts, missing laminate, color shifts, and edge issues. For roll labels, winding direction and core size may also matter if the labels will feed through an applicator.
Simple digitally printed stickers often move faster than outdoor laminated decals, multi-SKU label runs, specialty films, tight registration work, or high-volume orders. A realistic planning window is often 5 to 10 business days after proof approval for many standard digital sticker jobs. Laminated outdoor decals, large quantities, specialty materials, or jobs with multiple versions may need 10 to 15 business days or more. Rush timing depends on queue, material availability, artwork readiness, and finishing complexity.
The fastest way to protect lead time is not pressure; it is clean information. Send production-ready art, complete specs, and quick proof approval. Delays often come from missing dimensions, late artwork revisions, unclear material expectations, or discovering too late that the decal needs to stick to a difficult plastic or powder-coated surface.
Shop-floor rule: sticker orders slow down less from printing than from uncertainty. Size, surface, artwork, and proof approval keep production moving.
Step-by-Step Guide to Planning a Sticker Order
- Define the job by use case. Decide whether the sticker needs to promote, label, seal, decorate, warn, identify equipment, or survive outdoor exposure. A product label and a truck decal should not be built the same way.
- Name the surface and environment. Note whether the piece goes on glass, cardboard, plastic, metal, a cooler, a vehicle, a pouch, a bottle, or a high-touch area. Add details such as refrigeration, sunlight, hand washing, salt air, or cleaning chemicals.
- Pick a size based on viewing distance. A 1.5-inch packaging label may be fine for a small logo, but ingredients, QR codes, and warning text need more room. Window decals need enough scale to read from the sidewalk or parking lot.
- Select material and finish by lifespan. Paper may suit indoor giveaway stickers. Laminated vinyl makes more sense for sun, rain, friction, coolers, vehicles, and cleaning exposure.
- Prepare artwork correctly. Use vector logos, high-resolution images, outlined fonts, bleed, safe margins, and a clear cut line if the piece is custom-shaped. For tight cuts, avoid borders that sit too close to the edge.
- Review the proof carefully. Check spelling, dimensions, cut path, color expectations, quantity, orientation, and final format. Confirm whether you are receiving rolls, sheets, or individual pieces.
If the stickers are part of a larger product launch, think about the full package branding system. The decal may need to coordinate with Custom Labels & Tags, folding cartons, mailers, inserts, or Custom Printed Boxes. Customers do not experience one label in isolation; they see the entire product packaging presentation.
For event, retail, or seasonal orders, build in a buffer. Even a simple revision can eat a day if the proof has to be updated, checked, and reapproved. If the order has a firm event date, share that date early so production timing can be judged honestly.
Common Mistakes That Make Decals Fail Early
The most common failure is using an indoor paper sticker outdoors. Rain, humidity, direct sun, cooler condensation, and handling can cause curling, fading, swelling, or adhesive breakdown much faster than expected. Paper has its place. Long outdoor exposure is rarely it.
Wrong adhesive selection creates two opposite problems. A decal may peel too soon because the adhesive is not aggressive enough, or it may bond too strongly and leave residue when clean removal is required. Temporary window promotions, rental equipment, and seasonal signage need a different discussion than permanent fleet branding.
Ignoring the application surface is another frequent issue. Textured plastics, powder-coated metal, dusty corrugated board, dirty glass, waxed packaging, and low-energy plastics can challenge adhesion. Polyethylene and polypropylene containers, for example, may need specific label constructions because many standard adhesives do not wet out easily on those surfaces.
Artwork can sabotage performance before the file ever reaches production. Tiny type, delicate cut lines, narrow borders, and small QR codes may look fine on a large monitor but fail at final size. QR codes should be tested at printed size with real phones, ideally after laminate if laminate is part of the build. Fine reverse text can fill in. Thin points can lift. Small interior cuts can be hard to weed cleanly.
Skipping laminate on outdoor or high-touch decals can shorten service life. Ink can scratch, scuff, or fade when exposed to sunlight, cleaning, abrasion, and repeated handling. Laminate is not always required, but for vehicles, coolers, marine items, equipment decals, and busy public-facing surfaces, it is often the practical call.
Application technique matters too. Surfaces should be clean, dry, and free of oil, wax, dust, and cleaning residue. Materials should acclimate when moving between hot, cold, or humid spaces. Rushing installation can trap bubbles or dust under clear graphics. Stretching vinyl during placement can create edge lift later, especially around curves.
Another overlooked mistake: ordering the wrong format. A roll label may be efficient for packaging production but awkward for event handouts. Individual die-cut stickers look polished for giveaways but can add packing labor. Sheets may be the practical middle ground for hand application. Format is not cosmetic; it changes how the stickers are used.
Expert Tips for Better Color, Durability, and Application
Use vector artwork for logos and cut paths whenever possible. Vector files scale cleanly, preserve crisp edges, and help cutting equipment follow accurate shapes. If the only available file is a low-resolution PNG from a website, expect cleanup or redrawing before production.
Build in bleed and safe zones. Bleed lets background color extend beyond the trim edge, often around 0.125 inch depending on the supplier’s setup. Safe zones keep text, logos, borders, and QR codes away from the cut line. Small shifts in trimming are normal, so artwork should be built with tolerance instead of hoping for a perfect cut every time.
Ask about white ink on clear, metallic, holographic, or dark surfaces. Without a white layer, printed colors can look transparent, muted, or heavily affected by the surface underneath. On clear window decals, white ink can make a logo readable from a distance instead of vanishing into glare.
Match finish to the environment. Gloss can sharpen color and create visual punch. Matte can reduce glare on windows, gym mirrors, or Premium Retail Packaging. Laminate can protect the graphic during rough handling, cleaning, shipping, or outdoor exposure. The wrong finish may still function, but it can make the final piece look mismatched.
If sustainability claims are part of the packaging story, review material choices carefully and avoid overstating recyclability. The Forest Stewardship Council is a useful reference for responsibly sourced paper-based materials. Film labels, adhesives, liners, and laminated constructions require a more specific discussion because they may affect recycling streams differently.
For large decals, plan the installation method. Transfer tape, hinge application, wet application where appropriate, or professional installation guidance may be needed. A 24-inch window graphic behaves differently than a 3-inch packaging sticker. Larger pieces can stretch, wrinkle, or trap bubbles if handled without a plan.
Test critical applications before scaling. This is especially true for unusual plastics, curved containers, refrigerated surfaces, marine gear, powder-coated equipment, or anything cleaned with chemicals. A small pilot run can reveal edge lift, scuffing, color visibility, or application issues before thousands of pieces are produced.
If your stickers support a broader packaging launch, line them up with cartons, inserts, and other Custom Packaging Products. A good sticker can strengthen branded packaging. A mismatched finish, weak adhesive, or inconsistent color can make the whole presentation feel improvised.
Next Steps Before You Request a Sticker Quote
Before asking for pricing, measure the application area, photograph the surface, decide whether the use is indoor or outdoor, list the desired lifespan, and choose whether the decals should arrive on rolls, sheets, or as individual pieces. These details help the supplier quote the job instead of guessing.
Gather useful files and references before the first conversation. That includes a vector logo, high-resolution artwork, brand color references, size requirements, quantity range, finish preference, and any existing sample you want to match. If the sticker is part of product packaging or retail packaging, include the package dimensions and the application method.
Identify how the pieces will be applied. Hand-applied packaging labels, event giveaway stickers, storefront window placement, vehicle decals, and production-line labeling can all require different formats and packing. Rolls may improve speed on a labeling line. Sheets may be easier for small teams. Individual pieces may suit events, kits, or retail inserts.
Ask direct questions: what material fits the surface, whether laminate is needed, what MOQ applies, what proofing includes, when lead time begins, and what can be adjusted to lower unit cost. Sometimes reducing size by half an inch, simplifying a contour cut, or moving from singles to sheets can make the order more efficient without hurting the design.
Most sticker problems are preventable before the first piece is printed. Approach custom decals and stickers Tampa Bay orders with surface, material, artwork, pricing, and timeline details ready, and the finished piece has a much better chance of doing its job: sticking cleanly, reading clearly, and lasting as long as the application requires.
FAQ
What is the difference between custom decals and custom stickers in Tampa Bay?
Stickers are often used for packaging, giveaways, product labels, and short- to medium-term branding. Decals are usually more durable, cut-to-shape, and made for windows, vehicles, equipment, or outdoor placement. The terms overlap, so the best ordering method is to describe the surface, environment, size, quantity, and lifespan you need.
How much do custom decals and stickers cost for a local business order?
Cost depends on size, quantity, material, adhesive, finish, cut shape, print complexity, and whether the order is supplied on rolls, sheets, or as individual decals. Unit cost usually decreases as quantity increases because proofing, setup, printing, cutting, and finishing time are spread across more pieces.
What material is best for outdoor custom stickers near Tampa Bay weather?
Outdoor use typically calls for weather-resistant vinyl, UV-stable printing, and often a protective laminate to handle sun, rain, humidity, abrasion, and cleaning. Paper stickers are usually better for indoor packaging, dry promotional use, or short-term applications.
How long does it take to produce custom decals and stickers?
Timeline depends on artwork readiness, proof approval, quantity, material availability, finishing requirements, and whether the job needs lamination, contour cutting, weeding, or multiple versions. Standard digital sticker jobs may take about 5 to 10 business days after proof approval, while more complex decal orders can take longer.
Can custom stickers be made for windows, vehicles, packaging, and equipment?
Yes, but each use may require a different material, adhesive, finish, and cut style. A window decal, vehicle graphic, and product label should not automatically be built the same way. Share the exact surface and expected exposure before production so the decal is matched to real handling conditions.


