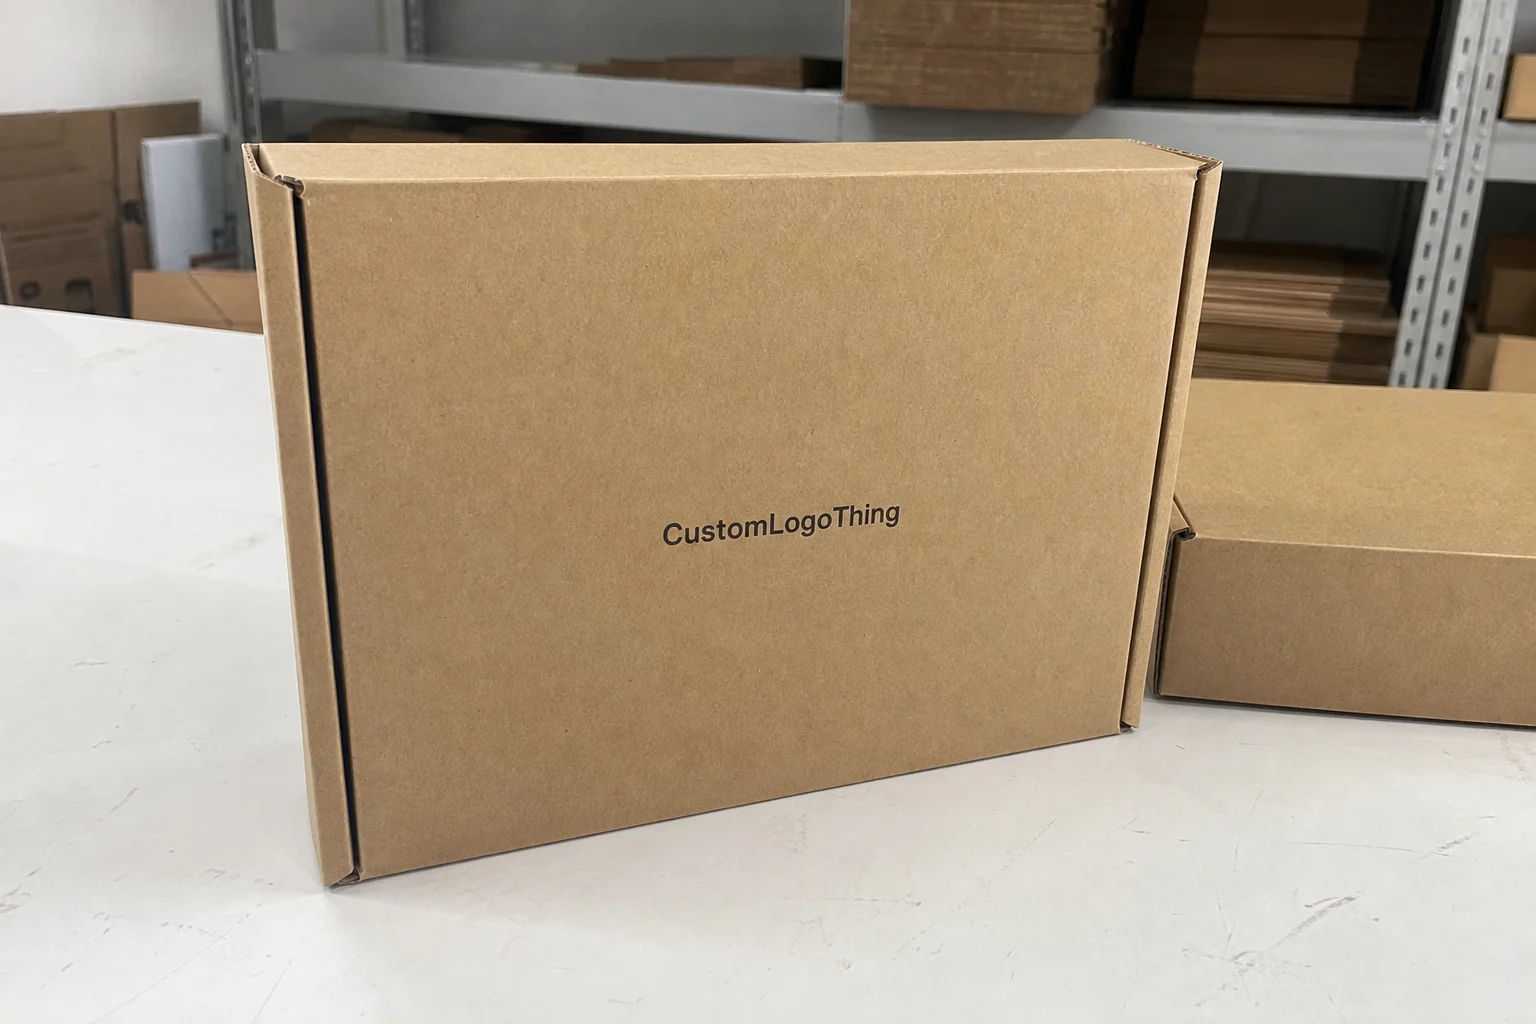
Custom Delivery Boxes: Order the Right Fit and Finish
Custom delivery boxes are built around the shipment, not just the product. When the box fits correctly, you reduce void fill, keep the item from shifting, and avoid paying for extra air in freight. A small change in size or board grade can affect damage rates, packing time, and postage more than most buyers expect.
The real objective is a repeatable pack-out. That means measuring the finished load, choosing the right structure, and making sure the artwork, closure, and handling requirements all work together. If those basics are set early, the rest of the project becomes easier to quote, sample, and reorder.
What custom delivery boxes really solve for shipping brands
A generic carton is usually built for supplier convenience. A custom one is built around the packed item, which means less movement, less filler, and fewer shipping surprises. That matters whether the shipment is a one-off retail order or a high-volume program moving every day.
For subscription boxes, direct-to-consumer orders, and repeat fulfillment, the savings compound quickly. A box that is slightly oversized can increase dimensional weight, slow down packing, and create a messier opening experience. A correctly sized box removes those problems before they become routine.
Presentation still matters, but it should not be separated from function. The best custom delivery boxes protect the contents, hold their shape in transit, and support the brand without adding unnecessary material or labor. If a pretty box breaks down in shipping, the design missed the point.
There is also an operational benefit. Once the spec is proven, it becomes easier to train staff, forecast inventory, and reorder without revisiting the same decisions each time. For buyers comparing packaging formats, Custom Packaging Products can help frame the available options before finalizing the order.
How the process and timeline usually work
The best starting point is the finished packed dimension, not the bare product. Measure the item with inserts, wrap, dividers, or closures in place. If several parts ship together, the assembled load is the number that matters.
Once the size is confirmed, the supplier can build or verify the dieline and produce a sample. That sample should test fit, closure pressure, product restraint, and how the box behaves when handled normally. A good sample is not just a size check; it is the first real proof that the structure works.
Artwork proofing usually takes longer than expected because the flat file is not the finished box. Fold lines, glue areas, bleed, safe zones, and panel alignment all affect the final result. Barcodes and handling marks should be checked against the actual structure, not assumed from the mockup.
Lead time depends on structure and finish. A simple mailer with limited print can move faster than a fully custom build with inserts, heavy coverage, or specialty coating. The more complete the brief, the less time gets lost to clarification. A clean request should include dimensions, board grade, print method, finish, insert requirements, and assembly expectations.
For buyers who want a more formal way to think about transit risk, the testing framework used by ISTA is a useful reference even when a full certification program is not required. Drop, vibration, and compression are the forces most cartons eventually face.
Specs that drive protection, shelf appeal, and freight cost
The first spec to lock is the internal dimension. It determines whether the packed product fits with enough clearance to load easily and enough restraint to stay put in transit. After that comes board grade, flute style, and wall construction.
Board choice affects crush resistance, stackability, storage density, and the way the package feels in hand. A 32 ECT single-wall board is common for many parcel shipments, but it is not a universal answer. Heavier contents, rough handling, or longer transit routes may justify a stronger board or an insert that supports the load more effectively.
Decoration choices also affect manufacturing and performance. Full-coverage print, lamination, aqueous coating, and texture all change the look, but they also change scuff resistance, press setup, and finishing time. If barcode readability matters, ink placement and contrast matter just as much as aesthetics.
Freight cost is often driven by dimensions before weight becomes the main factor. A package that is too wide or too tall can trigger dimensional pricing even when the item inside is light. Tighter sizing improves cube, pallet efficiency, and shipping cost without necessarily changing the material grade.
If sustainability is part of the brief, it should be discussed before tooling is released. FSC-certified fiber can support procurement goals, but the claim only matters if the chain-of-custody requirements are clear. For reference, the FSC framework is the cleanest starting point for verifying sourcing expectations.
Here is a simple way buyers usually compare structural options:
| Option | Best Fit | Typical Strength | Trade-Off | Relative Cost Impact |
|---|---|---|---|---|
| Mailer box | Direct-to-consumer shipments, kits, lighter items | Good presentation and easy opening | Not ideal for very heavy contents without reinforcement | Moderate |
| RSC shipping carton | Warehouse shipping, bulk packs, outer transit protection | Efficient for stacking and freight | Less polished opening experience | Lower |
| Tuck-top or fold-over style | Retail packaging, controlled unboxing, branded sets | Strong visual presentation | May need more finishing or insert support | Moderate to higher |
| Rigid setup box with shipper | Premium product packaging and giftable items | Excellent presentation and perceived value | Higher material and freight cost | Higher |
For many buyers, the right choice is not the most expensive one. It is the structure that protects the item, keeps freight in check, and supports the opening experience without adding material that does not improve the shipment.
Pricing, MOQ, and quote details buyers should compare
Pricing for custom delivery boxes usually comes down to size, board grade, print coverage, finish, inserts, and quantity. Larger sizes consume more board. Heavy print and specialty finishes add press and converting time. Inserts add material and assembly labor. Quantity matters because setup cost is spread across the run.
MOQ, or minimum order quantity, is where the math becomes visible. Smaller runs can be done, but the unit price is usually higher because the same setup costs are divided across fewer boxes. That is not a markup tactic. It is how production economics work.
For rough planning, a simple custom mailer with limited print at larger quantities might land around $0.60 to $1.20 per unit. A stronger structural mailer with heavier board, more ink coverage, or custom inserts can move into the $1.25 to $2.50 range, sometimes higher. Rigid or highly finished retail packaging usually sits above that. These are planning ranges, not quotes.
Two prices are only comparable if the spec is the same. Ask suppliers to quote the same internal dimensions, board, print method, coating or lamination, and insert requirements. If one quote includes assembly, sampling, or freight and another does not, the lower number may just be the less complete offer.
Hidden costs matter as much as the unit price. Structural sampling, tooling, freight, and manual setup may be included or billed separately. A box that arrives flat but needs extra hand work before packing can add labor to every order. The better comparison is total landed cost, not one line item.
What a fair quote should spell out
A good quote should list the substrate, exact dimensions, print method, finish, quantity tiers, sample policy, production lead time, and freight assumptions. If inserts are involved, it should also state whether they ship assembled, flat, or separately. Those details change the total cost more than most buyers expect.
Quality checks that prevent expensive surprises
Packaging projects usually fail for ordinary reasons: a dimension is off by a few millimeters, the closure is too tight, or a graphic sits too close to a fold. None of those issues looks dramatic in a proof, but each one can create real problems on the line.
Sample approval should include a simple inspection list. Confirm fit with the actual product and all protective materials. Check closure pressure and edge alignment. Inspect print near folds and glue areas. Test barcode placement under normal light. If the box will be stacked, compare compression behavior after a few handling cycles.
For higher-value orders, ask whether the supplier can reference board performance such as ECT or burst strength. Those numbers do not tell the whole story, but they help anchor expectations. A 32 ECT board may be fine for one shipment and inadequate for another, depending on content weight, inserts, and route severity.
It also helps to think about how the box will be packed by hand. If the packer has to fight the structure, throughput drops. If the product rattles inside, damage risk rises. If the artwork depends on exact registration across multiple panels, that tolerance should be discussed before the order is released.
Step-by-step: from product dimensions to approved artwork
Start with the finished packed item. Measure the product after inserts, wrap, dividers, or any other protection is in place. If there are multiple parts, measure the assembled load instead of the largest single component. That is the only way to avoid a box that fits the product but fails the shipment.
Next, choose the structure based on the handling path. Some products need a mailer-style reveal. Others are better served by a shipping carton with a retail insert inside. The right answer balances protection, cost, and the opening sequence without pushing one of those priorities too far.
Request a structural sample before artwork is finalized. This is where fit, closure, corner crush, and assembly all become visible. If the carton is meant to be reused or returned, this is also the point to check whether it still performs after opening and closing more than once.
Once the structure is confirmed, build the artwork against the approved dieline. Verify bleed, safe zones, panel placement, and any warning copy. If the box needs barcodes or shipping labels, test them on the sample rather than assuming the file will translate cleanly.
For teams ordering multiple runs of custom printed boxes, keep a reusable spec sheet. Record the internal and external dimensions, board grade, print method, finish, insert plan, approval notes, and quantity breaks. That prevents drift on the next reorder and reduces mistakes caused by memory instead of documentation.
Common mistakes that make delivery packaging more expensive
The first mistake is measuring before the pack-out is defined. A bare product on a bench does not tell the whole story. Once tissue, foam, closures, or nested parts are added, the footprint changes. That is how a box ends up technically correct and operationally wrong.
The second mistake is designing graphics before the structure is settled. Good packaging design depends on geometry. If the folds, flaps, and closures are not fixed, artwork can be compromised or adjusted in ways that weaken the result. The box should drive the layout, not the other way around.
The third mistake is ignoring warehouse and freight realities. A carton that looks excellent on screen may still be awkward to stack, too large for the pallet pattern, or slow to pack by hand. Those inefficiencies show up every day after launch.
A shipping box should support the workflow, not complicate it. If it adds labor, adds freight, or allows the product to move around inside, the structure is costing more than the unit price suggests.
Another common miss is approving artwork before a physical sample exists. Paper proofs catch some issues, but not the ones created by folds, gluing, or hand assembly. A physical sample reveals whether the closure is too tight, whether print sits cleanly near the edge, and whether the unboxing experience still works once the box is built.
Next steps: lock the spec, request samples, and order smart
Before requesting a quote, gather three things: the finished product dimensions, the target quantity, and the opening experience you want. If the box needs inserts, a retail-style reveal, or a plain transit-first structure, say so up front. That shortens the quoting process and keeps the conversation on the real requirements.
Ask for a sample or prototype with the actual insert and fill method whenever possible. A flat sample only proves part of the spec. A populated sample shows fit, closure pressure, and protection under realistic conditions. That is the fastest way to catch a sizing problem before it reaches a full production run of custom delivery boxes.
Compare quotes on the same spec sheet, then confirm production timing, freight method, and reorder path in writing. If the job will repeat, keep the approved files, dieline version, and finish notes together so the next order starts from a known baseline instead of memory.
How do custom delivery boxes differ from standard shipping cartons?
They are sized around the finished packed product instead of a generic internal dimension, which reduces void fill and improves consistency. They also allow more control over print, structure, and opening sequence.
What information do I need for a custom delivery box quote?
Provide finished dimensions, product weight, insert needs, print coverage, estimated quantity, and preferred turnaround. If you want samples before production, include that as well.
How much do custom delivery boxes cost?
Cost depends on size, material, print method, finishing, inserts, and order volume. A lower unit price is not always the better value if it increases freight, labor, or damage rates.
What is a normal turnaround time for custom delivery boxes?
Simple projects can move quickly once artwork and dielines are approved. More complex structures, specialty finishes, and larger orders usually take longer because they require more setup and proofing.
Do I need a sample before ordering custom delivery boxes?
A sample is the most reliable way to confirm fit, protection, and the customer-opening experience. It is also the easiest way to catch sizing or print issues before they affect a full run.


