Custom design mailer boxes do three jobs at once: they protect the product, shape the unboxing experience, and tell customers that the package was planned, not improvised. That sounds simple. It isn’t. The difference between a box that looks good on a mockup and one that survives a shipping network is usually measured in board strength, fold quality, and how carefully the dimensions were set before artwork ever touched the dieline.
For buyers, the best packaging decisions are rarely the flashiest. They’re the ones that fit the product without dead space, keep freight costs under control, and still look intentional when the customer opens the lid. If a box arrives crushed, rattling, or oversized enough to need half a roll of filler, the brand message gets weaker before the product is even seen. That is the part people remember.
Custom Design Mailer Boxes: What They Are and Why They Matter
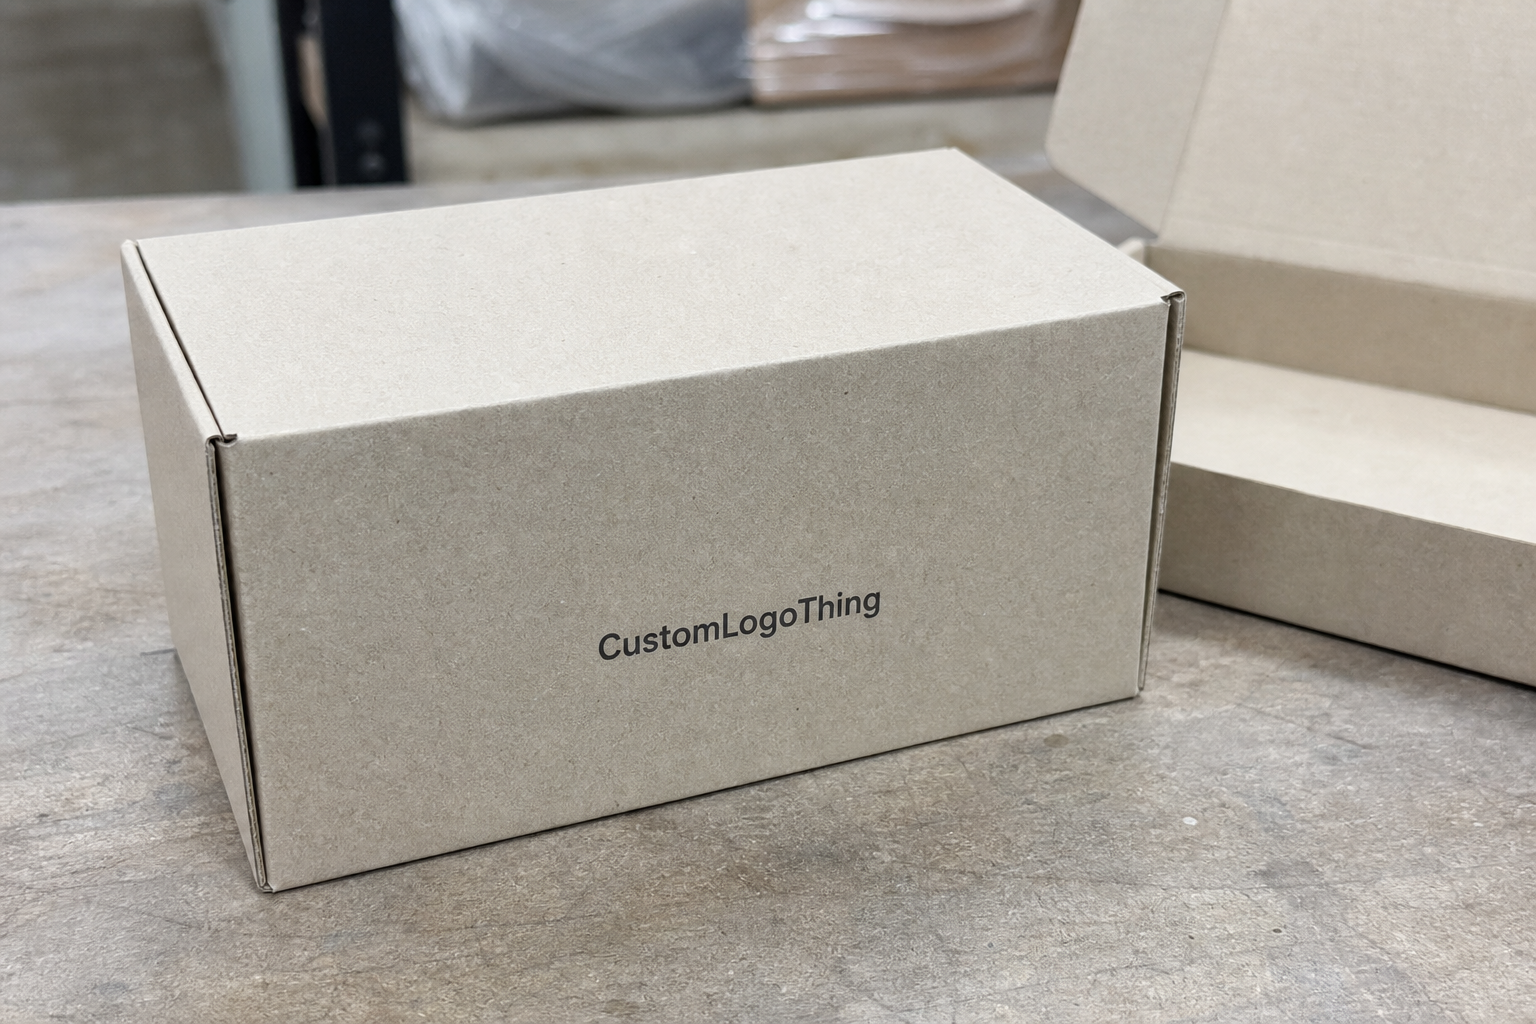
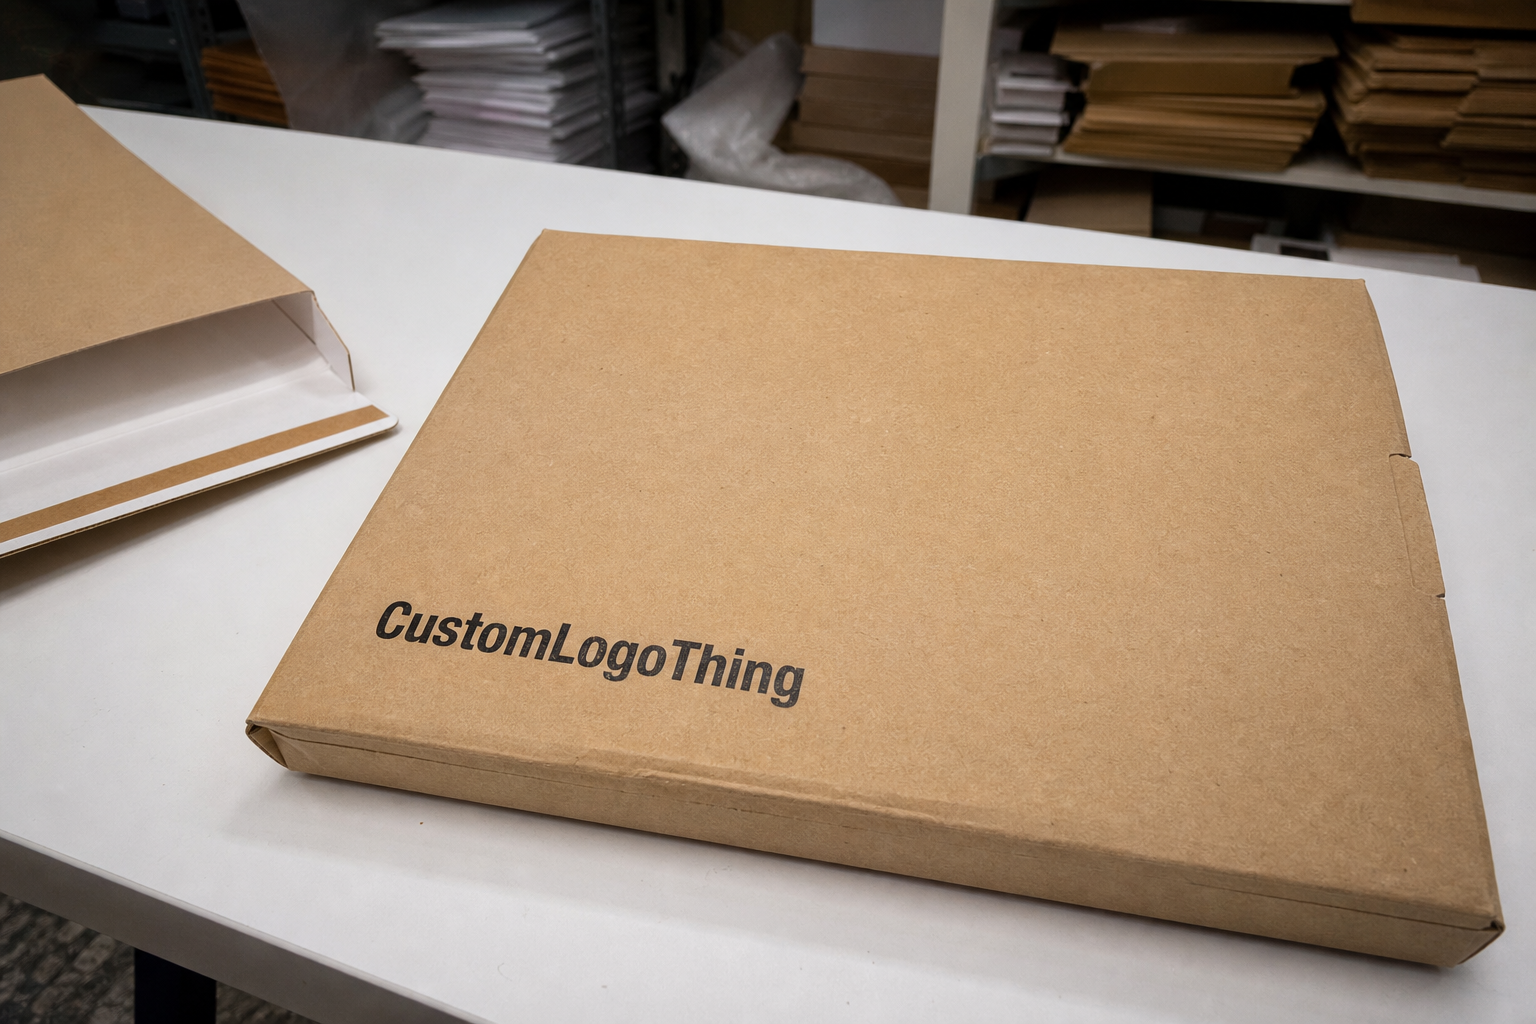
Custom design mailer boxes are folded packaging structures made to a specific size, print layout, and material spec. They are usually shipped flat, then folded into shape for packing. In practice, they sit between a shipping carton and a presentation box: strong enough for transit, polished enough to carry branding, and compact enough to store efficiently before use.
These boxes are common in e-commerce, subscription programs, PR kits, influencer shipments, and direct-to-door retail orders. They also show up in product launches where the box is part of the experience, not just a shell around the item. That matters more than some teams want to admit. A plain corrugated carton says the order shipped. A branded mailer says the brand was thinking about the customer before the parcel left the building.
The functional benefits are just as important as the visual ones. A well-sized mailer reduces product movement, lowers the amount of void fill needed, and can improve stacking in storage and transit. It can also reduce damage claims, especially for products that are sensitive to corner crush, abrasion, or repeated jostling. The box is not a guarantee. It is a control point. If the dimensions and board spec are right, the odds improve immediately.
There is also a cost angle that gets overlooked. Better fit usually means less wasted volume, and less wasted volume often means less shipping spend. That is especially relevant for brands that send a high number of small parcels. A packaging line item that looks minor on paper can turn into a real operating cost once it scales.
- Plain shipping carton: lower cost, fewer print options, less presentation value.
- Branded mailer: higher unit cost, stronger brand presence, cleaner opening experience, and usually better fit.
That tradeoff is not abstract. If the box is part of the customer-facing product experience, it should be treated as part of the product, not as an afterthought wrapped around it.
How Custom Mailer Box Design Works from Dieline to Print
The process starts with structure, not graphics. First comes the box style, then the inside dimensions, then the dieline, then artwork, then proofing, and finally production. Skipping ahead to the design stage is where a lot of bad packaging starts. The logo can be perfect and the box can still fail if the fold line lands in the wrong place or the product clearance is off by a few millimeters.
The dieline is the flat template that maps every panel, flap, fold, bleed, and safe zone. It is the working blueprint. If the dieline is wrong, the design can look polished in a file and still print badly in reality. A logo can end up too close to a fold, a barcode can disappear into a crease, and a message panel can get chopped by the front flap. None of that is hard to avoid if the dieline is checked before final artwork is approved.
Most projects use either digital printing or offset printing. Digital printing is usually better for shorter runs, faster turnaround, and projects that need flexibility during proofing. Offset printing becomes more attractive at higher volumes because the cost per unit drops once the setup is spread across enough pieces. It also handles dense coverage and repeated color work well, which matters if the design uses full-color imagery or large background panels.
Structural choice matters too. The most common options are:
- E-flute corrugated for lighter products, sharper print, and a cleaner presentation surface
- B-flute corrugated for stronger crush resistance and a sturdier shipping feel
- Paperboard mailers for lightweight products that lean more retail than transit
- Roll-end tuck front and auto-lock styles when assembly speed or closure strength matters
Some buyers only need a digital proof. That is fine if the goal is to verify layout, copy, and basic color direction. A physical sample is better when the product is fragile, the insert is complex, or the finish needs to be judged in hand. Screens do not tell you how a board creases under pressure or whether a closure tab feels flimsy when opened and reclosed. That is why samples exist, and why approving them is usually cheaper than fixing a bad production run.
There are also practical production details that should be reviewed early. If the artwork includes white ink, heavy coverage, metallic effects, or interior printing, the print setup becomes more sensitive. If the design uses multiple inserts or nested components, assembly time increases. If the box needs to be packed by hand, the fold geometry should be simple enough that workers can build it quickly without fighting the structure.
Key Specs That Affect Fit, Protection, and Shelf Appeal
Fit comes first. A box that is too tight risks scuffing the product or crushing corners. A box that is too loose leaves room for movement, which means more filler, more abrasion, and often more shipping volume than the order actually needs. The better approach is to measure the product accurately, then build around the real dimensions with enough allowance for inserts, tissue, padding, or simple packing tolerance. Do not use a rounded internal spec if the product varies by a few millimeters. Those small differences add up fast.
Board choice changes both protection and presentation. Corrugated board provides structure and better resistance to shipping abuse. Paperboard looks cleaner and lighter, but it is not built for the same level of impact. For fragile products such as glass, ceramics, candles, supplements, or heavy components with sharp edges, corrugated is usually the safer option. For lighter items with lower breakage risk, paperboard can be a good fit if the pack-out is controlled.
Finish selection is another area where teams overspend. Matte lamination usually gives a cleaner, more restrained look and hides handling marks better. Gloss adds shine and can make colors appear more saturated, but it also shows scuffs differently. Spot UV, foil stamping, and embossing can elevate the box, although each one adds cost, setup, and a chance for inconsistency if the production controls are weak. A minimal design with good print discipline often ages better than a busy box packed with effects for their own sake.
Sustainability claims should be handled carefully. Many brands want recyclable materials, less packaging volume, and FSC-certified board when available. That is a reasonable target, but mixed materials, heavy coatings, and excessive embellishment can make the recycling path less straightforward. If lower environmental impact is part of the brief, ask for board and finish options that support that goal from the start instead of trying to retrofit sustainability into a decoration-heavy design. The Forest Stewardship Council explains certification clearly at fsc.org.
Operational fit matters as much as visual fit. A box can look excellent and still be a bad choice if it takes too long to assemble, stacks poorly on pallets, or creates friction in the warehouse. That is where buyers often get caught. The packaging decision is not only about what the customer sees. It is also about what the packing line can handle during a busy week.
Specs buyers should check before approving
- Inside dimensions with enough clearance for product movement and inserts
- Board caliper or flute profile matched to product weight and fragility
- Print coverage inside only, outside only, or both
- Closure type and assembly time for warehouse efficiency
- Stackability and storage footprint for inventory planning
- Insert compatibility if the product needs retention or separation
Custom Mailer Box Pricing, MOQ, and What Actually Drives Unit Cost
Pricing for custom design mailer boxes comes down to five main drivers: size, material, print coverage, quantity, and finish. Bigger box means more board. More colors or heavier coverage means more press work. Specialty finishes add setup and handling. None of that is mysterious. It is simply the cost of turning a printed structure into a production item.
MOQ, or minimum order quantity, matters because setup costs have to be spread across the run. Smaller quantities almost always carry a higher per-unit price. Larger orders lower the unit cost, but they also increase cash tied up in inventory. That tradeoff is fine if the packaging moves quickly. It is a problem if the boxes sit for months while the design changes or the product line shifts. Cheap unit pricing is not useful if it creates stale stock.
For planning purposes, these ranges are common for branded mailer packaging, although final quotes depend on specification and freight:
| Box Type | Typical Use | Indicative Unit Range | Notes |
|---|---|---|---|
| Basic branded mailer | E-commerce, light products | $0.55-$1.10 | Simple print, modest board weight, lower decoration cost |
| Mid-range full-color mailer | Subscriptions, DTC, PR kits | $1.10-$2.20 | Better presentation and more consistent branding |
| Premium presentation mailer | Launch kits, luxury branding | $2.20-$4.50+ | Foil, embossing, specialty coating, or inserts can push higher |
Those numbers move with volume. A 5,000-piece order often lands in a better unit-cost zone than a 500-piece order, especially if the box uses standard structure and straightforward artwork. But it is a mistake to focus only on the unit price. Sampling, setup, inserts, freight, and pack-out can change the landed cost more than buyers expect. The cheapest quote on paper is not always the cheapest quote once everything is in the warehouse.
There is also a quality-cost relationship that should not be ignored. A box that protects the product better can reduce replacement shipments, refunds, and customer service friction. That does not mean every order needs premium board or decorative finishes. It means the cost should be judged against the failure cost, not just the purchase price.
For brands that need multiple packaging formats, it is often useful to compare mailers with lighter-format options and broader packaging families. If your line includes non-fragile products or mixed SKU types, reviewing Custom Poly Mailers and Custom Packaging Products can make the packaging system more consistent across orders.
Process, Timeline, and Turnaround: What to Expect Before You Order
A standard custom packaging workflow moves through brief, quote, dieline, artwork, proof approval, production, finishing, packing, and delivery. The production stage gets blamed for delays more than it deserves. In reality, most timeline slips happen earlier, when files are missing, revisions come in late, or the sample review stretches across too many internal approvers.
Simple digital orders can move quickly if the structure is standard and the files are ready. More complicated runs take longer, especially if they include inserts, multiple SKUs, specialty finishes, or color matching across several components. The more moving parts in the box, the more time the project needs. That is not a defect. It is just how packaging works.
These are the delay points that show up most often:
- Artwork delivered without a correct dieline or with missing print specs
- Internal revisions after proofing has already started
- Color concerns that require another round of proofing
- Slow approval of physical samples
- Freight constraints or holiday-season shipping congestion
For straightforward custom mailer jobs, a 12-15 business day window after proof approval is a common planning baseline. Complex projects can take longer, especially when the design needs multiple production steps or nonstandard materials. That is a planning estimate, not a promise. If the order is tied to a launch date, build a buffer. Packaging schedules rarely get easier once the marketing calendar gets involved.
Build buffer time into the packaging schedule. The fastest way to make a box feel expensive is to rush it, then pay to fix the mistakes.
If shipping performance matters, testing standards can help define what the box should survive. The ISTA standards are widely used for transit testing, and the EPA provides practical guidance on packaging waste and recyclability at epa.gov. You do not need to become a packaging engineer, but you do need a clear standard for durability, handling, and disposal.
Common Mistakes Brands Make with Branded Mailer Boxes
The first mistake is choosing the wrong internal dimensions. Too tight, and the product can rub, scuff, or crush. Too loose, and the item shifts around in transit. Both problems are avoidable with accurate measurements and a sample fit check. That check should happen before bulk production, not after a pallet of boxes has already landed.
The second mistake is designing for appearance before shipping behavior. A box can look polished in a mockup and still fail in the real world if the board is too thin, the closure is awkward, or the design needs too much filler to keep the product centered. Visual appeal matters, but only after the structure can actually do its job.
Skipping the physical sample is another predictable miss. A digital proof cannot show how the coating feels, whether the fold lines hold cleanly, or whether a lid closes with the right amount of resistance. It also cannot reveal whether a bright color shifts under the chosen board or finish. If the box is going to represent the brand directly, the sample is not optional.
Artwork can also be overworked. Too many colors, tiny text, and decorative elements packed too close to folds make a box harder to read and easier to damage visually. A good mailer should be recognizable from arm’s length, in a stack, or in a quick phone video. That is how many customers actually see it. The design should survive that context.
Finally, buyers often underestimate reorder and storage costs. A larger run can lower unit pricing, but only if the company has the space and demand to support it. Otherwise the savings disappear into warehousing, freight, and inventory aging. The cheapest per-unit quote is not always the best business decision.
Expert Tips for Better Custom Design Mailer Boxes and Next Steps
Start with the product, not the artwork. Measure the item, confirm the shipping method, and decide what the box has to survive. That sequence saves time because the structure defines the packaging constraints. Once those are set, the artwork can be designed around a real format instead of a guessed one.
If the product is fragile, premium, or unusually shaped, ask for a sample or prototype. That is the fastest way to catch fit issues, board weakness, insert mismatch, and assembly problems before the full order is locked in. It also gives the team a real object to review instead of arguing over renders. Packaging decisions improve when someone can hold the sample in their hand.
Keep the branding readable and consistent. Bold does not have to mean loud. A box with clear typography, a strong logo position, and a controlled color palette often performs better than one packed with visual noise. For custom design mailer boxes, the goal is recognition and confidence, not decoration for its own sake.
Compare the full landed cost before approving the run. That means box pricing, freight, setup, inserts, sampling, and any extra handling. It also means thinking about the next order, not just the current one. A packaging system works best when it can be reordered without redesigning the whole thing every few months.
A practical checklist helps:
- Measure the product and confirm real clearance needs
- Choose the board type based on weight and fragility
- Request the dieline before final artwork is built
- Confirm finish, print coverage, and insert requirements
- Approve a sample if fit or appearance matters to the launch
That is usually enough to keep the project moving without unnecessary revisions. Good packaging does not need drama. It needs disciplined sizing, decent production control, and a design that still looks right after a shipment has been stacked, sorted, and handled a few times. If those pieces are in place, the box earns its keep.
FAQs
How do custom design mailer boxes differ from regular shipping boxes?
Mailer boxes are usually built to balance protection and presentation. Regular shipping boxes focus mostly on transport. Mailers often have tighter sizing, stronger branding options, and a more polished opening experience.
What size should I choose for custom mailer boxes?
Use the product's actual dimensions, then add the clearance needed for inserts, padding, and easy packing. Avoid oversized boxes unless the product truly needs the space. Extra empty room usually creates more movement and higher shipping cost.
What affects the price of custom mailer boxes the most?
Size, material, print coverage, quantity, and finish drive most of the cost. Specialty effects such as foil, embossing, and heavy ink coverage can raise the unit price quickly.
How long does it take to produce custom design mailer boxes?
Simple orders can move quickly after proof approval. More complex projects with inserts, premium finishes, or larger quantities take longer. Artwork revisions and sample approvals are usually the biggest timeline risks.
Do I need a sample before ordering custom mailer boxes in bulk?
Yes if the product is fragile, the insert is exacting, or the finish matters to the final look. A sample helps catch fit issues, color shifts, and assembly problems before a full production run.