Custom Printed Zipper bags do a lot of work for a simple package. They protect the product, carry branding, and make the bag usable after the first open. That matters for snacks, cosmetics, supplements, pet treats, small hardware, and anything else that gets handled more than once.
The appeal is practical. You get resealability, decent shelf presence, and a format that usually ships and stores well. The real trick is that the surface finish, film structure, and print quality shape the perceived value more than the bag size itself. A clean pouch with a good zipper looks intentional. A bad one looks cheap fast.
Why custom printed zipper bags punch above their weight
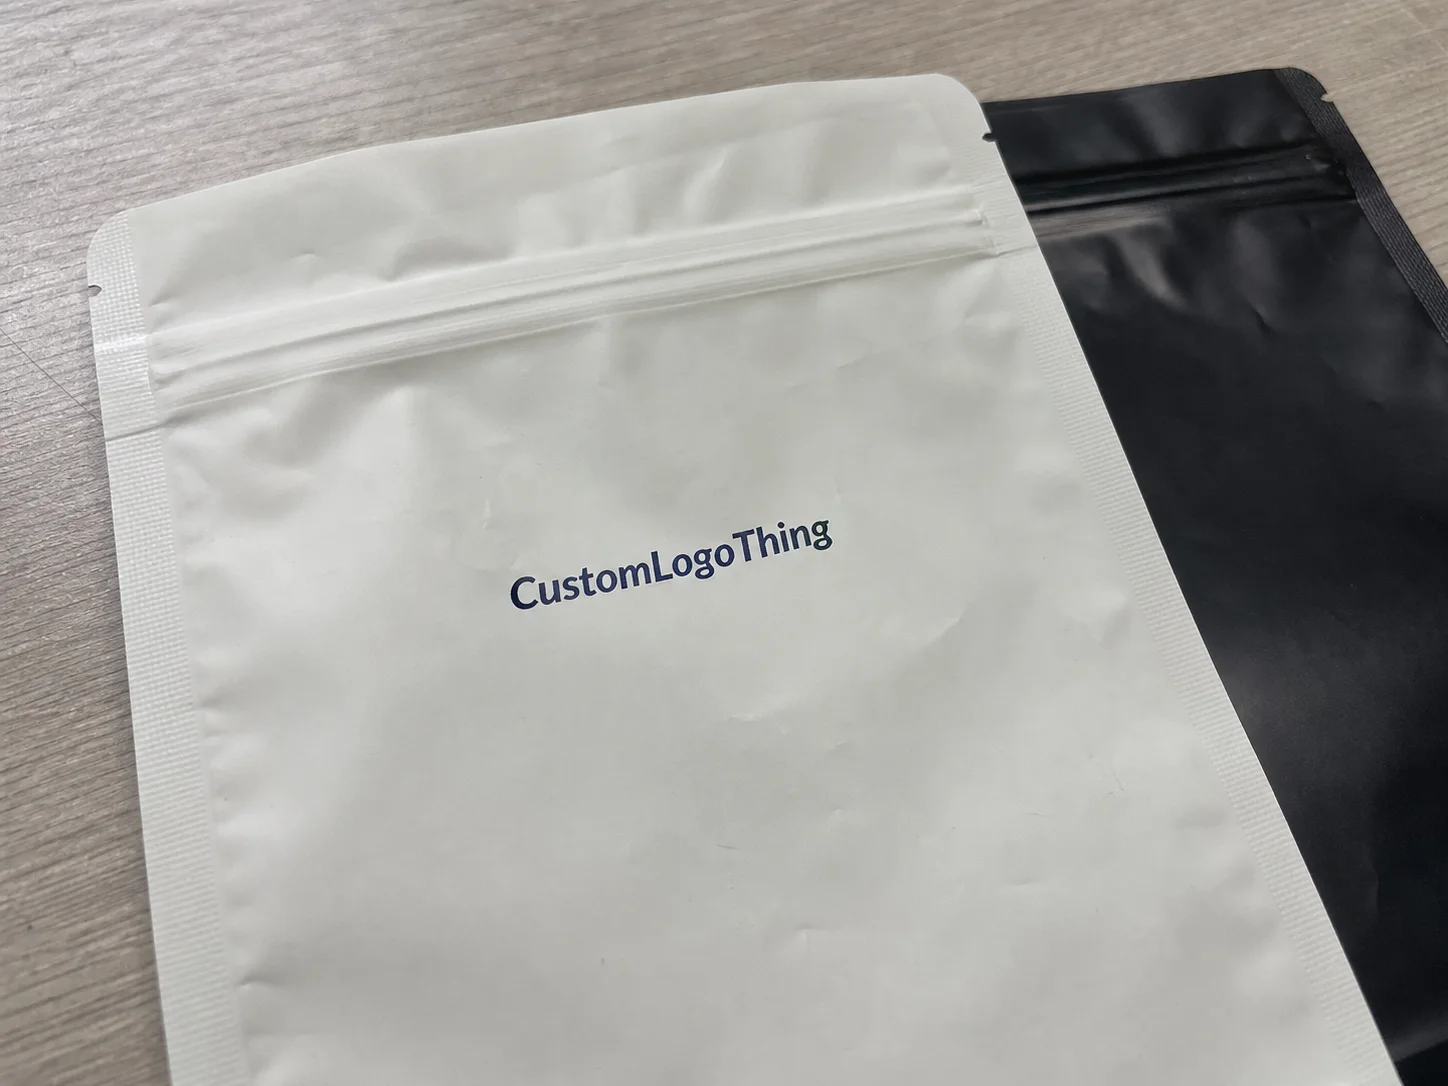
At the simplest level, these are flexible pouches with a zipper closure and printed artwork on the outside. They show up where convenience and presentation both matter. That includes coffee, dried food, bath salts, vitamins, frozen items, reusable refill packs, and a long list of small products that benefit from a better opening and closing experience.
What makes custom printed zipper bags useful is not novelty. It is the combination of function, visibility, and repeat use. People open them, close them, toss them in a drawer, and keep seeing the brand. That is useful packaging behavior, assuming the design is clear and the bag does not feel flimsy in hand.
The bag can also help a product look more expensive than it is. Matte film, crisp registration, and a restrained layout often do more for perceived quality than a larger size or a louder design. Buyers focus on dimensions first. Customers usually do not. They notice texture, clarity, and whether the closure feels dependable.
If the pouch protects the product, opens cleanly, and looks credible on shelf, it has done its job. Everything after that is decoration.
That does not mean every product should use this format. If you need rigid protection, high tamper resistance, or very specific barrier performance, another structure may be a better fit. But for a lot of brands, zipper bags sit in a useful middle ground: lower freight than boxes, better resealability than a plain pouch, and enough surface area for actual branding.
How the bag structure and printing process work
Most zipper bags are built from laminated films. A common structure is PET/PE, where PET supports print quality and stiffness while PE helps with sealing. Some applications use a simpler PE-only structure. When the product needs stronger moisture or oxygen protection, the laminate changes. Barrier films, metallized layers, or aluminum layers may come into play. The material choice should follow the product, not the mood board.
The bag itself usually includes side seals or a bottom seal, the zipper track, and optional details like a hang hole, tear notch, rounded corners, or a clear window. The zipper can be standard press-to-close or slider style. A zipper that does not align cleanly or seal consistently is a problem, not a feature. Once the product leaks or picks up moisture, the nice artwork stops mattering.
Printing is usually done with flexographic printing or digital printing. Flexo tends to make more sense for larger runs because the setup cost gets spread across volume. It uses plates, so there is more prep. Digital printing is better for shorter runs, artwork changes, and projects that cannot justify plate fees. It is also the cleaner choice when you want to test a design before committing to scale.
Finish matters too. Matte usually reads as softer and more premium. Gloss pushes color brightness and works well if the brand wants a sharper, more vivid look under retail lighting. Neither is automatically right. The best choice depends on the product category, the artwork, and whether the brand wants understated or high-contrast presentation.
There is also a difference between a stock-format pouch with custom printing and a fully custom structure. A stock shape is faster and cheaper. A fully custom build gives more control over dimensions, barrier, and features, but the price and timeline usually move with it. That tradeoff is normal. Packaging rarely gives something for nothing.
Key factors that change cost, pricing, and MOQ
The biggest cost drivers are predictable: bag size, film thickness, print method, number of colors, finish, zipper type, and any extras such as a window or hang hole. Bigger bags use more material. Thicker films cost more. More colors and more setup steps add cost. Buyers often ask for premium packaging with budget pricing. The quote usually refuses to cooperate.
MOQ, or minimum order quantity, depends on the printer and the printing method. Digital jobs can sometimes start in the low hundreds or low thousands, depending on the bag structure and supplier. Flexo usually needs higher volume to make the unit price sensible. For short runs, expect a higher per-unit cost. That is not a penalty. It is just how setup economics work.
As a rough market guide, small digital runs of custom printed zipper bags can land anywhere from about $0.20 to $0.90 per bag before freight, depending on size and complexity. Flexo pricing at volume can drop much lower, often into the $0.05 to $0.30 range per bag. Those numbers move fast with material choice, finish, and market conditions. They are useful as a sanity check, not a promise.
| Option | Typical sweet spot | Pros | Tradeoffs |
|---|---|---|---|
| Digital printing | Small to mid-size runs | Lower setup, faster artwork changes, good for complex graphics | Higher unit cost at larger volumes |
| Flexographic printing | Mid to high volume runs | Better unit economics at scale, strong repeat consistency | Plate fees and longer setup |
| Stock bag with print | Budget-focused projects | Faster and usually cheaper | Less control over exact structure and details |
There are hidden costs too. Flexo plates may be charged separately. Artwork corrections can be billed if your file is not production-ready. Sampling and physical proofs may cost extra. Freight is usually separate unless the supplier clearly says otherwise. Transit time is also not production time. People mix those up constantly and then wonder why the bags are not already on the dock.
If budget is the main constraint, the fastest way to reduce cost is usually to simplify the artwork, reduce print colors, stick to a standard size, and skip nonessential add-ons. Spend money on the things customers actually notice: print clarity, zipper quality, and the feel of the film in hand. Decorative extras are easy to buy and easy to regret.
Process and timeline: from artwork to delivery
The usual workflow is quote, artwork review, proofing, sample approval if needed, production, inspection, and shipment. That sounds orderly because it usually is. The delays show up when a buyer sends incomplete information or approves artwork before reading the proof carefully.
For simple digital jobs, production can move quickly after artwork approval. More complex flexo work, special finishes, and high-volume orders take longer because tooling and setup are involved. A realistic total timeline is often 12 to 25 business days after proof approval for standard projects, but that can stretch if the spec is unusual or the schedule is crowded. Add shipping on top of that. Air, sea, and domestic transit all move at different speeds.
The most common delay is bad artwork. Low-resolution logos, tiny text, and files built for screens instead of print surfaces cause problems. So do vague color expectations. Print is less forgiving than a monitor. A monitor is a liar with good lighting.
Before approving a run, ask what proof you will receive. A digital proof helps catch layout problems, but it is not the same as a final print match. If the brand color matters, ask about tolerances. If the product is food, supplements, or anything regulated, confirm the packaging spec early. That avoids a last-minute rework when someone finally reads the requirement sheet.
Quality control should include more than a glance at the artwork. A proper check usually covers zipper alignment, seal integrity, bag dimensions, ink adhesion, and basic abuse testing such as rub resistance or a simple drop test. If the bag needs to hold scent, moisture, or grease, the barrier layer should be tested against the product, not just assumed to be fine.
How to choose the right specs for your product
Start with the product, not the bag. What does it need to do? Keep moisture out? Hold scent in? Show the contents? Survive shipping? Sit on a shelf and sell itself? Once the job is clear, the spec becomes much easier to choose.
Film thickness affects feel, durability, and shelf presence. A thinner pouch may work for samples or low-risk items. If the bag feels flimsy, customers notice immediately. Thicker film gives a sturdier feel and better abuse resistance, but overbuilding the structure can push cost up fast. For many retail jobs, the sweet spot is a film that feels intentional without turning the bag into a plastic brick.
Closure style matters as well. A basic press zipper is enough for dry goods, refills, and products that are not opened constantly. A slider is better for frequent use. A tear notch helps first-time opening. A hang hole matters if the bag will sit on retail hooks. A clear window can help when the product itself is part of the sell, but too much visibility can hurt a premium look if the contents are uneven or visually messy.
Match the spec to the use case
- Retail display: prioritize print clarity, finish quality, and a clean front panel.
- Refill packs: prioritize resealability, cost control, and moderate barrier performance.
- Sample packs: prioritize low MOQ, compact size, and faster production.
- Shipping inserts: prioritize durability and strong sealing.
Design affects performance too. Clear hierarchy helps. The logo should be obvious without fighting every other element on the bag. Product name, variant, and key benefit need to be readable at arm’s length. If the pouch is part of a wider product family, consistency matters more than one dramatic design trick. Good packaging usually behaves like a system.
If sustainability is part of the brief, ask whether the structure can be simplified, whether a mono-material option exists, and whether the design aligns with local recycling guidance. Do not make claims you cannot support. That creates problems for the brand and for the printer. If the fit or color accuracy matters a lot, request a physical sample or production-style proof before approving the run. A small test order can save a large mistake.
If you are weighing zipper bags against other formats, compare them with the rest of the packaging stack instead of treating them as the default answer. Sometimes a pouch is the right move. Sometimes a box does a better job on protection or presentation. Good buyers compare options instead of guessing.
Common ordering mistakes that inflate cost or hurt quality
The first mistake is designing for the mockup instead of the real bag. A rendering can make almost anything look good. The actual bag has seals, zipper zones, and no-print areas. If key text lands too close to a seal, it can disappear or warp in production. That is a layout problem, not a factory problem.
Another common issue is oversized artwork with tiny text. If the copy is too small, it may print, but it will not read well. Low-resolution files are even worse. They can make a polished design look cheap in one step. The same goes for choosing the wrong material. High-end artwork on a weak film still looks weak. Nice graphics do not rescue bad structure.
Compliance catches people too. Food, supplements, and some industrial products may need specific labeling, barrier performance, or product-safety checks. Ignore that early and the packaging gets revised after everyone has already approved it. That is an expensive way to discover you skipped a basic requirement.
The worst mistake is chasing the lowest quote without comparing the spec line by line. One supplier might be quoting a thinner film, a simpler zipper, fewer print colors, or a cheaper finish. The price looks better because the bag is literally less bag. Compare apples to apples or the pricing means almost nothing.
Expert tips for a cleaner quote and better finished bags
If you want a cleaner quote, send a spec sheet. Include target size, quantity range, product type, material preference, print colors, finish, and any extras like a hang hole, window, or tear notch. “Need bags, price pls” forces guesswork. Guesswork costs money.
Keep the artwork as simple as the brand allows. Fewer colors often improve consistency and can reduce cost. Cleaner layouts also print better. Too many tiny details can blur or crowd the front panel. Strong packaging does not need to be busy. It needs to be readable and believable.
Ask what is included in the quote. Does it cover tooling, setup, sample proofing, shipment packaging, and freight? A low-looking quote can grow teeth later if the supplier has not itemized the extra costs. That is where a lot of budget damage happens.
Plan inventory honestly. If you reorder often, a higher-volume quote may make sense. If you over-order, the stock sits and dies on the shelf. I usually advise buyers to map a realistic sales window before deciding quantity. Not exciting. Very useful.
| Your priority | Best spec direction | Why it works |
|---|---|---|
| Lowest unit cost | Standard size, fewer colors, flexo at volume | Lower per-unit cost once setup is spread out |
| Fastest launch | Digital print, simple structure, minimal add-ons | Fewer setup steps and fewer production variables |
| Premium shelf look | Matte finish, strong hierarchy, better film feel | Improves perceived value quickly |
| Product protection | Barrier film matched to the product | Helps with freshness, odor control, or exposure concerns |
One final rule: decide what matters most before asking for quotes. Better look, lower unit cost, faster lead time, or stronger barrier performance. You can usually optimize two of those. Rarely all four. Packaging has limits. Pretending otherwise just makes the order messier.
Next steps for ordering custom printed zipper bags
Start with the product. Then define the quantity range, the protection level, and whether shelf appeal or freshness is the main goal. Once that is clear, gather dimensions, artwork files, and a list of must-have features before requesting pricing.
Compare two or three suppliers using the same spec sheet. If the spec changes from quote to quote, the comparison is meaningless. That happens more often than it should. People call it “shopping around,” then accidentally compare three different products.
Ask for a sample or proof before committing to a full run, especially if the artwork is new or the bag structure is unfamiliar. That small step is cheap insurance. It catches print issues, fit problems, zipper preference, and color surprises before thousands of bags are in the warehouse.
Custom printed zipper bags work best when the spec matches the actual use case, not the idealized version in someone’s head. That is how you avoid paying for the wrong film, the wrong finish, or the wrong quantity. Packaging gets easier when the brief is honest.
FAQ
What affects the price of custom printed zipper bags the most?
Quantity usually has the biggest effect because higher volume lowers the unit cost. Material, size, print method, finish, and add-ons like a window or hang hole also change pricing. Freight, setup, and artwork prep can move the final total, so compare landed cost, not just the bag price.
What is the typical MOQ for custom printed zipper bags?
MOQ depends on the print method and the bag structure. Digital runs often start lower than flexo runs, which usually need more volume to be economical. Ask for MOQ by size and design complexity, because the minimum can change when the spec changes.
How long does production usually take for custom printed zipper bags?
Production time depends on the order size, print method, and approval speed. Simple digital jobs are usually faster. Larger flexo runs and custom structures take longer. Plan for proofing and shipping on top of factory time.
Can I print full-color graphics on zipper bags?
Yes. Full-color graphics are common. Digital printing usually works well for short runs and detailed artwork, while flexographic printing is better for larger repeat orders. The best method depends on quantity, artwork complexity, and budget.
What should I prepare before requesting a quote for custom printed zipper bags?
Have target dimensions, quantity, product type, and preferred bag style ready. Send artwork files, color expectations, and any features such as matte finish or clear windows. If you have a sample or competitor reference, include that too. It speeds up quoting and reduces back-and-forth.


