Custom Stand Up Pouch Packaging for Brands Ready to Order
Custom stand up pouch packaging affects shelf presence, shipping weight, and product protection at the same time. That is why it has become a standard option for dry snacks, coffee, tea, powders, pet treats, and other shelf-stable goods. The package has to match the product, though. A pouch can look right in artwork and still fail if the film, seal width, fill volume, or headspace were guessed instead of specified.
The better workflow is to define the product first and the package second. Start with the fill weight, product behavior, storage conditions, and closure needs. Then size the pouch and choose the structure. That order usually reduces rejects, improves line performance, and avoids expensive rework after artwork approval.
For brands comparing formats, pouches are often the practical choice when freight efficiency and retail visibility both matter. They use less material than cartons, weigh less than rigid packaging, and can still deliver strong shelf impact when the structure is correct.
What custom stand up pouch packaging does on the shelf
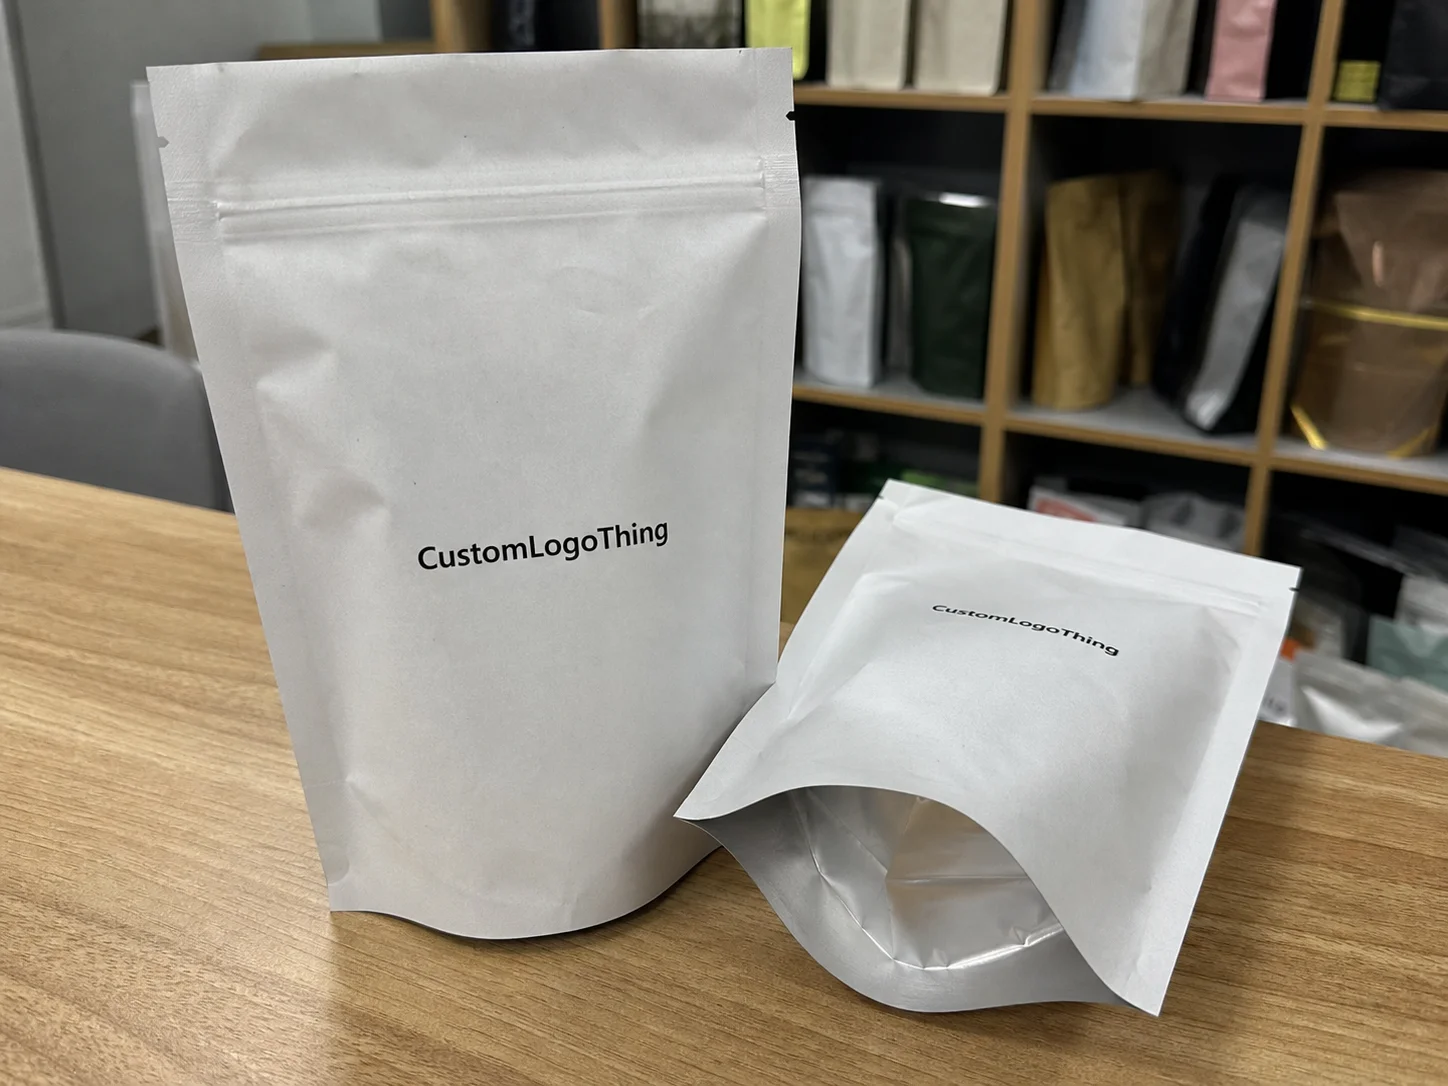
Custom stand up pouch packaging is a structural system, not just a graphic panel. The bottom gusset, side seals, top seal, and closure determine whether the pouch stands, closes, and protects product after filling. If one element is undersized or misaligned, the package can lean, wrinkle, or lose shape in retail.
Product behavior matters as much as net weight. Granola, coffee, protein powder, and puffed snacks all fill differently. A 12 oz pouch can look full with one product and underfilled with another because bulk density, settling, and headspace are different. Size selection should account for volume, not only weight.
The pouch also affects how quickly a shopper understands the product. A clear front panel, a balanced brand block, and a well-placed window can improve readability and trust. Consumers usually make a quick decision, so the package has to communicate the product type and brand quality immediately.
A pouch that stands in a design file is not proof that it will stand after filling, sealing, and shipping.
For ecommerce, the format can be even more useful because it lowers parcel weight and often handles distribution better than rigid packaging. The tradeoff is that ecommerce exposes the pouch to drops, compression, and repeated handling. If the structure or closure is weak, shipping savings can disappear quickly.
How the structure, seals, and fit keep products stable
A stand-up pouch depends on several details working together. The gusset depth supports upright display. The seal width supports integrity. The top seal protects the product. The closure supports consumer use. If any of those details is off, the pouch can split, collapse, or leak.
Seal design is one of the most overlooked parts of the spec. Powders can contaminate the seal area. Oils can weaken bond performance. Irregular pieces can create stress points that only show up after transit. A pouch that looks crisp before filling can distort once the product settles and headspace changes.
Closures add convenience, but they also add complexity. A zipper makes sense for resealable products, but the style has to fit the fill method and the expected consumer experience. Tear notches help with opening. Hang holes help with retail display. Degassing valves matter for fresh-roasted coffee. Each feature should solve a real problem, not just add cost.
Fit is a functional choice
Capacity alone does not determine pouch size. A snack pouch, coffee pouch, and powder pouch with the same net weight can require different dimensions because product shape, flow, and compression behavior are not the same. If the pouch is too tall, it may look underfilled. If it is too narrow, it may buckle at the shoulders. Too much headspace can make the package look weak even when the fill weight is correct.
Buyers usually get better quotes when they provide a few core details up front:
- Fill weight and approximate bulk density
- Target shelf life and storage conditions
- Closure type, such as zipper, heat seal, or tear-open only
- Retail display needs, including hang holes or euro slots
- Shipping profile, including ecommerce or palletized freight
Those five inputs drive most structural decisions. Without them, the spec is mostly guesswork.
Materials, barrier layers, and print finishes that change performance
The film structure determines what the pouch protects against. Moisture, oxygen, aroma loss, grease migration, and light all affect products differently, so the material stack has to match the product's weak point. Dry snacks usually need moisture control. Coffee usually needs oxygen and aroma barrier. Powders often need puncture resistance and reliable seals. Custom stand up pouch packaging works best when the structure is selected from those risks, not from appearance alone.
Laminated constructions remain common because they combine print quality and protection. A typical build may use PET for stiffness and printability, nylon for toughness, foil or metallized film for barrier, and PE as the sealant layer. Not every pouch needs every layer. Some products can use a simpler build to control cost while still meeting shelf-life goals. Others need high-barrier structures because the product is sensitive or the distribution route is rough.
Mono-material pouches are more common now because some brands want a simpler recycling story. That can be a valid direction, but it usually involves tradeoffs in stiffness, barrier, or seal window. There is no universal best structure. There is only a structure that fits the product, the route to market, and the quality target.
Finish changes how the package reads on shelf. Matte usually looks calmer and more premium. Gloss increases contrast and color pop under retail lighting. Soft-touch coatings can make a product feel more tactile. These are design choices, but they should come after the technical structure is set. A good-looking finish does not fix a leaking pouch.
Testing should happen early. A screen proof shows color intent, not filled-package performance. A filled sample is more useful because it reveals how the pouch handles vibration, compression, and real product behavior. If the project includes transport risk, standards from ISTA can help define the test scope. If the package includes fiber-based components or a sourcing claim, FSC may matter as well, depending on the build.
For oily, abrasive, or very fine powder products, the wrong film can create pinholes, scuffing, weak seals, or contamination. Those are not edge cases. They happen when the structure was chosen without enough attention to the product.
Custom stand up pouch packaging process and turnaround
The process should start with a technical brief. If the supplier does not know the product type, fill weight, shelf-life target, storage conditions, and closure preference, the quote is incomplete. A short but specific brief is better than a long one that leaves out the details that actually affect performance.
Next, confirm the structure, dimensions, print area, and closure details. This is where seal margins, bleed, zipper placement, tear notches, barcode space, and any window cutout need to be checked. Artwork can look fine and still fail in production if the functional zones were not mapped correctly.
After that, the job moves into material sourcing, printing, lamination if needed, curing or drying, converting, and final inspection. Turnaround depends on order size, print method, complexity, and material availability. A basic pouch with standard film and simple graphics usually moves faster than a pouch with matte coating, metallic film, or special features.
Sampling is worth the time. A pre-production sample can catch zipper alignment issues, fill-line problems, and color shifts before the production run starts. That is cheaper than discovering the problem after thousands of units are already in motion.
A practical timeline usually follows this sequence:
- Specification review and quote
- Artwork and dieline confirmation
- Sample or proof approval
- Production and inspection
- Packing and shipment
That order matters. Product first, structure second, artwork third. When the sequence gets reversed, delays usually follow.
Cost, MOQ, and quote factors to budget accurately
Pricing for custom stand up pouch packaging depends on more than size. Material stack, print coverage, number of colors, special finishes, zipper style, barrier level, and order quantity all affect unit cost. A simple pouch with limited artwork will usually cost less than a matte laminated pouch with a zipper, hang hole, and metallic finish. The real mistake is comparing quotes that are not built to the same spec.
MOQ matters because setup, waste, and line time are spread across the order. Smaller runs usually cost more per pouch than larger repeat orders. That does not make small runs a bad choice. It simply means they are priced for flexibility rather than volume efficiency. For a new SKU, that tradeoff can be worth it if it limits launch risk and inventory exposure.
In many markets, finished pouch costs can range from low cents per unit for basic, high-volume structures to well over a dollar for complex, high-barrier, short-run jobs. Exact pricing depends on run size and specification. Anyone giving a universal price without asking about material and closure details is not giving a useful quote.
Use this comparison to review options:
| Option | Typical Use | Relative Cost | Notes |
|---|---|---|---|
| Simple matte pouch, no zipper | Dry goods, trial runs, light retail use | Lower | Good for budget control, limited reclose function |
| Laminated pouch with zipper | Coffee, snacks, powders, pet treats | Mid | Better consumer convenience and shelf presence |
| High-barrier pouch with special finish | Longer shelf life, premium branded packaging | Higher | More material and print complexity, stronger protection |
| Mono-material structure | Brands with sustainability targets | Varies | May trade some barrier or stiffness for recyclability goals |
If cost is the pressure point, the fastest savings usually come from simplifying the print layout, reducing special effects, standardizing pouch sizes, or choosing a structure that protects the product without extra layers. The cheapest unit price is not always the best value if it creates spoilage, line stoppages, or complaints.
For teams comparing formats, it also helps to benchmark against Custom Packaging Products that use cartons, sleeves, or other secondary packaging. Sometimes the pouch wins on freight and line speed. Sometimes another format is better for stacking or protection.
Common mistakes that create leaks, waste, and poor shelf life
One common mistake is choosing the pouch based on appearance alone. That can lead to weak seals, poor stand-up behavior, or barrier performance that misses the shelf-life target. Another mistake is ignoring the filling process. Powders, granules, and fragile contents all create different fill conditions, and those conditions affect seal cleanliness and headspace.
Dust and oil contamination are recurring problems. If product gets into the seal zone, leak risk rises. If the fill level is inconsistent, the pouch can wrinkle, sag, or fail to stand properly. The package and the line need to work together.
Distribution testing is another place where teams cut corners. A pouch may survive a calm warehouse check and still fail after vibration, compression, humidity, or parcel handling. Ecommerce makes this more likely because packages move through more touchpoints than pallet-only retail flow. ISTA methods are useful when defining how much abuse the package should survive before launch.
Artwork approval causes avoidable issues too. If the dieline was not confirmed early, copy can land too close to the seam, a barcode can drift into a bad zone, or a window can interfere with the zipper or gusset. Fixing those errors late costs time and usually money.
- Do not approve graphics before confirming the dieline.
- Do not assume an empty sample predicts filled shelf behavior.
- Do not treat fill level as a cosmetic detail.
- Do not skip shipping checks for ecommerce or palletized freight.
These problems are avoidable, but only if custom stand up pouch packaging is treated as a technical project as well as a branding decision.
Expert tips and next steps for a better launch
Start with a brief that includes the product type, fill weight, approximate dimensions, target shelf life, closure preference, distribution channel, and storage risks. That gives the supplier enough information to recommend a structure that fits the product instead of sending a generic quote.
Ask for a sample early, then test it with the actual product on the actual line if possible. Watch seal quality, fill speed, shelf stability, and how easily a consumer can open and reseal the pouch. A useful sample should reveal how the package behaves under real conditions.
Use a side-by-side quote sheet before comparing suppliers. Normalize size, film structure, print method, and finishing so one quote is not hiding lower specs behind a lower price. That matters even more if the packaging program may expand into multiple SKUs later.
Artwork review deserves schedule time. Corrections to panel layout, copy fit, code placement, and finish choice are inexpensive before production starts and expensive after approval. Teams that build time for this step usually get cleaner retail packaging and fewer surprises.
For brands planning a launch, the path is straightforward: gather product data, define the performance target, request an apples-to-apples quote, and validate the sample before committing to volume. That is the most reliable way to get custom stand up pouch packaging that performs on shelf, in transit, and in the customer’s hand.
What products are best suited for custom stand up pouch packaging?
Dry snacks, coffee, powders, pet treats, granola, tea, and many shelf-stable foods fit well because they benefit from low weight and strong shelf presence. Products with moisture, aroma, or grease sensitivity need the correct barrier structure, not just the right shape. Heavy or fragile products can still work, but they often need a wider gusset, a tougher film, or a different closure setup.
How do I choose the right barrier for stand up pouch packaging?
Start with the main failure risk: moisture pickup, oxygen exposure, aroma loss, light damage, or grease migration. Then match the barrier to the shelf-life target and the storage environment, especially if the product will move through hot or humid conditions. Ask for recommendations based on product behavior and testing, not appearance or price alone.
What affects the cost of custom stand up pouch packaging the most?
Size, film structure, print complexity, special finishes, and closure style usually have the biggest impact on unit cost. Order quantity matters because setup and waste are spread across fewer or more units. If cost is tight, simplifying the build or standardizing the pouch size is often the fastest way to lower the price without hurting performance.
How long does the process and turnaround usually take?
The timeline depends on artwork readiness, material availability, print method, and whether the order needs lamination or special finishes. Sampling and proof approval add time, but they usually prevent more expensive delays later. Rush orders are easier when the spec is already defined and the files are clean.
What should I send for an accurate quote on custom stand up pouch packaging?
Send the product type, fill weight, approximate dimensions, target shelf life, closure preference, and any storage or shipping concerns. Include artwork if available, plus notes on matte or gloss finish, zipper style, tear notch, hang hole, and barrier needs. If you have samples or current packaging, include those details too so the quote matches the real application.