Custom Die Cut Bags: Specs, Pricing, and Production Tradeoffs
Custom Die Cut bags do a lot of work for a simple package. They carry the product, show the brand, and set the first physical impression before anything gets opened. That makes them a packaging decision, not just a print order. The handle shape, film gauge, seal strength, and finish all affect how the bag performs and how premium it feels in hand.
Buyers usually care about the same four questions: Will it hold up? Will it look right? What will it cost? How long will it take? Those are the right questions. A bag that looks nice but tears at the handle is a bad buy. A bag that survives transit but feels cheap on shelf is almost as bad. The goal is a spec that fits the product, the channel, and the margin target without forcing guesswork into production.
Why Custom Die Cut Bags Stand Out on Shelf and in Hand
A die-cut bag is straightforward in structure and precise in execution. The handle is punched directly into the film, the edges are sealed, and the face of the bag becomes available for branding. That gives you a cleaner presentation than a loose carrier bag or a generic mailer. It also makes the bag easier to stack, box, and distribute in retail or promo programs.
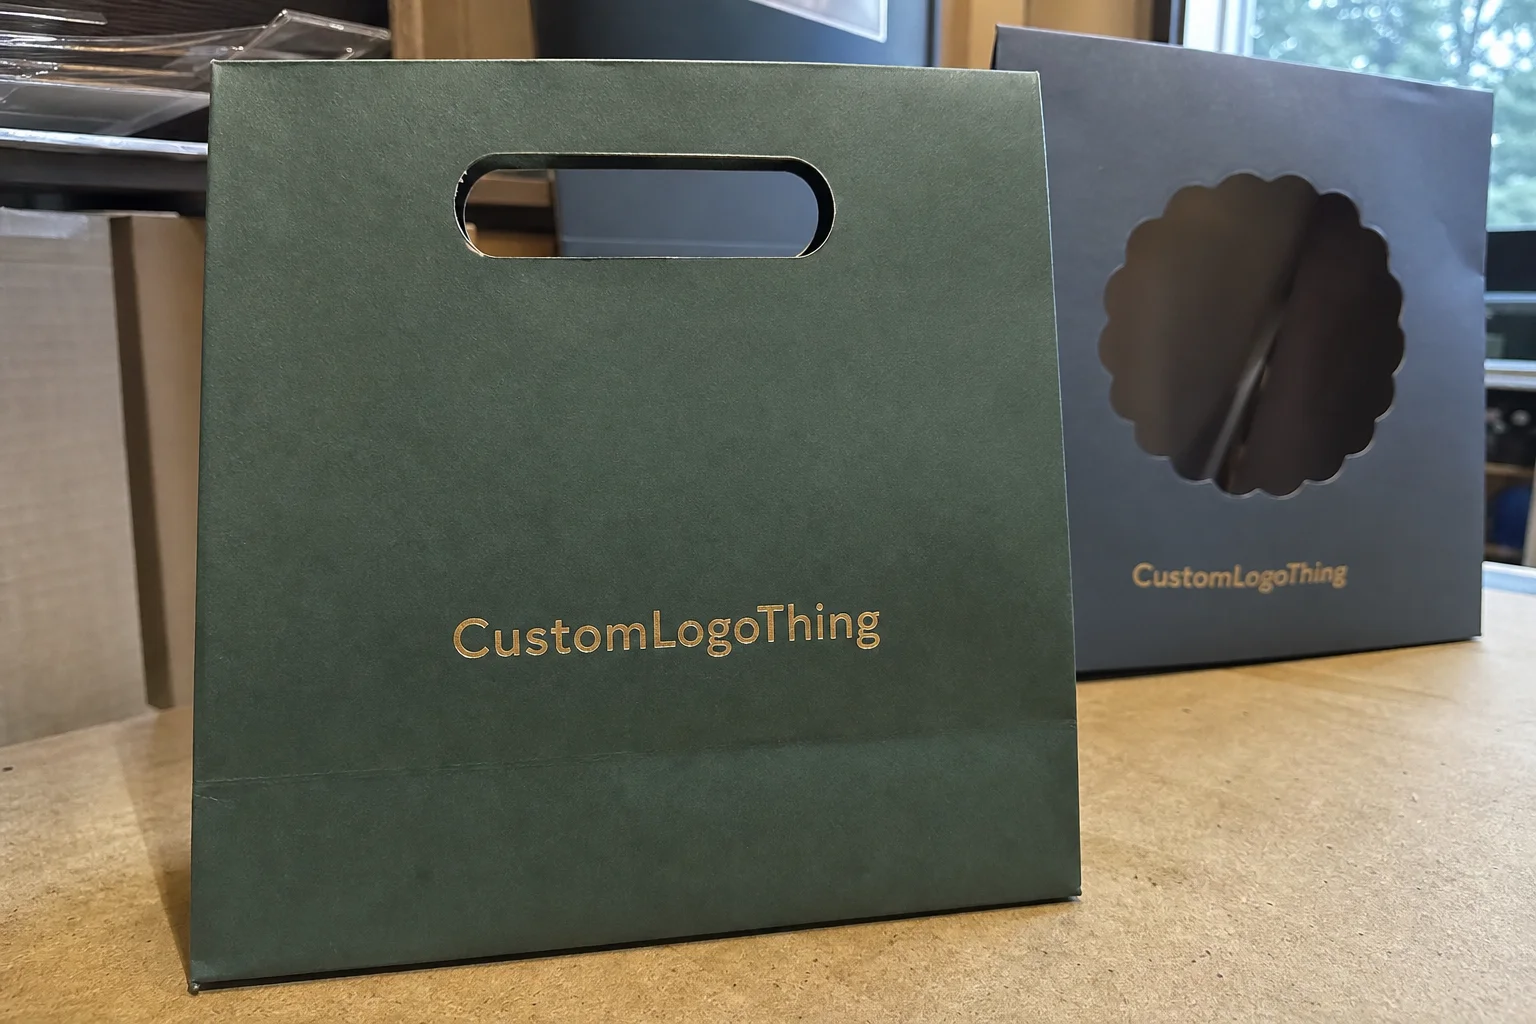
The reason these bags matter is simple: people notice packaging with their hands as much as with their eyes. A clear 2.0 mil bag with a centered logo, tight seals, and a clean punch reads very differently from a frosted 3.0 mil bag with reinforcement and a matte finish. Same product inside, different perception outside. That difference can affect giftability, shelf appeal, and whether the customer keeps the bag for reuse.
For apparel, accessories, beauty kits, and lightweight retail goods, the bag often functions as part of the product experience. It is not a throwaway layer. It can support a premium price point if the construction is clean and the print is controlled. It can also drag down the presentation if the film is wrinkled, the handle is awkward, or the artwork is too close to the seal area.
The bag is not just packaging. It is the carrier, the billboard, and the first quality check all at once.
That is why teams usually compare Custom Die Cut bags alongside boxes, inserts, labels, and other branded packaging pieces. The format is small, but the consequences are not.
How the Bag Production Process Works
Most Custom Die Cut bags start with film sourcing or extrusion. Resin becomes film, film becomes rolls, and those rolls get checked for gauge consistency, clarity, surface defects, and curl. If the film is uneven, the final bag can feel unpredictable. A bag that looks fine in a proof can still feel flimsy in the hand if the base material is inconsistent.
Once the film is approved, the artwork moves into print prep. Depending on the job, that may mean flexographic printing, plate creation, and proofing before any full run starts. The print method matters because it affects color consistency, registration, and cost. Simple graphics are easier to control. Heavy coverage, fine type, and tight color matching introduce more risk and more setup time.
After printing, the film is cut, sealed, and punched for the handle opening. That handle punch is not a cosmetic choice. It changes load distribution and comfort. A handle that looks sharp on a spec sheet can feel miserable once the bag is full. The same goes for seal width. Narrow seals can save material but reduce durability. Wider seals add strength, but they also take away internal space.
Construction details change how the bag behaves under load:
- Side gussets add depth for bulkier items and help the bag sit flatter during packing.
- Bottom seals affect stability and how well the bag holds shape.
- Reinforced handles reduce tear-out on heavier or repeat-carry use.
- Seal width influences both strength and usable interior space.
Stock bags are cheaper because the tooling and dimensions are already fixed. Custom runs cost more up front because the setup is tied to your artwork, size, and construction. That extra cost usually makes sense when the product needs a better fit, a better presentation, or a bag that supports the brand instead of hiding it.
For teams comparing packaging formats, it helps to look at the full mix of Custom Packaging Products rather than treating the bag as a standalone purchase. Apparel, cosmetics, and lightweight hardware rarely need the same packaging structure.
Film, Gauge, Handle, and Finish: The Specs That Matter
Gauge is where buyers often overpay or under-spec the bag. Thicker is not automatically better. The right thickness depends on the product weight, shape, and how the customer will carry it. A light apparel item can work in the 1.5 to 2.0 mil range. Heavier or sharper-edged items usually need 2.5 to 3.0 mil, sometimes more if the bag is expected to be reused.
Film type matters just as much. Clear film makes sense when the contents are part of the appeal. Think apparel, accessories, or neatly packed retail goods. Opaque film hides clutter and gives more control over the presentation. Frosted film sits between the two and often feels more deliberate than fully clear poly. It also changes how color reads under store lighting, which is where a lot of “it looked different on screen” complaints start.
Handle style deserves real attention. A punch handle is clean and efficient, but comfort drops if the cut is too narrow or the load is too heavy. Reinforcement is not always necessary, but it is often worth paying for when the bag will be reused, carried for distance, or filled with rigid items. If the bag will be touched more than once, durability starts affecting brand impressions.
Common spec choices and what they signal
| Spec choice | Typical use | Buyer signal | Typical impact on cost |
|---|---|---|---|
| 1.5-2.0 mil clear film | Light retail goods, apparel, low-compression items | Clean, lightweight, cost-aware | Lower |
| 2.0-2.5 mil frosted or opaque film | General retail packaging, branded promotions | More premium, more controlled presentation | Moderate |
| 2.5-3.0 mil with reinforcement | Heavier goods, repeat carry, stronger presentation | Durable, upscale, more reusable | Higher |
| Gloss or soft-touch finish | Premium campaigns, giftable product packaging | Higher perceived value | Higher |
Finish should follow merchandising goals, not taste. Gloss gives more visual pop and sharper color contrast. Matte reduces glare and can make graphics feel calmer. Frosted film works well when brands want translucency without full transparency. If the product is meant to look premium on a shelf or in a gift set, finish is part of the story, not an afterthought.
Sustainability questions should be asked early, not after the quote comes in. Resin type, recycled content, and recycling guidance can change depending on the market and the film structure. For transport testing, some teams reference ISTA protocols so the packed product is evaluated under realistic shipping stress instead of ideal bench conditions.
Pricing, MOQ, and Quote Drivers for Die-Cut Bags
Pricing is usually driven by a handful of variables: size, gauge, print coverage, quantity, bag style, and any reinforcement or finishing. The quote often looks confusing until you split those parts apart. Once you do, the pattern is pretty clear. Small orders carry a larger share of setup cost. Large orders spread the same setup over more units.
As a rough benchmark, many buyers see simple Custom Die Cut bags around $0.18 to $0.30 per unit at a 5,000-piece quantity for a standard size with light print coverage. Add heavier gauge, full-coverage art, or reinforcement, and the range often moves to $0.24 to $0.40. Premium builds with special finishes, stronger film, or more demanding print specs can land around $0.34 to $0.58, depending on quantity and complexity. Those numbers are not universal, but they are useful guardrails.
MOQ matters because the setup math does not care how urgent the launch is. Plates, tooling, proofing, and machine prep stay expensive whether the order is small or large. That is why a low-volume custom run can feel overpriced. It is not always margin padding. Often it is just the reality of fixed setup spread across too few pieces.
The biggest quote drivers are usually these:
- Dimensions, because larger bags use more film and often need stronger seals.
- Gauge, because thicker film adds raw material cost and may slow production.
- Print coverage, because more ink and tighter registration increase complexity.
- Quantity, because unit cost drops as setup gets distributed across more bags.
- Tooling and plates, which are often separate on the first order.
- Freight and rush fees, which can move the landed cost more than buyers expect.
Compare quotes on a like-for-like basis. Ask for dimensions, gauge, material, print method, bag style, lead time, and whether freight is included. A cheaper quote can become more expensive after shipping, sample charges, or a last-minute tooling fee. If the specs are not written out clearly, the quote is not comparable.
For programs that include cartons, inserts, or hang tags, the bag budget should sit inside the broader packaging system. That is where the packaging stops being a line item and starts becoming a consistent brand asset.
Production Steps and Lead Time: From Artwork to Delivery
Lead time is a chain, not a single number. Artwork review, proofing, sample approval, production, packing, and transit all sit in the schedule. A simple order with clean artwork can move quickly. A complex order with color matching, multi-SKU versions, or slow approvals will stretch out fast.
A realistic schedule for many Custom Die Cut bags orders looks like this:
- Artwork review and proofing: 1-3 business days
- Tooling or plate prep: 2-5 business days if required
- Production: 10-18 business days for a standard run
- Packing and freight booking: 1-3 business days
- Transit: 2-7 business days domestic, longer for consolidated freight
Reorders are usually faster because the proof and setup history already exist. First orders take longer because they include more decisions. That is normal. What slows things down is not complexity by itself. It is unclear ownership, missing files, and approvals that arrive in fragments instead of in one batch.
Color matching deserves special care. What looks correct on a screen can shift once it is printed onto film. Bright logos, subtle neutrals, and skin-tone-heavy imagery are the usual trouble spots. If the bag has to match other packaging in market, or a retail display that already exists, ask for a physical proof or a pre-production sample when the schedule allows it. That is cheaper than discovering a mismatch after cartons have already shipped.
Delivery planning also needs a freight reality check. A bag order can finish production on time and still miss the launch if shipping is booked late or the receiving dock is not ready. Plan around the actual delivery date, not the production-complete date. Those are different numbers, and mixing them up causes avoidable pain.
For programs with paper components, FSC can be a useful reference point when cartons or inserts are part of the same package system. It does not solve every sustainability question, but it gives buyers a recognized standard to work from when the packaging mix goes beyond film.
Common Mistakes That Inflate Cost or Delay Approval
The most expensive mistakes are usually the dull ones. A buyer measures the product, not the packed product, then orders a bag that is too tight or too loose. That leads to awkward insertion, weak seal performance, or wasted material. Measure the actual packed item first. Otherwise the spec is just a guess dressed up as a number.
Artwork issues are next. Low-resolution files, missing bleed, and logos placed too close to the handle cutout can force a proof revision. The seal zone is not a safe place for important graphics. Neither is the area that flexes the most under load. A technically correct file can still make a bad-looking bag if the layout ignores how the package moves in the hand.
Shape matters more than many teams expect. Sharp corners, dense contents, and uneven fills increase stress on the handle and seams. A beauty kit is not the same as a flat apparel item. A stack of brochures is not the same as boxed product. The bag has to be specified for the real load, not the ideal mockup.
Skipping samples is another common shortcut that creates problems later. Buyers approve the quote and assume the construction details are obvious. They are not. Confirm gauge, handle style, reinforcement, dimensions, and finish in writing. If the bag is part of a retail program, also confirm how it will sit next to labels, inserts, and any companion packaging. That is basic procurement discipline, not extra caution.
The cleanest rule is simple: never approve a first run until you know how the bag behaves in real use. The time saved by skipping that check is usually tiny. The cost of getting the spec wrong is not.
What to Order Next: A Practical Buyer Rollout
Start with a spec sheet. Include the packed product dimensions, target quantity, handle preference, print coverage, gauge target, finish preference, and any reinforcement requirements. Then request quotes that show those details in writing. If the vendor cannot spell out the construction clearly, the quote is not ready for approval.
For heavier, sharper, premium, or launch-critical items, ask for a sample or a short run before committing to volume. A small test gives you real data on comfort, seal integrity, and print appearance under store lighting. That is more useful than a pretty PDF proof. The proof is only a promise. The sample is evidence.
A basic rollout checklist keeps the process from drifting:
- Approval date for artwork and proof
- Production buffer of at least one week
- Freight window separate from production time
- Storage space for the finished cartons
- Reorder trigger point before inventory gets tight
If the goal is a repeatable packaging system, the first order should do more than fill a need. It should validate fit, durability, and brand presentation in hand. Then the spec gets locked. That is how custom die cut bags turn into a stable part of the operating system instead of a one-off purchase that has to be relearned every quarter. If you are mapping the wider packaging stack, the rest of our Custom Packaging Products can help you compare bag formats with cartons and inserts.
FAQs
What size custom die cut bag do I need for my product?
Measure the packed product, not the product alone, and leave room for insertion and sealing. Match the width to the widest point, then decide whether the item needs extra depth from a gusset. If you sell several SKUs, build the spec around the largest regular item and test the smaller ones for fit and presentation.
How thick should custom die cut bags be for heavier items?
Thickness should follow weight, edge shape, and how the bag will be carried. Heavier or irregular products usually need stronger film, often in the 2.5 to 3.0 mil range, plus better handle reinforcement. Ask for samples that reflect the actual load so you can check comfort and seam performance before the full order.
Are custom die cut bags reusable?
They can be reusable when the gauge, handle cut, and seam strength are designed for repeat carrying. A sturdier bag usually improves perceived value and extends brand exposure beyond the first purchase. Whether the bag is recyclable depends on the film type and local recycling rules, so confirm material details early.
What drives the price of custom die cut bags the most?
The main cost drivers are size, gauge, quantity, print coverage, and any special construction features. Setup items such as tooling, plates, and proof corrections can matter a lot on smaller runs. Shipping and rush timing can change the landed cost even when the unit price looks competitive.
How long does a custom die cut bag order usually take?
Lead time depends on how quickly artwork is approved, whether samples are required, and how complex the construction is. Simple repeat orders move faster because the setup and proofing steps are already established. If the launch date matters, confirm production time and freight time separately so the delivery date is realistic.


