Custom drink bottle labels have one job that matters more than the mockup: they need to survive real handling on a real bottle. Condensation, cold storage, shipping, and repeated touch will expose weak material choices fast. A label that looks fine in a proof can still fail on a chilled bottle.
For buyers, the decision usually comes down to four things: material, adhesive, finish, and size. Those specs decide whether the label stays readable and intact on glass, PET, or HDPE. If you already buy Custom Labels & Tags or other Custom Packaging Products, the same logic applies here. The cheapest quote is not useful if the label curls, lifts, or scuffs before the product is out the door.
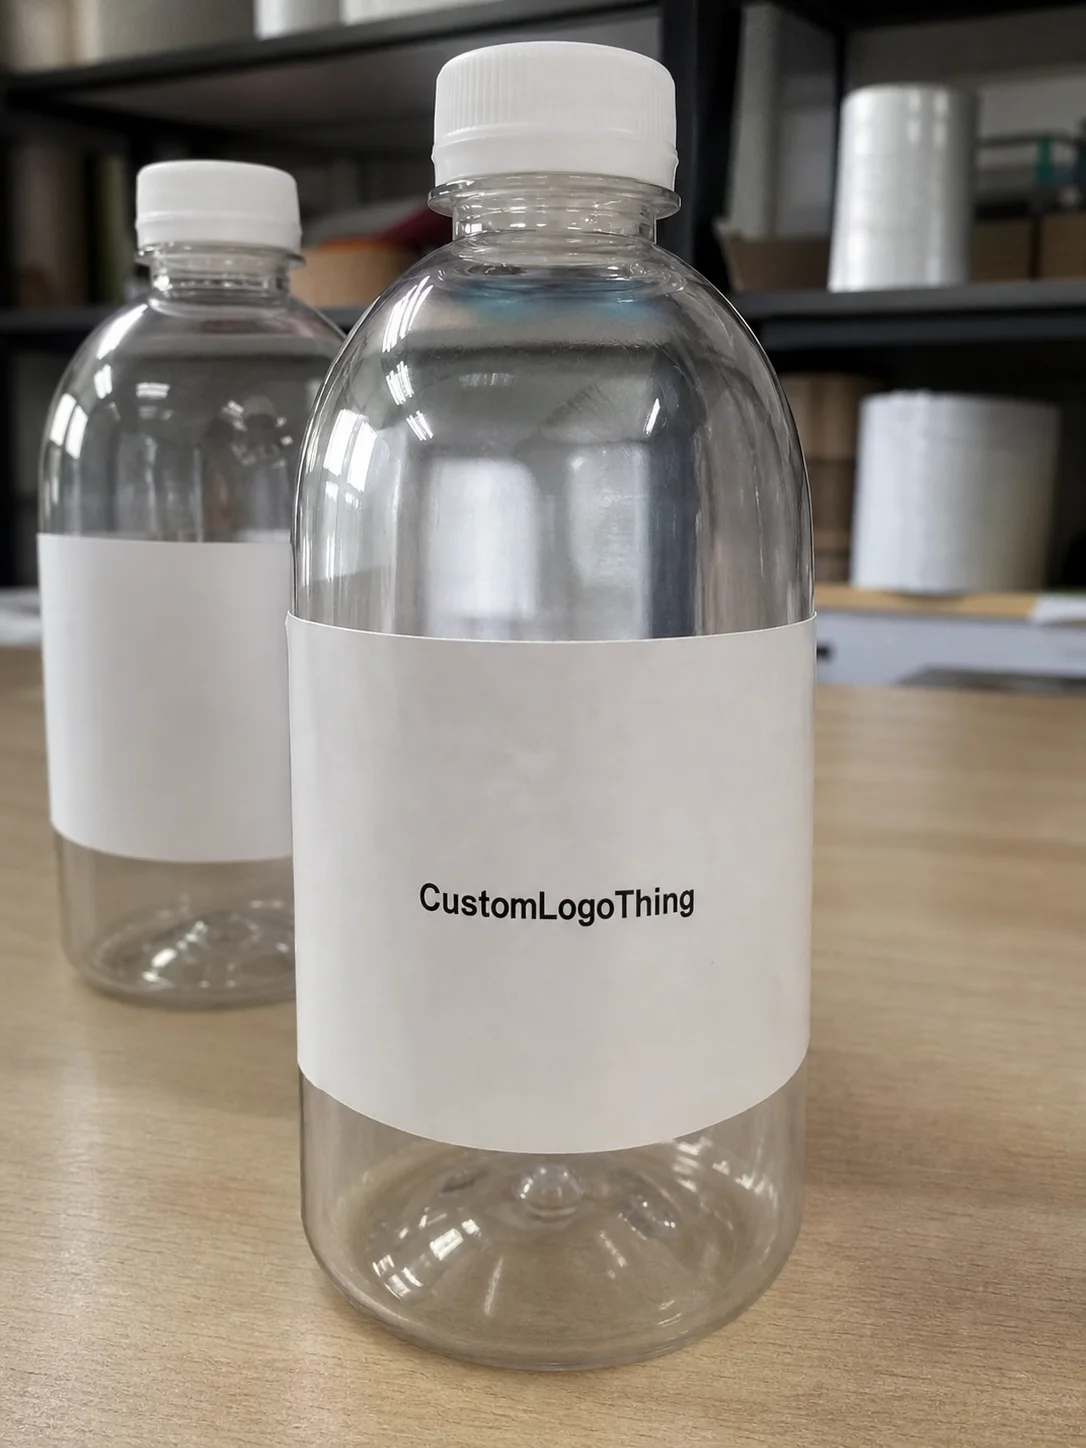
That is why bottle labels should be evaluated as part of the package, not as decoration. The label has to support the brand, fit the bottle, and perform under the conditions the bottle will actually face.
What custom drink bottle labels actually need to survive
Custom drink bottle labels need to hold up on chilled surfaces, not just dry shelves. The main stress points are moisture, temperature changes, handling, and edge lift. A label that works for a room-temperature display can fail quickly once condensation enters the picture.
The use case matters. Event bottles may only need to look good for a few hours. Retail beverages, bar programs, and refrigerated products may need to stay clean through storage, transport, and display. That difference changes the substrate, adhesive, and finish you should specify.
The label also carries practical information. It may include branding, flavor names, ingredients, barcodes, QR codes, or event details. If the text becomes hard to read or the edges start to peel, the package reads as lower quality even when the bottle itself is fine.
A label that fails on a cold bottle is not a small defect. It becomes a reprint, extra labor, and a visible quality problem.
Moisture is the most common failure point. Paper may be acceptable for dry, short-term use, but it can wrinkle or lift when the bottle sweats. Film-based labels are usually a better fit for refrigerated or ice-bucket conditions, but only if the adhesive is matched to the bottle and the environment. The label is a system, not a single material choice.
There is also a presentation threshold. If the label shifts, chips, or curls, buyers notice it immediately even if they cannot explain why it looks off. That is why Fit and Finish matter as much as color and design.
How the label process works from file to bottle
The usual process is file review, proofing, material selection, die cutting, printing, finishing, and shipping. Each step is straightforward, but sloppy input at the beginning creates avoidable delays and rework later. Curved bottles and tapered shoulders make those mistakes more visible.
File prep is where most avoidable mistakes start
Trim size, bleed, and safe area determine whether the design lands correctly on the bottle. Small text, barcodes, and thin rules are the first things to suffer when the dieline is wrong or the label is too tight for the panel.
Do not estimate the label by circumference alone. A bottle can have enough wrap distance and still offer very little usable flat space. Ask for a dieline based on the actual container, not a generic shape.
Proofs help, but they are not the bottle
A proof checks layout, copy, and placement. It does not prove performance in condensation or refrigeration. For custom drink bottle labels, a sample applied to the actual chilled bottle is the test that matters.
Chill the bottle, apply the label, and leave it long enough for moisture to form. If the edges move during that test, the final run will not improve the result. It will only make the failure more expensive.
Application method affects the final look
Small quantities are often hand-applied, which is workable if the label is easy to place cleanly. Larger orders may use semi-automatic or automatic application, which makes roll direction, spacing, and unwind orientation more important.
If the label is part of a broader packaging set, make sure it fits visually with the rest of the system. Outer cartons, carriers, and shipping packs should not look unrelated. If you also use Custom Printed Boxes, the label spec should support that presentation rather than fight it.
Cost, pricing, and MOQ realities
Price is driven by size, material, finish, quantity, shape, and setup. A simple rectangular paper label costs less to produce than a contour-cut film label with a laminated finish and specialty adhesive. The quote only makes sense when you know what is included.
Higher quantities usually reduce unit cost because setup is spread across more pieces. A run of 500 will usually cost more per label than a run of 5,000. Low minimums are useful for events, tasting runs, and test launches, but they are rarely the best value per piece.
Typical pricing often starts in the low cents per label for simple short-run paper jobs and rises with moisture resistance, custom shapes, and premium finishes. Exact cost depends on quantity, dimensions, color count, adhesive, and whether tooling, artwork revisions, or freight are separate line items. If a quote looks unusually low, check for missing charges first.
| Option | Typical Use | Moisture Resistance | Price Behavior |
|---|---|---|---|
| Paper label with standard adhesive | Dry displays, short indoor use | Low | Lowest setup cost, but weak on cold bottles |
| BOPP film label | Chilled bottles, refrigerated products, reusable containers | High | Usually higher per unit, better value in wet conditions |
| Clear or vinyl-style film with laminate | Premium packaging, handling-heavy applications | Very high | Higher unit price, stronger durability and scuff resistance |
Before approving a quote, ask whether shipping, setup, tooling, or plate charges are included. Ask what happens if artwork changes after proof approval. Ask whether the supplier covers production errors with a reprint. Those answers tell you more than the headline price.
Viewed correctly, the label is part of the full packaging budget. Paying a little more for a label that performs can cost less than ordering a cheaper version that has to be replaced after failure.
Materials and finishes that hold up on cold bottles
Paper, BOPP, and vinyl-style films are the main label materials. Paper is fine for dry, short-lived applications. BOPP is the practical default for many beverage jobs because it resists moisture and keeps print sharp. Vinyl-style constructions are tougher and better for repeated handling or reusable use.
Adhesive choice matters as much as the face stock. Even a good film label can fail if the adhesive is not suitable for cold or wet conditions. For refrigerated bottles, wet handling, or ice service, specify an adhesive built for that environment.
Finish changes both appearance and durability. Gloss gives more color pop and works well under bright retail lighting. Matte looks softer and can suit premium beverage branding. Clear labels can look clean on glass or clear PET, but they require strong contrast because the bottle itself becomes part of the design.
Laminate or overcoat adds scuff resistance. That matters for bar service, retail handling, packing, and transport. A finish that looks good in a proof but marks up after one trip through a cooler is not enough.
| Material | Best For | Pros | Watch Out For |
|---|---|---|---|
| Paper | Dry, short-run, low-cost projects | Lowest cost, easy printability | Wrinkles and edge lift in moisture |
| BOPP film | Cold bottles, bottle wraps, beverage labels | Moisture resistance, clean print clarity | Slightly higher price than paper |
| Clear film | Premium product packaging, glass bottles | Clean, modern look, less visible edge | Needs strong contrast and careful alignment |
| Vinyl-style film | Handling-heavy or reusable applications | Tough surface, strong durability | Can cost more and may be overkill for one-time use |
For brands making sustainability claims, check performance as well as sourcing. FSC-certified inputs can matter for some paper-based packaging programs, and FSC is a useful reference point when evaluating paper sourcing. A certified label that fails in use still creates waste.
Practical rule: if the bottle will sweat, sit in ice, or be handled repeatedly, start with a moisture-resistant film and a wet-performance adhesive. That is the baseline spec, not the premium upgrade.
Artwork specs and sizing that prevent expensive reprints
Most label problems are sizing problems. Measure the usable flat area of the bottle, not just the full circumference. Tapers, shoulders, seams, and grip ribs reduce the real label panel faster than most buyers expect.
Safe area and bleed should be set before production starts. Keep logos, small text, and barcodes well inside the trim. If the barcode is clipped or legal text sits too close to the edge, the label may print but still be unusable.
Design for the bottle, not the screen
Thin type, low contrast, and dense copy can look orderly on a monitor and fail in hand. Curved surfaces distort detail, and clear labels make contrast even more important because the bottle becomes part of the background.
If the label needs variable data, plan for it early. Ingredient lines, lot codes, flavor changes, event names, and serialized numbers can shift spacing and break a tightly packed layout.
Measure the actual label panel
A bottle can have enough wrap space and still offer only a narrow printable panel. Mark where the label begins and ends. Confirm where the seam or overlap will land. Check the shoulder curve. If the bottle tapers, ask for a dieline that matches the actual shape.
For brands building a label alongside broader packaging, keep the typography, color palette, and logo hierarchy consistent with the rest of the system, including any outer cartons or carriers used in product packaging. A bottle and box that feel unrelated make the line look less deliberate.
For production context, the Packaging School and packaging industry resources are useful if you want a better handle on material limits and format constraints. Most buyers do not need theory. They need fewer errors and fewer surprises.
Process, timeline, and production steps to expect
A realistic schedule starts with intake, then proofing, approval, production, finishing, packing, and shipping. Clean files and in-stock materials move quickly. Special materials, custom cuts, or multiple revision rounds extend the timeline.
For event or launch work, do not plan on a last-minute order. A common turnaround is about 7 to 15 business days after proof approval, plus transit time. Rush requests can be possible, but they usually reduce material and finish options.
What slows an order down
Missing dimensions, low-resolution files, incomplete copy, and repeated proof changes are the usual delays. Specialty materials also add time if they are not already in inventory. Custom Die Cuts and unusual adhesive requirements need more lead time than a stock shape.
Shipping should be part of the planning. Labels can be damaged in transit if rolls or cartons are handled roughly. If the labels are moving into wider distribution, packaging and shipping conditions should be discussed early. Guidance from ISTA is useful because it keeps the focus on what the package will actually face in transit.
One useful rule: order earlier than the launch date seems to require. If the labels arrive two days before the event, there is no buffer for application mistakes, shipping delays, or one more revision that should have been closed earlier.
For higher-volume runs, machine application may justify tighter control over unwind direction, roll consistency, and adhesive performance. For smaller runs, hand application is usually fine, but the label still has to place cleanly and stay put.
Common mistakes and the next steps before you order
The same mistakes keep showing up. Buyers measure the bottle wrong, choose paper for a chilled product, approve a proof without testing it on the actual bottle, or under-order and end up paying for a second run. Those are avoidable costs.
Before ordering custom drink bottle labels, use this checklist:
- Measure the bottle’s usable label area, not just the circumference.
- Confirm whether the bottle will be chilled, iced, or stored dry.
- Choose the face stock and adhesive based on the real use condition.
- Check the design for bleed, safe area, and small-text readability.
- Test one sample on the actual bottle after cooling it.
If the order is for an event, add a quantity buffer. If it is for a product launch, account for sell-through and possible reorder risk. If it is for retail, compare the label next to the rest of the custom printed boxes or other secondary packaging so the presentation feels coordinated.
The cleanest buying process is straightforward: confirm bottle dimensions, define the use condition, choose quantity, gather artwork, and request a spec-based quote. That keeps the order focused on performance instead of vague promises.
Custom drink bottle labels are not hard to buy. They are just unforgiving. Get the material, adhesive, and sizing right, and the bottle looks finished. Get them wrong, and you pay for the same labels twice.
What materials work best for custom drink bottle labels on cold bottles?
BOPP or another moisture-resistant film is usually safer than paper when condensation is expected. If the bottles will sit in ice or cold storage, use an adhesive rated for wet or refrigerated application. Matte and gloss both work; choose based on readability, scuff resistance, and brand look.
How much do custom drink bottle labels usually cost per order?
Cost depends on quantity, size, material, finish, and whether the label needs a custom cut. Smaller runs usually cost more per label because setup and proofing are spread across fewer pieces. Ask whether freight, tooling, and artwork changes are included before comparing quotes.
What turnaround should I expect for custom drink bottle labels?
Standard timing usually includes proofing, production, finishing, and shipping, so the order is not instant. A common window is about 7 to 15 business days after proof approval, though special materials or rush requests can change that. Clean files and quick approvals keep the schedule moving.
Will custom drink bottle labels stick through condensation and refrigeration?
They can, but only if the label stock and adhesive are matched to cold, wet conditions. Test one label on the actual bottle after chilling it, because a dry-room test does not prove anything useful. Film labels with the right adhesive usually perform better than basic paper labels.
What size should custom drink bottle labels be for a standard bottle?
Measure the usable flat area instead of relying on circumference alone. Tapers, seams, and curved shoulders reduce the space that actually works. Keep text and logos inside the safe area so they do not get distorted or clipped. If the bottle shape is unusual, ask for a dieline that matches the real container.
If you are comparing suppliers, ask for a quote that spells out the material, adhesive, finish, size, quantity, and any setup or shipping charges in plain language. That is the fastest way to separate a real spec from a vague promise. For custom drink bottle labels, the right details are what keep the bottle looking intentional after cold storage, handling, and everyday use.


