Custom emoji stickers: what they are and why they work
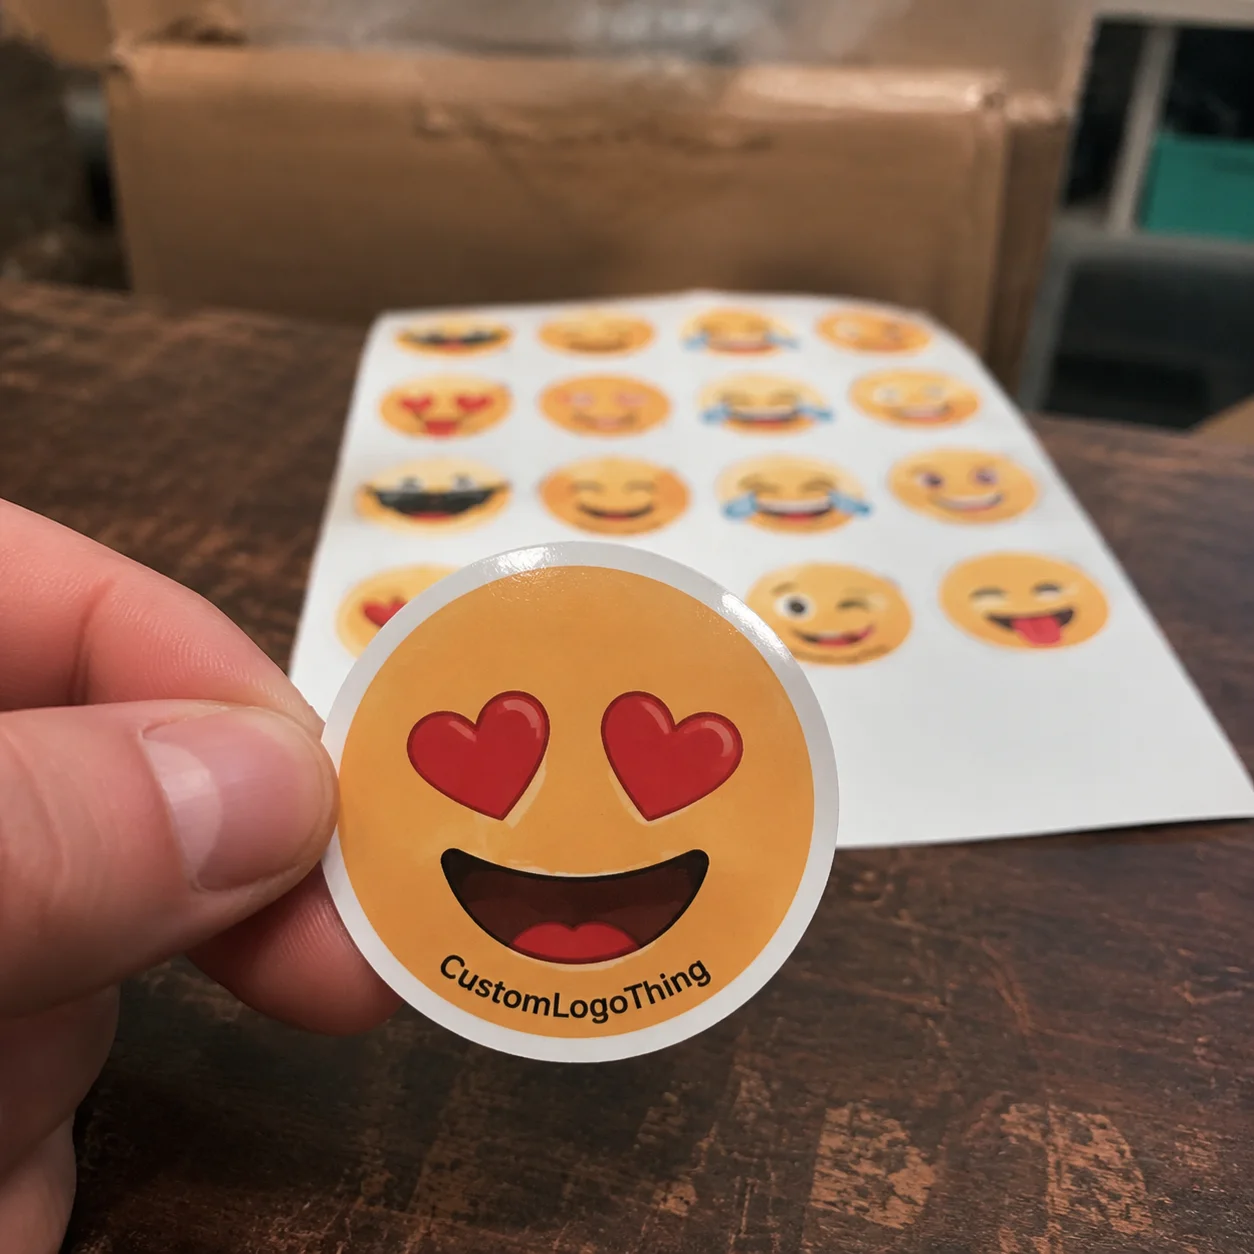
A small sticker can carry more personality than a paragraph of packaging copy. That is part of the appeal of custom emoji stickers: they create an instant visual reaction that works on mailers, laptops, notebooks, and retail boxes.
Buyers often treat them as add-ons, but they also work as practical brand tools. A face, wink, laughing reaction, or celebratory icon can soften unboxing, make inserts feel less generic, and give customers something worth keeping. That matters because a sticker that survives shipping and still looks good on a bottle or box has already done useful work.
The format is usually straightforward. These stickers are commonly printed as die-cut or kiss-cut pieces, sometimes on sheets for handouts and sometimes as individual cuts for packing or retail use. The artwork may look simple, but production still depends on file quality, material choice, adhesive strength, and the surface the sticker needs to stick to.
Faces are readable quickly, which is why emoji-style designs work well across packaging and promotion. People do not need to decode the message. The expression does the work. A bright smile can feel energetic and informal, while a softer expression with quieter colors can read more polished and premium.
Finish changes the tone as much as the artwork. Gloss vinyl tends to feel louder and more promotional, matte finishes feel calmer and less reflective, and soft-touch can add a more elevated hand feel. Paper stickers can work for dry indoor use, but moisture, abrasion, and repeated handling usually call for film-based material. Adhesive choice matters too. A standard permanent adhesive handles most smooth surfaces well, while textured cartons, curved bottles, and cold-chain packaging may need stronger performance.
How the production process works
Sticker production follows a predictable path, but small details can change the outcome. Artwork review comes first, then the cut shape is prepared, then printing and contour cutting happen, and finally the order is finished, packed, and shipped. The fastest projects usually start with a clean file and a clear use case.
Artwork prep is where most technical trouble starts or ends. A vector file is ideal because it keeps edges crisp at any size, though a high-resolution raster file can still work if it is large enough and has clean detail. Emoji-style graphics can be sensitive to scale; thin outlines, tiny highlights, and narrow mouths may look fine on a screen and become muddy once reduced for print.
Printing method depends on run size and complexity. Digital print is common for short and medium runs because it handles multiple colors efficiently and does not require the setup associated with traditional plate-based methods. After printing, contour cutting follows the outline of the shape, whether that is a circle, a custom face silhouette, or a kiss-cut arrangement on a sheet. Sheets are useful for handouts and direct mail. Roll formats make more sense for applicators, automated packing lines, or high-volume labeling.
Proofing is the step that prevents expensive mistakes. A proper proof checks overall size, bleed, cut path, color intent, and legibility at final dimensions. It also shows whether the expression still reads clearly after the design is scaled down. That check is easy to rush, but it is usually the difference between a polished run and a batch that feels slightly off once it is in hand.
Material and finishing are not decorative afterthoughts. They change how the sticker performs in real use. A clear laminate adds scuff resistance, matte laminate reduces glare, and specialty films can create a more refined surface while also holding up better under handling. More complex art can take longer to set up, especially if there are multiple emoji variations or several cut paths in one order.
Cost, pricing, and MOQ factors that change the quote
Pricing for custom emoji stickers is mostly driven by size, quantity, number of designs, material, and cut complexity. A single simple shape in one artwork file is easier to produce than a mixed set of expressions with different outlines, premium film, and a laminate finish. The quote usually reflects setup time as much as the material itself.
Minimum order quantity affects unit price because the fixed work has to be spread across the run. If you order 250 stickers, the setup, proofing, cutting, and finishing costs weigh much more heavily than they do on a 5,000-piece run. For buyer planning, small basic runs often land around $0.20 to $0.60 per unit, while larger quantities with simpler specs can come in lower. Specialty finishes, thicker films, or more intricate shapes can move the price upward quickly.
There is a useful distinction between budget-friendly and premium orders. If the stickers are going into mailers, inserts, or basic event kits, a standard vinyl or coated paper construction with one design and a clean shape is usually enough. If the goal is a collectible piece that feels like part of the brand system, then thicker film, better scuff resistance, and a more deliberate cut shape can be worth the extra spend.
| Option | Best For | Typical Cost Pressure | Notes |
|---|---|---|---|
| Paper sticker sheets | Dry indoor giveaways, low-cost inserts | Lower | Good for temporary use; not ideal for moisture |
| Vinyl die-cut stickers | Retail packaging, laptops, bottles | Moderate | Strong all-around choice for everyday brand visibility |
| Film with laminate | Premium swag, higher-wear surfaces | Higher | Better scuff resistance and a more finished look |
| Specialty finishes | Limited editions, premium campaigns | Highest | Useful when visual impact matters more than lowest unit cost |
To get a quote that is actually useful, send exact dimensions, quantity tiers, the intended surface, and whether the sticker will be mailed, handed out, or applied directly to packaging. If you know the sticker will face moisture, frequent handling, refrigeration, or curved surfaces, include that too. Those details usually improve accuracy more than a long description of the style.
Lead time, turnaround, and production steps to expect
Lead time starts with proof approval, not with the first inquiry. A standard order usually moves through quote, artwork review, proofing, approval, production, finishing, packing, and shipping. The smoother that front end is, the less time the order spends waiting for missing details.
For many standard sticker runs, production often takes about 5 to 10 business days after approval. Larger quantities, specialty materials, and complicated die lines can extend that window. Rush service is sometimes possible, but only when the file is ready and the spec decisions are already made. Last-minute changes are what slow everything down.
Not all production stages take the same amount of time. Proofing can be quick when the file is clean, while revisions may add a day or two each round. Mixed-SKU orders and specialty finishes also need more attention because every change in shape or finish adds setup work. Shipping has its own timeline as well, and the destination can matter as much as the press schedule.
For launches, promotions, or subscription drops, it helps to count backward from the delivery date rather than forward from the order date. Build in space for proofing, production, and transit. That matters even more when the stickers need to coordinate with Custom Packaging Products or match a broader set of Custom Labels & Tags in the same packaging system.
Design and material choices that affect performance
The right material depends on where the sticker will live. Paper works for short-term indoor use, but vinyl and specialty film hold up better when the sticker has to deal with handling, friction, or humidity. For product packaging that is opened, stored, shipped, and opened again, material choice affects the final result more than many buyers expect.
Gloss laminate brings color forward and gives the surface more shine. That can work well for bold, playful artwork. Matte laminate cuts glare and usually feels calmer, which can be useful for minimalist packaging or softer brand systems. Soft-touch has its own place when the tactile feel matters as much as the print.
Curved bottles, rough cartons, freezer conditions, and frequent handling all change the specification. A sticker that sits on a laptop for months does not need the same construction as one that goes on a chilled beverage carton or a shipping box handled by multiple people. Adhesive strength has to match the surface. A standard adhesive may be fine for smooth packaging, while textured or challenging surfaces often need something stronger.
Shape planning matters too. A simple outline with enough border clearance usually applies more cleanly than a design with spikes, narrow bridges, or tiny interior cutouts. Transparent backgrounds can look sharp, but they are not always the best choice if the sticker needs to stand out on a dark package. A bold silhouette and a readable border often work better from a distance and are easier to place by hand.
From a buyer’s point of view, the smartest construction is the one that fits the job. If the sticker is meant to be a collectible insert or a fun pack-in, the focus can stay on color and expression. If it is meant to survive retail handling or long contact with a surface, durability should come first. For broader packaging context, the Packaging Association is a useful reference, and ISTA is helpful when you want to think through shipping stress and handling conditions.
Common ordering mistakes to avoid
The most common problem is sending artwork that is too small or too compressed. A graphic pulled from social media may look acceptable on screen and still fail in print because the resolution is too low or the edges have already been softened. Emoji-style artwork can hide those issues until it is reduced to sticker size, which is why clean source files matter.
Bleed and safe area are easy to overlook. If the cut line sits too close to the mouth, eyes, or border details, a tiny shift in registration can make the sticker look uneven. On packaging, that reads as a quality issue even if the print itself is fine.
Surface choice creates its own set of problems. A paper sticker on a condensation-prone bottle, a standard adhesive on a cold surface, or a glossy finish on rough kraft stock can all fail for predictable reasons. The adhesive and face stock should fit the actual surface, not just the mood board.
Quantities also deserve more care than many buyers give them. Estimates like “a few hundred” are hard to quote accurately and often lead to revisions later. A realistic range is useful early on, but the final count should be set before production starts. Proofing is the last chance to catch the small things, and that is usually where the best orders slow down on purpose.
Expert tips for a smoother order and better results
If the sticker is going onto a real package surface, test it there before you lock the order. Place a sample on the exact carton, bottle, or mailer you plan to use, then check it after a day or two under normal lighting. A design that looks perfect on a mockup can behave differently once it meets coating, texture, or curvature.
Keep small details under control. Thin lines, tiny mouth shapes, and delicate facial marks can disappear once the sticker is scaled down, especially if multiple colors are involved. Simplified artwork often prints more cleanly and applies more cleanly too.
Format should follow the workflow. Sheets are convenient for events, inserts, and direct mail. Individual die-cuts are useful for premium pack-ins or retail counters. Rolls make sense when the application process is high volume or machine-assisted. The wrong format can turn a good sticker into an awkward packing step.
“The best sticker is the one that still looks right after it leaves the proof file.”
That idea holds across most packaging projects. A strong order starts with a clear use case and works backward into material, finish, adhesive, and shape. If sustainability matters, ask about paper options, recycled content, or sourcing documentation early. FSC certification can be relevant for paper-based jobs, and the FSC site is a good place to understand how that claim is handled. For broader materials and recycling context, the EPA’s guidance at EPA recycling resources can help frame the conversation.
Next steps before you request a quote
Before asking for pricing, gather the basics: final artwork, target size, quantity range, intended surface, and the priority order among cost, durability, speed, and finish quality. That small amount of prep usually cuts down back-and-forth and gives you a quote that is easier to compare.
It also helps to decide how the stickers will be used. Will they be packed into subscription boxes, mailed as customer rewards, handed out at events, or applied directly to retail packaging? Each use case changes the best format and can change the material and adhesive choice as well.
If you are unsure about sheets, rolls, or individual cuts, compare them against the actual workflow before you commit. It is much easier to make that decision early than to force a format that does not suit the job later. For broader branded packaging projects, keep the sticker aligned with the cartons, inserts, and labels so the full package feels deliberate rather than assembled in pieces.
Used well, custom emoji stickers can be a compact, low-cost brand asset with real staying power. They are easy to understand, easy to distribute, and flexible enough to support everything from fun mailers to polished retail packaging. The strongest results usually come from a simple process: define the use case, match the build to the surface, and provide exact specs before production starts.
FAQ
What makes custom emoji stickers different from regular stickers?
They use expressive icon-style artwork that reads quickly and feels playful. They are often used for packaging, inserts, and giveaways, but the material, finish, and adhesive still matter just as much as the design itself.
What size works best for custom emoji stickers?
The best size keeps the face readable without overpowering the package. Simple icons can work small, but detailed artwork needs more room, and the surface you plan to apply it to should guide the final size.
How do I lower the cost of custom emoji stickers?
Increase quantity, simplify the shape, and reduce the number of design variations. Standard materials and finishes usually keep pricing lower, and print-ready files with exact specs help setup move faster.
How long does it take to produce custom emoji stickers?
Turnaround depends on proof approval, quantity, material, and finishing complexity. Clean artwork and final specs speed up the process, and shipping time should always be counted separately.
Which adhesive should I choose for custom emoji stickers?
A standard permanent adhesive works well for most packaging and retail uses. For textured, curved, cold, or moisture-prone surfaces, a stronger or specialty adhesive is usually the safer choice.