Custom wall vinyl stickers do a lot of quiet work. They can turn a blank lobby into a branded entry, give a retail wall a seasonal update, mark zones in an office, or add a clean accent to a home space without the weight or permanence of paint and built-out signage. The effect is immediate, but the best results depend on fairly practical decisions: the wall finish, the adhesive, the print method, and how the graphic will be installed and removed later.
That is why these products are best treated as a production item, not just décor. A wall graphic that looks simple on screen may need careful file prep, accurate sizing, and the right surface match to perform well on the wall. Get those details right and the piece reads as intentional. Miss them and the problems usually show up quickly: lifting corners, bubbles, visible seams, or paint that comes off with the decal.
What Custom Wall Vinyl Stickers Are and Where They Work
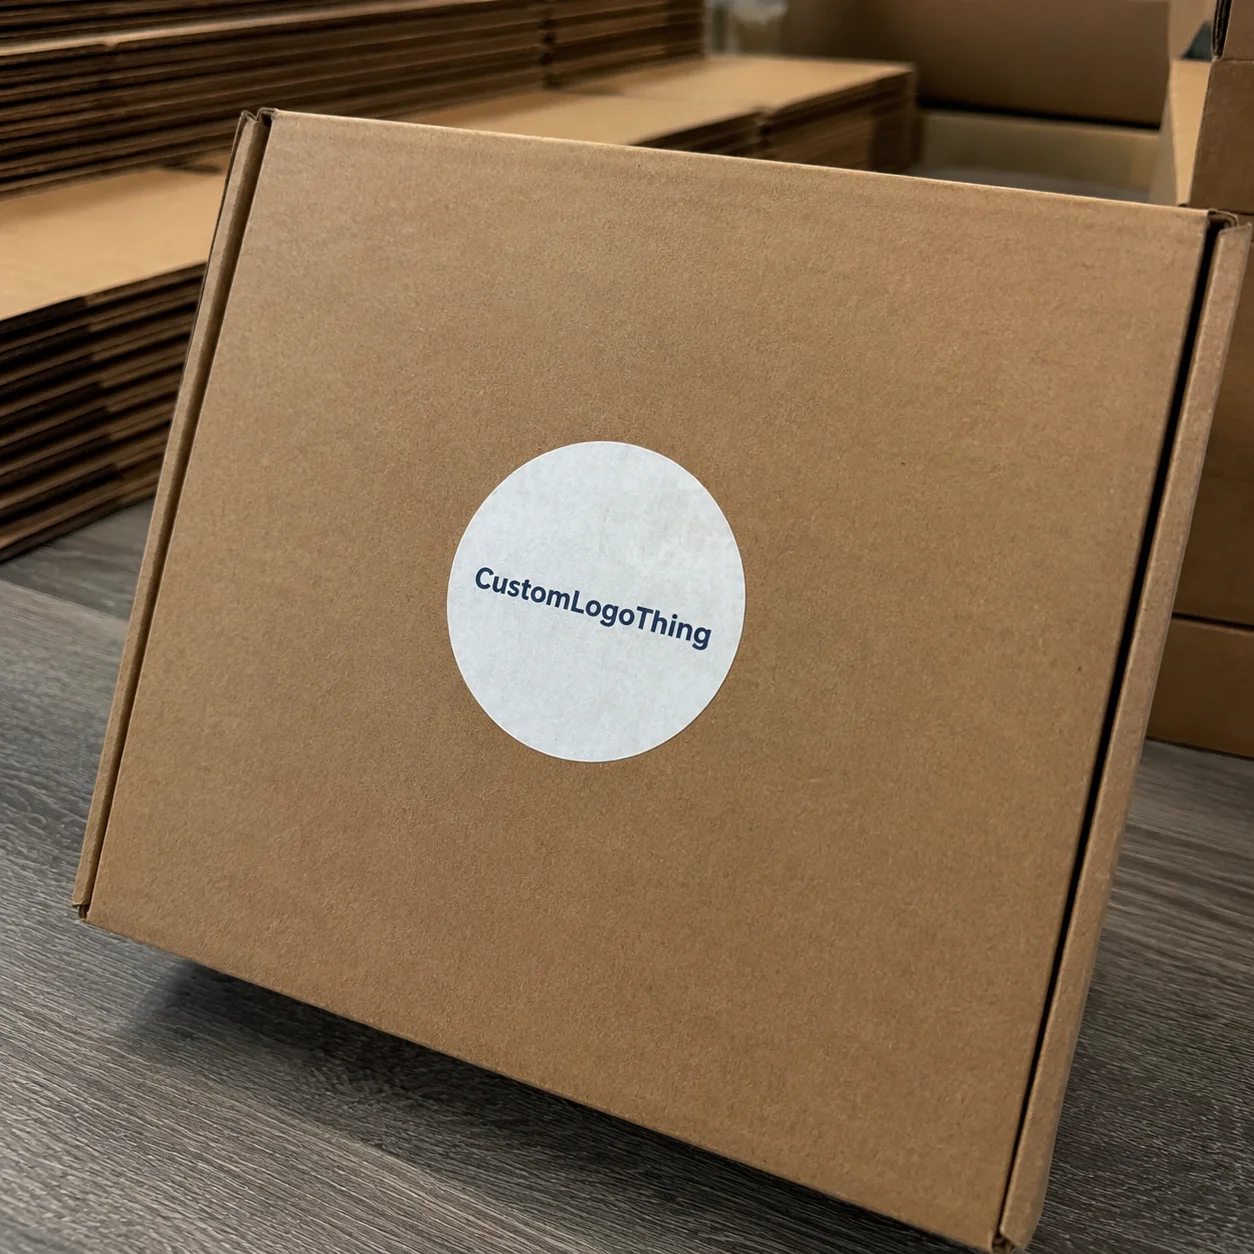
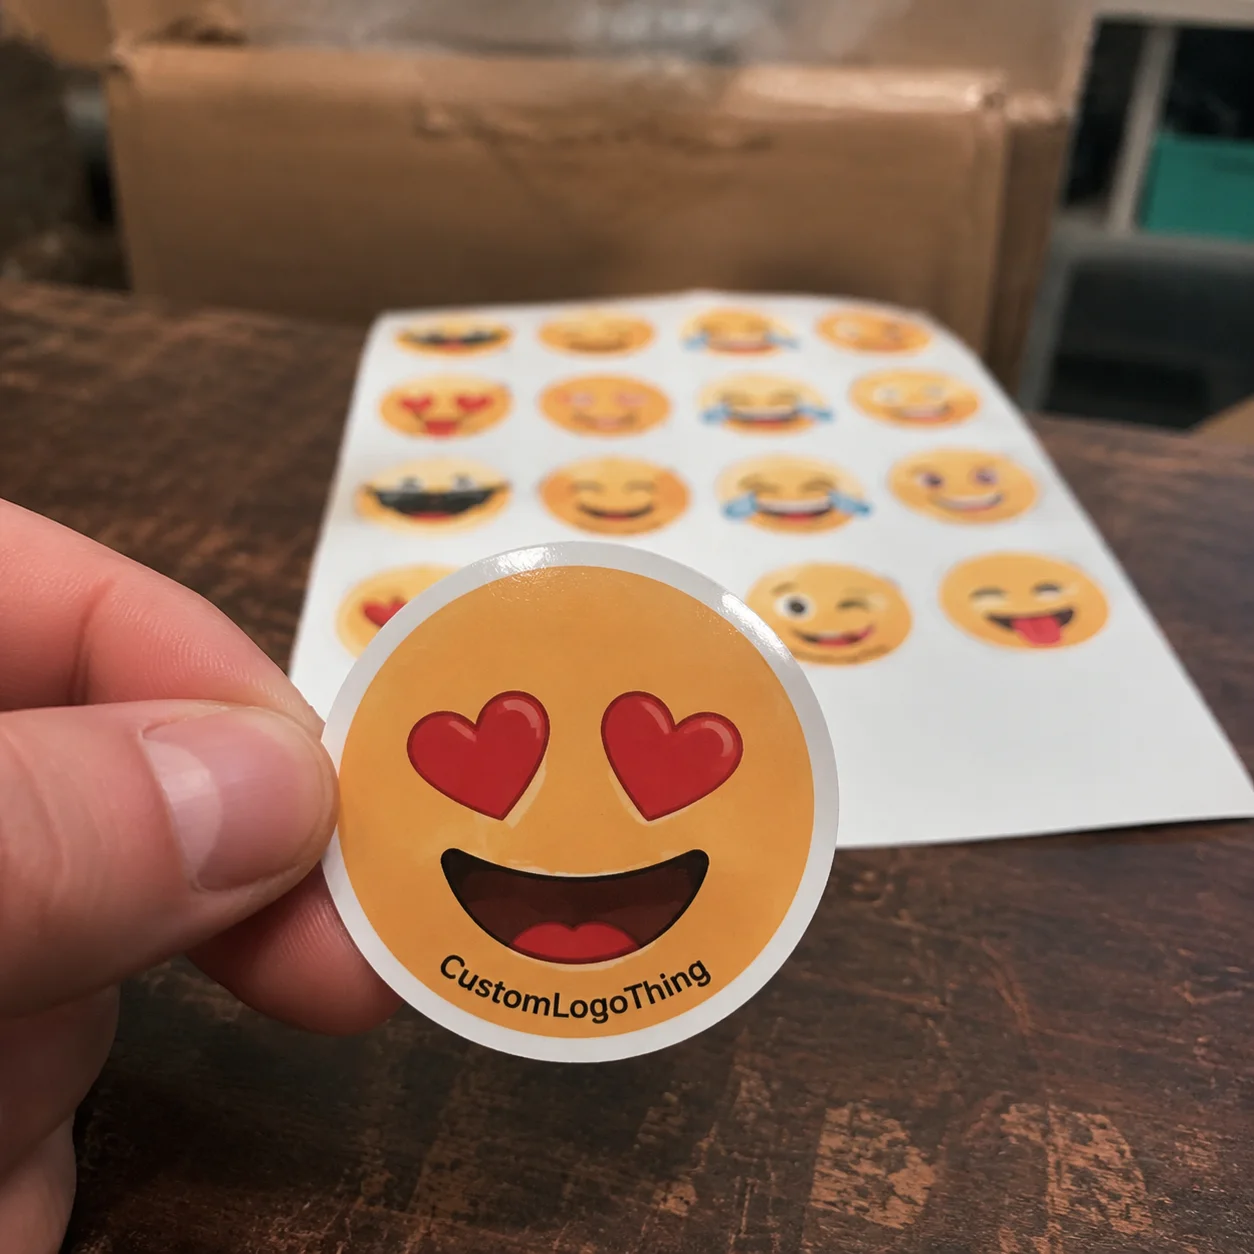
Custom wall vinyl stickers are adhesive graphics made for interior wall surfaces and similar smooth substrates. They may be cut lettering, logos, wayfinding marks, promotional decals, or full graphic murals. In practice, they sit between signage and interior decoration, which is why they show up in offices, schools, showrooms, retail packaging areas, studios, event spaces, and homes that need a clean visual update without a repaint.
The wall matters as much as the artwork. Smooth, sealed drywall is usually the easiest surface to work with. Glass, finished doors, powder-coated metal, and other non-porous surfaces can also perform well. Light texture may be acceptable with the right film, but rough plaster, dusty walls, and porous brick are a different conversation. A beautiful graphic will not fix a poor surface match.
There are three broad adhesive categories buyers usually run into:
- Removable vinyl for short campaigns, seasonal updates, and spaces that change often.
- Permanent vinyl for longer service life where strong hold matters more than easy removal.
- Textured-surface vinyl for certain painted walls with light texture, usually with a more aggressive adhesive and a film built to conform better.
Removable does not mean completely risk-free. It means the adhesive is designed to release more cleanly under the right conditions. Fresh paint, poor-quality paint, high humidity, and long dwell times all affect removal behavior. A wall painted recently may still be curing, and that can change how the adhesive bonds in the first hour as well as the first year.
“Most wall graphic failures start before installation. If the wall is wrong, the adhesive is wrong, or the paint is still curing, the graphic usually exposes the problem instead of hiding it.”
For buyers already thinking in terms of packaging and brand presentation, the logic is familiar. The wall graphic should feel like part of the same visual system as the product display, the label set, or the retail packaging around it. When those elements share the same tone and finish, the room feels more deliberate and less pieced together.
How the Process Moves From Artwork to Installation
The path from file to wall is straightforward, but every step affects how the finished graphic behaves. First comes artwork review. That means checking file type, resolution, cut lines, color information, and whether the design should be contour cut or trimmed as a rectangle. Vector artwork is the safest starting point for logos and text because it keeps edges sharp at almost any size. Raster artwork can work too, but only when the source file is large enough for the final print dimensions.
Once the artwork is approved, the next questions are size, finish, and adhesive. A small logo on a painted wall is handled very differently from a ten-foot mural running across a corridor or reception area. Large graphics may need registration marks, a layout template, or transfer tape to keep pieces aligned during install. Smaller decals can be simpler, but they still need accurate scaling and clean cutting.
A typical production sequence looks like this:
- Confirm wall dimensions and surface type.
- Review the artwork and determine cut style.
- Select vinyl, finish, and adhesive.
- Approve a digital proof with placement and scale checked.
- Print, dry, or cure the graphic.
- Trim, contour cut, inspect, and pack for shipping.
Installation itself is not difficult, but it rewards patience. The wall should be clean and dry. The graphic should be positioned before full contact is made. Pressure should move from the center outward so air can escape instead of getting trapped under the film. Larger pieces go better with two people, especially when the design spans a doorway, corner, or a long uninterrupted wall where alignment drift becomes obvious fast.
What tends to slow jobs down is not the vinyl itself. It is unclear artwork, inaccurate wall measurements, or a surface that was never really ready for adhesive. If brand color matters, it also helps to ask whether the supplier can work to a Pantone reference or a verified sample. That is standard thinking in print and packaging work, where a small color shift can make an entire run feel off.
Wall graphics often sit alongside other branded materials, so it helps to think about them as part of a larger set rather than a one-off purchase. A clean wall install and a good package layout tend to reinforce each other when a customer sees both in the same space.
What Drives Price and Order Size
Pricing for custom wall vinyl stickers usually comes down to a few concrete variables: size, quantity, artwork complexity, print coverage, contour cutting, laminate, and adhesive type. A small logo decal and a full mural may use similar base materials, but the labor and finishing time are not remotely the same. A simple rectangle is faster to cut and weed than a shape with interior lettering, tight curves, or several colors that need precise alignment.
Small orders tend to carry a higher per-piece cost because setup labor is spread across fewer units. Larger runs usually reduce the unit price, mainly because proofing, file prep, cutting, and packing do not scale one-for-one with quantity. That pattern is common in packaging too. A one-off custom piece can look expensive on a unit basis, while a repeat order starts to feel much more manageable once setup costs are distributed across several pieces.
| Option | Best For | Typical Cost Driver | Tradeoff |
|---|---|---|---|
| Standard removable vinyl | Short-term promos, offices, events | Lower material cost and simpler finishing | Less aggressive hold on some walls |
| Textured-surface vinyl | Painted walls with light texture | Special adhesive and film construction | Higher price, but better wall compatibility |
| Laminated mural | High-traffic areas and frequent cleaning | Added laminate and extra finishing steps | Costs more, but improves scuff resistance |
| Contour-cut logo set | Retail branding and directional signage | Cutting time and weeding labor | Cleaner appearance, more setup work |
Square footage helps, but it is not the whole story. A matte laminate, low-tack removable adhesive, or wall-safe film for textured paint can change the quote more than a few extra inches of size. Rush production, proof revisions, and shipping often matter as well, especially on small orders where fixed labor is a larger part of the total.
For planning, it helps to request pricing at more than one quantity if the design may be used again. The break point is often clearer than buyers expect. A single custom piece may have a much higher unit cost than a short run, and the difference usually comes from the setup and inspection time that never really shrinks.
For shipping protection and handling standards, organizations such as the ISTA and the EPA are useful references. They will not tell you how to price a wall decal, but they do frame the sort of durability, transport, and material questions worth asking before production starts.
Turnaround, Files, and Production Checkpoints
Turnaround usually begins after proof approval, and that is where many projects lose time. Simple die-cut decals can move quickly once the file is locked. Large murals, color-sensitive brand graphics, and complex contour cuts need more handling, more inspection, and sometimes more drying or curing time before packing. If the job includes laminate, that adds another stage that has to settle cleanly before it leaves production.
A realistic schedule should account for proofing, the production queue, printing, drying or curing, finishing, quality inspection, and dispatch. If the graphic is tied to a store opening, campaign launch, or event date, that deadline should be shared early. Once the order is already in motion, there is very little room left for file changes or surface surprises.
Holiday periods and trade show season can slow things down, especially when multiple rush jobs land at once. Design revisions can have the same effect. A buyer may think the art is ready, but if the dimensions still need confirmation or the brand colors are waiting on approval, production is effectively paused.
Packing method matters too. Flat shipping is often safer for larger wall graphics because it reduces the risk of creasing. Tubes work for some jobs, but they are not always the best option when a piece needs to arrive flat and ready to install. The protection logic is the same as in packaging work: keep the product stable during transit so it still performs when it reaches the end user.
When requesting a quote, the most useful details are usually the simplest ones: wall dimensions, surface type, installation location, and the date it has to be up. If the graphic is temporary, say how long it needs to remain installed. A three-week campaign and a three-year brand wall should not be treated like the same order.
Choosing Material, Finish, and Adhesive
Matte, gloss, and satin each solve a different problem. Matte cuts glare, which is useful in rooms with bright overhead lighting, glass walls, or sun exposure from nearby windows. Gloss increases color punch and can make graphics feel sharper, but it also reflects light more aggressively. Satin usually lands in the middle and is often the safest choice for mixed lighting.
Size should be based on the usable wall area, not just the open space in a mockup. Trim, corners, switches, outlets, and furniture lines all affect the final appearance. If the graphic is squeezed too tightly into the space, it stops feeling intentional. A little breathing room often improves both readability and installation accuracy.
Adhesive strength should match the surface and the expected service life. Fresh paint needs time to cure before vinyl goes up, and the cure time depends on the paint type and room conditions. Light texture may need a more specialized film. Temporary campaigns are usually better served by removable adhesive, while long-running branding or busy corridors may need a stronger hold. There is no single material that does every job well.
Cleaning habits and light exposure matter too. A graphic near a sunny window may benefit from laminate. A hallway, restaurant wall, or reception area may need better scuff resistance. Even in home settings, repeated wiping can dull a weak finish or edge. The practical test is not how the piece looks on day one; it is how it holds up after a few months of handling and light cleaning.
- Use matte when glare would hurt readability.
- Use gloss when color saturation matters more than reflection control.
- Use satin for a balanced finish in most rooms.
- Use removable adhesive for short-term installs and changing messaging.
- Use a stronger film only when the wall and timeline justify it.
That same logic applies to packaging and label finishes. The wall graphic should not clash with the surrounding space any more than a label should fight the box coating beneath it. When the finish, substrate, and use case line up, the result reads as polished without calling attention to itself.
Installation Mistakes That Cost Time and Money
The most common mistake is applying vinyl to a wall that is not ready. Dust, moisture, cleaning residue, and uncured paint all interfere with adhesion. If the wall was freshly painted, it needs time. That delay is not optional. Rushing the install to meet a deadline often creates a much larger problem later.
Measuring the artwork instead of the wall is another frequent error. A file can be perfectly sized on screen and still fail in the room because a light switch, thermostat, trim edge, or doorway cuts into the layout. The usable wall area is the real reference point, not the file dimensions by themselves.
Air bubbles usually come from haste or uneven pressure. If the graphic is pressed down too quickly, air has nowhere to go. The fix is not aggressive scrubbing after the fact. It is cleaner prep, better alignment, and controlled pressure from the start. A small test placement is often worth the extra few minutes when the surface is unfamiliar.
Adhesive mismatch is another quiet problem. A film meant for smooth drywall may not behave well on lightly textured paint. A higher-tack material may be too strong for a temporary campaign. Humid spaces can also change how the bond behaves over time, which is why washrooms, kitchens, and some food-service areas need more caution than a standard office wall.
Common mistakes in one list:
- Installing on dusty, damp, or greasy walls.
- Applying before fresh paint is fully cured.
- Ignoring texture, sheen, and wall condition.
- Skipping a test spot on uncertain surfaces.
- Rushing alignment on large-format graphics.
None of those errors are dramatic, but they can turn a straightforward install into a costly redo. A slower, cleaner application almost always saves money compared with replacing a graphic that failed because the prep was rushed.
Practical Ordering Notes
If you want a smooth ordering process, send wall photos, exact measurements, and surface details before asking for a quote. One decent photo usually answers several questions at once: texture, lighting, nearby obstacles, and whether the location is truly indoor. That matters a great deal for custom wall Vinyl Stickers That have to fit around trim, glass, or irregular edges.
When the surface or finish match is uncertain, a sample decal is worth the time. That small check is far cheaper than discovering the full-size graphic will not sit flat or release cleanly. Buyers who already work with custom printed boxes and label samples usually understand this instinctively: a little testing early can prevent a larger mistake later.
Installation timing should match the space, not just the production schedule. Retail stores often need work done before opening hours. Offices usually prefer after-hours installation. Event spaces may require a narrow setup window and a hard teardown deadline. Those constraints are normal, but they should be part of the order from the beginning.
It also helps to ask about cleaning and removal before approving the spec. Some graphics tolerate mild wiping. Others are better left alone once installed. Some peel away cleanly after months of use; others are built for a longer service life and a more involved removal. Those details matter more than a polished mockup.
A practical order sequence usually looks like this:
- Measure the wall and note the surface type.
- Collect the final artwork files.
- Choose finish and adhesive based on use.
- Request a quote with the deadline attached.
- Check proof size, placement, and color notes.
- Prep the wall and plan the install window.
The best custom wall vinyl stickers are the ones that feel almost invisible in the process and obvious in the result. They sit cleanly on the wall, hold up under normal use, and come off the wall in the way the buyer expected. That is the real measure of a good job: not just how it looks on install day, but how well the material choice, file prep, and surface match worked together.
FAQ
Are custom wall vinyl stickers removable without damaging paint?
Sometimes. Removability depends on the adhesive, the quality of the paint, how long the graphic stays up, and whether the paint was fully cured before installation. A removable adhesive on a properly cured interior wall gives the best chance of clean removal. Older paint, poor paint adhesion, or long dwell times increase the risk of lifting paint.
What surfaces work best for custom wall vinyl stickers?
Smooth, clean, sealed surfaces perform best. Painted drywall, glass, metal, and finished doors are usually the easiest matches. Light texture may work with the right film, but rough, porous, or dusty surfaces are much less predictable. If the wall is questionable, a test sample is the safest check.
How do I estimate the cost of custom wall vinyl stickers?
Start with size, quantity, and artwork complexity. Then add factors such as laminate, special adhesive, contour cutting, and shipping. Rush timelines and proof changes can affect the total more than many buyers expect, especially on small orders where setup labor is a larger share of the cost.
How long does the turnaround usually take?
Simple orders can move quickly once the proof is approved, while larger murals or complex cut jobs take more time to print and finish. In many cases, the biggest delay is not production but waiting on artwork approval, color confirmation, or final measurements. If you have a deadline, share it early.
What file should I send for the best print quality?
Vector files are best for logos, lettering, and sharp shapes because they scale cleanly. High-resolution raster files can work for photo-based graphics if the final size is confirmed. Include dimensions, placement notes, and any color reference so the proof matches the intended install as closely as possible.