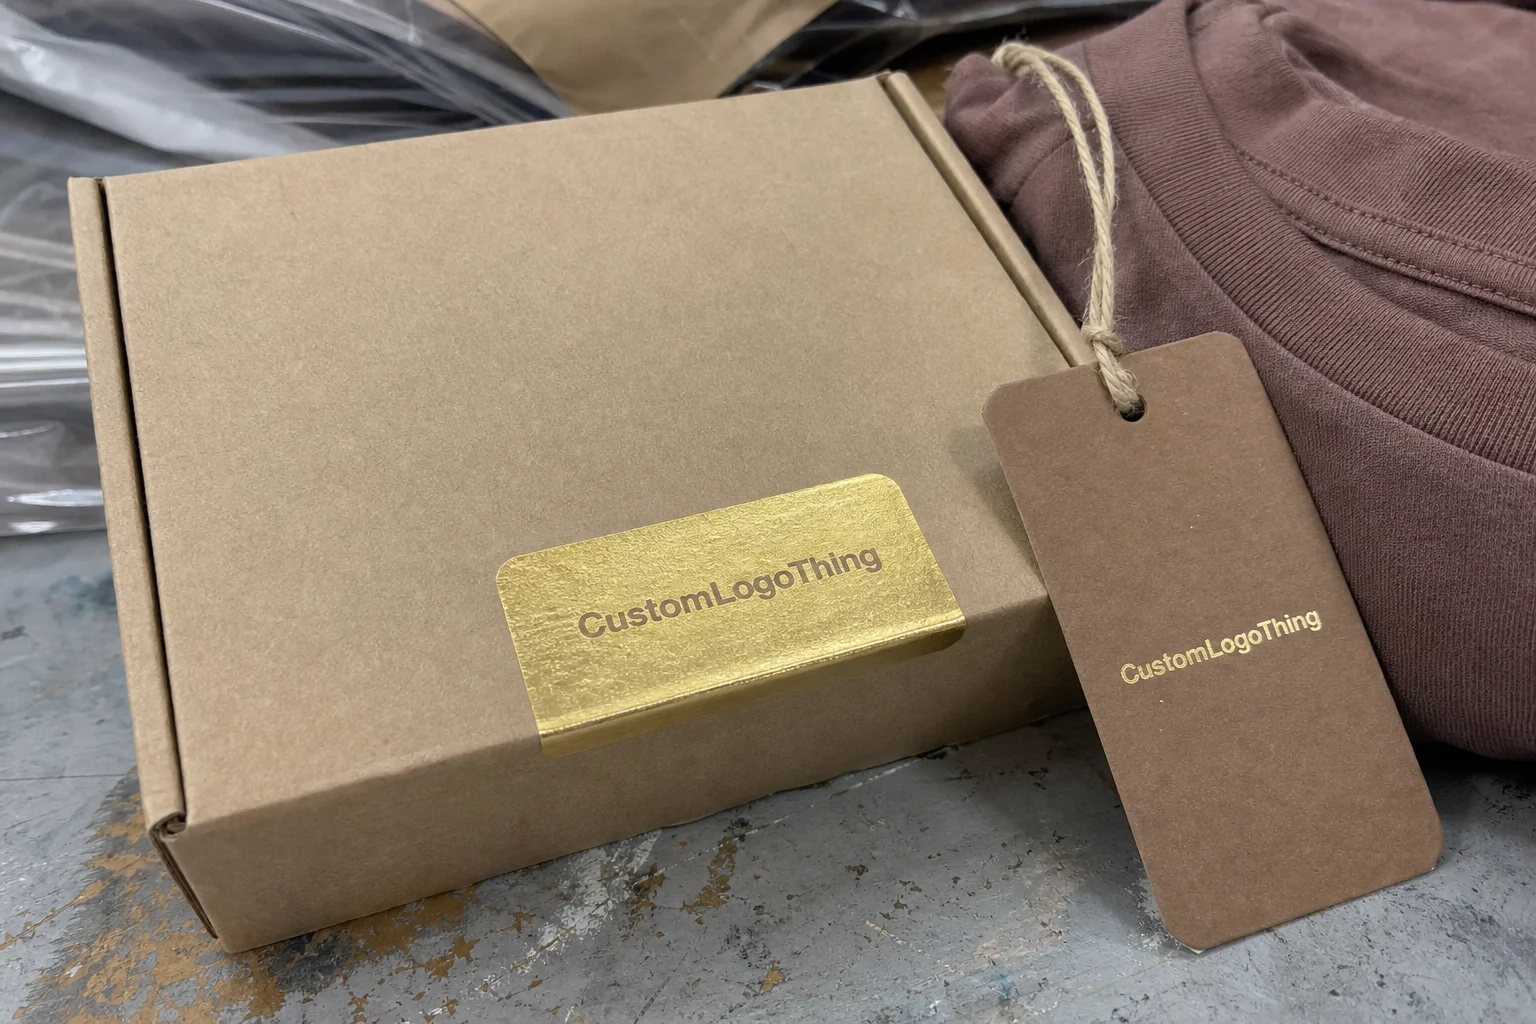
Custom foil labels can make clothing packaging feel intentional before the customer even touches the garment. That is the real job here. Not just shine, not just decoration, but a cleaner first impression that makes the whole package read as more considered.
For apparel brands, that matters because packaging carries a lot of weight. A folded tee in a plain mailer feels different from the same tee sealed with a metallic label, paired with a sharp insert card, or finished with a matched hang tag. The product has not changed. The perceived value often has.
The catch is that foil is unforgiving. It shows every flaw in file prep, every weak registration choice, and every shortcut in material selection. If you want the label to look premium in real production, you need to think about substrate, adhesive, artwork detail, and the way the label will actually be handled after it leaves the press.
Practical rule: design the label for the surface first, then style it. If the order is backwards, the result usually looks busy instead of premium.
Why Custom Foil Labels Stand Out on Clothing Packaging
Custom foil labels stand out because they create contrast in places where ordinary print fades into the background. A black logo on a white mailer is functional. Add gold, silver, copper, or holographic foil and the same mark catches light, reads faster, and feels more deliberate. That visual lift is useful in retail, but it is also useful in ecommerce, where packaging often has to do the brand-building work that an in-store display normally would.
There is a reason buyers keep coming back to metallic finishes for apparel packaging. They are efficient. One small label can change how the whole package is perceived without forcing a full redesign of the box, mailer, or insert set. That makes foil a smart tool for launch drops, seasonal collections, premium basics, and gift-ready packaging.
The best use cases are not always the loudest ones. Minimal brands usually get more value from a restrained foil accent than from full-surface shine. A small logo seal, a clean seal on tissue, or a short line of metallic type can be enough. If the finish is too aggressive, it starts working against the brand instead of for it.
Foil also helps with visual hierarchy. On a crowded pack-out table or shelf, a metallic element makes the key message easier to spot. That can be the logo, a size note, a limited-edition mark, or a simple product identifier. The point is not to pack everything into the label. The point is to make the right element visible first.
There is a practical downside worth saying plainly: foil is less forgiving than flat print. If your packaging uses rough kraft paper, a highly textured recycled stock, or a surface that flexes a lot, fine detail can break up faster than expected. Strong contrast still helps, but there is a ceiling. A premium effect only works if the substrate can support it.
How the Foil Application Process Works
Foil work starts with file prep, not on press. The artwork needs a clearly separated foil layer, usually set up as a spot color or dedicated vector layer so the production team can identify exactly where the metallic effect should go. If the file is messy, the proofing stage slows down immediately. If the foil layer is clean, everything downstream gets easier.
The two main production methods are hot foil and cold foil. Hot foil uses heat and pressure with a die or plate to transfer foil onto the stock. It tends to create the sharpest edges and the most premium finish, especially on logos, short text, and simple shapes. Cold foil applies foil using adhesive in-line during printing. It is often chosen when speed, press setup, or workflow flexibility matters more than the deepest metallic punch.
There is also metallic ink, which is sometimes sold as a foil alternative. It can look useful from a distance, but it does not behave like actual foil. The shine is flatter, the reflectivity is lower, and the finish usually reads more printed than premium. That may be fine for budget runs or utility labels. It is not the same effect.
Stock choice affects the final result just as much as the foil method. Coated paper generally gives the cleanest transfer. Soft-touch stock can make the metallic area stand out more because the base is muted. Clear film creates a floating look, but it also exposes registration issues very quickly. Textured paper can be beautiful, but if the texture is too open or too rough, the foil may lose edge definition.
Detail limits matter too. Thin lines, tiny reverse type, and crowded icons are common failure points. A design that looks refined on screen can become muddy on press if the foil area is too delicate. As a working rule, keep the smallest foil details conservative and leave room around the logo. Tight spacing is where most avoidable defects start.
Quality control should not stop at visual inspection. A proper check looks at foil coverage, edge lift, registration, scuff resistance, die-cut accuracy, and whether the adhesive matches the intended surface. For packaging that will be handled a lot, it is also worth checking how the label behaves after stacking, compression, or a short period in warm storage. Those conditions expose weak specs quickly.
Cost, Pricing, and MOQ: What Drives the Quote
Pricing for custom foil labels is driven more by setup than by the foil itself. Size matters because larger labels use more stock and more foil. Coverage matters because a small accent costs less than a label with metallic coverage across most of the face. Shape matters because a standard rectangle is faster to cut than an irregular die-cut form. Then you add stock selection, adhesive type, and any special finish, and the quote moves again.
MOQ, or minimum order quantity, is where buyers often get surprised. Small test runs are possible, but setup costs are spread across fewer pieces, so the unit price rises fast. A 500-piece order and a 5,000-piece order are not scaled versions of the same job. The fixed work at the front end does not disappear just because the count is lower.
Here is a practical pricing snapshot based on common apparel packaging orders:
| Option | Typical Use | Approx. Unit Cost | Main Price Driver |
|---|---|---|---|
| Simple metallic accent | Logo seal, insert card, basic mailer label | $0.12-$0.22 at 5,000 pieces | Single foil color, standard size, coated paper |
| Mid-range custom foil label | Retail packaging, hang tags, branded wraps | $0.18-$0.34 at 5,000 pieces | Custom shape, one foil pass, permanent adhesive |
| Fully customized premium build | Launch kits, luxury apparel, special editions | $0.30-$0.65 at 5,000 pieces | Special stock, multiple finishes, complex die, specialty adhesive |
Those figures are directional. Smaller quantities often cost more per unit than the table suggests, and larger runs can pull the price down if the specification stays stable. The biggest cost jumps usually come from custom shapes, multiple foil colors, white ink layers, textured or film-based stock, and rush production.
If you are comparing options, ask for two quotes: one for the simplest build that still fits the job, and one for the fully branded version. That makes the tradeoff obvious. You can see exactly what each upgrade buys you instead of guessing from a single number and hoping it feels right later.
For broader packaging programs, labels should be priced in context. A premium seal may be cheaper than upgrading every carton in the line, but more expensive than a standard sticker. The right answer is the one that matches the packaging role. Decorative excess is easy to buy and hard to justify.
Production Steps and Timeline: From File to Delivery
The production timeline looks simple from the outside and slightly less simple once you are inside it. The buyer sends artwork and specs. The vendor sends a proof. Changes get made. Approval happens. Then the job moves into setup, printing, foiling, cutting, inspection, and packing. If the file is clean and the specs are locked, it moves in a straight line. If not, the schedule starts slipping.
- Send final artwork with dimensions, quantity, and foil areas clearly marked.
- Review the proof for spelling, line weight, bleed, safe zones, and registration.
- Approve stock, adhesive, foil color, and finish.
- Move into setup, production, die-cutting, and inspection.
- Ship after the order clears quality checks.
The delays are predictable. Missing dielines slow proofing. Low-resolution logos create extra revisions. Unclear foil layers force the production team to interpret the artwork instead of running it. Late changes after approval are worse, because they can reset tooling or push the order back into a queue that already has other jobs in front of it.
For standard custom foil labels with stable specs, a realistic production window is often 12-15 business days after proof approval. More complex builds, such as custom shapes, multiple foil effects, or specialty substrates, can stretch that to 15-25 business days. Shipping time is separate. That distinction matters more than most buyers expect, because an order can be approved on paper and still miss a launch if transit was never built into the schedule.
Foil jobs also need a little more discipline than ordinary sticker printing. The press setup is different, the inspection threshold is tighter, and the finishing stage can expose problems that would not matter on a plain label. If a supplier promises a very short turnaround, ask what that includes. Proofing, tooling, production, and delivery are not the same thing, and the answer can change the real lead time by several days.
Choosing the Right Stock, Adhesive, and Finish
If the label is going onto a folded garment bag, a mailer, an insert card, or a hang tag, the material has to match the use case. That sounds obvious. Plenty of bad orders happen anyway because the decision started with the look instead of the application.
For stock, coated paper is usually the cleanest choice for sharp foil detail. Uncoated paper can still work, but the finish will be softer and the foil may not appear as bright. Synthetic stock is better when moisture, abrasion, or handling is a concern. Clear film can look modern and light, though it can also expose misregistration that paper would hide. Textured papers can feel more premium, but only if the foil detail is bold enough to survive the surface texture.
Adhesive choice is not a side note. It decides whether the label stays where it should. Removable adhesive works for temporary placements, particularly where the customer is expected to open the packaging cleanly. Permanent adhesive is a better fit for mailers, cartons, and wrappers that need to hold during transit. Some recycled or rough surfaces need stronger adhesion or a test run before full production. If the package will see heat, pressure, or friction, the adhesive should be treated as a technical spec.
Finish changes the mood of the label. Matte stock gives foil more contrast. Gloss stock adds brightness but can feel less controlled. Soft-touch can make a metallic element Stand Out Without making the label loud. Clear film creates a floating effect. None of these options is automatically better. The right choice depends on the brand position and the rest of the packaging.
There is also a practical detail that gets missed too often: packaging systems have to work together. A foil label that looks great on a coated insert may lift on a soft mailer. A label that behaves well in a small prototype run may fail once the full order uses a different coating or a different supplier batch. The smart move is to test the label against the actual surface it will live on, not just against a sample sheet.
Before approving the final build, ask three questions:
- What surface will the label touch?
- How long does it need to stay in place?
- How much handling will it see before the package is opened?
Those three answers usually tell you more than any finish name on a quote sheet.
Common Mistakes That Make Foil Labels Fail
The first mistake is overcrowding the design. Tiny text, hairline rules, and too many foil elements can make the label look busy before production even starts. A press operator may be able to run the file, but the finished piece can still feel cluttered or hard to read. If the label has a job to do, readability wins. Every time.
The second mistake is choosing the wrong adhesive for the surface. That is the fastest way to create visible defects, especially on coated mailers, recycled stock, or rough packaging. If the label lifts in one corner or shifts after application, the customer sees a flaw even if the foil itself looks perfect. Adhesion problems are cheaper to catch in sampling than after goods have already been packed.
The third mistake is skipping a physical sample. Screens hide the things that matter: how the foil catches light, whether the small type stays legible, and whether the finish behaves badly on the final substrate. A proof on smooth paper is not the same as a live run on textured packaging. If the order supports a launch, a seasonal drop, or retail distribution, sampling is basic risk control, not overthinking.
Storage and handling also matter more than people admit. Heat can soften adhesive. Humidity can warp stock. Stacking pressure can flatten texture or leave impressions. Transit friction can scuff a metallic layer if the finish is delicate. If labels are being stored before use, keep them in a stable environment and avoid heavy compression. Boring advice, yes. Still the difference between a clean pack-out and a damaged one.
One more common miss: confusing foil with “luxury” in a generic sense. Foil can support a premium look, but it does not fix weak typography, poor spacing, or inconsistent brand systems. If the underlying design is messy, the metallic finish just makes the mess more visible.
Next Steps Before You Request a Quote
Before asking for pricing, gather the information that actually changes the quote. Size, quantity, surface type, foil color, adhesive preference, and whether the label is for packaging or direct product presentation should all be clear. If the label will live on a retail package, a shipping insert, or a hang tag, say so. That context helps the supplier recommend the right build instead of guessing.
Artwork prep matters too. Send the file with a clearly separated foil layer, proper bleed, and safe margins. Mark the parts that must stay readable at small sizes. If the layout is still changing, say that up front. Guessing at the proof stage is how delays happen.
If the label needs to match a broader packaging set, include that in the request. The foil finish should sit comfortably beside the box, insert, tissue, or wrap. A label can be technically correct and still feel out of place if the rest of the package uses a very different tone.
The cleanest buying process is simple: define the application, verify the material, check the proof, confirm the adhesive, and approve only when the build matches the real use. That is how custom foil labels stay useful instead of becoming a costly decoration.
FAQ
How durable are custom foil labels on clothing packaging?
Durability depends more on the stock, adhesive, and storage conditions than on the foil layer by itself. For packaging and inserts, a coated stock with the right adhesive usually holds up well under normal handling. If the label will face friction, heat, or humidity, ask for a sample test before approving the full run.
What affects custom foil labels pricing the most?
The biggest drivers are size, quantity, foil coverage, stock choice, and whether the shape needs a custom die. Complex artwork, multiple foil colors, and specialty finishes increase setup and production cost. Rush scheduling can raise the price quickly too, especially on smaller runs.
How long does a foil label order usually take?
Simple orders move fastest when the artwork is clean and the specs are already final. Proofing, revisions, and production setup can add time before the press run begins. Shipping is separate, so buyers should confirm both the production window and the delivery window before they commit to a launch date.
Should I choose hot foil, cold foil, or metallic ink for apparel labels?
Hot foil usually gives the crispest premium look and is a strong fit when the brand wants true metallic reflection. Cold foil can work well for certain press setups and faster production environments. Metallic ink is usually more budget-friendly, but it does not create the same reflective depth.
What file prep do I need before ordering custom foil labels?
Use vector artwork whenever possible and convert fonts to outlines to avoid layout problems. Separate the foil area clearly so the printer knows exactly where the metallic effect should appear. Include bleed, safe zones, and any special notes on text size or logo placement before you send the file.
Custom foil labels work best when the design, substrate, and production method are all aligned. Get that part right and the finish does what it should: adds contrast, improves perceived value, and survives real handling without turning into a problem later.


