Buyer Fit Snapshot
| Best fit | Custom Labels Supplier projects where brand print, material claims, artwork control, MOQ, and repeat-order consistency need to be specified before quoting. |
|---|---|
| Quote inputs | Share finished size, material target, print colors, finish, packing count, annual reorder estimate, ship-to region, and any compliance wording. |
| Proofing check | Approve dieline scale, logo placement, barcode or warning zones, color tolerance, closure strength, and carton packing before bulk production. |
| Main risk | Vague material claims, crowded artwork, missing packing details, or unclear freight terms can make a low unit price expensive after revisions. |
Fast answer: Custom Labels Supplier: Material, Adhesive, Artwork, and MOQ should be specified like a repeatable production item. The safest quote records material, print method, finish, artwork proof, packing count, and reorder notes in one written spec.
Production checks before approval
Compare the actual filled-product size with the drawing, then confirm tolerance on folds, seals, hang holes, label areas, and retail display edges. Reserve space for logos, QR codes, warning copy, and material claims before decorative graphics fill the panel.
Quote comparison points
Review material grade, print process, finish, sampling route, tooling charges, carton quantity, and freight assumptions side by side. A quote is only useful when the supplier can repeat the same color, closure quality, and packing count on the next order.
I watched two nearly identical 12 oz body wash bottles launch within three weeks at a regional chain in Ohio, both with coconut fragrance, both priced at $8.99, both with similar ingredient decks. By week six, one was moving 1.8x faster because the label stayed crisp under fluorescent shelf lighting and didn’t ripple in humid showers. That’s exactly why this custom labels supplier guide matters: a label is not decoration. It’s a performance component tied directly to packaging durability, conversion, and long-term brand perception.
I’m Marcus Rivera, and I’ve spent more than 20 years in plants from Anaheim to Shenzhen—standing next to Mark Andy flexo lines at 2:00 a.m., arguing over delta-E tolerances in prepress rooms, and helping teams recover from adhesive failures that burned $42,000 in relabeling labor. I remember one night in Dongguan when a single misread unwind direction turned a “quick rerun” into a six-hour scramble, three cold coffees, and exactly zero patience left for anyone saying “it should be fine.” If you’re building branded packaging, this custom labels supplier guide can save you time, money, and a lot of preventable headaches.
Custom Labels Supplier Guide: Why Supplier Choice Shapes Your Brand
A strong supplier does far more than print stickers. The right partner handles material conversion (like slitting 54-inch master rolls into 13-inch press-ready widths), adhesive matching (permanent acrylic, rubber-based hot melt, freezer-grade), color management (Pantone targets checked by spectrophotometer), die-cutting (rotary tooling tolerances around ±0.2 mm), finishing, and outbound logistics aligned to your fill schedule.
Most teams miss the same point: label buying gets treated like a line-item purchase instead of an operating system. Honestly, that mindset is where expensive mistakes begin. I’ve seen a skincare startup shave $0.06 per label, then lose all of it when edge-lift failures triggered a 9,500-unit rework. I’ve also seen a premium tea brand increase perceived value by switching from uncoated paper to white BOPP with matte overlaminate and tighter registration—no formula changes, just better label engineering (and yes, consumers noticed fast).
Marketing should care because first-contact readability happens quickly, usually under 3 seconds. Weak contrast, fuzzy legal copy, or barcode scan performance at 86% instead of 99% first-pass creates friction that hurts sell-through. Procurement should care because landed cost includes spoilage, downtime, freight, and rerun speed—not just unit price. Packaging engineers already know the stakes: surface energy, bottle geometry, and line speed all affect adhesion performance.
Who gets the most value from this custom labels supplier guide? Usually four groups share the decision, even if nobody says it out loud:
- Startup founders trying to launch with low MOQ and tight artwork control.
- Procurement managers balancing quantity breaks, stocking strategy, and supplier risk.
- Packaging engineers validating adhesion on PET, HDPE, glass, or coated paperboard.
- Brand and design leads shaping retail packaging and design intent across SKUs.
This custom labels supplier guide covers workflow, cost drivers, supplier scorecards, selection steps, onboarding controls, common mistakes, and actions you can run in the next 30 days. If you’re aligning labels with other pack formats, review Custom Packaging Products and keep execution consistent across the full system.
How a Custom Labels Supplier Works from Brief to Delivery
Reliable production follows a predictable flow. Whether you’re ordering 5,000 labels or 500,000, the core sequence is usually discovery call, technical brief, substrate and adhesive recommendation, quote, prepress, proofing, press run, finishing, QC, and shipment. Any custom labels supplier guide that skips these stages pushes risk back to your team, and I’ve never seen that end well.
From discovery to technical brief
Discovery calls should include technical questions: container material (HDPE, PET, glass), application method (hand-applied or machine-applied at 90 bpm), exposure (water, oils, refrigeration, UV), and shelf constraints. In one kickoff, a single question about application temperature prevented a freezer failure on 22,000 frozen soup cups. We switched from a standard permanent adhesive to a cold-temp construction rated for sub-zero application, and the launch held. That one question saved everybody from the dreaded “why are labels falling off in aisle 12?” email chain.
Print methods and where each fits
Flexographic printing is still the long-run workhorse. Past roughly 50,000 units per SKU, flexo often wins on unit economics after plate costs are absorbed. Digital label printing excels on short runs, frequent artwork updates, and variable data like lot coding or regional variants. Hybrid programs combine both: digital for fast-change SKUs, flexo for stable volume drivers.
Typical fit by scenario:
- Digital: 1,000–20,000 units, high SKU variation, quick artwork updates.
- Flexo: 50,000+ units, stable artwork, lower cost at scale.
- Hybrid: mixed portfolio, shared finishes, balanced economics.
Material and adhesive pairing decisions
Facestock and adhesive pairing decide performance. Paper can look beautiful on dry goods and still fail in wet-use conditions. White BOPP (biaxially oriented polypropylene) resists moisture and shows up often in bath-and-body lines. PET film handles higher heat and tougher abrasion. Adhesive families include permanent acrylic for broad use, removable systems for temporary labeling, and freezer-grade options for cold chain.
A beard oil brand learned this the hard way. Their matte paper label absorbed oil splash near the cap, darkened unevenly, and started to look dirty on shelf within two weeks. We moved them to white BOPP, added a 1.2 mil matte overlaminate, and complaint rates dropped below 0.5% of shipments. I still keep that before-and-after sample set in my office because it’s the fastest way to end a “paper is always cheaper” argument.
Prepress discipline and quality checkpoints
Strong prepress teams verify dielines, bleeds (typically 1.5–2 mm), trapping at tight color boundaries, barcode quiet zones, and font legibility at final print size. Clear film builds often need a white ink underlayer to preserve readability. Pantone-to-CMYK conversion is another frequent failure point; for strict brand colors, specify spot inks and define acceptable variance, such as delta-E under 2.0 for hero colors.
Quality control should be instrumented, not visual-only. Expect spectrophotometer readings, registration tolerance checks, peel and bond testing, and AQL-based final inspection before shipment. Teams handling ship-stress-sensitive retail packs can reference broader transport testing practices through ISTA.
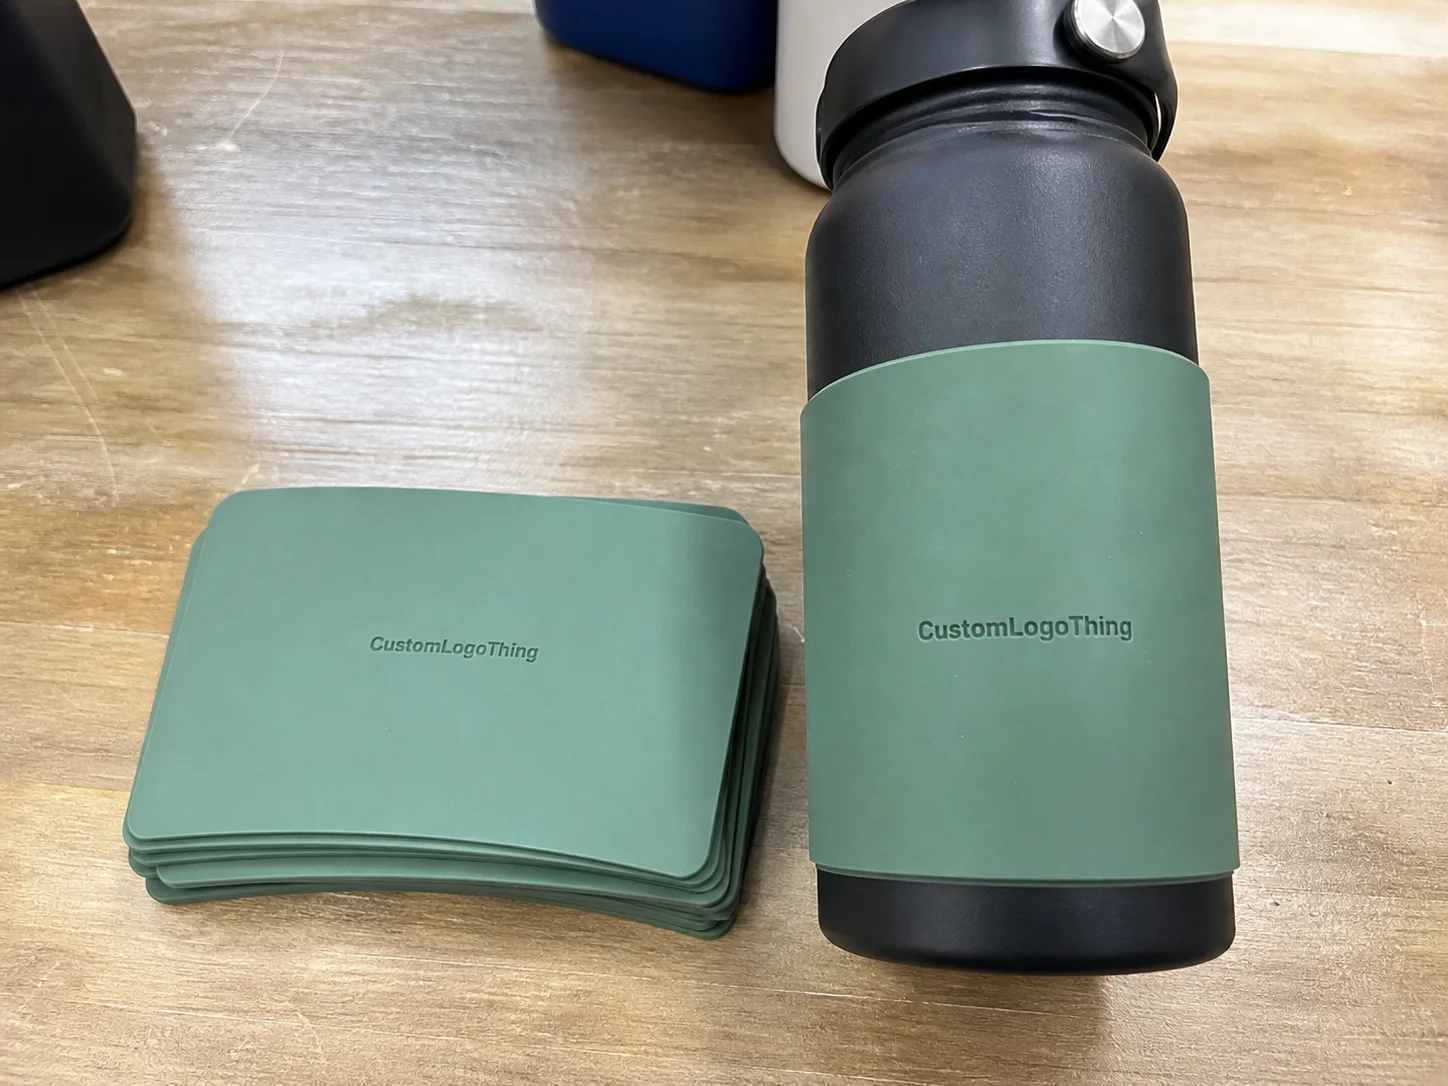
If you need production-ready options while vendor evaluations are still running, browse Custom Labels & Tags and compare each spec against your RFQ checklist in this custom labels supplier guide.
Custom Labels Supplier Guide to Pricing: What Drives Cost
Pricing follows a structure. Once you understand it, negotiations get cleaner and surprises drop. This custom labels supplier guide breaks cost into seven buckets: setup and tooling, material, ink coverage, embellishments, run length, finishing labor, and freight.
Core cost components
- Setup/tooling: flexo plates and rotary dies often range from $150 to $900 depending on complexity.
- Material: paper is usually lower cost than film; specialty films and high-tack adhesives increase price.
- Ink coverage: heavy solids, white floods, and metallic effects use more time and consumables.
- Finishing: lamination, varnish, emboss/deboss, and foil each add process steps.
- Freight: palletized shipments, split deliveries, and expedited lanes can move landed cost sharply.
Here’s a simplified benchmark I use in client reviews for 3x5-inch labels, 4-color process, and standard rewind specs. Supplier and regional differences will shift exact quotes, but these ranges are realistic in North America right now.
| Quantity | Print Method | Estimated Unit Cost | Typical Setup Cost | Lead Time (after proof approval) |
|---|---|---|---|---|
| 5,000 | Digital | $0.18–$0.29 | $0–$120 | 7–10 business days |
| 25,000 | Digital or Flexo | $0.09–$0.17 | $120–$450 | 10–14 business days |
| 100,000 | Flexo | $0.035–$0.08 | $300–$900 | 12–15 business days |
MOQ, run size, and add-ons
MOQ decisions ripple across cost, waste, and speed. Digital often reduces waste during pilot phases, especially while testing 8–12 SKUs at lower volume. Stable demand usually favors flexo for unit cost. Add-ons can shift totals quickly: matte lamination may add $0.01–$0.03 per unit, foil stamping another $0.02–$0.06, tactile varnish around $0.015–$0.04 depending on area and pass count.
Tamper-evident builds, sequential numbering, and specialty adhesives can absolutely justify cost in many categories, but price each item explicitly. I’ve seen teams approve base quotes only to find add-ons excluded, then watch budgets jump 18% after final spec lock. That’s a rough afternoon, especially if finance is copied on every thread.
Hidden cost traps and budget framework
Watch for repeated artwork revisions after plate prep, very small quantities split across too many SKUs, urgent reruns with premium freight, and color disputes raised after approval. Warehousing fees can also creep in when suppliers hold six months of inventory without a release schedule.
My practical rule in this custom labels supplier guide: ask for three quantity tiers (10k/50k/100k is a good start), request landed cost to your dock, and compare true ownership cost including spoilage and line downtime. A label that is $0.02 cheaper but drives 3% application waste is not cheaper in operation. Kinda obvious once you’ve lived through a production week, but people still miss it.
Key Factors to Evaluate Before You Sign a Label Supplier
Before contracts are signed, use a scorecard. I usually weight five categories: print consistency (30%), lead-time reliability (20%), communication speed (15%), technical support (20%), and issue resolution (15%). This custom labels supplier guide recommends evaluating at least three vendors with the same criteria and evidence from real samples.
Capability fit and equipment reality
Ask which press platforms they run and whether those platforms match your complexity. Servo-driven flexo lines, modern digital engines, inline cold foil, and automated inspection systems each matter for different job profiles. Tight curves, micro text, or unusual shapes require confirmed die-cut performance and matrix stripping reliability on your exact geometry.
I toured a Midwest converter whose sales deck promised high-complexity output, yet the finishing line struggled on 0.125-inch corner radii in thin film. Solid crew, wrong technical fit. We moved the project to a plant with better tension control and closed-loop registration, and defect rates dropped with no drama—just better alignment between promise and machinery.
Compliance, documentation, and proof control
Food, beverage, nutraceutical, and personal care brands should request documented guidance on migration and material suitability. To be clear, most label suppliers are not regulatory counsel, and neither am I—so final legal claims still need review by your QA/regulatory team. Barcode verification standards and batch traceability documentation belong on the same checklist. For sustainability targets, FSC chain-of-custody may be relevant on paper constructions; see FSC for certification context.
Proofing discipline gets underestimated. Require version control, sign-off logs, and agreed color tolerances. Hero SKUs may need hard proofs; calibrated digital proofs can work for secondary variants if controls are tight. One stale PDF can trigger a full rerun and a painful write-off. I’ve felt that one personally, and I’m not gonna pretend otherwise.
Operational resilience and disruption handling
Ask direct operational questions: Do they carry backup substrate sources? Can production shift across presses when one line goes down? How do they handle transport delays? During a resin shortage cycle, one supplier with dual-source BOPP and two qualified adhesive systems kept our customer on shelf while competitors were out for 11 days.
A practical custom labels supplier guide earns value right here—fewer assumptions, more verified capability.
Step-by-Step Custom Labels Supplier Guide for Selection and Onboarding
Teams that want repeatable outcomes should follow a structured path. I’ve used this with venture-backed startups launching a first SKU and with national brands managing 200+ variants. It keeps decisions grounded in measured performance, not sales language. A custom labels supplier guide only works if the onboarding sequence is documented and repeatable.
Step 1 — Define requirements clearly
Document container type, dimensions, curvature, and surface material. Specify application method and line speed, plus exposure conditions such as condensation, oil contact, UV, freezer storage, or scuff-heavy transport. Include regulatory copy requirements, barcode type (UPC, EAN, Code 128), minimum scan grade, and shelf objectives tied to retail visibility.
Precision matters. “Needs to be durable” is vague. “Must maintain edge adhesion for 90 days at 4°C with daily condensation cycles on PET bottle” gives engineering something usable.
Step 2 — Build a supplier-ready RFQ packet
Your RFQ should include dielines, print-ready artwork, Pantone references, quantity tiers, forecast cadence, unwind direction, core size, and finishing preferences. Call out compatibility requirements with custom printed boxes or other secondary packaging so the visual system stays consistent.
I like adding a one-page non-negotiables sheet. Example language: delta-E under 2.0 on brand teal, no material substitutions without written approval, barcode scan pass rate above 99% first pass. It sounds strict, but clear rules prevent “I thought you meant…” conversations later.
Step 3 — Shortlist and sample under real conditions
Request swatch kits and press samples, then test on actual containers pulled from your production lot. Run tests in real conditions: refrigerated storage, transport simulation, and shelf lighting. Conference-room reviews alone won’t catch field failures.
I’ve watched labels pass desk review and fail after 72 hours in humid bathrooms. Nothing humbles a team faster.
Run at least three sample checkpoints:
- Immediate application feel and bubble resistance.
- 48-hour adhesion and edge-lift check.
- 7-day scuff, moisture, and barcode readability check.
Step 4 — Run a pilot order before full rollout
Keep pilots controlled—typically 2,000 to 10,000 labels depending on fill volume. Measure application speed, waste rate, scan reliability, and post-handling appearance. Track defects in ppm and classify causes by print, die-cut, adhesive, or rewind. In one protein powder pilot, we caught telescoping on rewinds that would have jammed a high-speed applicator during launch week. Catching that early felt like finding out your smoke alarm works before the fire.
Step 5 — Onboard with formal controls
After supplier selection, lock documentation: approved substrate list, adhesive spec sheets, color library, artwork version SOP, reorder points, escalation contacts, and monthly KPI review cadence. A real custom labels supplier guide ends with governance, not a single purchase order.
“The supplier wasn’t the problem—our process was. Once we added version control and a two-step proof sign-off, reprint incidents dropped from four per quarter to zero in six months.” — Packaging manager at a regional beverage brand
If your team is updating labels while refreshing broader branded packaging, map label specs alongside primary formats in Custom Packaging Products so print standards stay unified across the lineup.
Common Mistakes Brands Make with Custom Label Suppliers
First mistake: chasing the lowest unit price while ignoring failure costs. I’ve seen teams save $0.015 per label and then spend $17,000 on emergency relabeling labor after adhesion failures on chilled bottles. This custom labels supplier guide repeats one theme for good reason—quality failures erase savings quickly.
Second mistake: skipping environmental testing. A label can look perfect at room temperature and fail under refrigeration, shower humidity, or oil contact. Bath-and-body lines should test with real product drips. Frozen foods should validate application temperature and post-freeze flexibility. E-commerce packs need abrasion checks after parcel movement.
Third mistake: submitting non-production-ready artwork. Missing bleeds, outlined-font errors, 150 dpi logos, and conflicting Pantone/CMYK references cause delays and rework. Preflight files before submission and enforce a single source of truth.
Fourth mistake: treating lead times as fixed constants. Material availability changes, proof cycles stretch, freight windows close. Build buffer into launch plans. A stated 10-day lead time only means something when approval dates and ship method are locked early.
Fifth mistake: weak governance after launch. Teams approve the first run, then drift into inconsistent reorders without post-run review. You need revision control, reorder checklists, and monthly quality snapshots. A living custom labels supplier guide in your internal wiki prevents repeat errors.
Honestly, this part isn’t glamorous, but it’s where long-term margin protection lives.
What Should You Ask in a Custom Labels Supplier Guide Shortlist?
If you want your shortlist to produce clear decisions, center your custom labels supplier guide on questions that expose process depth, not polished sales language. Ask how vendors qualify adhesive for your exact container polymer, how they verify color stability across reruns, and how they document corrective action when claims happen. Ask for average defect ppm, not just their best month. Ask for lead-time performance over the last two quarters, not a single promise tied to “normal conditions.”
A useful custom labels supplier guide question set should also cover converting details: rewind orientation controls, splice standards, core tolerances, and how they prevent telescoping on high-speed lines. If your applicator has tight constraints, one mismatch on unwind can turn an otherwise good print run into line stoppages and wasted labor.
Finally, include one question that tests operational maturity: “Show me your escalation map from first complaint to root-cause closeout.” The best suppliers answer with named roles, timelines, verification steps, and evidence from recent incidents. That’s the difference between a vendor that reacts and a partner that reduces repeat failures.
Expert Tips and Next Steps from This Custom Labels Supplier Guide
You don’t need a huge department to run this well. Clear ownership, disciplined testing, and a 30-day operating plan are enough to start.
30-day action plan
- Week 1: Finalize requirements, container specs, barcode standards, and target quantities.
- Week 2: Send RFQs to 3–5 suppliers, collect technical responses, and compare using weighted scorecards.
- Week 3: Run sample tests on real containers in real storage and handling conditions.
- Week 4: Place a pilot order, review KPI outcomes, hold a decision meeting, and lock onboarding SOPs.
Vendor interview script you can use
Ask these questions directly, then score each answer from 1 to 5:
- What adhesive do you recommend for PET at 4°C with condensation, and why?
- What delta-E tolerance can you hold on spot colors across reruns?
- What is your defect ppm average over the last six months?
- How quickly can you rerun 25,000 labels after approved artwork release?
- What is your escalation path if first shipment fails scan or adhesion checks?
Lightweight KPI dashboard
Track four monthly quality metrics: on-time delivery (%), color-variance incidents per lot, defect ppm, and claim resolution time in business days. Add one commercial metric: landed cost variance versus quote. That dashboard keeps supplier conversations objective and gives procurement something concrete to defend internally.
Negotiation terms that protect quality
Include service-level language for lead-time adherence, approved-substitution rules (no material changes without written sign-off), and documented gates for spec changes. If your line depends on strict rewind orientation or core size, place those requirements in contract specs—not buried in email threads.
Biggest win from this custom labels supplier guide? Confidence under pressure. You move from reactive firefighting to controlled execution. Document specs, validate in real-world conditions, track performance through KPIs, and keep supplier management repeatable.
Actionable takeaway: this week, build a one-page supplier scorecard and run it against your current vendor using real data from the last three lots (on-time %, defect ppm, scan pass rate, and claim closeout time). If two or more metrics miss your threshold, start a controlled RFQ with at least two alternates and require pilot testing before any full-volume switch. That single step will tell you whether your current setup is truly stable or just familiar.
Frequently Asked Questions
How do I choose the best custom labels supplier for a small brand?
Use a custom labels supplier guide process that prioritizes technical fit and response speed over the lowest quote. Request low-MOQ pilot runs (around 2,000–5,000 units), test on real containers, and compare consistency across multiple sample pulls. Confirm reorder workflow and escalation contacts before placing full production orders. If a supplier is vague during sampling, expect more vagueness once your launch date is on the line.
What should be included in an RFQ for a custom label supplier?
Include dielines, final artwork, dimensions, quantity tiers, material and adhesive preferences, environmental exposure details, Pantone/CMYK targets, finishing specs, barcode requirements, timeline expectations, shipping destinations, and reorder forecasts. An RFQ built around a custom labels supplier guide often shortens revision cycles by 20–40%, especially when non-negotiables are listed clearly.
How much do custom labels cost with a professional supplier?
Cost depends on run size, substrate, print method, and finish complexity. Small digital runs may land around $0.18–$0.29 per unit at 5,000 pieces, while larger flexo runs can reach roughly $0.035–$0.08 at 100,000 pieces, plus setup and freight. A solid custom labels supplier guide compares total landed cost and failure risk, not unit price alone.
How long does a custom labels supplier usually take from proof to delivery?
Most timelines fall between 7 and 15 business days after final proof approval, depending on material availability, revision count, press scheduling, and shipping method. Rush jobs are possible, though they usually carry higher cost and execution risk. Milestone dates and approval deadlines keep schedules realistic.
Can a custom labels supplier help with waterproof or freezer-safe labels?
Yes. Film facestocks like BOPP or PET paired with cold-temp or moisture-resistant adhesives are standard solutions. Final performance still depends on container surface energy, application temperature, and condensation exposure, so run lab checks and real-world trials before full deployment. Then lock approved specs for repeat orders. I always tell teams: test it where the product actually lives, not just where your conference room thermostat sits.