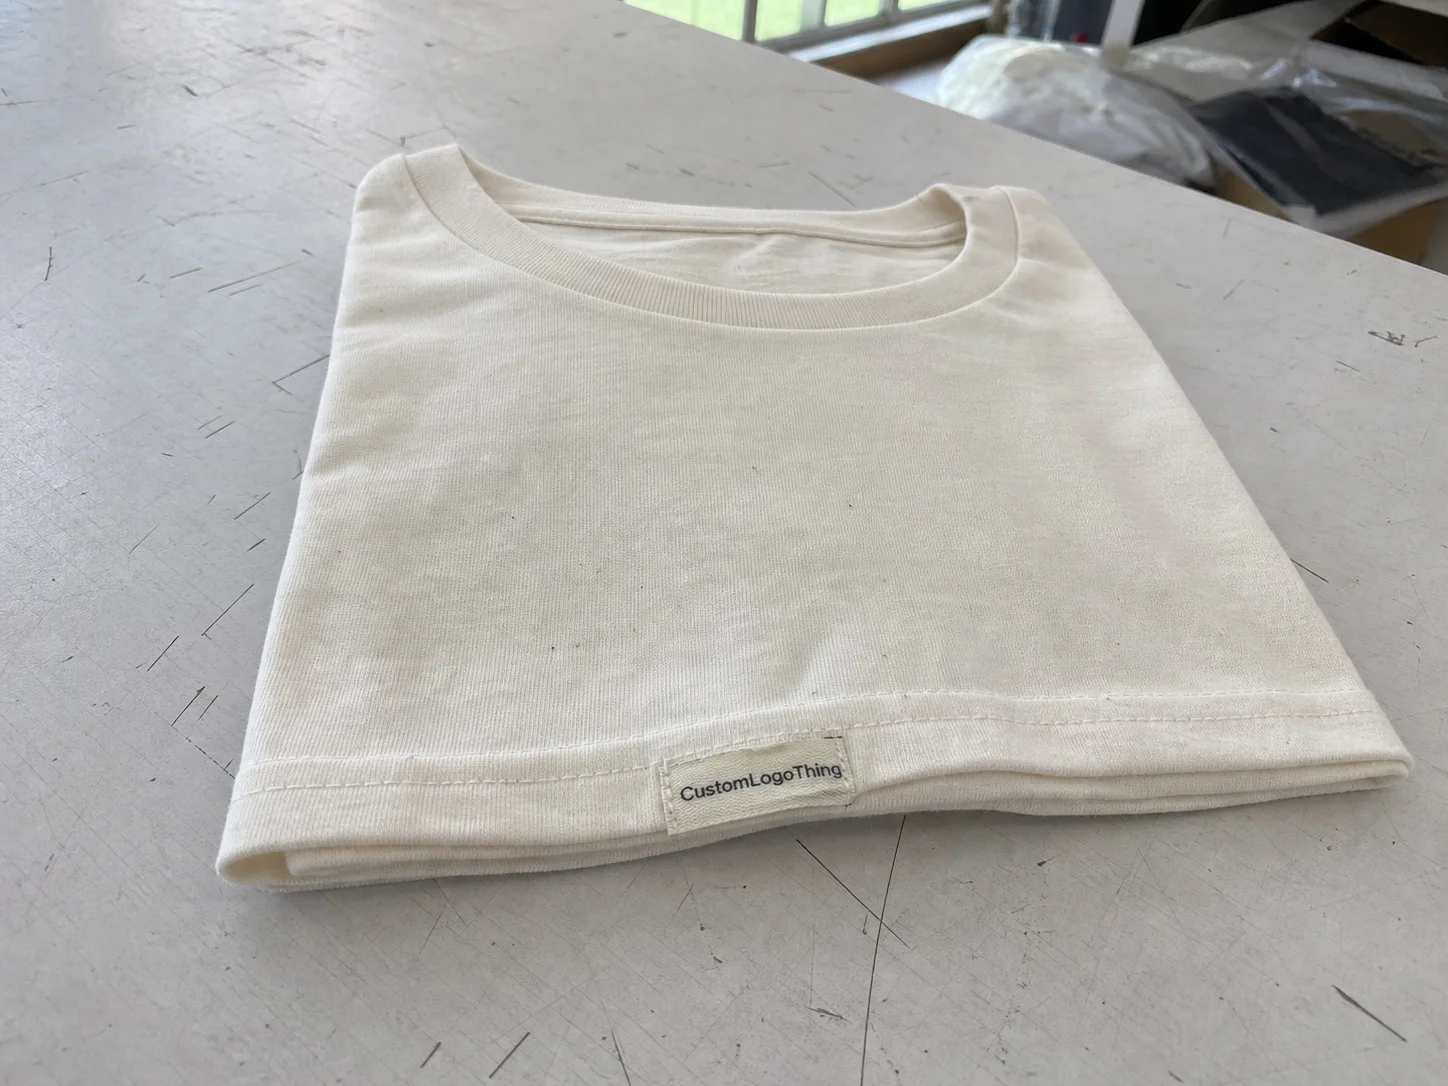
Printing circle labels for clothing is a small packaging decision that can change how a brand is perceived in hand. A round format frames the logo cleanly, removes corner clutter, and gives folded garments, socks, accessories, and tissue wraps a more finished look without adding complexity to the product itself.
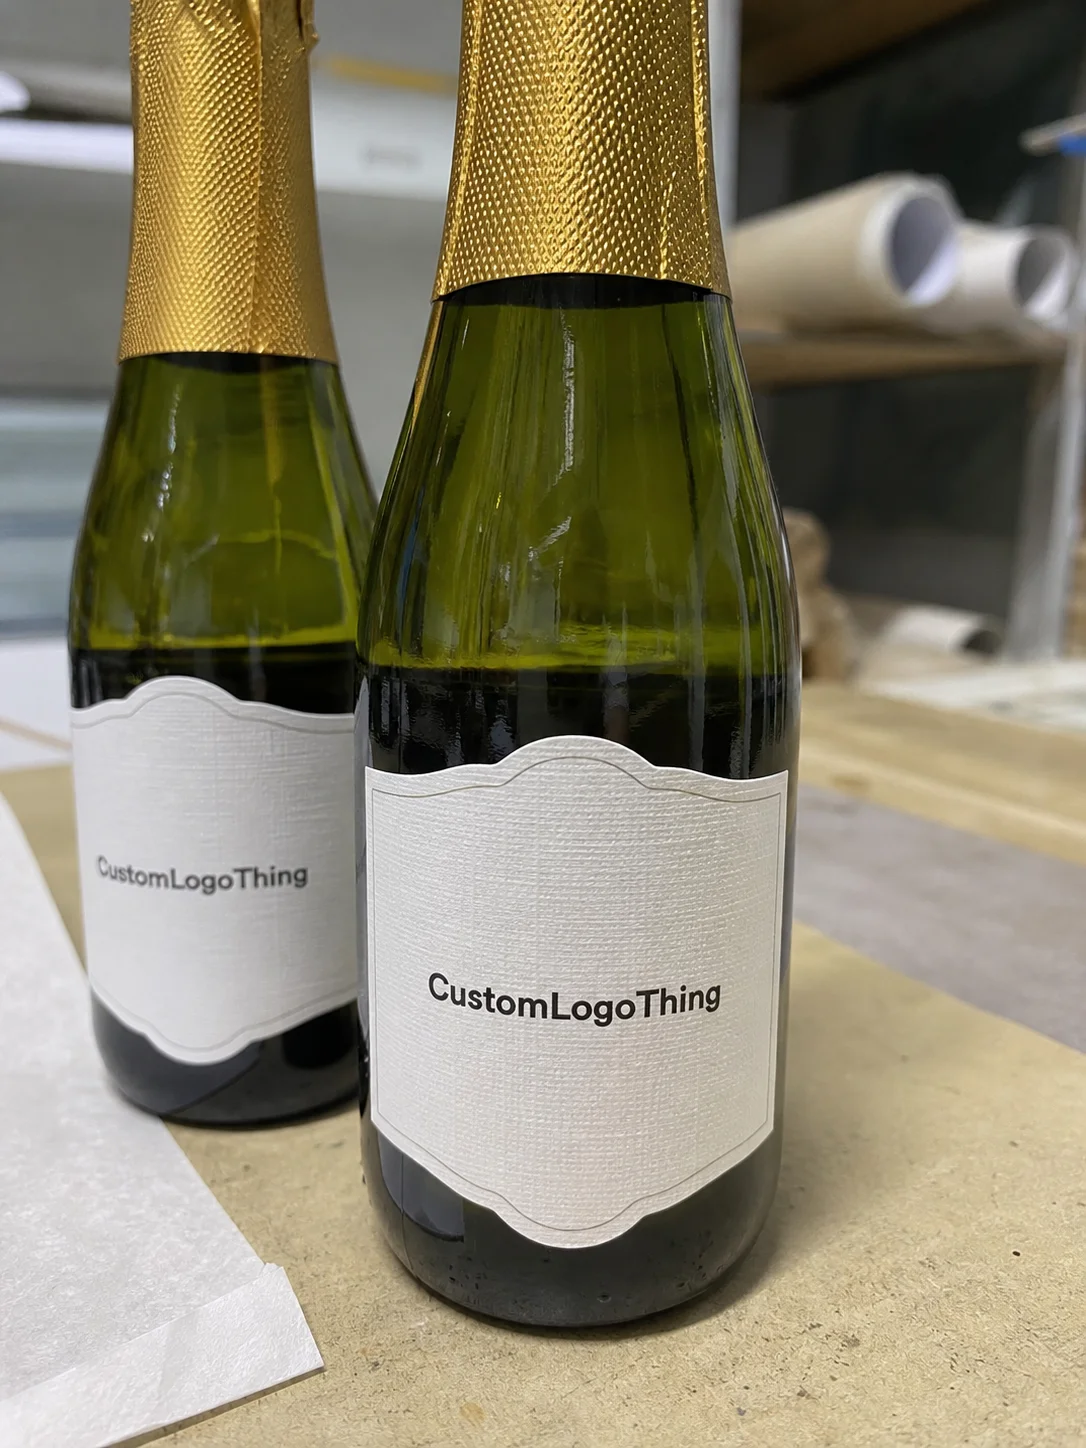
The real decision is not the shape alone. Buyers still need to define diameter, substrate, adhesive, finish, and the surface the label will touch. A label meant to seal a carton has different requirements from one that will sit on a folded tee or act as a size marker. That is why it helps to treat the label as part of the packaging system, whether you are ordering through Custom Labels & Tags or building a wider apparel presentation.
For most buyers, the key questions are practical: does the label read clearly at size, apply quickly, and hold up through packing and shipping? Once those are answered, the rest of the order becomes much easier to evaluate.
Why circle labels punch above their size in clothing branding
Round labels work because they focus attention on the center. Rectangles can push the eye toward edges and corners, while circles make the logo feel contained and deliberate. On apparel packaging, where folds, seams, tissue texture, and transit wear all compete for attention, that matters.
The format is also versatile. The same shape can serve as a neck label, care overlay, hang tag seal, size sticker, or packaging accent. That flexibility makes it useful for tees, socks, accessories, and gift packaging without forcing a different system for every SKU.
There is a production advantage too. Standardizing on one shape reduces artwork churn and approval errors. A base file can be reused across sizes or seasonal runs, which helps avoid mistakes such as margin drift, color shifts, or typos introduced during rapid revisions.
“If the logo is hard to read at arm’s length, the label is acting like decoration instead of branding.”
That is the practical value of the format. A circle is small, but it can make the rest of the package feel more controlled.
How the printing and finishing process works
The workflow starts with artwork setup. Before anything goes to press, confirm the diameter, bleed, and safe zone so text and logos stay away from the cut edge. On a 2-inch circle, even a small shift can affect legibility, especially if the design uses fine type.
Color setup matters as well. Most apparel jobs use CMYK for process color, while spot color is useful when a brand needs a specific signature tone or a strong logo that must reproduce consistently. For short runs and quick turnarounds, digital printing is often the most practical choice. For larger repeat jobs, flexographic printing can be more efficient on roll stock. Offset printing still makes sense for certain flat-sheet jobs, especially when the stock and quantity support it.
Finishing determines how the label behaves in use. Common options include kiss-cut sheets for easy hand use, roll Labels for Faster packing, and die-cut singles for controlled application. Surface finish matters too: matte gives a softer retail look, gloss boosts contrast, and lamination improves scuff and moisture resistance.
Shape quality should not be ignored. A circle that is off-center or has uneven edges can make a design feel cheaper than the same artwork on a clean cut. For important jobs, proofing should include a digital proof and, when needed, a physical sample or swatch check.
If the label is part of a larger production system, ask how it fits into the rest of the workflow. A printer with clear Manufacturing Capabilities should be able to explain tolerances, finishing choices, and run format without vague sales language.
For paper-based programs, ask whether the stock is FSC-certified if you need documented sourcing. The FSC framework is a common reference for paper claims. For durability concerns, some teams also use test logic from groups like ISTA to check handling performance, not just appearance on a proof.
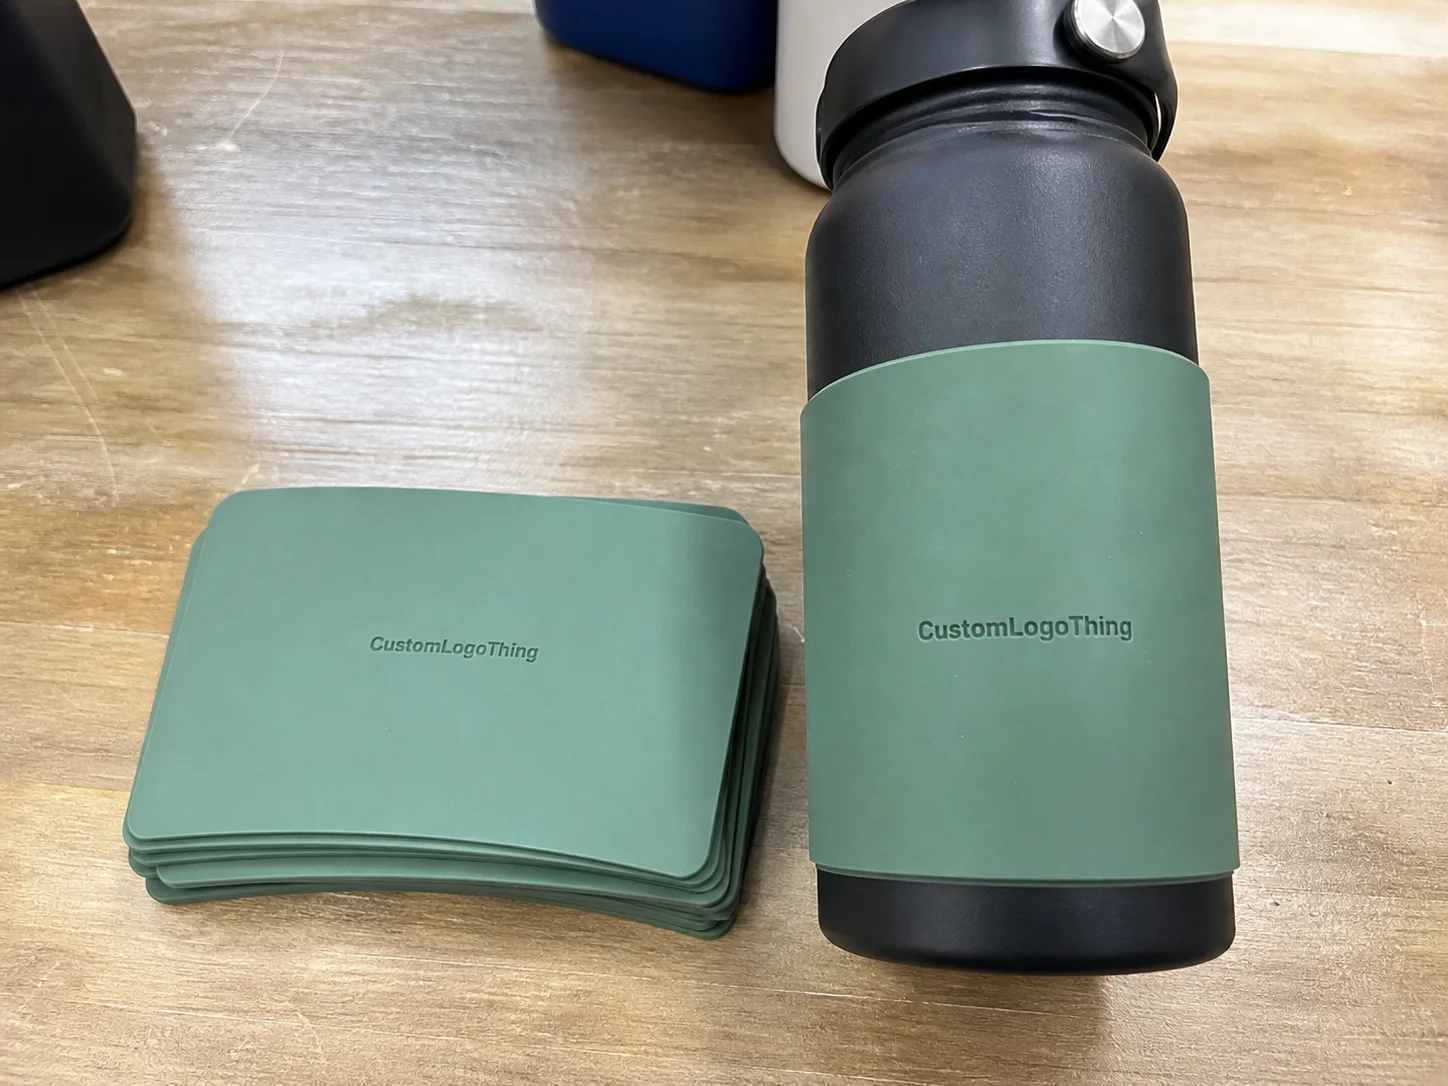
Material, adhesive, and size factors that affect performance
Material choice is usually the biggest performance decision. Paper stock is the lowest-cost option and works well on cartons, envelopes, tissue wraps, and many retail inserts. Film stocks such as BOPP or vinyl handle moisture, rubbing, and repeated handling better, which makes them a stronger fit when the label will be touched often or stored in less predictable conditions.
Adhesive selection is just as important. A removable adhesive is useful for temporary promotions or items that should not leave residue. A permanent acrylic adhesive is better for seals, retail cartons, and high-friction use. Low-temperature adhesive may be necessary for cold storage or winter application. If the label touches fabric directly, the surface test matters more than the spec sheet.
Size changes usability faster than almost any other variable. Smaller circles save space and material, but they limit how much the design can carry. Larger circles improve visibility and usually make hand application easier. For simple marks, 1 to 1.5 inches may be enough. For logo-forward retail branding, 2 to 3 inches usually reads better. The right diameter depends on the artwork and the application method.
Finish also changes the final impression. Matte can soften a bold logo and make the package feel more restrained. Gloss increases contrast and helps color blocks stand out under retail lighting. Clear film can disappear visually when the brand wants the artwork to do the work. There is no single best option across every product line.
- Premium knitwear: matte film or coated paper, subtle contrast, controlled typography.
- Streetwear: bold color, stronger adhesive, roll format for faster packing.
- Childrenswear: clear legibility, softer visual finish, easy-peel design if hand-applied.
- Accessory packaging: smaller diameter, high contrast, compact artwork hierarchy.
That combination of material, adhesive, and size is what determines whether the label supports the product or becomes a bottleneck.
Cost, pricing, and quote variables to watch
Pricing is driven by quantity, diameter, stock, finish, adhesive, and whether the order ships as sheets, rolls, or singles. More custom setup usually means prepress work, die charges, or extra proofing. Small orders rarely get dramatically cheap because the fixed costs of production still apply whether you print 500 or 50,000 units.
Unit cost usually falls as volume rises, but the curve is not smooth. A buyer may see a meaningful reduction between 1,000 and 5,000 pieces, then a smaller gain after that. Specialty finishes can change the math quickly. Lamination, Custom Die Cutting, and specialty adhesives can cost more than a simple color change. If a quote looks unusually low, check what is excluded before comparing suppliers.
| Option | Typical use | Approximate price at 5,000 pieces | Notes |
|---|---|---|---|
| Budget paper circle labels | Internal packing, cartons, short campaigns | $0.03-$0.06 per unit | Good for dry handling; less durable under friction or moisture. |
| Standard BOPP roll labels | Retail-ready packaging, faster line application | $0.05-$0.11 per unit | Common balance of cost, durability, and appearance. |
| Premium laminated film labels | High-touch packaging, moisture exposure, premium branding | $0.10-$0.22 per unit | Higher durability; often chosen when presentation and wear resistance both matter. |
These figures are directional, not fixed. A small brand ordering low quantities and custom shapes may pay more per unit than a larger program with repeat production. A quote should reflect actual use, because a label that sits on a carton is not the same as one that gets handled, stacked, or brushed against fabric repeatedly.
Common quote surprises include custom die charges, rush fees, multiple SKUs, specialty adhesives, and extra testing for packaging compatibility. Some vendors also price by format efficiency: a sheeted order can be easier for hand assembly, while a roll may be better for line speed. The cheapest quote is not always the lowest real cost.
Step-by-step ordering and production timeline
Start with a short, specific brief. Define the use case first: carton seal, hang tag, size sticker, or packaging accent. Then decide the diameter, material, adhesive, and finish. Once that is set, send artwork in the correct color mode and request a proof before production begins.
Most lead-time problems come from file issues that should have been caught earlier. Missing fonts, low-resolution logos, vague color instructions, and late artwork changes all add time. A printer can move quickly when the file is clean. For repeat orders, a saved spec sheet usually reduces back-and-forth sharply.
A realistic timeline depends on complexity. Simple repeat roll orders often move in 7 to 10 business days after proof approval. More customized runs, specialty finishes, or multi-SKU jobs can take 12 to 15 business days, and sometimes longer if a physical sample is required. Rush service may be possible, but it usually adds cost and leaves less room for correction.
From a packaging operations point of view, the right timing question is not how quickly the label can print. It is whether it arrives before folding, tagging, and inventory intake begin. If labels show up after the packing flow has started, the line becomes awkward quickly.
To reduce delay, prepare a short spec sheet before requesting a quote:
- Label diameter and any tolerance limits
- Artwork format and color references
- Material, finish, and adhesive preference
- Sheet, roll, or single-label format
- Application surface and handling conditions
That one page usually saves more time than a long email thread and makes supplier comparisons cleaner.
Common mistakes that hurt readability and adhesion
The easiest mistake is crowding the edge. Logos placed too close to the perimeter can feel cramped or get clipped after trimming, especially once labels are stacked and handled. Small text is the next problem. If the type has to survive at 1.25 inches or below, thin fonts and tight spacing usually fail first.
Adhesion problems usually come from the application surface, not the press. Dust, lint, cold storage, textured fabric, and uneven cartons all weaken bond strength. A label that sticks well to coated board may fail on unsealed paperboard or a curved garment insert. A test run on the real surface is often more valuable than another proof review.
There are also format mistakes that seem minor until production starts. A roll may arrive with the wrong core size for the applicator. A finish may reflect too much light under retail lamps. A diameter that looks fine on screen can read too small once the logo is reduced. These issues are cheaper to catch at proof stage than after a full run.
“Approval-stage mistakes are expensive; reruns are worse.”
Inconsistent branding across variants is another quiet failure. If one label uses a different circle size, another shifts the logo position, and a third changes the finish, the product line starts to look stitched together from leftovers. Strong packaging programs are usually consistent rather than inventive.
Expert tips for cleaner, faster, better-looking labels
Test the design at more than one size. A logo that looks sharp at 2.5 inches may fall apart at 1.25 inches, especially if it contains thin lettering or a detailed icon. Reducing the artwork to actual size is one of the fastest ways to see where hierarchy breaks.
Build a reusable label system. If your clothing line uses size marks, care notes, and seasonal promo seals, create templates that share the same visual structure. That keeps production moving and makes reordering less fragile. It also prevents one part of the brand from drifting while the rest stays steady.
Choose finish based on lighting conditions, not just taste. Matte can feel calmer and more premium in soft retail settings. Gloss may be better if the label needs to pop on shelves or stand out in photos. If the package is photographed often, the wrong finish can create glare that hides the logo.
Keep a standing reorder sheet. Include the exact diameter, adhesive, substrate, format, and approval notes. If the supplier already has the spec, repeat orders usually move faster. That matters for brands that reorder with every seasonal intake or size restock.
Treat the label as part of the product experience. The feel of the stock, the way it peels, and how it sits on the package often affect perceived quality as much as the print itself. Good labels do more than identify the product; they help the whole presentation feel deliberate.
What to do next before placing an order
Start with a one-page spec sheet. Put the label size, quantity, finish, adhesive, application surface, and artwork notes in one place. If you can attach a reference image or previous sample, that gives suppliers a real brief instead of a vague request.
Then audit the actual use point. Is the label going on a carton, tissue wrap, folded shirt, poly bag, or hang tag? Does it need to survive handling, shipping, or store display? If the answer changes by product line, you may need more than one version. That is normal, and usually cheaper than forcing one label to do five jobs badly.
Request quotes with identical specs so the numbers mean something. A low quote on paper labels and a higher quote on roll film may be comparing two different production methods. Ask for proof or sample approval before production, especially if the label touches fabric or carries a retail-facing logo that must stay crisp.
Plan your reorder calendar around inventory, not panic. If the label is part of a tight packing schedule, leave enough time for proofing and production. That is the practical way to keep the format from becoming a bottleneck. If the spec is right and the file is clean, the job usually behaves.
Frequently asked questions
What size works best for printing circle labels on clothing?
Choose the diameter based on the logo, not just the product. Simple marks can work well at 1 to 1.5 inches, while type-heavy or retail-facing designs often read better at 2 to 3 inches. Test the artwork at actual size before placing a full order.
Are circle labels better as rolls or sheets for apparel packing?
Rolls are usually faster for higher-volume packing lines and manual application. Sheets can be easier for low-volume jobs, hand sorting, or mixed designs. The better choice depends on how the labels will be applied.
How much do custom circle labels usually cost?
Price depends on quantity, material, finish, adhesive, and whether the order needs custom cutting or rush service. Unit cost usually falls as volume rises, but setup and specialty options can offset the savings on small orders. Ask for a quote using the exact use case.
How long does production typically take for circle labels?
Timeline depends on proof approval speed, stock availability, and order complexity. Simple repeat orders are usually faster than fully custom runs with specialty finishes. Rush service may be possible, but it often adds cost.
What file should I send for printing circle labels?
Vector artwork is best because it scales cleanly and keeps edges crisp. Include bleed, safe margins, and outlined fonts if the printer requests them. If color accuracy or placement matters, send a reference image as well.