Use a Custom Logo Stickers Sample Approval Checklist
Why Sample Approval Matters Before Sticker Production
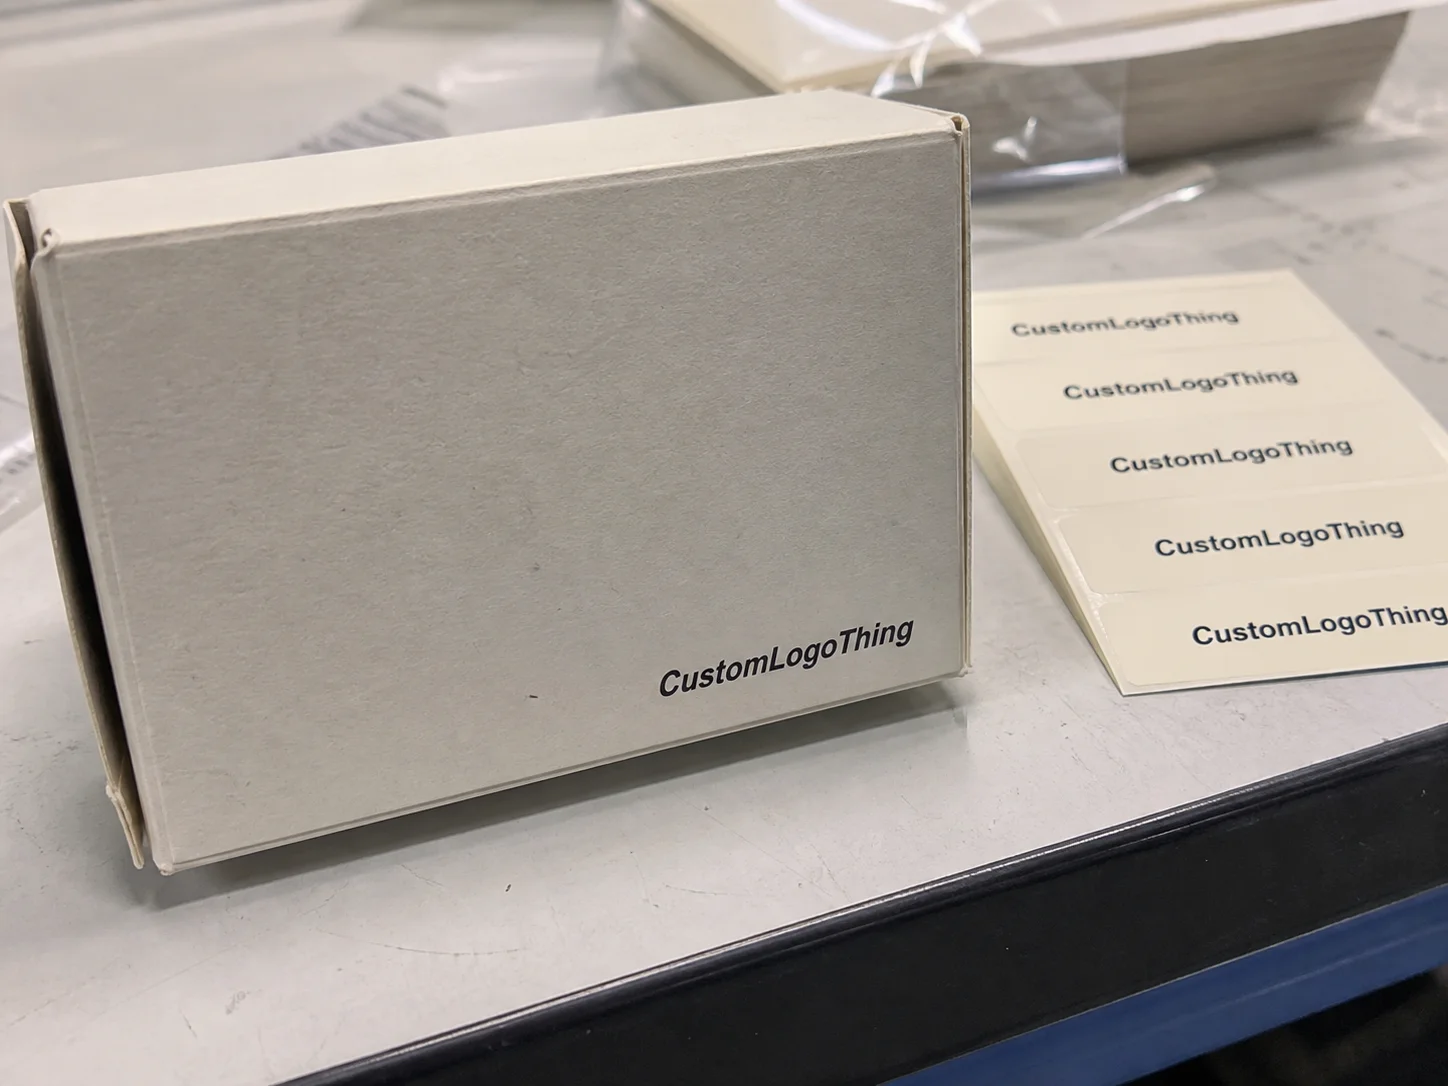
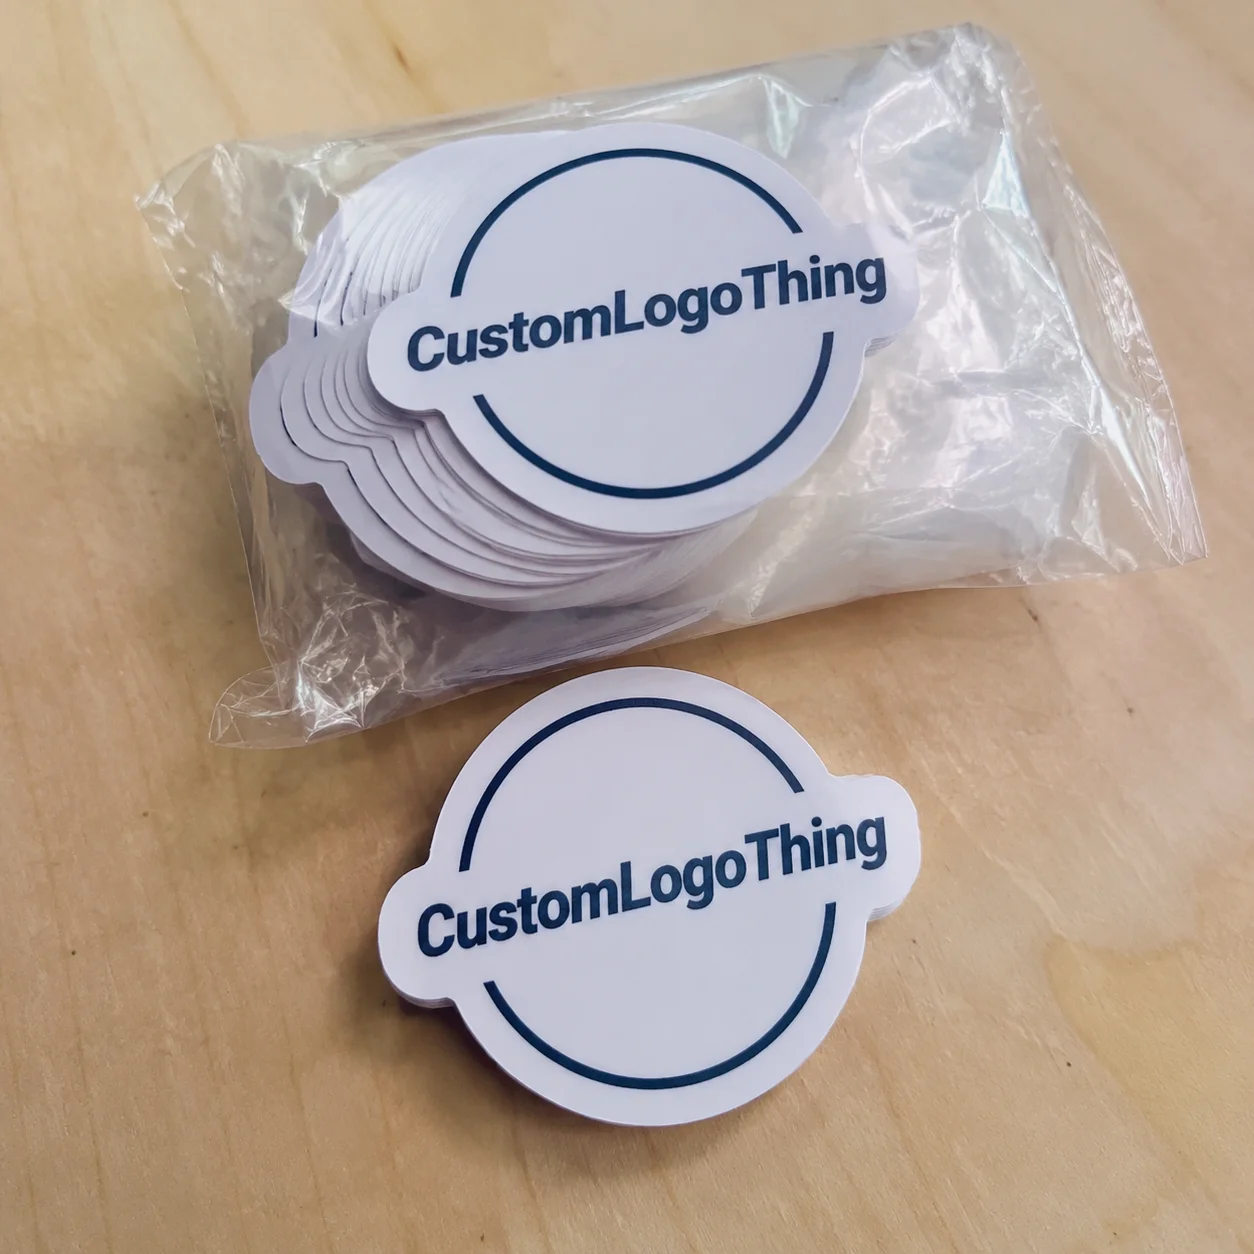
A sticker can look exact on a monitor and fail the first time it meets a jar, candle tin, pouch, bottle, mailer, or retail box. The red shifts on kraft paper. A thin border wobbles after die cutting. The edge lifts on a curved tube. A barcode that scanned at a desk becomes unreliable under store lighting. A Custom Logo Stickers sample approval checklist gives buyers one controlled pause before artwork, material, adhesive, finish, and quantity move into production.
That pause is technical, not ceremonial. A proper review checks print accuracy, die-cut shape, adhesive behavior, small-type readability, barcode scanning, liner release, and hand feel. Packaging travels through packing tables, cartons, freight, shelving, customer handling, moisture, abrasion, and sometimes refrigeration. A PDF cannot show all of that.
Buyers often blur three approval stages. A digital proof checks layout, spelling, bleed, safe zone, dieline position, and general color direction. A pre-production sticker sample shows the selected stock, adhesive, finish, cut shape, and actual scale before the full run starts. A production sample, usually pulled from the first completed batch, confirms that the approved setup is holding during live production.
Most sticker problems start with vague approvals. "Make it pop" gives a press operator almost nothing measurable. "Match Pantone 186 C on white BOPP, keep the logo centered within 1/32 inch, use matte lamination, and hold the final size at 2 inches diameter" creates a standard. Specific language protects the buyer. It also protects the manufacturer from chasing a moving target.
What Is a Custom Logo Stickers Sample Approval Checklist?
A custom logo stickers sample approval checklist is a structured review used before full sticker production. It compares the physical sample, digital proof, quote, and real application surface so the buyer can approve or correct the sticker with evidence rather than memory. The practical question is simple: would you accept the full order if every piece looked and performed like this sample?
The checklist should cover artwork, copy, dimensions, color target, material, adhesive, finish, die-cut accuracy, liner release, barcode readability, QR code scan quality, roll direction, packing method, and written approval. For retail products, it becomes part of receiving inspection. For repeat orders, it keeps the next run from drifting away from the approved sample.
Stickers are deceptively small. A 2-inch label may carry a brand mark, ingredients, regulatory copy, a UPC, a QR code, a batch field, and the visual signal that tells a shopper whether the product feels premium, clinical, handmade, playful, or cheap. One weak adhesive or misregistered foil hit can undermine a packaging system that took months to build.
How the Sticker Sample Approval Process Works
The process usually starts with artwork files. Vector art is best: AI, EPS, or a print-ready PDF with fonts outlined. Linked images should be 300 dpi or higher at final size. The supplier then prepares a dieline proof, checks bleed and safe area, recommends material, reviews color notes, and flags anything likely to print, cut, or apply poorly.
Next comes the sample. Depending on the order, the buyer may receive a digital dieline proof, a photo of a sample, a physical mockup, or a press sample made on final material. Simple digitally printed logo stickers are usually faster to sample than foil-stamped, embossed, screen-printed, laminated, or specialty film stickers. Clear BOPP with white ink backup, holographic film, kraft paper, vinyl, removable adhesive, freezer-grade adhesive, and soft-touch finishes all add variables worth checking before approval.
Several inspections should happen before a sample leaves production. File resolution must hold sharp edges. Bleed is commonly at least 1/16 inch beyond the cut line, and some shapes need more. Safe zone often needs 1/16 to 1/8 inch inside the cut line so text, borders, and QR codes do not crowd the edge. The cut path should be clean. Adhesive selection has to match the surface. Roll or sheet layout must support the buyer's application method.
Sticker proof approval is a poor place to rush. A comma, corner radius, barcode size, foil position, or adhesive change feels small before production. After plates, dies, rewind direction, or finishing setup are locked, that same change can mean lost time and new cost. For larger branded packaging programs, especially those tied to Custom Labels & Tags, one careful sample review is cheaper than correcting thousands of pieces later.
Practical rule: approve the sample as if it is the production standard. If you would not accept 5,000 pieces exactly like the sample, request written corrections before release.
Key Specs to Check on a Physical Sticker Sample
A useful inspection turns a sample into evidence. Start with size and shape. Measure the finished sticker with a ruler or caliper, then compare it against the approved proof. A 2-inch circle that arrives at 1.875 inches may sound close enough in an email. On a lip balm tube or jar lid, that missing 1/8 inch can change the balance of the entire package.
Study artwork position and cut accuracy. Is the logo centered? Are borders even? Does the die cut follow the intended outline without flat spots, jagged turns, or fragile points that may lift? For kiss-cut stickers on sheets, confirm that the top layer cuts cleanly while the liner stays intact. For roll labels, check unwind direction. Machine-applied labels may need a specific orientation: top first, bottom first, left edge first, or right edge first.
Color needs a physical review. Brand colors shift across coated paper, uncoated paper, clear film, metallic stock, kraft material, and textured paper because every surface absorbs or reflects ink differently. Look at the sample under office lighting, daylight, and lighting similar to the retail environment. If color accuracy matters, provide a Pantone target or approved printed reference. A screenshot is not a color standard.
Adhesive performance depends on the surface. Clean glass and metal are usually friendly to permanent adhesives. Textured cardboard, recycled kraft mailers, low-energy plastics, coated paperboard, flexible pouches, candles, cosmetics containers, food jars, and shipping cartons behave differently. ASTM test methods, including peel and tack evaluations, give labs a way to measure adhesive behavior. A desk-level test on the real package answers the buyer's immediate question: does the sticker stay down?
Run simple handling tests. Rub the print with your thumb. Bend the sticker around the actual curve. Peel and reapply it if the adhesive is supposed to be removable. Check for edge lift after several hours, not only after the first 30 seconds. If the sticker may face refrigeration, moisture, oil, abrasion, or scuffing during fulfillment, confirm whether it has varnish, gloss lamination, matte lamination, or another protective finish.
Small details carry legal and operational weight. Ingredient panels, warning text, country-of-origin marks, batch fields, QR codes, UPC barcodes, and regulatory copy must remain legible at final size. For barcode verification, many brands use GS1 guidance and scanner testing. For transport and distribution concerns, the International Safe Transit Association offers packaging test references at ista.org. A sticker may be small, but it can decide whether a product is sellable.
Pricing, MOQ, and Cost Factors Behind Sticker Samples
Sticker sample cost depends on printing method, material, finish, number of versions, tooling, dieline complexity, and the type of sample requested. A one-off appearance mockup is not the same as a true pre-production sample made with final materials. A digital sample on standard white paper stock may be straightforward. A shaped holographic sticker with white ink, foil, embossing, and waterproof lamination takes more setup time.
MOQ, or minimum order quantity, is usually production math rather than stubborn policy. Short digital runs can be flexible because setup is lighter and variable art is easier to manage. Screen printing, specialty finishes, custom dies, foil plates, embossing dies, and tight color matching often require higher quantities because machine setup, wash-up, tooling, and quality checks take real production time whether the order is 100 pieces or 10,000 pieces.
| Sample or Feature | Typical Cost Driver | Buyer Checkpoint |
|---|---|---|
| Digital printed paper sample | Lower setup, common stock, fast file prep | Confirm size, layout, spelling, and general color direction |
| Clear BOPP with white ink | White backup layer, opacity control, registration | Check transparency, white ink coverage, and contrast on the real container |
| Foil or spot UV sticker | Plate setup, registration, finishing pass | Inspect foil position, shine level, and fine-line detail |
| Custom die-cut shape | Dieline cleanup, tooling, waste around shape | Review corner radius, edge strength, and border consistency |
| Waterproof laminated sticker | Film lamination, adhesive selection, curing time | Test moisture exposure, rubbing, edge lift, and bend performance |
A sample can feel expensive because setup labor is concentrated into one or a few pieces. In production, those costs spread across the run. A simple 2-inch digitally printed paper sticker might land around $0.06 to $0.18 per piece at several thousand units, depending on ink coverage and finish. Specialty foil, film, or laminated stickers can cost more. Sample charges may range from a modest proofing fee to well over $100 for complex materials or tooling. Those are broad ranges, not price guarantees. Art, size, stock, finishing, and quantity change the math quickly.
Approve the specifications tied to the quote. If the sample was quoted as white BOPP with permanent adhesive on rolls, then changing to removable adhesive, sheeted format, soft-touch lamination, or a larger size after approval can change both price and lead time. The checklist should cite the quote number, stock, finish, adhesive, and quantity. For buyers managing broader Custom Packaging Products, this matters because stickers often need to coordinate with printed boxes, inserts, mailers, hang tags, and other branded package elements.
Custom Logo Stickers Sample Approval Checklist Steps
Use this custom logo stickers sample approval checklist with the proof, quote, sample, and real package in front of you. Memory is a poor inspection tool. A careful review may take 15 to 30 minutes. That is minor compared with the delay caused by a production run with the wrong adhesive, unreadable small type, or a QR code sitting too close to the cut line.
- Compare the sample to the approved proof. Confirm proof number, revision date, logo version, dieline, copy, punctuation, icons, certification marks, and any barcode or QR code.
- Measure the final size. Check width, height, diameter, or custom shape dimensions. For tight packaging areas, even 1/16 inch can matter.
- Inspect the cut line. Look for smooth edges, consistent border width, clean corners, and proper kiss-cut depth if supplied on sheets or rolls.
- Confirm orientation. Review front-facing direction, roll unwind, sheet layout, and whether the sticker matches hand application or machine application needs.
- Verify every word and symbol. Read small text out loud if needed. Check ingredient panels, warnings, social handles, batch fields, and country-of-origin copy.
- Test on the real surface. Apply it to the jar, pouch, carton, bottle, mailer, tin, or retail box rather than a clean sheet of copy paper.
- Review finish and durability. Check gloss level, matte softness, foil placement, scratch resistance, waterproofing expectations, print rub, edge lift, and wrinkle behavior during application.
- Check liner release. The sticker should peel without tearing, curling excessively, or pulling adhesive strings from the edge.
- Document the approval. Take photos, save marked comments, and record material name, adhesive type, final dimensions, finish, approved quantity, packing method, ship-to details, and approver name.
The decision has three useful outcomes: pass, fix, or re-sample. Pass means the sample matches the proof, performs on the real packaging surface, and can be produced as shown. Fix fits minor written corrections that do not require another physical sample, such as a confirmed spelling change on a new digital proof. Re-sample is the right answer for material changes, adhesive changes, color concerns, barcode problems, foil registration issues, or anything that could affect final performance.
A completed approval record also supports receiving inspection later. The approved sample becomes the reference, not a loose memory of what the sticker should look like. For larger packaging programs, that reference can prevent disputes across repeat orders, seasonal design updates, and multiple SKU rollouts.
Common Sample Approval Mistakes That Delay Orders
The most common mistake is approving from a phone screen. A small screen hides edge quality, small type, barcode spacing, and color shifts. Another frequent mistake is skipping physical surface testing, especially on curved glass, matte cartons, textured pouches, glossy plastic, or recycled paperboard. Stickers do not live on proof PDFs. They live on packages.
Color assumptions create avoidable delays. White paper, clear BOPP, silver film, kraft paper, and uncoated stocks will not produce the same visual result, even with the same artwork file. If the brand color is non-negotiable, name the target clearly, such as Pantone 186 C or a supplied printed master. Some materials may need a white ink layer, extra opacity, or a different substrate to get close.
Last-minute artwork edits become risky after the dieline, foil plate, barcode size, die, or white ink layer has already been prepared. A small logo shift can affect foil registration. A new claim can force smaller type. A barcode change may need more quiet zone. These adjustments are manageable before approval. Once production is scheduled, they can become expensive and slow.
Buyers also miss back-end details. Roll core size, roll outside diameter, liner notes, pack count, label gap, unwind direction, carton labeling, and boxing method matter if stickers feed an applicator, go to a co-packer, or support fulfillment. The approval checklist should include these operational details, not only the front-facing artwork. For shipping and distribution packaging, it may also be sensible to review broader transport test expectations using resources from the EPA Sustainable Materials Management program when sustainability claims or material reduction goals are part of the packaging plan.
Vague feedback slows the order. "Color looks off" is harder to act on than "match Pantone 186 C more closely on white BOPP." "QR code feels tight" should become "increase the safe area around the QR code by 1/16 inch." One final approver helps, too. Sales, design, operations, and leadership may all have valid concerns, but scattered comment threads create version-control problems when no one owns the final answer.
Next Steps After You Approve the Sticker Sample
After approval, confirm the approved proof number, material, adhesive, finish, size, quantity, packing method, shipping address, and required delivery window in writing. The written record should match the quote. If the order belongs to a broader branded packaging launch, confirm how sticker timing lines up with boxes, inserts, product filling, kitting, retail delivery dates, or a co-packer's schedule. Attach or reference the completed checklist so production has one approved standard.
Production usually moves through scheduling, material allocation, printing, drying or curing, lamination or varnishing, foil or specialty finishing if needed, die cutting, waste stripping, rewinding or sheet cutting, quality control, packing, and shipment. Simple runs may move in several business days after proof approval. Specialty finishes, custom tooling, or multi-SKU color matching may need longer. Exact timing depends on order size, material availability, finishing steps, and the supplier's production queue.
Keep one approved sample or high-quality photo as the receiving standard. On arrival, compare cartons against the purchase order, inspect a few pieces from different rolls or packs, test application on the real surface, confirm count, and report concerns with clear photos before the stickers are widely used. Waiting until every carton has been opened on a packing line makes any correction harder.
Repeat orders get easier when the original standard is clear. Keep the final proof, sample photos, material callout, adhesive type, dimensions, finish, packing instructions, and approval notes together. The checklist then becomes a repeatable standard for faster reorders, cleaner communication, and fewer production surprises.
FAQ
What should be included in a custom logo stickers sample approval checklist?
A custom logo stickers sample approval checklist should include artwork accuracy, final size, cut shape, bleed, color match, material, finish, adhesive, liner release, roll or sheet format, barcode readability, small text legibility, packing details, and written approval notes. Add real-use testing on the actual product, box, jar, pouch, bottle, or mailer so the sample is judged under the same conditions where the customer will see it.
Is a digital proof enough before ordering custom logo stickers?
A digital proof is useful for layout, spelling, dieline position, and general color direction, but it cannot fully show adhesive performance, material feel, opacity, texture, gloss level, or behavior on a curved or textured surface. For simple low-risk stickers, a digital proof may be enough. For retail packaging, specialty finishes, exact color concerns, or large quantities, a physical sample is the stronger approval step.
How long does sticker sample approval usually take?
Simple digital samples can often move quickly once artwork is print-ready. Specialty materials, foil, embossing, screen printing, custom dies, or exact color matching can add time. The buyer's response time matters as well. Clear comments, one final approver, and a completed checklist can prevent several days of back-and-forth.
Why does my sticker sample cost more than the final unit price?
A sample carries setup labor, file preparation, material handling, machine time, finishing setup, and quality review across only one or a few pieces. In the full production run, those setup costs are spread across hundreds or thousands of stickers, so the unit cost usually drops as quantity increases.
What should I do if the custom sticker sample is almost right but needs a small change?
Mark the exact change in writing, such as size adjustment, text correction, color target, adhesive change, or finish revision, and confirm whether a new proof or new physical sample is needed. Do not approve production until the manufacturer confirms the updated specification, because even a small artwork, material, or adhesive change can affect price, lead time, and final performance. Update the approval checklist so the approved standard matches the corrected sample.