Custom merchandise boxes do three jobs at once: they protect the product, shape the first impression, and keep fulfillment from becoming a cost leak. That combination matters more than many teams expect. A box that saves a few cents but arrives crushed, slow to pack, or awkward to open is not saving money. It is moving cost somewhere else.
The buyer's mistake is usually starting with artwork. The better sequence is product first, structure second, finish last. Measure the item, define how it will ship, and only then decide how much print and decoration the box actually needs. That approach produces better product packaging and fewer revisions.
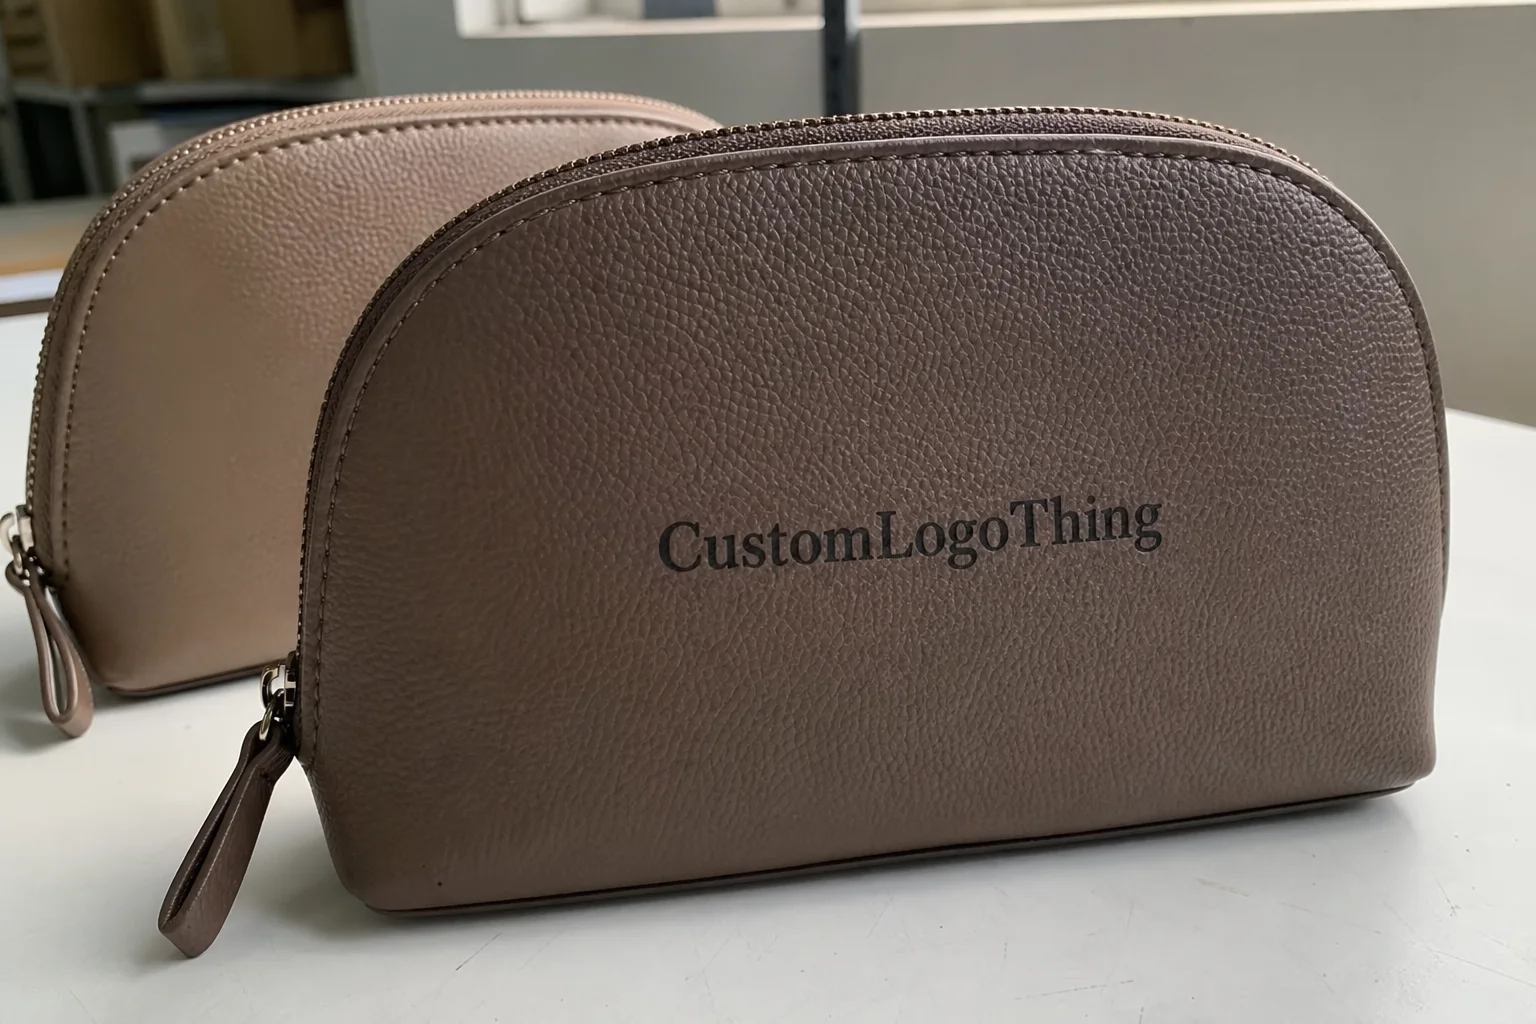
There is also a branding effect that gets underestimated. A shirt, accessory, beauty tool, or event kit can feel more valuable in a clean, well-fitted carton than in a decorative box that is too large, too thin, or overfinished. The box is part of the product experience. It should earn its place.
What custom merchandise boxes actually do
For most brands, custom merchandise boxes are not about decoration alone. They solve a logistics problem, a presentation problem, and a damage problem at the same time. If one of those pieces is ignored, the box usually underperforms in the real world.
Direct-to-consumer brands tend to care most about the opening moment. Retail brands care more about shelf visibility and stackability. Promotional programs sit somewhere in the middle: they need the package to look intentional, but the box still has to survive a parcel network, sorting hubs, and a warehouse pack-out process. That is why one box format rarely fits every use case.
Different structures handle different jobs:
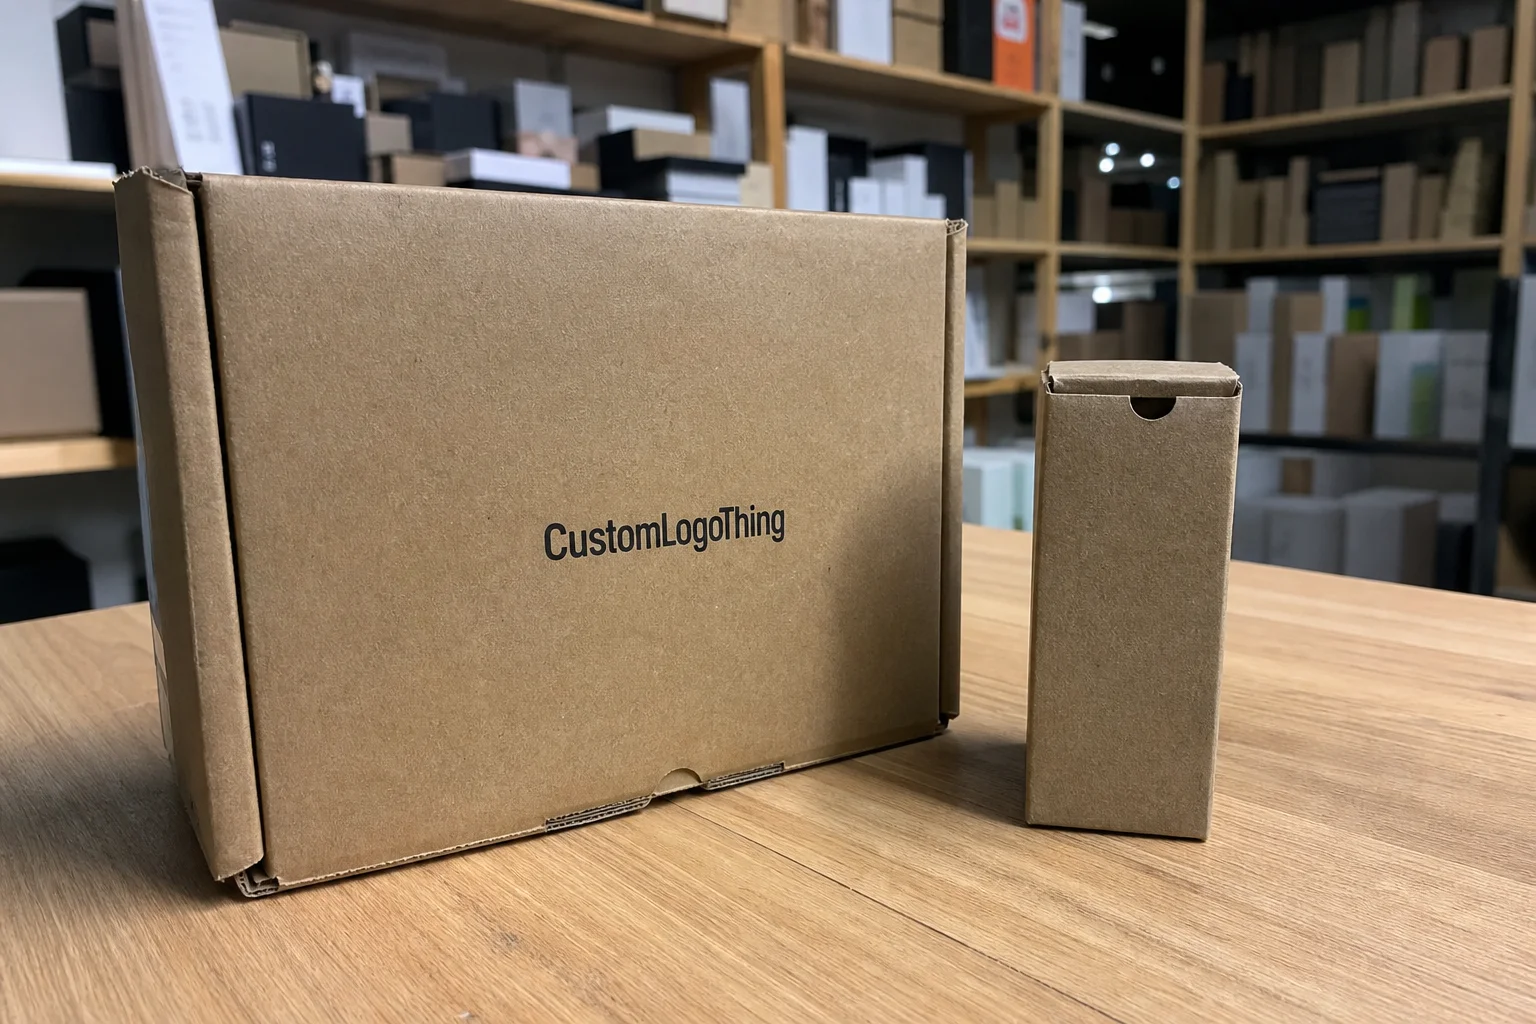
- Mailer boxes are useful for shipped kits, subscription drops, and influencer send-outs because they balance stiffness with a clean opening sequence.
- Folding cartons suit lighter items, retail display, and higher-volume orders where the package must be economical and easy to store.
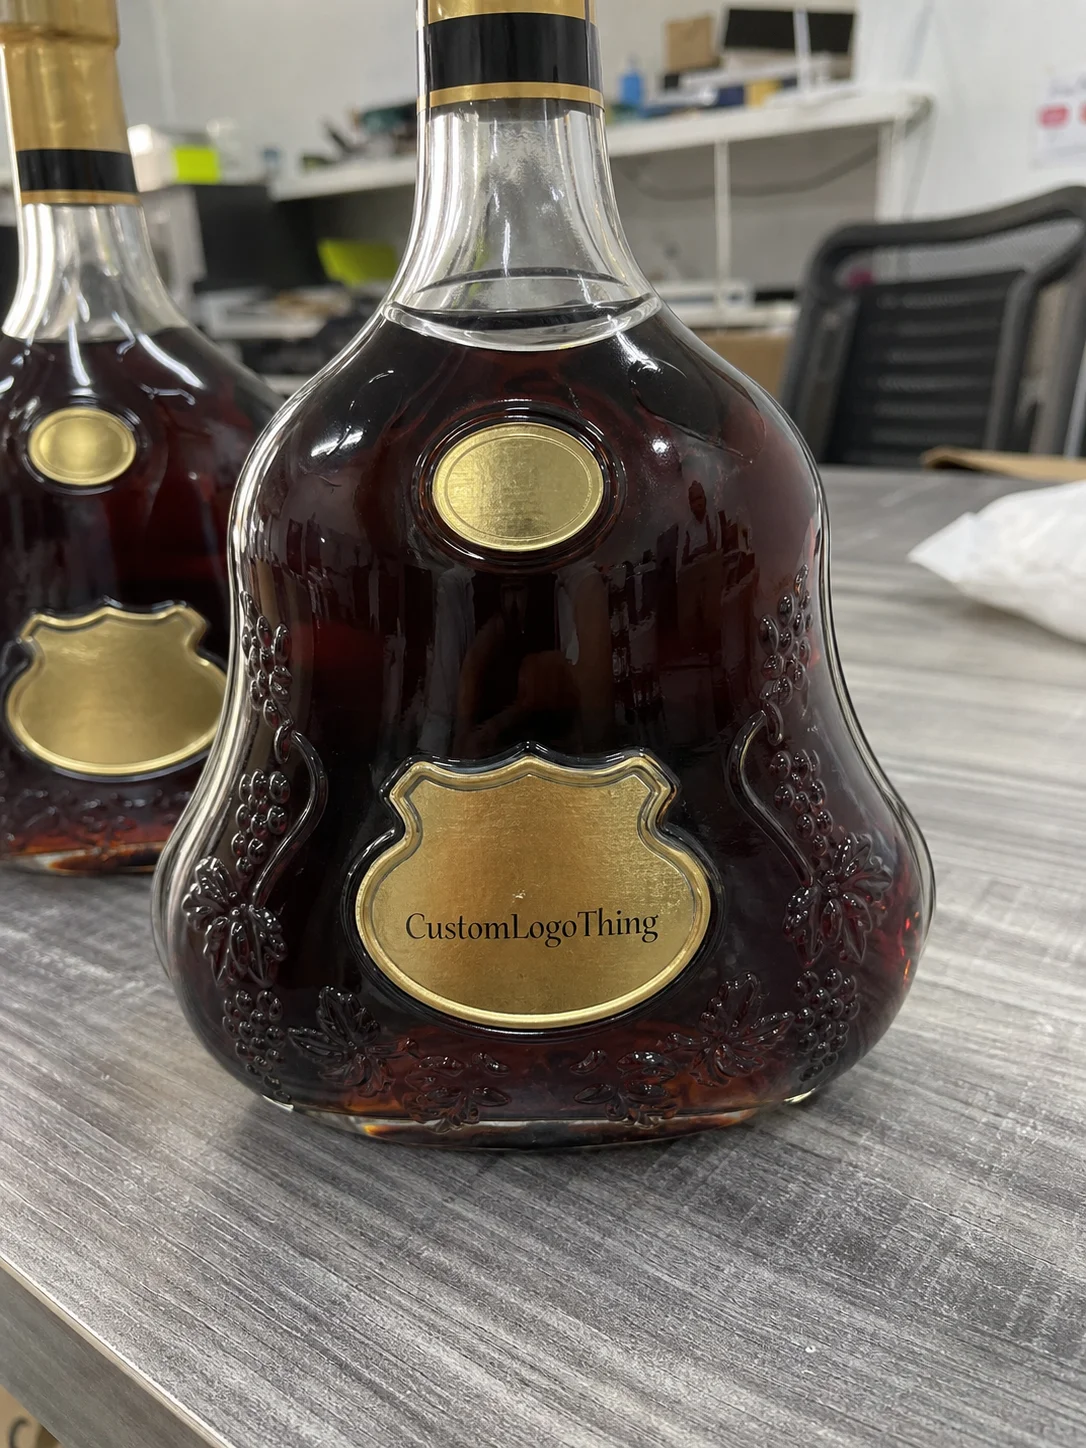
- Rigid presentation boxes make sense for premium sets, gift-style merchandise, and products where perceived value justifies more material and more labor.
That perceived value is not abstract. A study from the National Library of Medicine found that packaging details can influence consumer perception of quality and purchase intent. In practice, that means the exterior of the box is already doing brand work before the product is touched.
The best custom box is not the one with the most effects. It is the one that fits the product, holds up in transit, and feels deliberate in hand. A well-made carton can make a modest item feel considered. A weak carton can make a premium item feel improvised.
There is a practical side to this as well. Boxes that fit properly reduce the need for void fill, lower the chance of corner damage, and speed up fulfillment. Those gains are easy to overlook because they are spread across labor, claims, and repeat orders instead of showing up as one obvious line item.
How the packaging process works from dieline to delivery
The process starts with measurements. Length, width, height, product weight, accessories, inserts, and any fold-flat components all matter. A box that fits the sample on a desk can fail once the real product, polybag, tissue, tray, or insert is added. That is why packaging teams ask for exact dimensions instead of estimates.
Once the size is fixed, the supplier builds a dieline. This is the technical map of the carton: cut lines, folds, glue areas, bleeds, and safe zones. The dieline is not a design file; it is the structure that artwork must fit. If the dieline is wrong, the artwork can be perfect and still print badly.
After that comes proofing. A digital proof is useful for checking text, placement, color relationships, and registration. It does not tell you how the box feels in the hand or whether the closure works cleanly. A physical sample is slower, but it shows issues that a PDF cannot: a flap that catches, a lid that sags, an insert that rattles, or a finish that reads flatter than expected.
Lead times vary by construction. Simple printed cartons are often faster than rigid boxes with custom inserts or specialty coatings. A common range for straightforward orders is 10 to 15 business days after proof approval. More complex builds can stretch into 20 to 30 business days, especially if the project needs sample revisions, import transit, or multiple rounds of approval. That is not a delay so much as the normal pace of physical production.
Finishing is the last visible layer. Matte lamination, gloss varnish, soft-touch coating, foil stamping, embossing, debossing, and spot UV each create a different surface result. Matte often reads restrained and modern. Gloss can make color feel louder. Foil draws attention to logos or accents. Too much finish, though, can make the package look busy instead of premium.
For broader terminology on packaging structures and manufacturing language, the Packaging Machinery Manufacturers Institute is a useful reference. It will not replace a supplier quote, but it helps anchor the conversation in actual packaging vocabulary.
Cost, pricing, and MOQ factors buyers should compare
Pricing becomes clearer once the specification is fixed. Board stock, box style, print coverage, number of colors, finishing, insert complexity, and order quantity all push the final number up or down. Two boxes can look similar in a render and still price very differently because one uses standard paperboard and the other uses corrugate or rigid board with hand-wrapped paper.
Minimum order quantity is the other major lever. Higher quantities usually lower the unit price because setup costs are spread across more pieces. That sounds straightforward, but the lowest unit cost is not always the best choice if the run ties up cash or creates storage pressure. For small brands, the balance between inventory and price is often tighter than the print cost itself.
These ranges are useful for planning, not for final budgeting. Freight, inserts, coating, and board thickness can move the numbers quickly.
| Box Type | Typical MOQ | Approx. Unit Price | Best Use | Cost Notes |
|---|---|---|---|---|
| Folding carton | 5,000+ | $0.18-$0.42 | Retail shelves, light items, high-volume SKUs | Lowest material cost, but limited crush resistance |
| Mailer box | 1,000-5,000 | $0.95-$1.80 | Direct shipping, kits, subscription drops | Good balance of strength, print area, and pack-out speed |
| Rigid box | 500-2,000 | $2.50-$6.00 | Premium gifts, high-value merch, presentation sets | Higher labor and storage cost, usually slower to produce |
A quote is only useful if the inputs are comparable. One supplier may be pricing a mailer with basic print, while another is pricing a rigid setup with a wrap, magnet closure, and insert. Those are not equivalent jobs. The clean way to compare is to use the same dimensions, the same board grade, the same finish stack, and the same freight assumptions.
Hidden costs matter too. Freight on larger cartons can be meaningful. Storage becomes an issue when a full run arrives at once. Sampling adds time and sometimes extra charges. Inserts can cost as much as the outer box if the fit is tight or if the material is upgraded from paperboard to foam, molded pulp, or die-cut corrugate.
A practical buyer will also ask about overage, waste allowance, and reprint tolerance. Those details are not glamorous, but they affect whether a program stays inside budget when a press run needs adjustment.
Choosing the right structure, material, and print style
Structure drives function. A tuck-end carton is economical and familiar. A mailer box works better for parcel shipping because it is built to open and close cleanly while resisting crush better than a light retail carton. A sleeve-and-tray box gives a more layered reveal. A rigid box delivers the most premium feel, but it also adds material, weight, and storage volume.
Material choice should follow the job. For lightweight retail packaging, 14pt to 18pt SBS or similar paperboard can be enough. For direct shipping, many teams move to corrugated board such as E-flute or similar profiles because they offer better structural performance. For presentation boxes, greyboard wrapped in printed paper is common because it feels firm, stable, and expensive in the hand without requiring exotic materials.
If the supply chain supports it, an FSC-certified board can support a sustainability claim. The claim only matters if it is traceable and relevant. Using recycled content or certified fiber is useful, but only if the sourcing is real and documented.
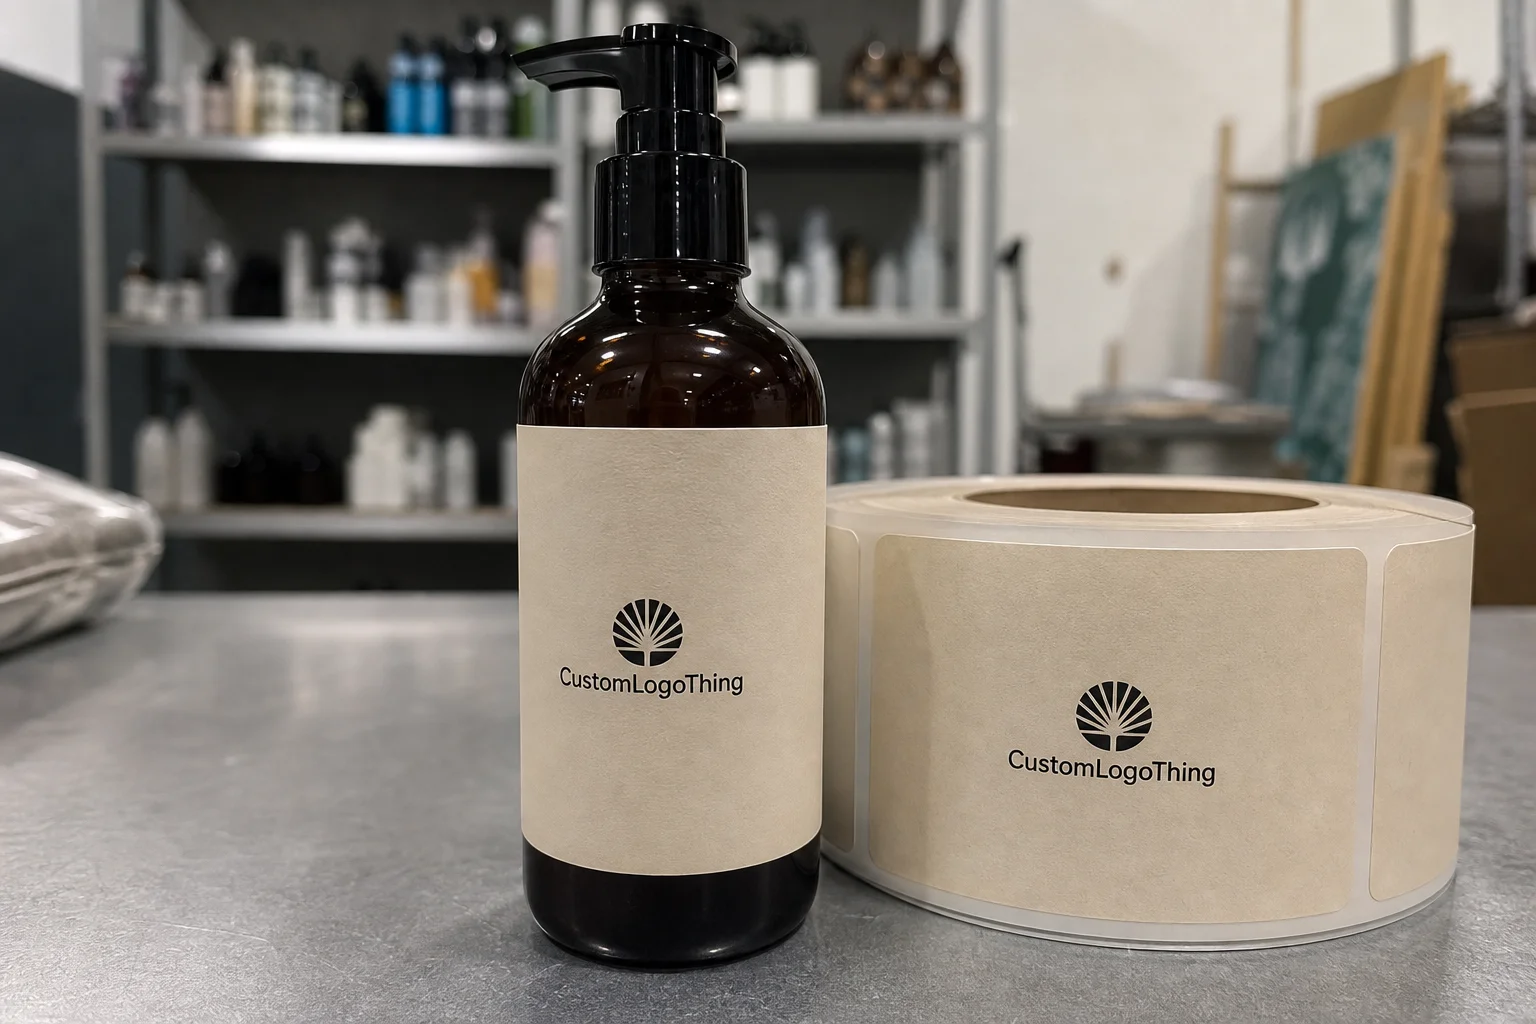
Print style should match the brand rather than the trend. Full-coverage graphics can work for youth merchandise, event drops, and bold promotional campaigns. A more restrained layout with whitespace, a single accent color, and one strong logo placement often fits jewelry, skincare, or premium accessory packaging. Neither approach is inherently better. The wrong one is the one that fights the product.
Useful functional details often make more difference than extra decoration:
- Inserts keep products from shifting and make the unpacking sequence cleaner.
- Tabs and closures help the box stay closed during shipping and handling.
- Tear strips improve opening behavior for mailers and subscription kits.
- Custom cavities reduce rattling for fragile, polished, or premium items.
There is no universal best choice. A heavy item needs stronger board. A fragile item needs a tighter fit. A parcel-shipped bundle needs different support than a shelf carton. The more the brief starts from function, the less likely the project is to accumulate unnecessary cost.
Step-by-step guide to ordering custom merchandise boxes
Start with the product, not the artwork. Measure the item in its packed state, not just in isolation. If the product includes a label, insert, pouch, cable, card, or instruction sheet, count those items now. The goal is to design a box that works with the final pack-out, not a sample that only fits on paper.
- Gather the product data. Send exact dimensions, unit weight, and any special packing requirements. If the box ships flat, assembled, or nested with other items, say so early.
- Collect artwork files. Use vector logos, print-ready artwork, brand colors, and any copy that must appear on the box. If the project needs compliance text, UPCs, or SKU labels, include those before quoting.
- Request a quote on the same spec. Make sure each supplier is pricing the same size, board, finish, insert, and freight assumptions. Otherwise the numbers do not tell you much.
- Review proof or sample. A physical sample is usually worth it for premium products, tight fits, or any project where color and surface feel matter.
- Plan the schedule backward. Include proofing, revisions, production, finishing, packing, transit, and a buffer for delays. That buffer is not wasted time. It is how packaging projects survive normal production variance.
For teams juggling more than one format, reviewing Custom Packaging Products early can help clarify which structure belongs to which product. That reduces the temptation to force one box style to do every job.
The cleanest packaging brief is specific about what the box must do. It should say whether the product is delicate, whether the package is mail-ordered or shelf-stored, whether the box needs to ship flat, and whether the opening experience matters enough to justify extra finish. That level of detail prevents a lot of expensive guesswork.
Common mistakes that raise cost or weaken the final box
Guessing the dimensions is the first mistake. A few millimeters can be enough to create shift, bulging, or slow assembly. Too much room and the product rattles. Too little and the carton resists closure or crushes at the corners. Both problems look minor in a spreadsheet and obvious in production.
The second mistake is designing for a screen instead of a dieline. Packaging artwork has folds, glue areas, bleeds, and safe zones. If text sits too close to a crease or a logo crosses a score line, the result can look off-center even if the file technically prints. Good packaging design respects the geometry of the box.
Another recurring issue is stacking too many effects on one package. Foil, embossing, spot UV, heavy coating, and multiple inks are not automatically better. They can make the box expensive without making it clearer or more attractive. In some cases, a cleaner custom printed boxes layout feels more confident because the material and the structure do the work instead of the surface being overloaded.
MOQ mistakes also cause trouble. Ordering too little pushes the per-unit price up. Ordering too much creates storage and obsolescence problems, especially for seasonal campaigns or launches with short lives. A box program should match both demand and warehouse capacity.
Transit testing is often skipped because the sample looks good on a table. That is not enough. Drop, vibration, compression, and corner-impact testing expose weak points before a full run is committed. The ISTA framework is a useful reference if you need a standard vocabulary for those checks.
There is also the warehouse reality. A box that stacks poorly slows pack-out. A closure that pops open invites extra tape. A finish that scuffs during sorting can look tired before the product reaches a customer. The real test is not whether the carton looks good empty. It is whether it still looks and performs well after it has moved through fulfillment.
Expert tips for a smoother timeline and better results
Lock the structure before polishing the art. That sequence reduces revisions and keeps the design inside the physical limits of the box. If the dieline changes late, artwork often has to be rebuilt. That is one of the fastest ways to lose time on a packaging project.
Plan for print tolerance near edges and folds. Even a good run has variation, and packaging sees more handling than a poster or card. Small type near a cut edge can look fine in the proof and uneven in production. Strong margins and clean hierarchy make the box more forgiving.
Keep the finish stack tight. If the product itself has visual appeal, a matte board with one purposeful accent can feel stronger than several decorative layers. That is especially true for brand packaging where the item should still be the center of attention. A package that tries too hard often ages poorly.
For launches, subscription kits, and seasonal promotions, a short prototype cycle is usually worth the time. One physical sample can confirm color, fit, pack-out speed, and closure behavior before the full run is committed. It also makes internal approvals faster because people can handle the product instead of debating a render.
Fulfillment should be part of the brief from the beginning. Ask how the box stacks on pallets, how many steps are required to pack one unit, whether labels will be applied by hand or machine, and whether the closure holds up under line pressure. A box that is beautiful but slow to pack is a bad operational trade.
A simpler box is not automatically a cheaper one. It is only the better choice if the structure, finish, and handling all support the way the product ships.
Next steps for quoting and launching your box program
To get an accurate quote, send the exact product dimensions, estimated quantity, target delivery date, print goal, and finish preferences. Add insert requirements and clarify whether the box ships flat, pre-assembled, or packed as a set. Those details make the quote meaningful instead of approximate.
If the product is high value or the presentation matters, order a sample or prototype before production. That is especially useful for premium accessories, gift sets, and launch pieces where surface feel and fit need to be correct on the first run. For lower-risk reorders, a proof may be enough, but that decision should be based on channel and product risk, not convenience.
Before approval, compare production quantity against sales velocity and storage capacity. A run that looks efficient on paper can create inventory pressure if the demand estimate is too optimistic. Under-ordering has its own cost: rush fees, repeat setup charges, and delays when a product sells faster than expected. The strongest plan is the one that fits both the demand pattern and the warehouse reality.
For a final check, confirm structure, artwork, timeline, freight, and sample status before signing off. If those pieces line up, custom merchandise boxes do what they should do: protect the product, support the brand, and keep the operation moving without avoidable waste.
What do I need to quote custom merchandise boxes accurately?
Send exact product dimensions, quantity, print coverage, finish preferences, insert requirements, and the shipping format. If you have a target delivery date or special compliance text, include that as well so the quote reflects the actual job.
How do custom merchandise boxes affect shipping costs?
Box size, board thickness, and packed weight all influence parcel and freight charges. A tighter fit can reduce void fill and damage risk, which sometimes lowers the total cost even if the box itself is slightly more expensive.
What is the typical turnaround for custom merchandise boxes?
Simple printed cartons can often move in 10 to 15 business days after proof approval, while rigid boxes, custom inserts, or specialty finishes may take 20 to 30 business days or more. Sampling and freight can add extra time.
Are there cost-saving options for custom merchandise boxes without looking cheap?
Yes. Use the right structure, simplify the finish stack, keep the artwork clean, and choose a board grade that matches the product. In many projects, good proportions and accurate fit do more for perceived quality than extra decoration.
How do I know if my merchandise boxes are the right fit for the product?
The box should hold the product securely, protect edges and corners, and open or display cleanly. A sample with the real product and any inserts is the best way to confirm fit before production.