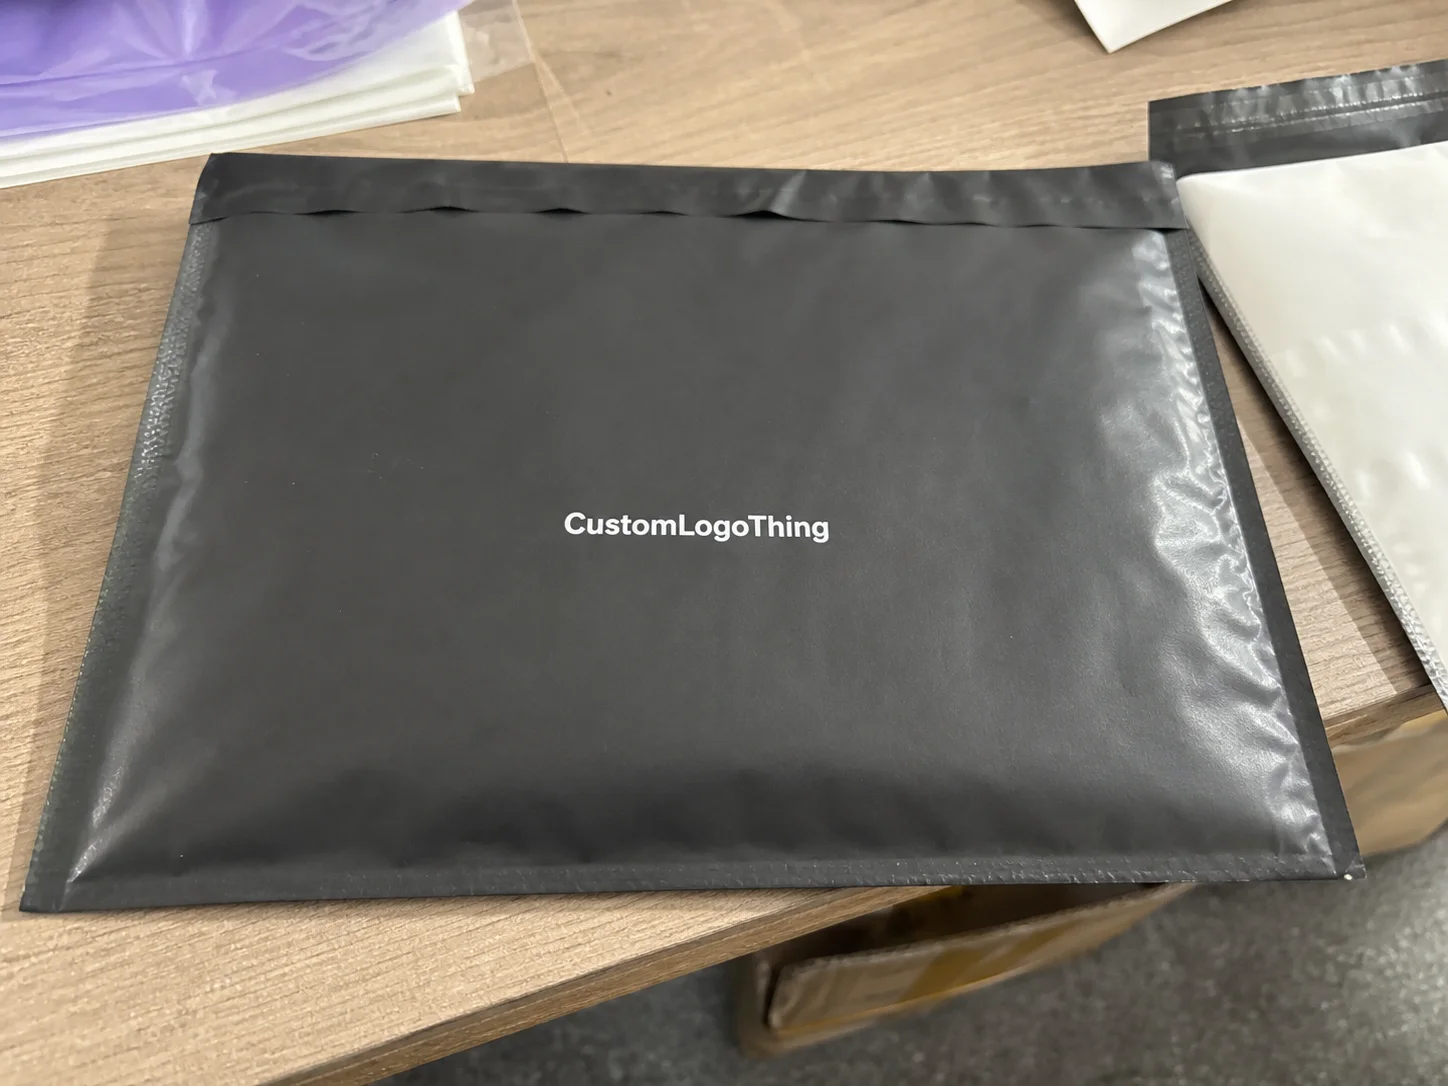
Custom Mylar Ziplock Bags: Specs, Pricing, and Production Notes
For brands that need shelf presence, resealability, and solid barrier performance without moving into rigid packaging, custom mylar ziplock bags are often the practical answer. “Mylar” is used loosely in packaging; in most buyer conversations, it refers to a metallized or foil-laminate pouch with a zipper closure built for protection and reuse.
The value is operational as much as visual. A pouch stores flat, ships light, and gives you more printable surface than many buyers expect. That makes it a workable format for snacks, herbs, supplements, cosmetics, pet treats, hardware, sample kits, and other small goods that need different branding but similar packaging structure.
What usually determines whether the bag works is not the artwork. It is the structure, the zipper, the dimensions, and how those choices behave on the fill line and during transit.
Why these bags solve more packaging problems than they first appear
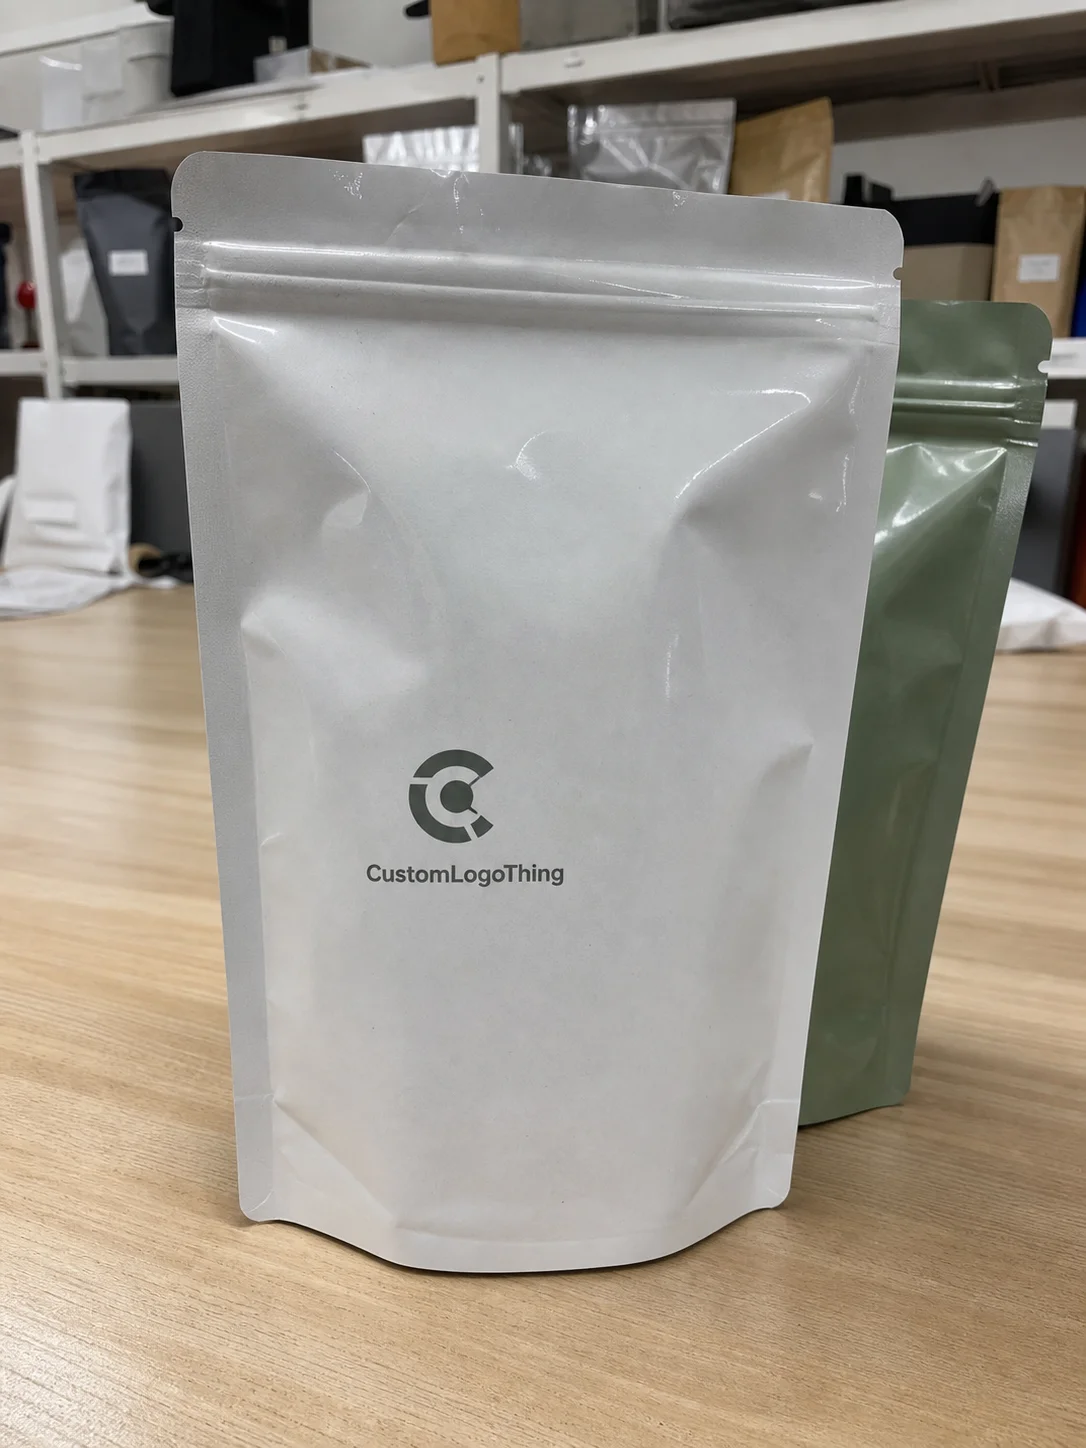
The obvious benefit is freshness and resealability. The less obvious one is efficiency. Flexible pouches take far less warehouse space than jars or tins, and that difference matters when a brand manages multiple SKUs or seasonal inventory. Freight savings are not a branding point, but they show up quickly in margin.
There is also a retail advantage. A pouch gives you a broad front panel, a clean back panel for required copy, and enough structure to stand out without adding bulk. In categories where shoppers decide fast, a well-printed pouch reads as intentional. A generic one does not.
Good pouch programs also reduce avoidable product damage. The package can be sized around the product instead of forcing the product into a rigid container shape. That helps when contents are irregular, lightweight, or shipped in small batches. It is one reason brands that move away from glass or cardboard often stay with flexible packaging after testing it properly.
How the material and zipper structure work together
Most mylar-style pouches use a layered laminate. Common constructions include PET/VMPET/PE and PET/AL/PE. PET gives the outer layer print stability and stiffness. The middle layer handles barrier. The inner sealant layer allows the pouch to close reliably after filling. Each layer matters, but performance depends on how they are matched to the product.
That matters because “barrier” is not one property. Oxygen transmission rate, moisture vapor transmission rate, odor containment, light resistance, puncture strength, and heat-seal integrity all affect shelf life in different ways. A pouch for dry coffee is not the same as one for bath salts or dried herbs. The film can look similar while behaving very differently.
The closure deserves the same attention. A zipper that is too loose feels cheap and can leak aroma. A zipper that is too stiff frustrates the end user and can hurt repeat use. For many products, the closure is touched more often than the print, so the tactile experience matters even if it is not the first thing on the quote sheet.
There is a useful tradeoff to understand. Metallized structures often offer good printability and a lower price point, while foil laminates usually deliver stronger barrier performance and a more opaque appearance. Foil can add cost and stiffness. Metallized film can be easier to print and sometimes easier to run on filling equipment. Neither is automatically better. The product decides.
Small features change usability more than people expect. Tear notches help with first opening. Hang holes matter for peg displays. Rounded corners reduce snags and improve hand feel. Clear windows can work well if the product itself is part of the sell. Each feature adds complexity, so it should tie back to a real retail or operational need.
The cheapest quote is often the one that leaves out the thing you later need most: the right zipper, the right barrier, or enough room for the product to sit cleanly inside the seal area.
For buyers comparing packaging categories, Custom Packaging Products and custom printed boxes often solve the same brand problem in different ways. Boxes give structure. Pouches give density and lower shipping weight. The right answer depends on the product, not on which format looks more premium in isolation.
If you want a reference point for material language and barrier terminology, packaging.org is useful for basic industry vocabulary. For transit expectations, ISTA is a better benchmark when the package will move through multiple handling points or parcel networks.
Spec choices that determine performance, appearance, and fit
Dimensions should start with the product, not with a standard bag size that only looks close. Measure the fill weight, settled product height, and the headspace needed above the fill line so the zipper can close without stress. If the pouch is too tight, the seal can distort. If it is too large, the product can shift, slump, or look loose on shelf.
Thickness matters for more than durability. A common total gauge range for retail pouches is roughly 3.5 to 5 mil, with heavier or sharper contents often needing more. Thicker film usually feels more premium and resists puncture better, but it can also be less forgiving on some filling lines. The right number is the one that fits the product, the shipping route, and the end-user experience.
Finish changes perception quickly. Matte makes a pouch feel quieter and more restrained. Gloss gives color more pop. White underprint can keep colors from disappearing into a metalized background, while clear windows can signal honesty or freshness if the product benefits from being visible. That same discipline used in custom pouch packaging options applies here: the structure and the design need to support each other instead of competing.
Closure style should be specified early. A basic resealable zipper is fine for many food and personal-care products. Some categories need child-resistant features, tamper evidence, or a tear-and-reseal combination. If the product is regulated or sensitive, ask for food-contact or compliance documentation before artwork is finalized. Reworking a finished design is slower and more expensive than checking the requirement at the start.
Filling method also changes the spec. A pouch that works well for hand filling may not run cleanly on semi-automatic equipment. Mouth opening, side seal tolerance, film stiffness, and zipper placement all affect line speed. The packaging should fit the process, not just the product photo.
| Option | Typical MOQ | Typical Unit Price | Best Fit | Tradeoff |
|---|---|---|---|---|
| Standard pouch with limited print | 5,000+ | $0.18-$0.30 | Simple SKUs, short runs, basic retail packaging | Less room for premium finish and special features |
| Full-color custom pouch with zipper | 5,000-10,000+ | $0.28-$0.55 | Most branded packaging programs | Higher setup and prepress effort |
| High-barrier or special-finish pouch | 10,000+ | $0.45-$0.90 | Odor-sensitive, moisture-sensitive, or premium lines | More cost, more lead time, tighter approval process |
Those figures are directional. A bigger pouch uses more film. A heavier zipper costs more. Full-bleed print, soft-touch lamination, metalized effects, and precise color matching all push the quote upward. Two bags that look similar on paper can land in different price bands once the actual structure is specified.
Cost, pricing, MOQ, and what really moves the quote
Pricing usually reflects five things: size, laminate structure, print coverage, zipper type, and quantity. Add special finishes, windows, or child-resistant features and the cost moves again. The unit price is only part of the picture. Setup, proofing, and freight can change the real landed cost enough to matter.
MOQ affects price because setup work gets spread across the order. Plates, cylinders, artwork correction, and press calibration all cost money whether you order 2,000 pieces or 20,000. That is why a small test run often looks expensive on a per-unit basis. The bag itself may not be the expensive part. The prep is.
Artwork complexity has a measurable impact too. A simple logo with one or two colors is faster to produce than a full-coverage layout with metallic ink, dense typography, and multiple white layers. Files that arrive in the wrong format, with low resolution or missing bleed, can add days before production even starts. Good print files save time in a way that is hard to see until they are missing.
It also helps to ask what is included in the quote. Some suppliers include the sample, proof, and freight terms clearly. Others bury those costs or leave them open-ended. Compare line by line: structure, thickness, zipper, finish, testing, and delivery terms. A lower quote that skips one of those items is not a better quote. It is a partial one.
If the bag has to protect aroma, survive transit, and look good under retail lighting, the spec needs to be judged against all three jobs. Price only makes sense after that check.
Production steps and timeline from artwork to shipment
The production sequence is usually predictable: brief, spec confirmation, artwork prep, proof approval, production, finishing, packing, and shipment. Problems tend to show up at the handoffs. If the dimensions change after the proof, if a color target is unclear, or if the compliance copy is incomplete, the schedule moves.
For most standard runs, a realistic timeline is around 12-15 business days after proof approval. More complex structures, higher quantities, special finishes, or new tooling can push that to 18-25 business days. Sample turnaround is often faster, but not always. If a buyer needs a rush order, the safest approach is to work backward from the ship date and leave room for revisions.
Quality control should include more than a visual check. Good pouch production usually involves seal-strength checks, zipper function checks, color comparison, and a close review of trim lines and corner finishing. For sensitive goods, ask whether the supplier can share a sample from the same production lot or a pre-production proof. That reduces the chance of approving a bag that behaves differently from the final run.
Transit testing is worth considering if the package will travel through rough handling, e-commerce fulfillment, or multiple distribution points. Simple drop testing, compression checks, or an ISTA-style test plan can reveal weaknesses long before the product reaches customers. A bag that survives production but fails in transit is a packaging problem, not a logistics problem.
Common mistakes that lead to weak seals, wasted stock, or slow approvals
The most common mistake is undersizing the pouch. Buyers measure the product itself and forget the room needed for filling, sealing, and natural expansion. A bag can still technically close and still be wrong. The print may wrinkle, the zipper may sit under tension, and the final package may look crowded on the shelf.
Another frequent failure is treating artwork like a digital file instead of a print file. Thin text, low-resolution logos, missing bleeds, and unsupported colors all create back-and-forth during prepress. Packaging files are unforgiving. A layout that looks clean on a screen can fail once it is converted to a press-ready format.
Do not assume that similar-looking pouches have the same barrier performance. Film structure matters. So does seal quality. A pouch for roasted coffee, dried fruit, or odor-sensitive supplements should not be chosen on appearance alone. Ask for actual material details, not only the marketing name on the quote sheet.
The last mistake is approving a sample without testing it with the real product. Check how it fills, whether the zipper closes smoothly after repeated use, and how the bag looks after being handled or dropped. If the product is fragile or odor-sensitive, do a few practical tests before locking the order. That small step often prevents a larger one later.
What to check before you order and how to move forward confidently
Before requesting quotes, gather the details that actually affect production. The cleaner the brief, the cleaner the price and proof. At minimum, include the product dimensions, fill weight, closure preference, print goals, target quantity, launch date, and any special features such as windows, tear notches, or rounded corners.
- Actual product dimensions and fill weight
- Desired pouch style and closure type
- Print intent, including matte, gloss, or metallic effects
- Any compliance or food-contact requirements
- Expected MOQ and launch date
If the product is new, fragile, moisture-sensitive, or being sold through a channel with strict presentation standards, ask for both a spec sheet and a sample. That is normal risk control, not over-engineering. It is cheaper to fix a zipper issue or size problem before production than after 10,000 bags are already printed.
When comparing suppliers, do not stop at the headline price. Check whether the zipper profile is the same, whether the laminate is the same, and whether the finish is the same. One quote may include a thicker film, a better sealant layer, or a more stable print process. Another may simply be lighter on material. If you are also reviewing custom pouch packaging options, compare on matched specs, not category names.
Share compliance language and artwork early. Ingredient panels, warning statements, barcodes, trademarked colors, and panel placement rules all affect the final layout. Fixing those items in proof is manageable. Fixing them after plates or cylinders are underway is slow and expensive. Good packaging projects usually feel boring for that reason: the details are settled before the run starts.
For brands building a wider packaging system, the pouch should fit the rest of the line. The bag, shipper, insert, and any outer carton should feel like one family. That consistency makes the product look planned instead of improvised. From there, the process is simple: define the spec, compare comparable quotes, approve the sample, and lock the schedule.
FAQ
What size should custom mylar ziplock bags be for my product?
Start with the product’s actual dimensions, fill weight, and the headspace needed above the fill line for the zipper to close cleanly. Leave room for seal area, pouch expansion, and the way the bag will look once it is filled, not just the bare product size.
How much do custom mylar ziplock bags usually cost?
Pricing depends on size, thickness, print coverage, zipper type, finishing, and especially order quantity. Smaller runs usually carry a higher unit price because setup and prepress are spread over fewer bags. Special finishes and tighter color matching also move the number.
How long does production take for custom mylar ziplock bags?
Timing depends on artwork readiness, proof approval, order size, and whether the structure is standard or more specialized. Standard runs often take about 12-15 business days after proof approval, while more complex jobs can run longer. Late design changes are the usual source of delay.
Are custom mylar ziplock bags good for food or odor-sensitive products?
They can be, but only if the film structure, seal quality, and closure type are matched to the product requirements. Ask for exact barrier and food-contact details instead of assuming every similar-looking pouch performs the same way.
What should I send when requesting a quote?
Provide product dimensions, fill weight, desired quantity, artwork files, finish preference, and any special features like windows or tear notches. Include your target launch date so the supplier can confirm realistic lead time and recommend the right production path.
The best pouch is usually the one that disappears into the workflow. It fills cleanly, seals reliably, travels without drama, and still looks like the brand paid attention. That is the standard worth using for custom mylar ziplock bags.