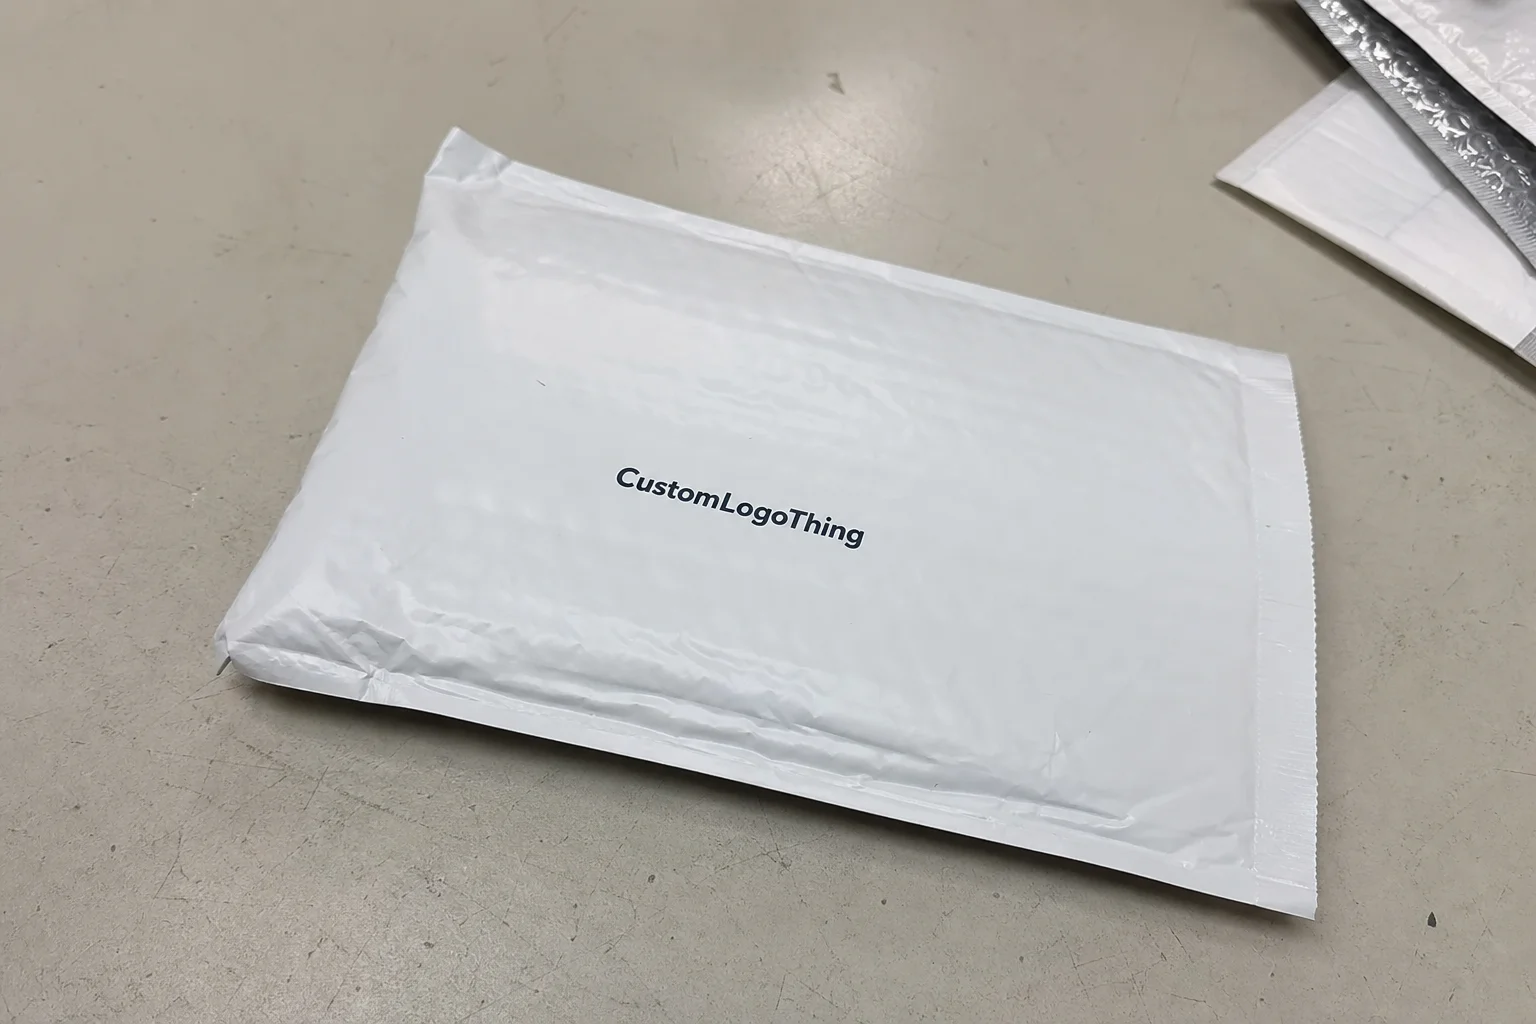
Custom Poly Bubble Mailers: Choose Sizes, Print, and Save
Most shipping problems with custom poly bubble mailers start long before the parcel leaves the packing table. The usual culprits are a size that does not match the packed product, a seal that is too weak for the route, or print coverage that looks fine in proof form but collides with the closure zone in production. The bubble layer rarely gets blamed first, yet it is usually doing exactly what it was designed to do.
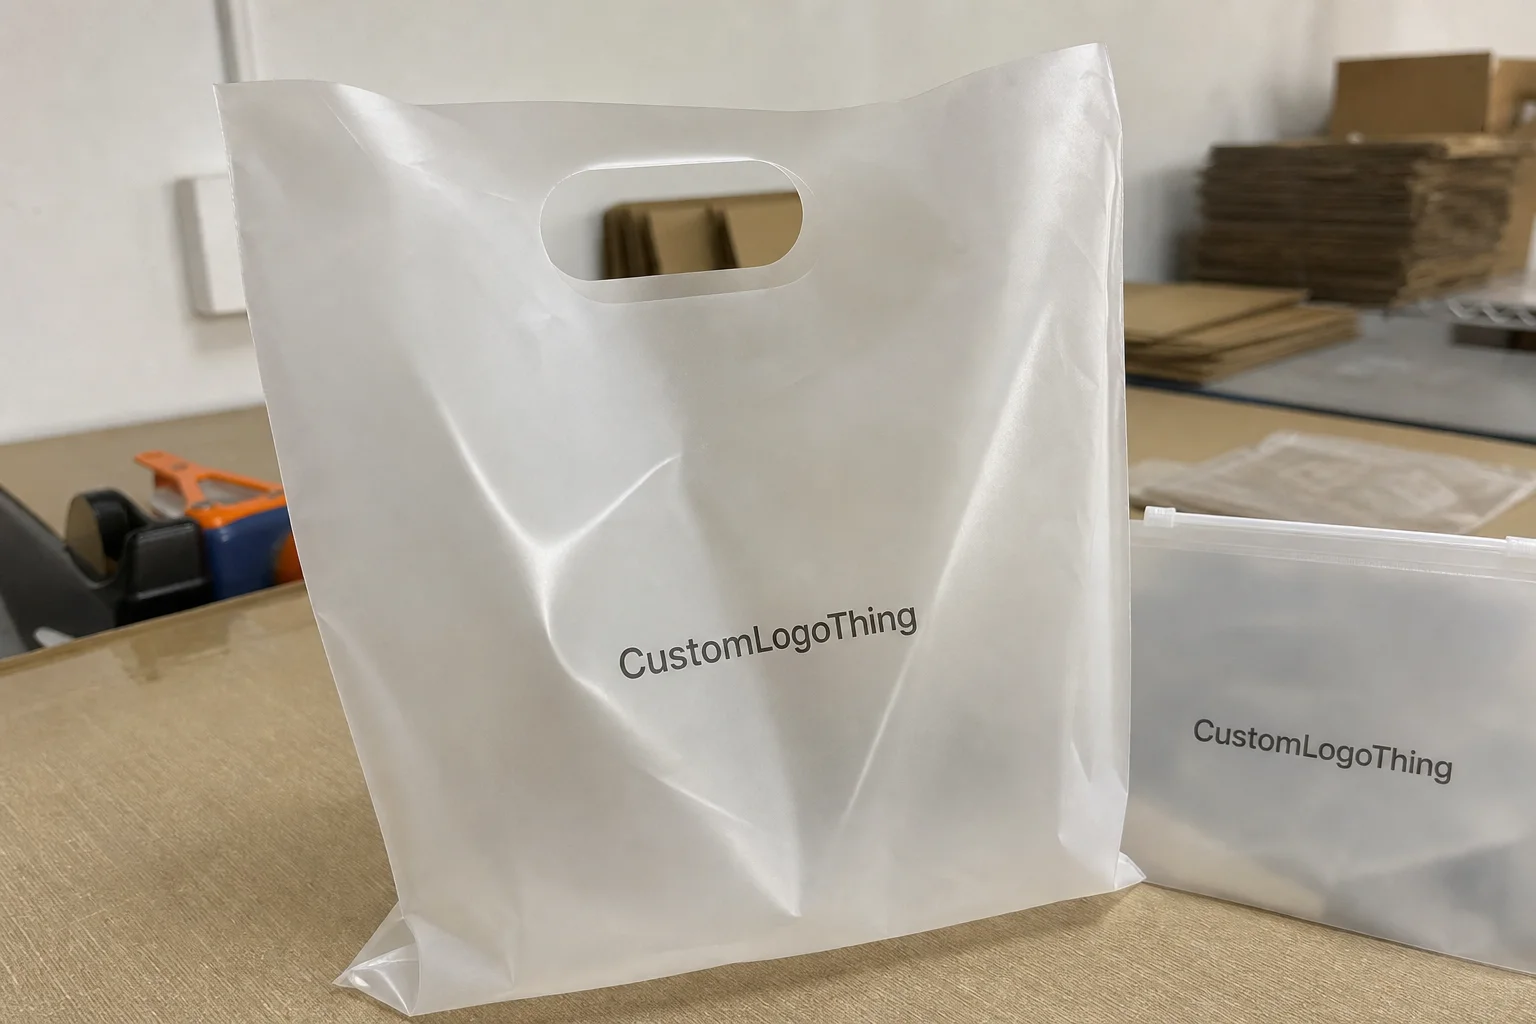
These mailers are straightforward in structure: a printed polyethylene outer shell paired with an integrated bubble lining for light cushioning and moisture resistance. That combination makes sense for apparel, accessories, cosmetics, soft goods, and many e-commerce orders that do not need the rigidity of a box. It also cuts pack-out time, which matters more than many buyers expect once a team is filling hundreds or thousands of orders a week.
The right spec is what makes them useful. The wrong spec turns them into a cost with a logo on it.
Custom Poly Bubble Mailers: What They Solve Fast
The main advantage is not the branding, although that matters. It is the way a well-chosen mailer removes unnecessary work from the packing process. There is no carton to fold, no void fill to add, and no extra tape pass to manage. For brands shipping flat or flexible items, that translates into faster packing and fewer moving parts on the line.
They also solve a quieter problem: package consistency. A carton with loose fill can vary from one packer to the next. A bubble mailer, if the sizing is correct, gives you a much more repeatable result. That is useful for customer experience, but it is also useful for labor planning because the labor time per order is easier to predict.
There are limits, though. Bubble mailers are not a substitute for rigid packaging on brittle, dense, or sharply edged products. If the item can punch through the inner layer, crush itself against the seam, or deform under light pressure, the mailer is the wrong format. Sometimes the fix is an insert or inner wrap. Sometimes it is a switch to a box.
From a buyer’s point of view, the benefits are practical:
- Less pack-out time and less handling on the bench.
- Better moisture resistance than paper-based mailers.
- Cleaner branded presentation than a plain outer shipper.
- Fewer SKUs to manage if the format fits multiple product lines.
If your packaging mix already includes other Custom Packaging Products, the rule stays the same: choose the structure that protects the product with the least extra labor.
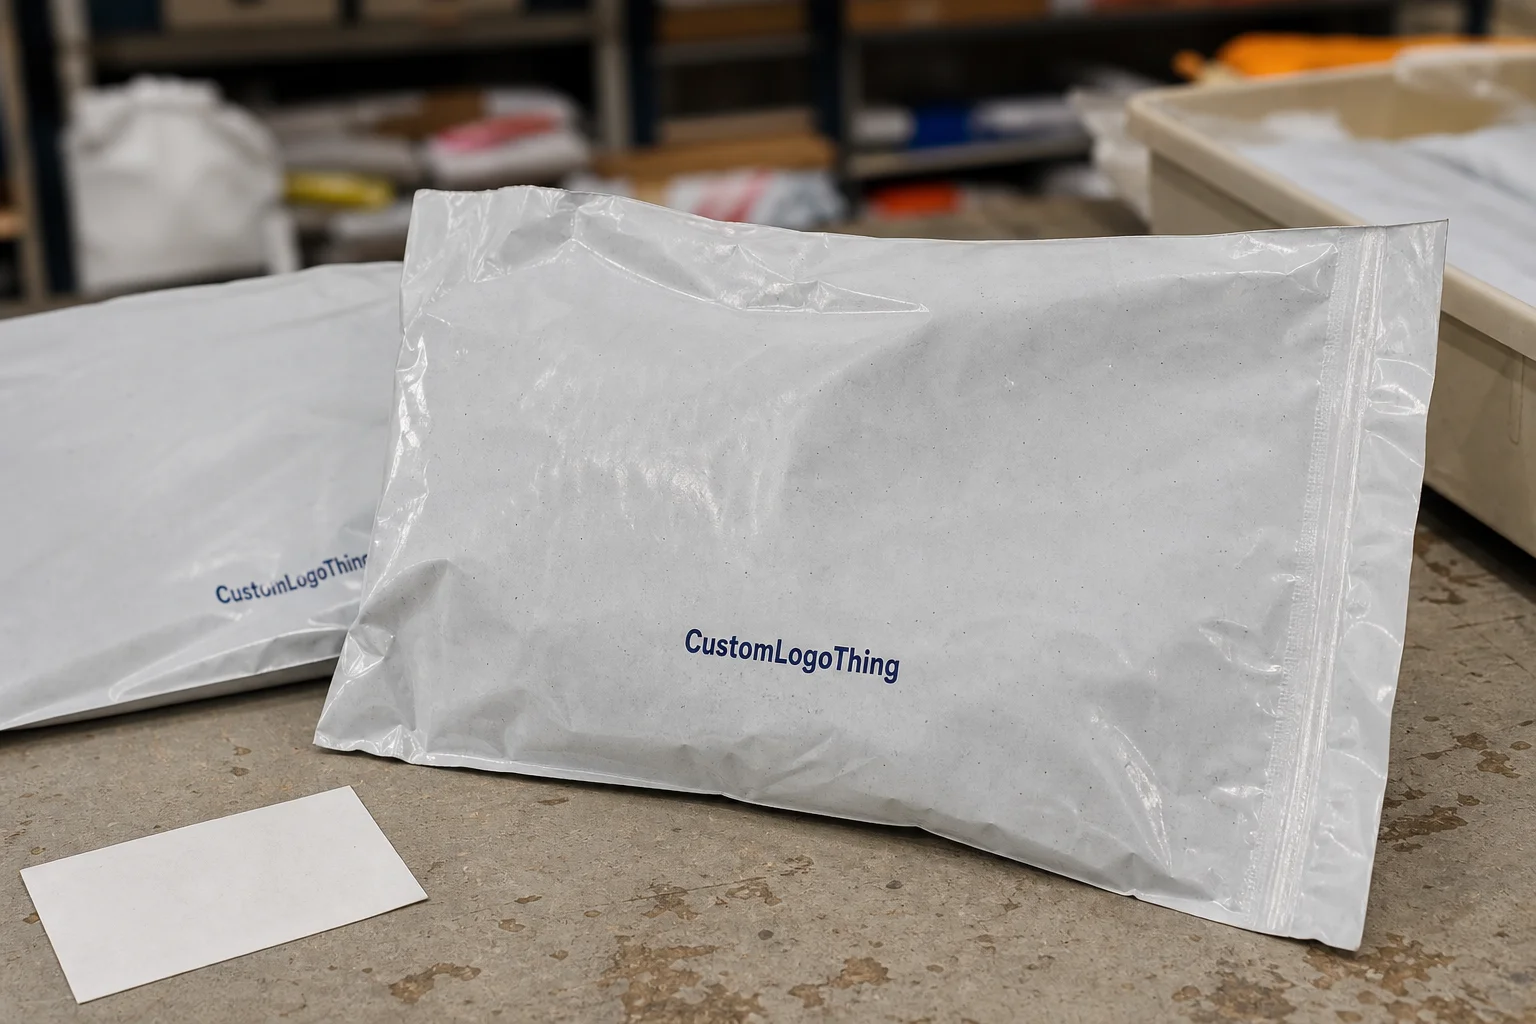
How the Outer Film, Bubble Liner, and Seal Work Together
A bubble mailer is only as reliable as its three core parts. The polyethylene outer film carries the print, resists scuffing, and helps block moisture. The bubble liner gives the package its light cushioning and some puncture resistance. The adhesive closure is what keeps the whole unit intact through sorting, compression, and rough handling.
That last piece gets underestimated. A weak adhesive strip creates a problem the bubble layer cannot solve. The mailer can survive a drop and still fail later if the closure loosens under heat, cold, or pressure in transit. Teams often focus on logo placement and forget to test the seal under realistic conditions. That is a common mistake, and it is expensive.
For everyday apparel and soft goods, a 1/8 inch bubble profile is usually enough. It handles vibration, rubbing, and minor compression without adding much bulk. Outer film thickness often falls around 2.5 to 3 mil for standard use, while heavier applications may call for more. Thicker film can improve durability, but it also increases cost and can make the mailer stiffer in the hand.
The right answer is not always the thickest option. A mailer that is too rigid may slow packing and raise freight costs because it takes up more space. A thinner mailer may be perfectly fine if the product is soft, compact, and not prone to edge damage. Packaging should match the risk, not the fear level.
One useful benchmark is the kind of transit testing reflected in ISTA methods. That does not mean every order needs a formal certification run, but it does mean your sample should be checked against real drop, vibration, and compression conditions before you commit to volume.
Practical rule: if the seal fails, the cushioning inside the mailer never gets a fair chance to do its job.
For small electronics, cosmetics, and accessories, the real question is whether the item can tolerate movement without damage. For glass, sharp metal parts, or dense premium goods, a bubble mailer alone is usually too optimistic. The honest fix is often a secondary insert, better internal wrap, or a different package style altogether.
Sizing, Thickness, and Print Choices That Change Performance
Size the mailer around the packed product, not the bare item. That means measuring the item with any sleeve, tissue, insert, tag, or label included. If the product is rigid, extra room is not always helpful. Too much slack lets the item slide during transit, and that movement can do more harm than a snug fit would have caused.
A good fit also helps the closure behave the way it should. If the mailer is oversized, the adhesive has to close over a larger span of film, and the contents may shift away from the center. If it is too tight, the seam is forced to carry stress it was not meant to carry. Either way, the package becomes less predictable.
Thickness should be selected after the size is narrowed down. A standard film may be enough for light apparel and soft accessories. A heavier gauge may be worth the extra cost for items with corners, denser products, or longer shipping routes. The important thing is not to chase a spec sheet number. The important thing is to match the film to the actual product risk.
Print choice changes both the look and the sourcing path. One-color branding is still the simplest route for many buyers. It keeps setup easier, shortens proofing, and usually gives more supplier options. Full-coverage print creates a stronger visual presence, but it tightens color control requirements and narrows the list of factories that can produce it consistently.
Common stock and finish choices affect how the package reads on arrival:
- White stock gives the cleanest surface for logos and fine text.
- Clear or semi-clear stock can be useful when inner labeling or the contents need to show through.
- Metallic stock creates a premium effect, but print contrast can be less forgiving.
- Tinted stock is often used for privacy and a stronger branded look.
If you already use Custom Poly Mailers, the same logic applies here: measure the real pack-out, not the catalog dimension. That one step avoids a lot of expensive reordering later.
Cost, Pricing, and MOQ: What Moves the Quote
Pricing is shaped by a small set of variables, and they do not all move in the same direction. Size is obvious. Film thickness matters. Print coverage matters. Color count matters. Adhesive specification matters. Quantity matters most of all because the setup cost gets spread across the run.
MOQ is not a penalty. It is simply how manufacturing economics work. A small run carries the same basic prepress work, plate work, and machine setup as a larger one, so the unit cost stays higher until the volume improves. Buyers sometimes compare only one quantity and assume they understand the market. That usually leads to bad decisions.
| Option | Typical Use | Ballpark Unit Price at 5,000 Units | What It Changes |
|---|---|---|---|
| Small, one-color printed mailer | Light apparel, socks, small accessories | $0.18-$0.28 | Lower print complexity, simpler setup, broader sourcing |
| Mid-size, one- or two-color print | T-shirts, beauty items, soft goods | $0.22-$0.35 | Balanced protection and branding for common e-commerce use |
| Larger mailer with heavier film | Bulkier apparel, accessories, bundled kits | $0.28-$0.48 | More material, stronger feel, higher production and freight cost |
| Full-coverage or multi-color print | Premium branded packaging programs | $0.30-$0.55+ | More ink, tighter color control, fewer qualified suppliers |
Those numbers are ballpark figures, not a quote. They are still useful because they show how fast the price shifts once you change film weight or decoration coverage. A lower unit price can become expensive if it causes product damage, repacking labor, or customer service follow-up. True cost includes the package, the labor, and the cost of failure.
For some product lines, a mailer is the right answer. For others, especially where crush protection or presentation matters more, custom printed boxes may be the better fit. The cheapest unit on paper is not always the cheapest package in practice.
Production Steps and Lead Time: From Spec to Shipment
A clean order usually follows a predictable sequence: spec gathering, artwork review, proof approval, production, quality check, packing, and shipment. The part that slows the job is rarely the press run itself. It is the prepress work that comes before it. Vague size requests, missing artwork files, and late design changes all add time.
Sample approval and production are separate stages. That distinction matters more than buyers expect. A supplier may quote a short production window, but if the artwork still needs corrections, the schedule has not really started. For many custom poly bubble mailers projects, a reasonable expectation is roughly 12 to 15 business days from proof approval to production completion, followed by transit time depending on destination and carrier.
Rush production can be possible, but it should never be assumed. Confirm the shipping method, destination, and whether the supplier can actually meet the window after art approval. Optimistic dates are easy to say and hard to fulfill.
One practical way to reduce delays is to lock the decision order:
- Confirm packed dimensions and weight.
- Choose the right mailer thickness and seal.
- Approve the print layout and color count.
- Test one sample in real packing conditions.
- Release the production order only after the sample passes.
That sequence is plain, but it keeps teams from paying twice for the same packaging decision. If you manage multiple SKUs, keep the spec sheet consistent so the next reorder is driven by records rather than memory and old email threads.
Mistakes That Cause Damage, Delays, or Reprints
The first common mistake is measuring only the item and ignoring packed thickness, sleeves, tissue, or inserts. That produces mailers that are too tight, too loose, or awkward to seal. The second is overdesigning the print and crowding the seal zone with artwork or barcodes that should never have been there.
The seal area is not decorative space. If a logo, QR code, or heavy ink coverage overlaps the adhesive contact zone, the closure may not bond properly. Weak contrast causes another problem. A mockup that looks crisp on screen can become muddy on tinted film or metallic stock if the artwork was never checked against the real substrate.
Protection mistakes show up just as often. Buyers sometimes use a bubble mailer for a product that really needs rigidity, then assume the shipping carrier caused the damage. Carriers do contribute to wear, but the better question is whether the package was matched to the product in the first place. If the item is sharp, brittle, or very dense, the answer is often no.
Good packaging design is not about making the parcel look expensive. It is about getting the product to the customer in one piece without wasting material or labor.
Other repeat problems are more operational than visual:
- Skipping a sample test before the full run.
- Approving artwork without checking bleed and trim against the dieline.
- Ignoring adhesive behavior in warm or humid conditions.
- Assuming every supplier defines thickness, size, or print coverage the same way.
If sustainability is part of the brief, check claims carefully. For outer packaging, inserts, or cartons, FSC-certified materials can support responsible sourcing, but only if the documentation is real and current. See FSC for the standard and terminology. The same discipline that applies to material claims should apply to print specs, too.
Next Steps: Build a Better Spec Before You Request Quotes
Start with a one-page spec sheet. Keep it plain and specific. Product dimensions. Packed dimensions. Item weight. Branding needs. Target quantity. Delivery location. If there are inserts, sleeves, or secondary labels, include them. The cleaner the spec, the cleaner the quote.
Ask for pricing at multiple quantities. Three tiers is usually enough to show the pattern: a low volume, a mid volume, and a higher tier where setup cost begins to spread out. That gives you a real sense of the breakpoint instead of forcing you to guess from a single number.
Then order a sample or printed mockup and run a real test. Not a desk check. A real packing test with the staff who will actually use the product. Watch for seal strength, drop resistance, compression performance, and packing speed. If the mailer slows the line or damages the product, the spec is wrong no matter how good the artwork looks.
Before the production order is released, decide whether the mailer needs an insert, inner wrap, or different film weight. Small changes here can prevent larger problems later. That is especially true if you are trying to keep a consistent look across multiple product families and want one packaging system to support the whole line.
That is the real place where custom poly bubble mailers earn their keep. They give you a branded surface, enough protection for the right products, and a packing process that stays efficient without pretending to solve every shipping problem.
What size custom poly bubble mailers should I choose?
Measure the packed product, not just the item itself, and leave room for the closure plus a little movement control. If the product is rigid, oversized mailers can increase shifting and damage risk, so bigger is not automatically safer. Ask for recommendations based on packed dimensions and weight rather than a catalog guess.
How much do custom poly bubble mailers cost per unit?
Unit cost depends on size, thickness, print coverage, color count, and order quantity. MOQ matters because setup costs get spread across the run, so pricing usually improves at higher volumes. Compare quotes at several quantities so you can see the breakpoints instead of guessing.
Are custom poly bubble mailers good for fragile items?
They work well for light and moderately delicate items, but they are not a substitute for rigid packaging on brittle goods. For glass, sharp edges, or premium electronics, add internal protection or move to a box. Test the final pack with a drop or compression check before scaling.
What is the typical production timeline for custom poly bubble mailers?
Timeline usually includes proof approval, production, quality inspection, and shipping, so approval speed matters a lot. Artwork revisions and unclear specs are the main reasons jobs slip. If you need rush delivery, confirm the supplier can actually support it before you commit.
Can custom poly bubble mailers be printed in full color?
Yes, but full-color printing usually increases cost and may affect minimum order quantity. Some materials handle print better than others, so ask for the exact print process and proof quality. If budget is tight, a clean one- or two-color layout often delivers better value than complicating the artwork.