For apparel and retail packaging, a custom printed adhesive label has to do more than identify a product. It needs to carry branding, size, barcode, and compliance text while still looking clean on the finished pack. If it lifts, curls, smears, or leaves residue, the package feels cheaper immediately.
The useful label is the one that stays flat on a folded tee, peels cleanly from a polybag, scans reliably, and does not interrupt pack-out. That is the standard to judge by. Everything else is decoration.
This guide focuses on the practical side of ordering adhesive labels: where they outperform sewn alternatives, how they are built, what affects cost, and which specs matter before production starts.
Why Adhesive Labels Beat Sewn Alternatives
Sewn-in labels solve permanence. Adhesive labels solve speed and flexibility. They are usually the better choice for sampling, launches, short runs, reboxed inventory, and packaging that needs SKU-level updates without changing garment construction.
That flexibility matters when size runs shift, legal copy changes, or barcodes need to be updated late in the process. A sewn label locks the change into the garment spec. An adhesive label lets the packaging evolve without reopening production on the product itself. For folded apparel and sample sets, that is often the cleaner option.
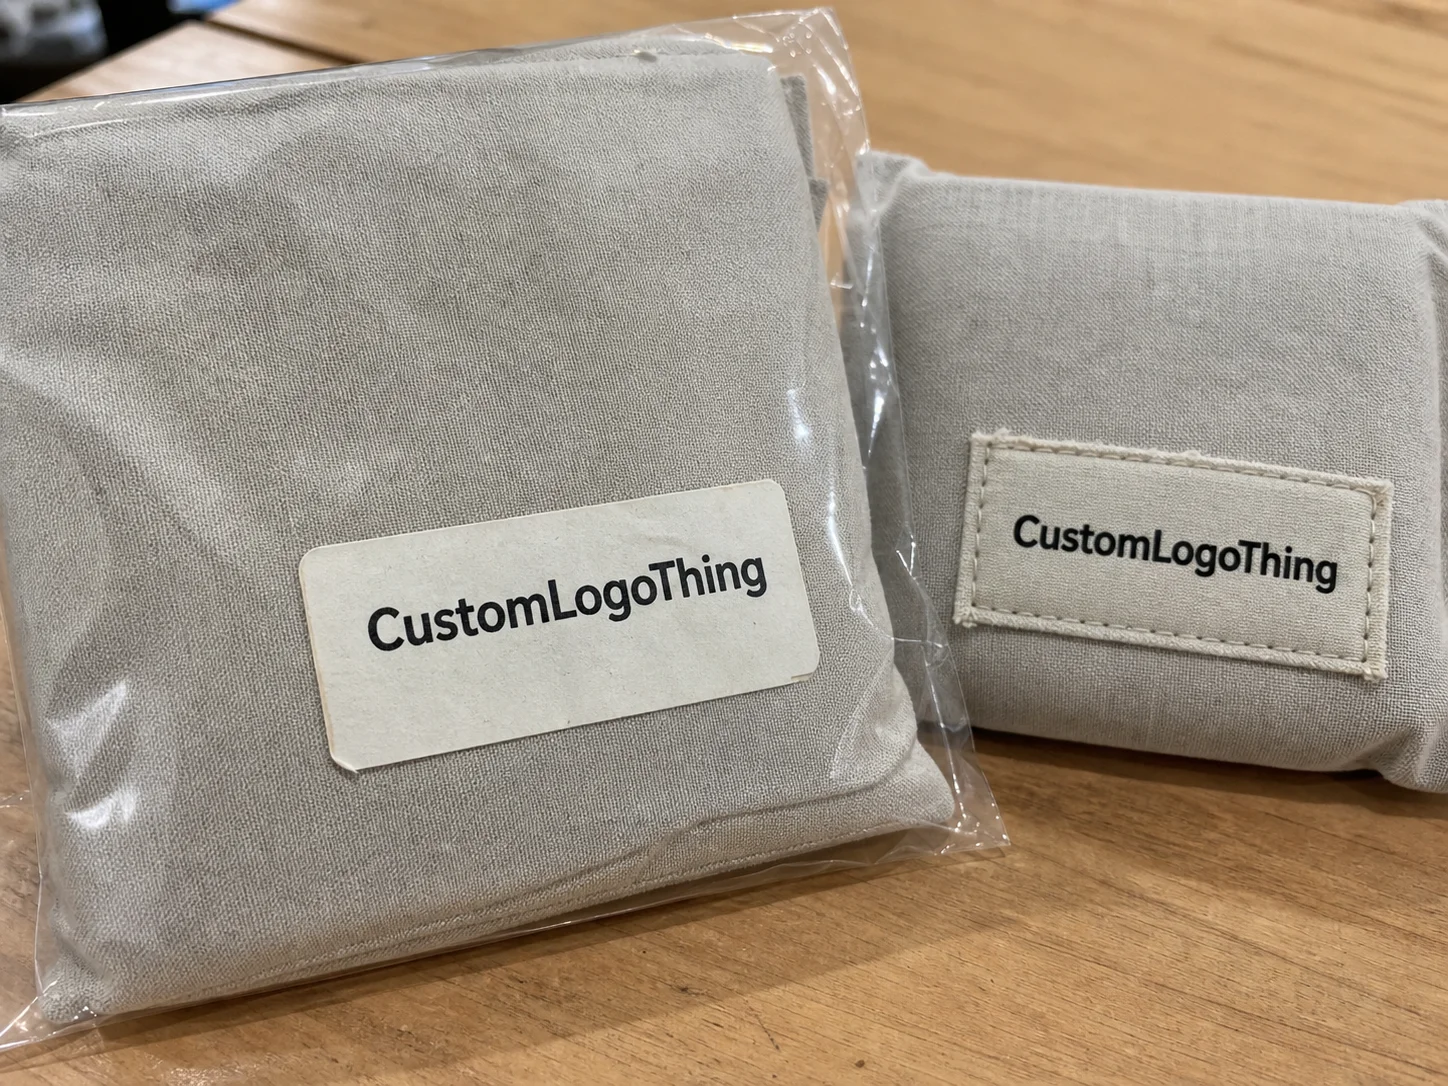
Adhesive labels also help presentation. On flat-packed apparel, they organize the unit before it reaches the customer. Brand mark, size, color, and price can live in one place. Used well, they make the package feel intentional. Used poorly, they curl at the corners and look temporary.
Most label failures are not design failures. They are application failures: wrong surface, wrong adhesive, wrong storage, wrong dwell time.
For teams comparing Custom Labels & Tags with other packaging components, adhesive labels sit in a useful middle ground. They are faster and cheaper than a full sewn program, but more polished than a handwritten sticker or plain warehouse tag.
The tradeoff is adhesion. Too weak, and the label lifts in transit. Too strong, and it leaves residue or damages the surface. That balance has to be specified honestly, not assumed.
How Printed Adhesive Labels Are Built and Applied
A printed adhesive label has three layers: face stock, adhesive, and release liner. Each one affects a different part of performance. The face stock controls print clarity, scuff resistance, and finish. The adhesive controls bond strength and removability. The liner affects die-cutting, dispensing, and how the label runs through pack-out.
Surface choice matters just as much as label construction. Smooth polybags, coated carton flaps, tissue wrap, and insert cards are predictable. Rough knits, linty fabrics, damp surfaces, and dusty cartons are not. If someone says the proof looked fine, that does not mean the label will behave the same on the line.
Production method also changes the order:
- Digital print works well for short runs, artwork changes, and variable data like barcodes or SKU-specific copy.
- Flexographic print is a better fit for stable designs and higher volume.
- Roll format supports faster application and semi-automated pack-out.
- Sheet format is easier for hand application and smaller teams.
Application conditions matter too. The label should go onto a clean, dry surface at the right temperature. Cold pack rooms, high humidity, lint, and oily hands all reduce performance. None of that is glamorous, but all of it affects the result.
For brands building a broader packaging system, adhesive labels often sit next to tissue, cartons, and insert cards. If the visual system needs to stay aligned, Custom Packaging Products can keep the pieces consistent. Customers usually see the whole package, not each component separately.
Testing frameworks can help when shipments move through distribution. The ISTA approach is useful for thinking about vibration, compression, and handling. If paper content is part of the spec, FSC can be relevant for sourcing conversations.
Cost, Pricing, and MOQ Factors
Pricing usually comes down to size, material, finish, adhesive, quantity, and whether the artwork includes variable data. Bigger labels use more material. Specialty stocks cost more than coated paper. Removable adhesive usually costs more than standard permanent adhesive. Smaller orders carry more setup cost per piece.
MOQ is where many buyers make bad decisions. A low MOQ looks attractive until proofing and setup push the unit price up. A larger order lowers cost per unit, but it also increases the risk of obsolete inventory if the SKU changes. The cheapest quote is not always the cheapest outcome.
Typical pricing bands for apparel-grade adhesive labels often land around these ranges, though exact numbers vary by stock, finish, and print method:
- 1,000 pieces: roughly $0.22 to $0.45 per label, with setup or proof costs around $35 to $125.
- 5,000 pieces: roughly $0.08 to $0.18 per label, with setup or proof costs around $75 to $200.
- 20,000 pieces: roughly $0.04 to $0.10 per label, with setup or proof costs around $125 to $300.
Those ranges only help when the spec is clear. If one supplier quotes paper and another quotes synthetic stock, or one includes roll format and another sheet format, the comparison is not clean. Barcode requirements matter too. Variable data adds complexity, but that complexity is manageable when it is disclosed early.
Lead time follows the same pattern. Simple one-color jobs can move fast. Specialty finishes, custom die shapes, laminations, and multi-SKU runs take longer. A reasonable planning window for standard work is 5 to 15 business days after approval, with more complex runs stretching toward 20 business days or more.
| Option | Best Use | Strength | Limit | Typical Cost Impact |
|---|---|---|---|---|
| Coated paper | Short-term packaging, sample runs | Lowest material cost, clean print surface | Less moisture resistance | Lowest |
| Synthetic stock | Higher-touch retail packaging, humid storage | Better durability and handling resistance | Higher material cost | Medium to high |
| Removable adhesive | Apparel, fold labels, clean customer removal | Better user experience on garments | Needs the right surface and dwell time | Medium |
| Permanent adhesive | Cartons, insert cards, secondary packaging | Stronger hold during transit | Can leave residue on apparel or tissue | Low to medium |
Cost is not just material. It is also labor, waste, remake risk, and pack-line disruption. A cheap label that slows the operation is not cheap.
Production Process and Timeline
The production flow should be straightforward: brief, artwork review, proof, approval, print, finish, inspect, pack, ship. Most delays start before production begins, usually because the brief was incomplete or the artwork was not ready.
Artwork is the first choke point. Missing vector files, low-resolution logos, unclear barcode specs, and unlabeled dielines create avoidable back-and-forth. The same applies to incomplete copy. If the label needs a size callout, barcode, color name, country-of-origin text, or regulatory line, that information needs to be locked before proofing.
Proof review should be practical. Check spelling, barcode readability, die-line placement, finish, and color expectations. Then check the label in context. A design can look balanced on screen and still crowd the fold or cover useful information on the actual package.
After approval, timing depends on complexity. A single-version order can move quickly. A die-cut shape, metallic ink, laminate, or multi-item run takes longer. If a vendor promises every option at the same speed, they are probably overcommitting or leaving something out.
Build a buffer into the schedule. Production, freight, receiving, and inspection all take time. If the label is part of a retail drop, transit is not a footnote. The pack room can only work with what actually arrives.
A practical checklist looks like this:
- Confirm exact size, material, finish, adhesive type, and quantity.
- Lock artwork and barcode data before proofing.
- Test one sample on the actual garment or package surface.
- Approve with a shipping buffer, not the optimistic calendar.
Dull is good here. Dull means the order is less likely to surprise you later.
Material, Finish, and Adhesion Specs
Material choice should follow the use case. Coated paper is usually enough for short-term garment identification and lower-touch packaging. Synthetic stocks such as polypropylene or polyester are better when moisture, scuffing, or longer storage windows are part of the job. If the label needs to come off cleanly, removable adhesive matters as much as the face stock.
Finish affects both appearance and handling. Matte reduces glare and often improves barcode scanning under bright light. Gloss gives richer color and a more polished retail look, but fingerprints and scuffs show faster. Soft-touch and specialty coatings can feel premium, but only if the package survives handling without damage.
Adhesion is more sensitive than most buyers expect. Temperature, humidity, dwell time, and surface energy all matter. A label can perform well in a sample room and behave differently after two days in a warm warehouse. Real-surface testing is more reliable than assumptions.
Use this as a simple spec guide:
- Removable adhesive is the safer choice for apparel and fold labels where clean removal matters.
- Permanent adhesive fits cartons, insert cards, and secondary packaging that should stay sealed or identified.
- Synthetic face stock makes sense when humidity, rubbing, or transit wear is part of the process.
- Matte finish is usually the better choice when scanability and readability matter more than shine.
That sounds obvious until a buyer approves the wrong stock because it looked better on a render. Renders do not ship.
| Spec | What It Changes | Buyer Tradeoff | Quality Check |
|---|---|---|---|
| Paper vs. synthetic | Durability and moisture resistance | Lower cost vs. better wear resistance | Rub test and storage test |
| Matte vs. gloss | Readability and presentation | Less glare vs. stronger color pop | Barcode scan and lighting check |
| Removable vs. permanent adhesive | Removal behavior and bond strength | Clean peel vs. stronger hold | Peel test on the real surface |
| Roll vs. sheet format | Application speed and workflow | Faster pack-out vs. easier hand use | Test with the actual pack team |
For teams building both labels and custom printed boxes, the best result usually comes from matching the label spec to the package spec instead of forcing one material to do everything. The label should support the surface, not fight it.
Common Ordering Mistakes and QC Checks
The biggest mistake is approving a label based on the proof alone. A proof can confirm color, copy, and layout. It cannot confirm how the adhesive behaves on a folded tee, a polybag, a textured carton, or a tissue-wrapped insert. That test has to happen on the actual surface.
Another common failure is vague placement. If the label is too large, it dominates the fold and covers useful information. If it is too small, it looks temporary and undercuts the brand. Specify the usable area, the no-print zones, and the intended visual balance instead of letting the vendor guess.
Artwork issues create more waste than most buyers expect. Low-resolution files blur. Weak contrast makes text hard to read. Missing bleed creates edge problems. Barcode errors can break warehouse scanning. A label that cannot be scanned efficiently is an operations problem, not just a print problem.
The pack environment matters too. Cold rooms, humidity, dust, and oily hands all interfere with performance. Labels that sit too long before application can also behave differently than labels used immediately after printing. QC should include the physical conditions where the label will actually be used.
A practical QC pass should include these checks:
- Test the label on the exact garment, carton, or wrap it will touch.
- Check edge lift after application and again after dwell time.
- Confirm barcode legibility under the real lighting in the pack area.
- Inspect for residue, scuffing, and color shift after handling.
- Verify that the label can be applied at line speed without slowing the team.
The labels that cause the least trouble are the ones designed with the line in mind. Not the mockup. Not the sales sample. The actual workflow.
For a better first run, build a one-page spec before requesting quotes. Include size, shape, face stock, adhesive type, finish, quantity, intended surface, and whether clean removal is required. Then ask for a sample on the real packaging. That catches expensive mistakes before they become inventory.
After that, run a pilot order. Review adhesion, scanability, visual balance, pack-out speed, and customer-facing presentation. If the label is part of a broader packaging system, evaluate it next to the carton, tissue, and insert instead of treating it as an isolated item. A good custom printed adhesive label should fit the package, the process, and the timing.
Which surfaces work best for custom printed adhesive labels?
Smooth, clean surfaces are the easiest to manage: folded garments, polybags, tissue, insert cards, and carton flaps. Textured knits, dusty fabric, damp surfaces, and low-energy plastics need testing first because adhesion can drop fast.
How long should an adhesive clothing label stay in place?
That depends on the adhesive, the surface, handling, and storage conditions. A label that performs well in a sample room may behave differently in transit or in a warm warehouse, so a real-surface test is the only reliable answer.
What changes price the most on a label order?
Size, quantity, stock choice, finish, adhesive type, and variable data are the main drivers. Smaller quantities carry a higher unit cost because setup and proofing are spread across fewer labels.
Can adhesive labels be removed cleanly from apparel?
Yes, if the adhesive is designed for removable use and the surface matches the spec. Clean removal still depends on dwell time, temperature, and fabric texture, so test before full production.
Should I use digital or flexographic production?
Digital is better for short runs, frequent artwork changes, and variable data. Flexographic production is usually better when the design is stable and the volume is high enough to lower unit cost.


