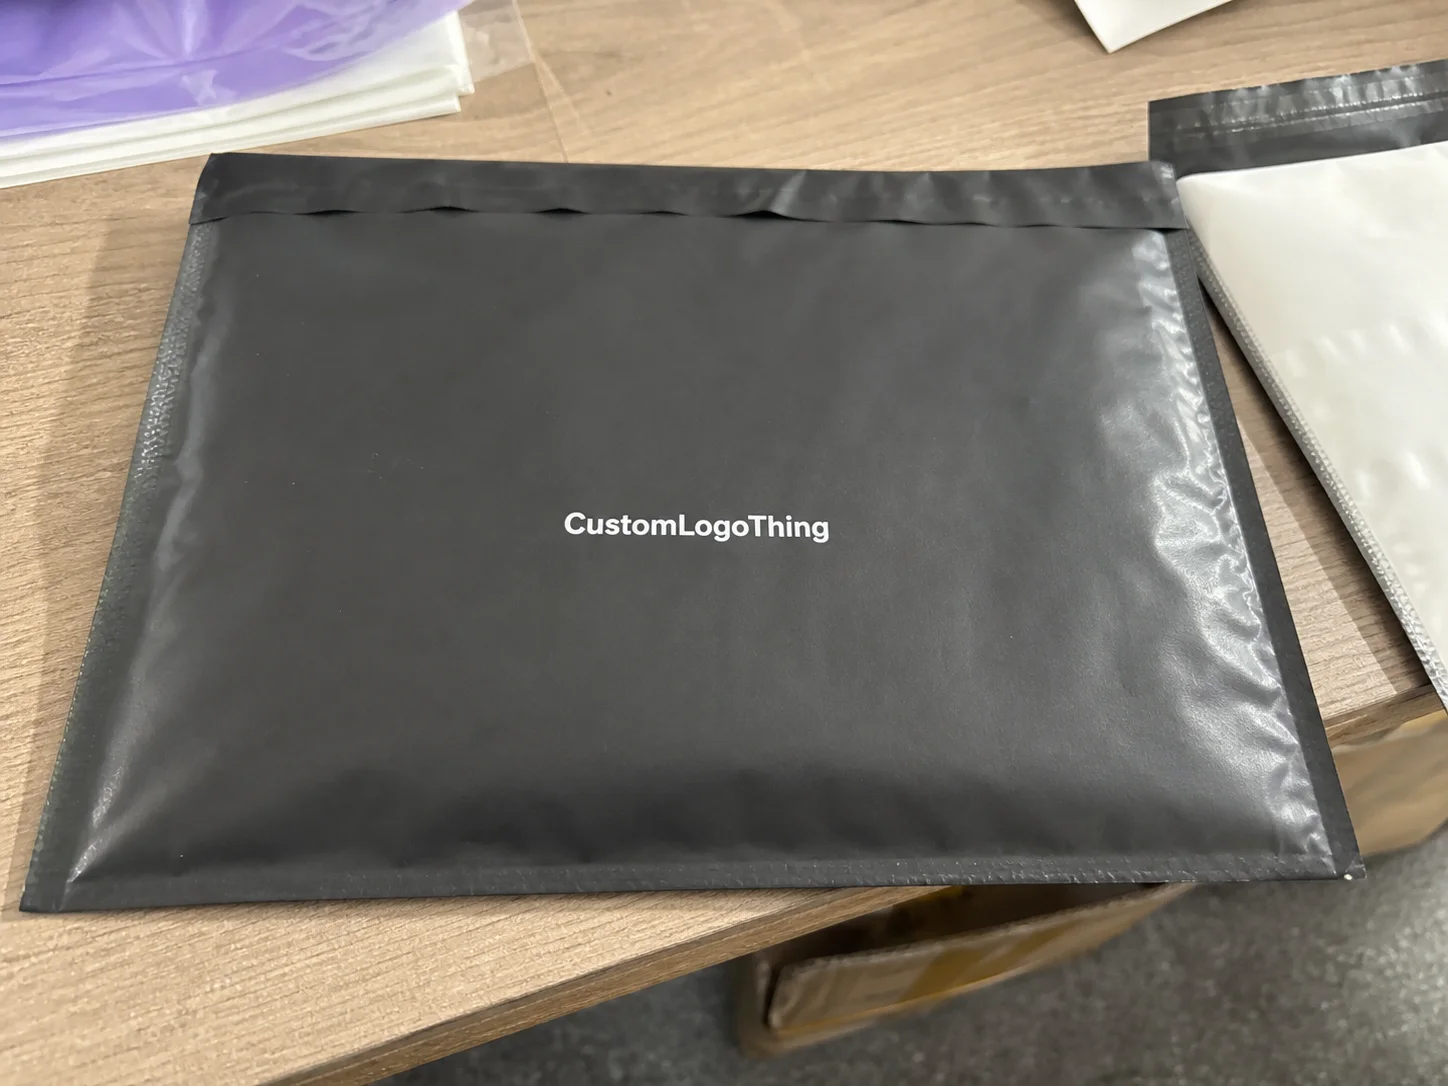
Custom Printed Resealable plastic bags are simple in concept and unforgiving in production. A sample can look fine on screen, then arrive with a weak zipper, cramped artwork, or a seal that steals usable space. The bag still has to protect the product, support handling, and present the brand cleanly after repeated opening. That means the spec matters as much as the artwork.
These bags are used across supplements, apparel, hardware, samples, cosmetics, and retail kits because they solve three practical problems at once: containment, organization, and visibility. They can replace plain poly bags when presentation matters, and they can outperform rigid packaging when the product needs to stay visible and shipping weight needs to stay low. The tradeoff is that every choice affects cost and performance.
Most bad outcomes start with structural mistakes, not print mistakes. Wrong gauge, wrong closure, no safe zone, or a size that leaves too little room once the product is inside. A design that looks clean in a PDF can fail once it meets real film, real seals, and a real filling process.
What These Bags Actually Solve
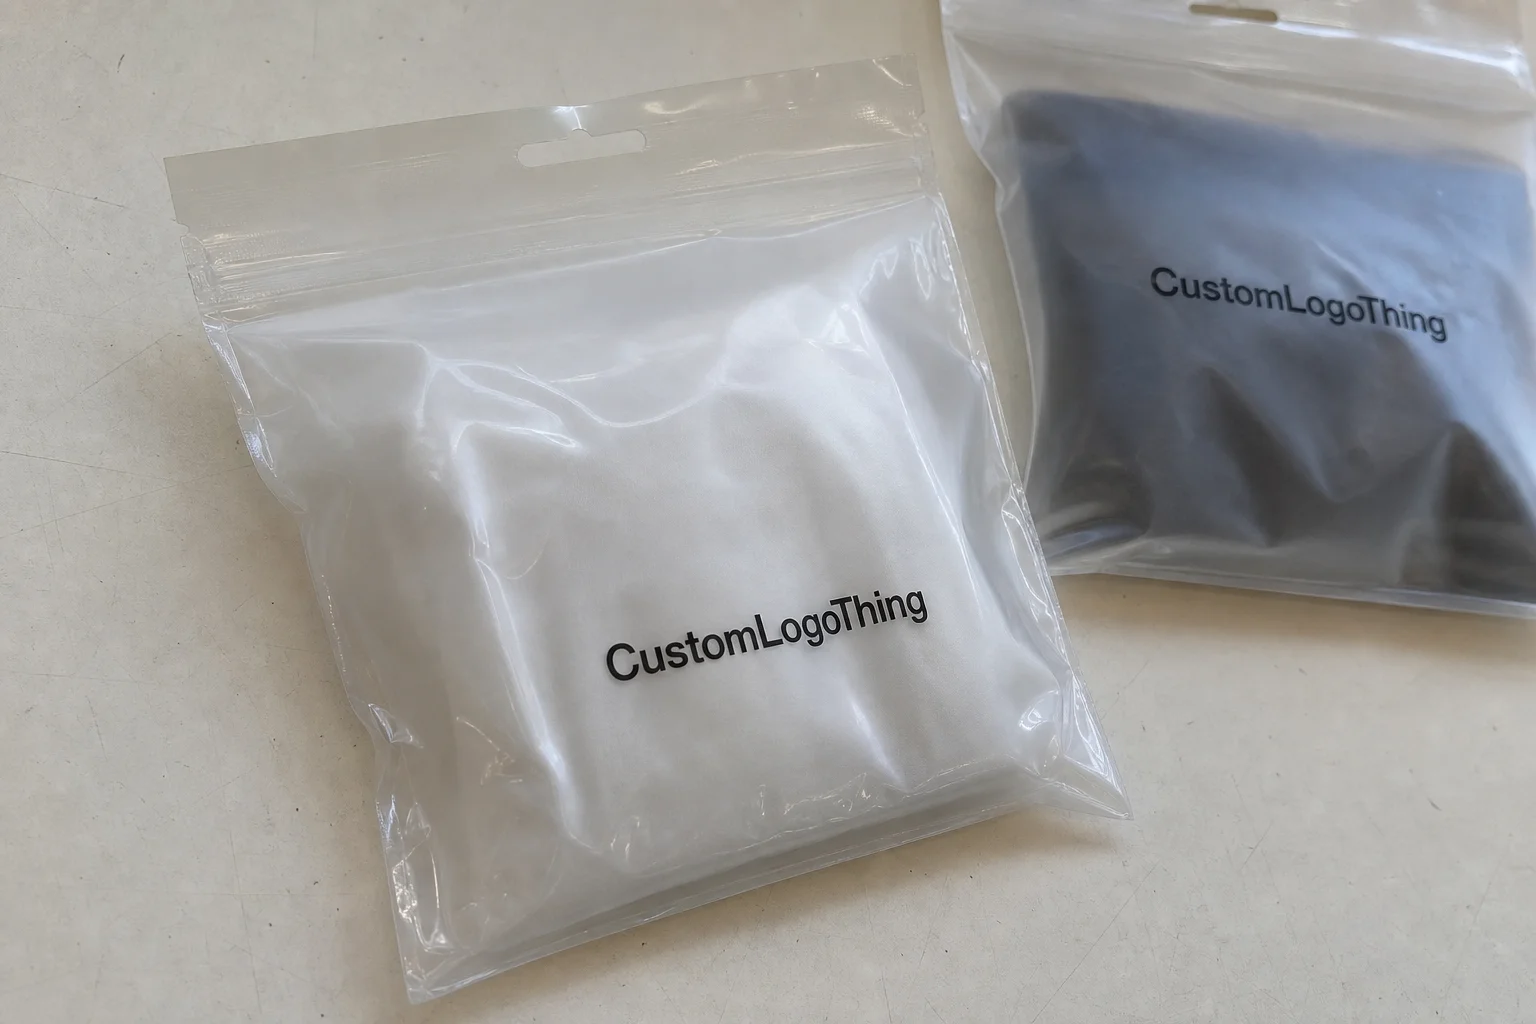
Custom Printed Resealable plastic bags solve protection, organization, and branding in one format. That is why they remain common in retail packaging and product packaging programs where the item must stay contained but still visible.
For parts and accessories, they separate SKUs and simplify inventory. For apparel, they help protect against dust and scuffing while keeping the contents visible. For supplements or food-adjacent goods, the resealable closure supports repeated access and portion control. For samples, the bag makes the presentation feel intentional instead of disposable.
They are not the best choice for every product. A flat pouch does not add crush protection, and a thin film is not a universal moisture barrier. If the product is fragile, high-value, or needs a rigid unboxing experience, a box, mailer, or hybrid pack-out may be the better fit. The bag wins when visibility, resealability, and shipping efficiency matter more than stiffness.
A bag can look right in artwork review and still fail on the line. Closure feel, film gauge, and seal placement decide whether the final piece feels like a branded package or a cheap placeholder.
Buyers notice details quickly: the first pull on the zipper, the sound of the closure, the way the panel sits flat, and whether the print stays crisp under overhead light. Those are small things, but they affect perceived quality. If the product needs to be seen, resealed, and handled efficiently, this format earns its place. If not, the low unit price can be misleading.
How the Closure and Print Setup Work
A resealable bag is built from film, seals, closure hardware, and optional features like hang holes or tear notches. It is not a single flat print surface. Buyers sometimes treat it that way, then discover the logo disappears into a seam or type gets distorted near the top edge.
The closure usually comes in three forms: press-to-close zipper, slider, or a specialized closure for a particular use case. Press-to-close is the standard because it is economical and works for most light to medium-duty products. Slider closures cost more but are easier for end users to operate, especially when the bag will be opened often. That convenience can matter more than a minor print upgrade.
Print setup is where artwork is preserved or damaged. The design has to respect the zipper track, side seals, top seal, and any gusset fold. Put copy too close to the edge and it can be swallowed by the seal. Place a logo across a moving closure zone and it can appear skewed after production. Safe zones are a production requirement, not a design preference.
The print method changes what is practical. Flexographic printing is a common fit for larger runs, simple graphics, and spot-color work. Rotogravure supports fine detail and heavy ink coverage, but the cylinder setup only makes sense when volume justifies the cost. Digital print is useful for shorter runs, quick-turn projects, or graphics that may change often. The best method is the one that matches run size, artwork complexity, and budget.
If the application needs broader print flexibility, compare the format against other Custom Packaging Products. In some cases the bag is the right solution; in others it is the wrong package for the job.
Sizing, Material, and Finish Choices That Matter
The most common sizing mistake is measuring the product loose rather than packed. Printed dimensions are not the same as usable interior space. A 6 x 8 inch bag does not give you a full 6 x 8 inches of practical room once the zipper, seals, and any gusset behavior are included. If the item is rigid, bulky, or oddly shaped, size up instead of forcing a tight fit.
Film thickness is usually measured in mils, and it affects more than feel. A 2 mil bag can work for lightweight apparel, samples, and soft goods. A 4 mil or 5 mil film is a better fit for heavier contents, repeated opening, or items that rub against the inside surface. Thicker film improves sturdiness, but it also raises material cost and can reduce flexibility.
Clarity and barrier performance matter for both presentation and function. Clear film is ideal when the product itself is part of the sale. Frosted film softens reflections, hides fingerprints better, and often reads as more premium. Opaque film blocks visibility and gives more room for bold branding or privacy. If the use case involves moisture, odor sensitivity, or abrasion, choose the material for performance first.
| Finish / Material Style | Best Use | Typical Upside | Tradeoff |
|---|---|---|---|
| Clear gloss film | Retail display, parts, samples | Strong visibility, straightforward branding | Shows fingerprints and scuffs more easily |
| Frosted film | Apparel, beauty, premium kits | Cleaner look, softer presentation | Slightly higher cost, less transparency |
| Opaque film | Privacy, light protection, bold brand blocks | Better concealment, strong package branding | No product visibility |
| Heavier gauge film | Tools, hardware, repeated opening | Better feel, less tearing risk | Higher unit cost, more material use |
Gussets matter because they change how the bag behaves once filled. A flat pouch and a gusseted pouch with the same nominal dimensions do not pack the same way. One may be adequate for socks or samples. The other may be the only workable option for a bulky item that needs extra volume without stressing the seams.
Finish affects perception as much as functionality. Matte cuts glare. Gloss sharpens color and makes graphics look brighter. Clear film lets the product do the selling. The right choice depends on shelf lighting, handling conditions, and how much of the item needs to be visible.
Cost, MOQ, and Quote Drivers That Change Unit Price
custom printed resealable plastic bags are priced by several variables at once. Size, film thickness, print colors, quantity, closure type, and shipping method all move the number. If two of those change, the quote moves. If four change, the comparison is no longer useful unless the specs are matched carefully.
Setup costs are what first-time buyers often underestimate. Plate making, cylinder prep, artwork adjustment, and proofing can add several hundred dollars to a job, sometimes more depending on the print method. Digital runs usually reduce setup expense, but the per-unit price is often higher. Flexo and gravure usually reward larger orders because the setup gets spread across more units.
Minimum order quantity changes with construction and decoration complexity. A simple bag with basic print may allow a lower MOQ. A custom shape, high-coverage artwork, or specialty closure usually pushes the minimum higher. Lower MOQ is useful for testing demand or launching a new product, but it usually comes with a higher unit cost. That is the tradeoff for flexibility.
Some buyers focus only on the headline price. That usually leads to the wrong decision. A cheaper quote may hide a thinner film, reduced print coverage, or a weaker closure. The bag then fails where the higher-quality version would have held up.
| Order Factor | Lower Cost Direction | Higher Cost Direction |
|---|---|---|
| Quantity | Higher volume | Small trial runs |
| Film thickness | Thinner gauge | Heavier gauge |
| Print coverage | One or two simple colors | Full coverage, fine detail, multiple colors |
| Closure type | Standard press-to-close | Slider or specialty closure |
| Delivery | Flexible transit window | Rush freight or air shipping |
To compare quotes properly, every supplier should be working from the same spec: same dimensions, same gauge, same closure, same print coverage, same delivery terms. Otherwise one quote is for a bare-bones build and another is for a more complete package.
For buyers thinking about recycled content or waste reduction, ask for material details and compliance claims before placing the order. General packaging and recycling resources from the EPA are a useful starting point for broader context: EPA recycling resources. Material choice does not solve every sustainability issue, but it should at least be transparent.
Process and Timeline: From Artwork to Delivery
The production sequence is straightforward on paper: spec, artwork, proofing, production, freight. In practice, most delays happen before printing starts.
Missing dimensions are common. So are logo files built in the wrong format, artwork placed without a dieline, or a safe zone ignored around the zipper. Another frequent problem is approving a proof before checking whether the packed product actually fits. A little extra prep usually saves a much larger amount of rework.
Timeline depends on method and complexity. Simple custom runs often land in the 12 to 18 business day range after proof approval. Jobs with special finishes, high ink coverage, or multiple print colors can take longer. Rush orders may be possible, but a rush usually costs more and may limit options. Shipping is separate from production, and it can add several days to a few weeks depending on freight mode and destination. Production lead time and transit time need to be stated separately.
Before asking for a quote, have these ready:
- Exact product dimensions, or packed dimensions if the item expands.
- Target quantity, including whether a test run is needed.
- Artwork files in vector format if possible.
- Preferred closure type and any special features.
- Delivery deadline and ship-to location.
If the bags will be tested in transit or stored for long periods, it helps to think in terms of shipping stress rather than shelf appearance. Packaging test resources from ISTA provide a useful framework for real-world handling conditions: ISTA packaging test standards. That matters most when the package does double duty as retail packaging and shipping protection.
Common Ordering Mistakes That Waste Money
The biggest mistake is choosing a size that looks efficient on paper but leaves too little room in practice. A tight fit can create fill problems, crooked closures, or bags that do not close properly once the product is inside. If the item is rigid, bulky, or has sharp corners, leave more margin than you think you need.
The second mistake is comparing price without checking the spec sheet. A quote can look attractive until you discover the film is thinner, the closure is simpler, or the print coverage is reduced. Then the savings disappear in quality loss. A low price is only useful if the bag can still do the job.
Third: printing too close to the edge. Artwork that crowds the seal zone is one of the fastest ways to make a package look careless. Logos can get clipped, text can be distorted, and the front panel can feel visually cramped. A proper dieline exists to prevent that problem.
Fourth: skipping the proof or sample stage. Film does not behave like paper. Colors shift differently on clear, frosted, and opaque substrates. Fine detail can soften. Transparency changes how dark inks read. A proof is far cheaper than a remake.
When buyers use custom printed resealable plastic bags as part of broader product packaging, the bag should support the product instead of competing with it. The closure should feel clean, the film should match the use case, and the artwork should sit square. That is the baseline for a package that looks deliberate rather than patched together.
Alignment with the rest of the packaging design also matters. If the bag uses one visual language and the rest of the line uses another, the shelf presence becomes weaker. Fonts, color blocks, and layout should feel related across the pack-out. Consistency is visible even when it is not flashy.
Actionable Next Steps Before You Place the Order
Start with three things: exact product dimensions, target quantity, and the conditions the bag has to survive. Heat, moisture, repeated opening, shipping abrasion, retail display. Those are the factors that drive the spec more than aesthetics alone. From there, decide whether the bag should be clear, frosted, or opaque, and whether a standard press-to-close zipper is enough or a slider makes more sense.
Then request the same spec from every supplier. Same dimensions. Same gauge. Same print coverage. Same closure. Same shipping terms. Without that discipline, the quote comparison is just noise dressed up as procurement.
For retail-facing or food-adjacent uses, a sample, physical proof, or short test run is usually worth the extra step. It is much easier to absorb a small proofing cost than to discover after production starts that the zipper feels weak or the artwork lands poorly. In this category, a test run often saves more money than it costs.
Once the size, closure, artwork, and budget are aligned, custom printed resealable plastic bags stop being a guessing exercise and become a controlled order. That is the point: a package that prints cleanly, functions properly, and arrives with fewer surprises.
FAQ
How do I choose the right size for custom printed resealable plastic bags?
Measure the product after it is packed, not just the loose item. Leave room for the zipper, seals, and any gusset expansion. If the item is rigid or bulky, size up instead of forcing a tight fit.
What affects the price of custom printed resealable plastic bags the most?
Size and film thickness usually move price more than small artwork changes. Higher color counts, special finishes, and extra features raise both setup and unit cost. Larger quantities usually lower the per-bag price, even when the total order is larger.
How long does production usually take?
Timeline depends on proof approval, quantity, and decoration method. Simple runs can move faster; custom specs with samples take longer. Shipping time is separate, so ask for both production lead time and transit time.
Can custom printed resealable plastic bags be food-safe?
Yes, if the material and inks are specified for food contact or indirect food use. Ask for compliance details instead of assuming any clear bag is food-safe. Closure strength and seal quality matter just as much as the material claim.
What artwork files work best for custom printed resealable plastic bags?
Vector files are best because they scale cleanly and print sharply. Keep text outlined and place important elements away from seams, zipper tracks, and edges. Ask for a dieline so the artwork lands in the correct position the first time.