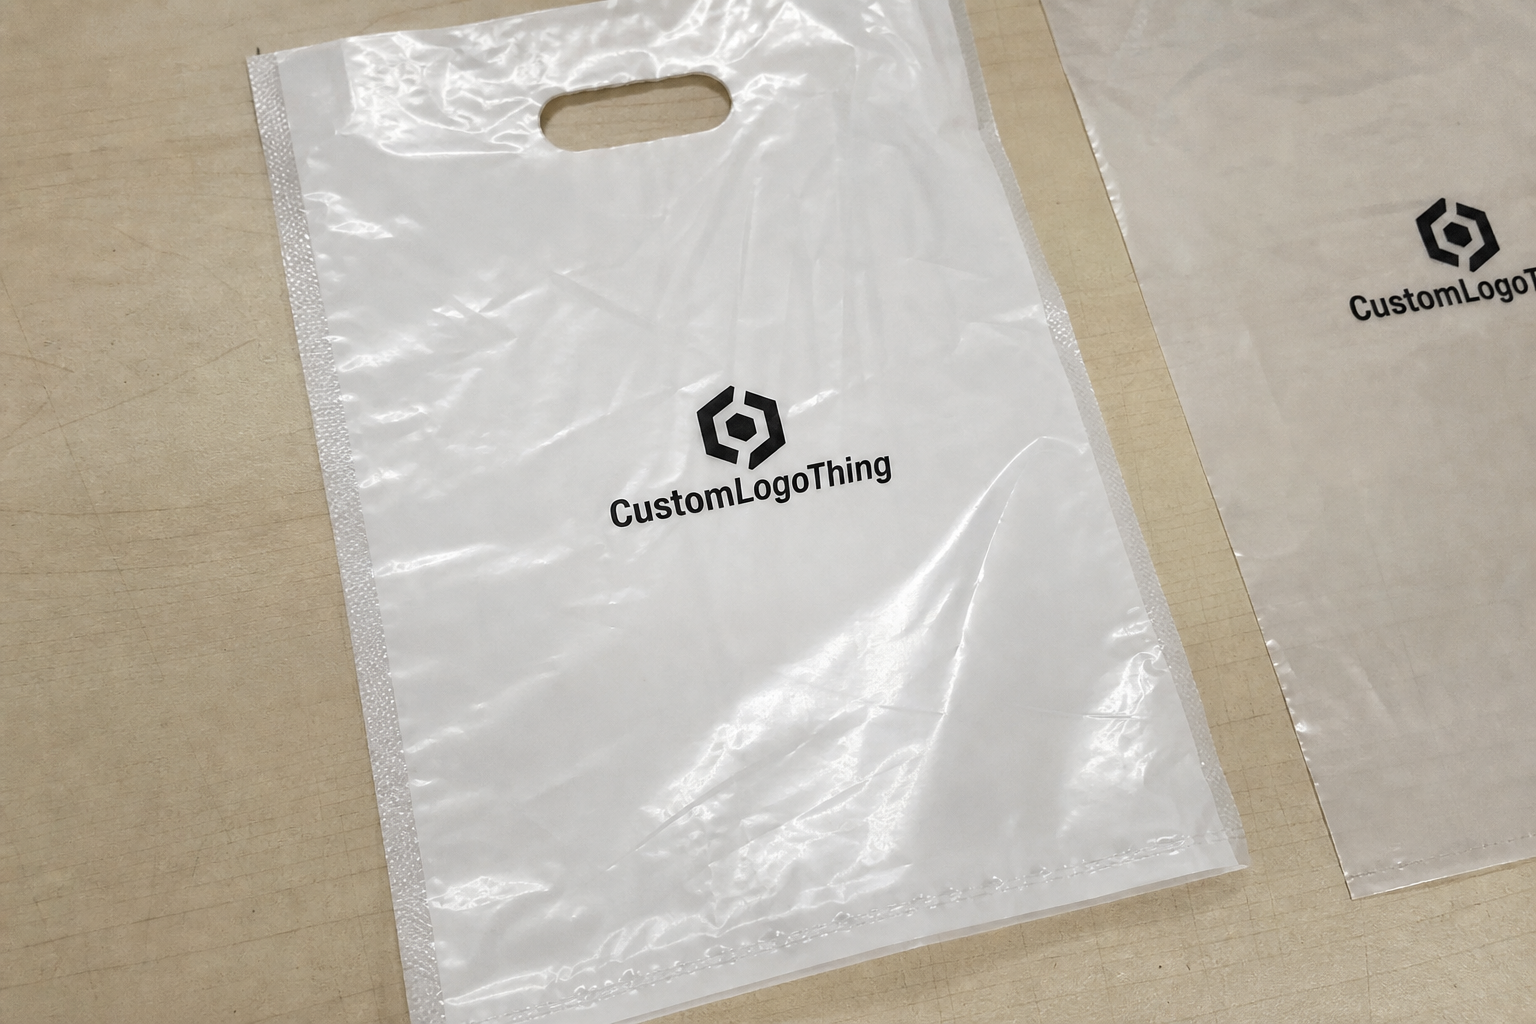
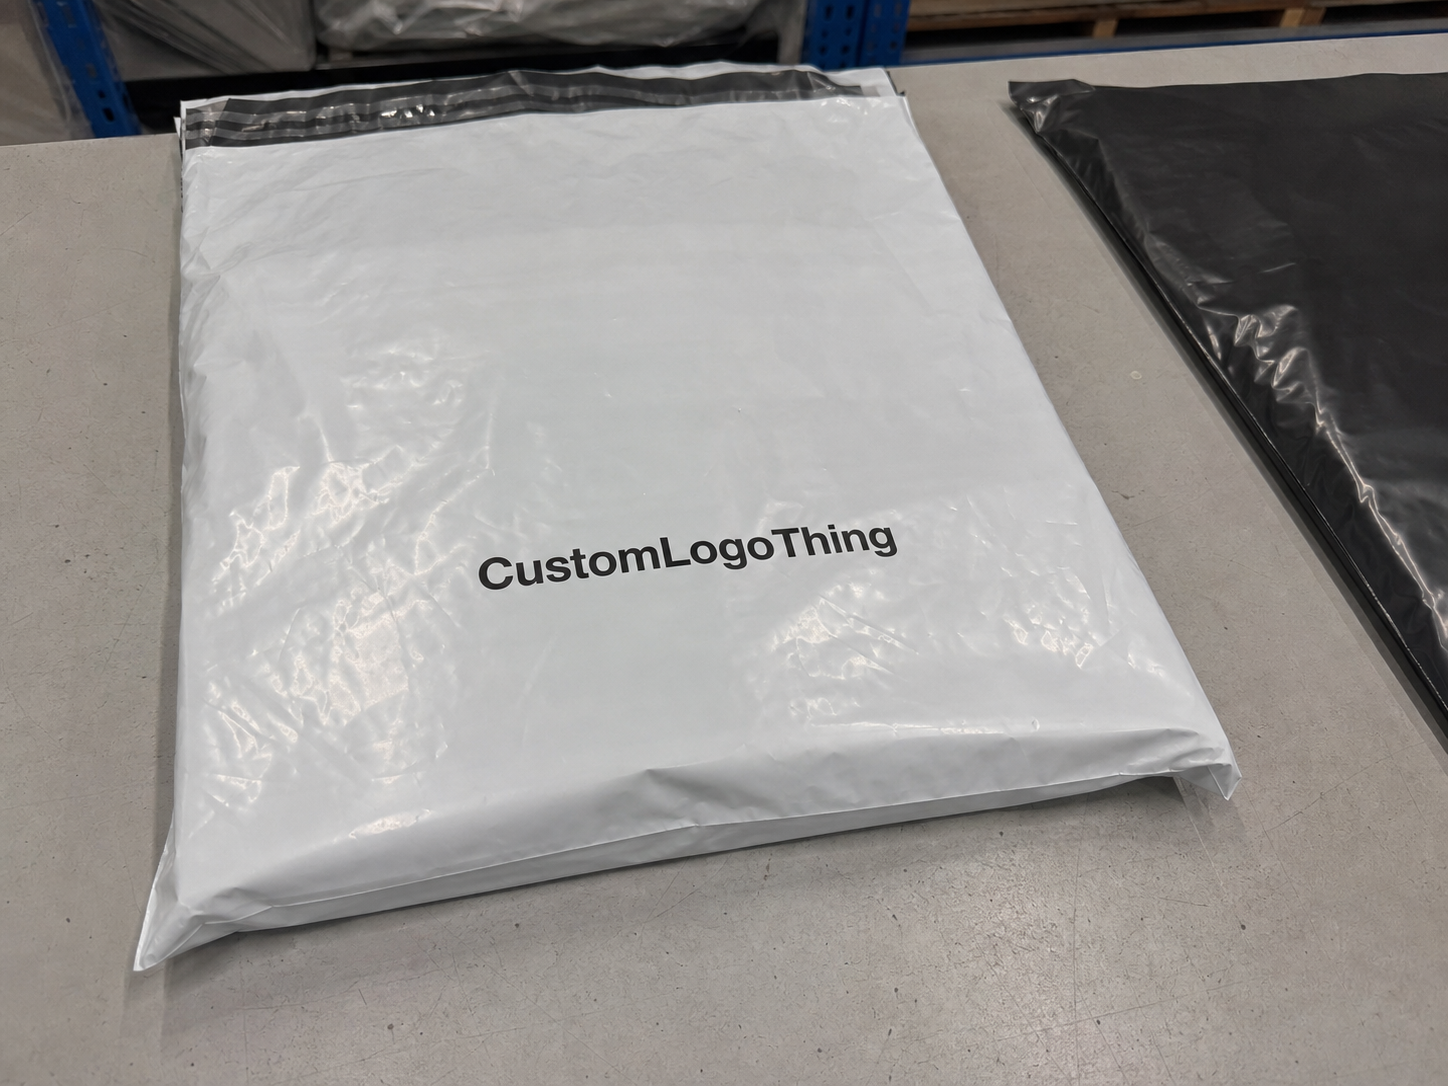
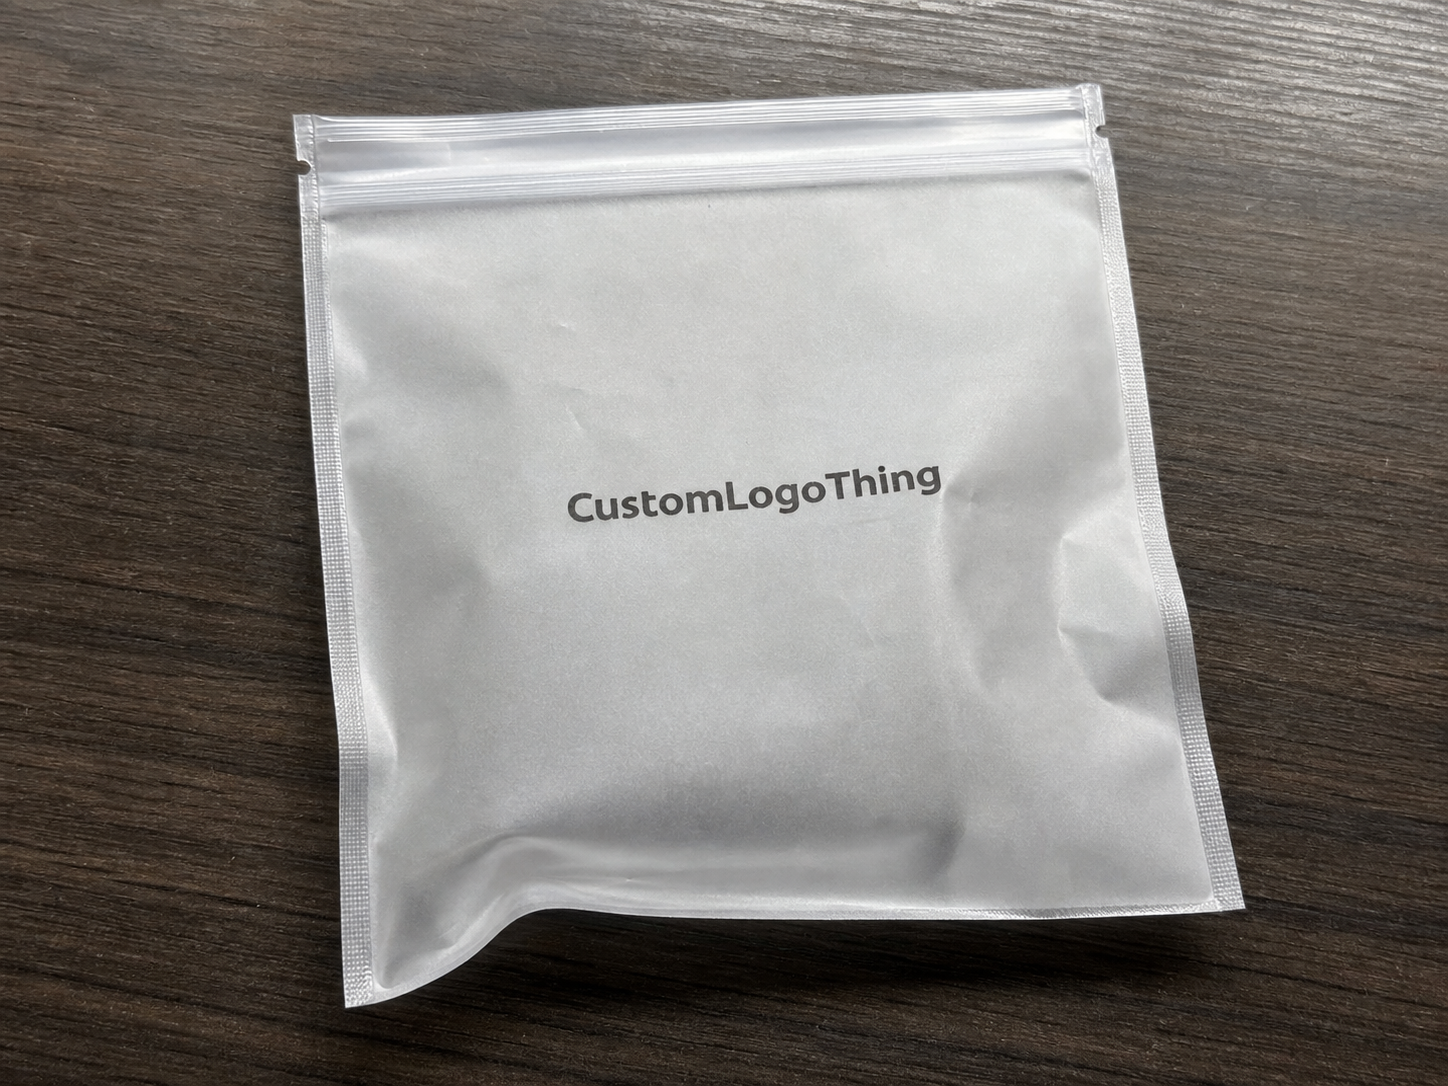
A pouch that looks sharp and fails after a couple of openings is bad packaging, full stop. Custom reusable ziplock bags only earn their keep when the zipper, film, and print are built for repeat handling, not just a polished first impression. For retail packaging, sample kits, and product shipments, the difference shows up quickly: better perceived quality, fewer complaints, and less damage in transit.
If you are comparing this format with custom printed boxes or a standard polybag, the buying logic changes. A pouch is doing more than holding an item. It has to protect, reseal, and carry the brand without making the product feel like an afterthought. That is why material choice and closure quality matter more than loud graphics.
Custom Reusable Ziplock Bags: What They Are and Why They Work
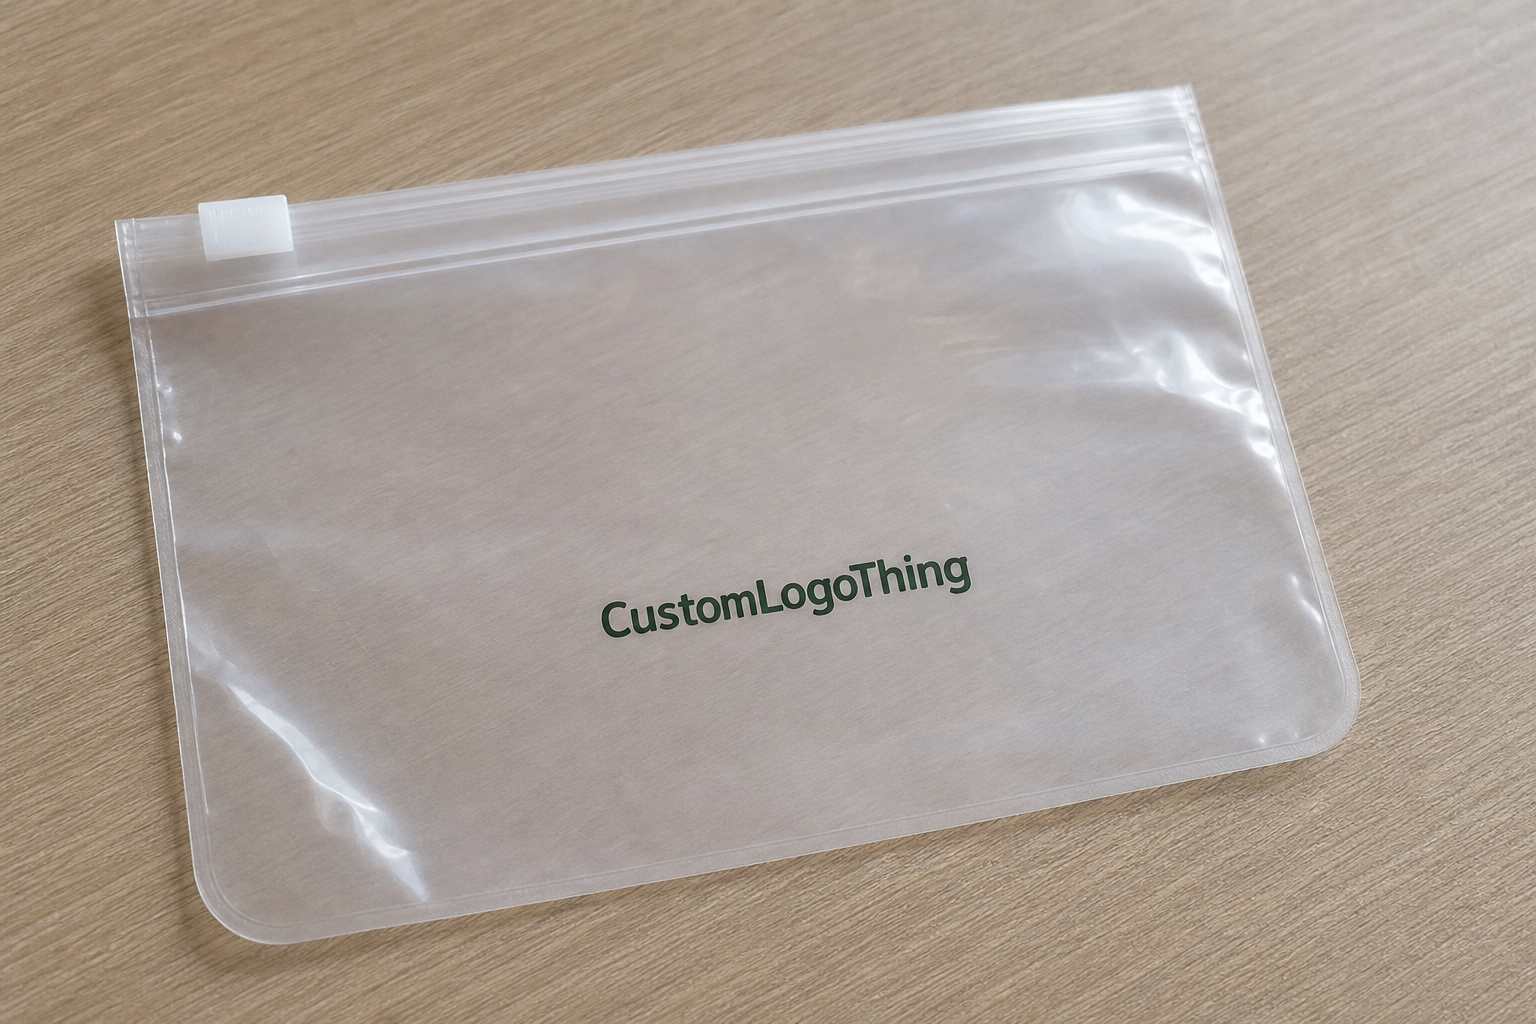
Custom reusable ziplock bags are resealable pouches designed for repeated opening, closing, handling, and storage. They are not just a polybag with a zipper added at the end. A good version combines a stable film body, a closure that tracks cleanly, and print that survives stacking, scuffing, and shipping.
In practice, the best use cases are straightforward. Samples need to stay clean. Retail kits need to feel intentional. Subscription inserts need to survive unboxing and reshipping. Event giveaways need to look better than a flimsy sleeve. Parts, accessories, travel packs, cosmetics, and small food items all benefit from a pouch that still closes properly after the first use and the fifth one.
- Samples: keeps small items organized and presentable.
- Retail kits: improves shelf appearance and customer perception.
- Subscription inserts: protects multiple components in one unit.
- Parts and accessories: reduces loss and dust contamination.
- Travel-ready packs: makes the contents easy to reseal and reuse.
The real value is reliability. A decent zipper and a sturdy film do more for package branding than oversized artwork printed on a bag that splits, scuffs, or refuses to close cleanly. That is why buyers often pair the pouch with a tidy insert, label, or outer mailer instead of trying to make the bag carry every branding decision by itself. If the pouch is part of a broader kit, start with Custom Packaging Products and build the bag spec around the rest of the pack-out.
One practical rule: if the item will be opened more than once, make the closure and film part of the buying decision. That sounds obvious, but people still treat reusable packaging like a decorative afterthought. Then they wonder why the customer experience feels cheap.
How the Closure, Film, and Print Layers Work Together
A resealable pouch is a small stack of decisions. The body film carries the load. The seal zones define the usable area. The closure controls daily function. Print has to sit inside all of that without getting crushed into the wrong place. When one layer is underspecified, the whole bag feels wrong in hand.
Press-to-close zipper profiles are usually enough for lighter retail items, samples, and general reuse. They are simple, quick, and economical. Slider closures cost more, but they make sense for heavier fills, frequent opening, or users who need an easier grip. A stronger top seal can also help if the bag has to survive rougher shipping or a product with sharp edges. No magic here. Just matching the closure to the abuse it will actually see.
Print method matters too. Flexographic printing tends to suit longer runs and simpler artwork. Gravure supports richer detail at scale, although setup is heavier. Digital can be useful for lower quantities or faster mockups. Finish changes the final read as well. Gloss tends to feel brighter and sharper. Matte cuts glare and hides scuffs better. Soft-touch can add a premium feel, but only if the underlying film is still durable enough to handle reuse.
Material choice deserves the same attention. LDPE and LLDPE blends are common because they stay flexible and can handle repeated flexing without feeling brittle. For food-contact or personal-care packaging, ask what the resin actually is and whether it has the compliance documents you need. If the product needs real moisture or odor protection, a thicker pouch alone is not enough. You may need a barrier layer such as EVOH or a metallized film, and that changes both cost and recyclability. That tradeoff should be explicit, not buried in a quote.
If the seal area is crowded, the bag fails in use before it fails in inspection. Keep logos, legal text, and artwork out of the closure zone, or you end up with a pouch that looks clever and closes badly.
That part is non-negotiable. Clear space near the zipper is not a design preference. It is part of the function. Good packaging design respects the mechanics first, then decorates the surface. That applies to custom reusable ziplock bags just as much as it applies to labels, cartons, or any other piece of retail packaging.
Spec Choices That Decide Performance Before You Quote
The fastest way to get a bad quote is to ask for pricing before the spec is real. Size, fill weight, product shape, and reuse expectation should come first. A 4 x 6 inch pouch for a light sample is not the same job as an 8 x 10 inch bag holding hardware or cosmetics with sharp caps. Packaging buyers often skip this step and then act surprised when the quote swings wildly.
Film thickness is one of the biggest performance levers. A 4 to 6 mil structure can be fine for lighter contents, samples, and lower-abuse reuse. A 6 to 8 mil structure usually feels better for heavier items, repeat handling, or anything with edges that rub the film. Clear film shows the product better. Opaque or tinted film hides contents and can improve the visual hierarchy if the product itself is not the hero.
Barrier needs are separate from thickness. A bag can be thick and still be a poor choice for moisture control, odor retention, or food contact. If the item needs protection from humidity, dust, or scent loss, ask for the relevant barrier spec rather than assuming all reusable bags perform the same way. If the pack will touch food, supplement kits, or personal-care products, ask for the compliance documents and make the supplier state exactly what the material does and does not cover.
A few features change usability faster than people expect:
- Gussets: add volume and help the bag stand or pack more cleanly.
- Writable panels: useful for batch notes, dates, or SKU marking.
- Hang holes: helpful for retail display and peg presentation.
- Rounded corners: reduce snagging and soften the hand feel.
- Child-safe closures: only where the product requires it, and only with the right compliance check.
Print coverage also affects the way the bag feels. Heavy ink coverage on thin film can make a pouch feel stiffer and show more scuffing at the fold lines. Fine detail near the zipper can get distorted if the file is not built around the actual die line. If the artwork depends on tight registration, plan for a little tolerance, because film shifts more than a carton does.
If the pouch is part of a larger kit with branded packaging elements, the bag should support the full presentation rather than compete with it. A clean spec on the pouch can make the insert card, label, and outer carton feel more deliberate. That is where product packaging starts to look planned instead of patched together.
Custom Reusable Ziplock Bags Cost, MOQ, and Unit Price Drivers
Price is usually driven by five things: size, film construction, thickness, print complexity, and closure style. After that, extras start moving the number. Custom shapes, matte finishes, sliders, special barrier layers, and multi-color print all push the unit cost up. Freight, carton count, and pack-out style can matter more than people expect, especially on lighter jobs where shipping can rival the bag cost itself.
MOQ means minimum order quantity, and it exists because setup is not free. Lower quantities spread those fixed costs across fewer units, so the per-piece price rises. That is normal. It is not a supplier trying to punish you for being small. It is just math, which packaging tends to respect whether we like it or not.
| Option | Typical MOQ | Approx. Unit Price | Best For |
|---|---|---|---|
| 4 to 5 mil clear, one-color print, press-to-close | 3,000 to 5,000 | $0.18 to $0.28 | Samples, light retail items, basic reuse |
| 6 mil printed pouch, two-sided artwork, press-to-close | 5,000 to 10,000 | $0.26 to $0.42 | Retail kits, subscription inserts, general merchandising |
| 6 to 8 mil matte pouch with heavier closure or slider | 5,000 to 8,000 | $0.45 to $0.78 | Heavier fills, premium presentation, higher repeat use |
Those numbers are directional, not a promise. A narrow bag with simple print can beat the low end, while a large pouch with dense artwork can climb fast. The quote also changes if the supplier includes tooling, sampling, freight, or artwork cleanup. Some sellers bury those costs in the unit price. Others itemize them. Ask for both versions so you can compare actual landed cost instead of chasing a low headline number that disappears once shipping lands.
That is the part buyers should check line by line:
- Setup or plate charges: one-time costs tied to print prep.
- Sampling: physical proof, mockup, or preproduction sample.
- Artwork prep: dieline cleanup, file adjustment, or proofing.
- Freight: often a bigger swing than the bag itself on smaller runs.
- Packaging: carton count, inner packs, and retail-ready packing format.
If a quote looks too low, check what was left out. Thin film, sloppy registration, or expensive shipping will find the gap later. A fair comparison looks at the whole package, not just the printed pouch price. For buyers who also need cartons, inserts, or labels, it can be smarter to align the bag with Custom Packaging Products early so the full job lands on one spec sheet instead of three mismatched ones.
There is also a practical timing issue. The cheapest quote is not always the cheapest order if you have to rework artwork twice or replace bags that fail inspection. The cost of one failed run can erase the savings from a slightly better spec. That is why experienced buyers compare price against the closure feel, film gauge, and production notes, not just the spreadsheet total.
Production Steps, Process, and Lead Time for a Smooth Order
A clean production run starts before artwork ever reaches press. First comes the spec request. Then the supplier issues a dieline or confirms the bag dimensions. After that, artwork gets placed against the actual safe zones, including zipper clearance and seal margins. If the file is built on a random canvas size instead of the real template, the proof stage turns into avoidable cleanup.
Once the proof is approved, production moves through printing, film prep or lamination if needed, sealing, inspection, packing, and shipment. For simpler jobs, a realistic lead time is often 12 to 18 business days after final proof approval. Prepress and sampling usually add another 5 to 10 business days if the artwork is not already clean. More complex jobs, custom tooling, or multiple sample rounds can stretch that to 20 to 35 business days. Peak season, port congestion, or a late artwork change can push it further. That is not drama. That is normal scheduling friction.
The biggest planning mistake is waiting until the launch date is close and then asking for a sample. By the time you get the proof, review it, approve revisions, and wait for production, the calendar has already moved. If the pouch supports a retail launch, subscription drop, trade show, or seasonal kit, build the packaging schedule earlier than the product schedule. Most delays come from approvals, not machines.
One practical benchmark: if the bag is part of a shipping kit, ask whether the supplier can test the full pack-out under shipping standards such as those published by the International Safe Transit Association. That matters more than a desk test. A pouch that looks fine on the table may still fail once cartons are stacked, dropped, or vibrated in transit. The Institute of Packaging Professionals also has useful material for buyers who need a better grip on packaging basics without getting buried in sales language.
Before you approve anything, confirm the pack format. Loose packed, inner bagged, carton count, label placement, and master carton spec all affect how smoothly the order lands in your warehouse. The bag may be simple. The order rarely is.
Quality control should not stop at print approval. Ask for gauge checks, zipper alignment checks, seal width verification, and a basic rub test on the printed surface. If the pouch is meant to be reused, ask for a simple cycle test: open, close, and inspect the closure several times using the actual fill weight. That catches problems a proof image will never show.
Common Mistakes That Make Reusable Bags Look Cheap
The first mistake is sizing the bag to the item on paper instead of in real use. A pouch that barely fits the product looks cramped once the item is inserted, especially if the contents have corners, tubes, or multiple pieces. The bag should leave enough headroom for the zipper, finger grip, and a little breathing room around the item. Otherwise it feels overstuffed before the customer even closes it.
The second mistake is printing across the zipper or seal zone. That is a classic packaging shortcut that causes two problems at once. The artwork looks damaged, and the bag closes less reliably. Keep the safe zones clear. The closure needs clean film to work. Trying to reclaim every millimeter for branding usually backfires.
Skipping reuse testing is another bad habit. A pouch that opens and closes fine once may behave very differently after daily handling, bulk shipping, or repeated stuffing and unstuffing. Test the actual fill weight. Close it ten to twenty times. Check whether the seal tracks straight, whether the film creases too fast, and whether the print shows scuffing where hands naturally touch the surface. That is a real-world test. A pretty mockup is not.
Another easy way to cheapen the bag is overdesigning the surface. Too many colors, too much copy, and no visual hierarchy make even a decent pouch look busy. Clean layouts usually travel better across different film finishes and are less likely to show registration issues. If the product inside is the hero, let it be visible. Empty visual noise does not add value.
Care instructions help too. If the bag is expected to last, tell users how to keep it functional. Wipe the inside if the product allows it. Avoid overfilling. Store flat if that suits the structure. Keep away from sharp tools and high heat. These are small details, but they extend the life of the pouch and keep the package from turning into an expensive disposable sleeve.
For buyers building broader package branding, the mistake is treating the pouch as the only branded surface. Sometimes the pouch should stay restrained while the outer box or insert does the heavier visual work. That is especially true for custom printed boxes, where a cleaner hierarchy often looks more premium than shouting on every surface at once.
Expert Tips and Next Steps to Order the Right Bag
Start with the product, not the pouch. Weight, shape, shelf life, and reuse frequency should drive the spec. If the item will be opened once a week, that is a different closure decision than a pouch that gets handled daily by a customer or warehouse team. The bag should fit the use, not the ego of the buyer approving the artwork.
Shortlist two or three sizes, then request samples. Measure fit with the real item inside, not a substitute. Check closure strength, print placement, and how the pouch feels after repeated opening. If the sample has to be forced shut, it is the wrong size. If the artwork sits too close to the top, revise the layout before anyone signs off.
Match print complexity to the order volume. A high-color layout may look excellent on a proof sheet, but if the run is small, the unit cost can climb faster than the business case can justify. Sometimes a tighter layout with one strong color and clean typography does more for retail packaging than a crowded design full of weak visual noise. Good package branding usually feels controlled, not desperate.
Use the quote stage to compare facts, not promises. Ask which resin is being used, what the thickness tolerance is, whether the zipper is press-to-close or slider, how the print is applied, and what the acceptable defect rate is. If the supplier cannot answer those questions clearly, the order is not ready. A good spec sheet saves more money than a discount ever will.
If you are sourcing the pouch as part of a bigger kit, align the bag spec with inserts, labels, and outer packaging at the same time. That prevents mismatched sizes, poor stacking, and awkward presentation at fulfillment. For buyers trying to move quickly without making a mess of the order, Custom Packaging Products can be the place to line up the rest of the components after the pouch spec is locked.
Before final sign-off, verify the safe zones, MOQ, lead time, pack-out format, freight assumptions, and test expectations. Then inspect the sample, close the bag repeatedly, and compare the final proof against the job. If the bag is right, it disappears into the product experience. If it is wrong, everyone notices immediately. That is why custom reusable ziplock bags deserve the same discipline you would give to any other piece of retail packaging.
What thickness works best for custom reusable ziplock bags?
4 to 6 mil works well for lighter retail items, samples, and low-abuse reuse. 6 to 8 mil is safer for heavier contents, sharper edges, or more frequent reopening. Test the closure with the actual fill weight before locking the spec, not after.
Can custom reusable ziplock bags be printed on both sides?
Yes, if the layout leaves enough room for the zipper, seals, and grip area. Two-sided printing usually raises cost and can add drying or finishing time. Keep critical text away from the top seal so the bag still closes cleanly.
What is a realistic MOQ for custom reusable ziplock bags?
MOQ depends on size, print colors, and the construction of the bag. Lower MOQs usually mean higher unit cost because setup is spread across fewer units. Ask for quotes at two volumes so you can see where the price break actually happens.
How long does custom reusable ziplock bag production usually take?
Simple jobs can move in a few weeks after artwork approval and sample sign-off. Complex printing, custom sizes, or extra proof rounds extend the schedule. Shipping and customs can add more delay than the bag run itself.
Are custom reusable ziplock bags food-safe and reusable enough for repeat use?
They can be, but only if the material and closure spec are right for the job. Ask for compliance documents if the bag touches food or personal-care products. Run reuse tests with the real item so you know the bag survives actual handling, not a brochure test.