For many apparel buyers, custom stickers for clothing are not a decorative extra. They are a practical control point in the packaging flow. A label can reduce sorting errors, speed up kitting, and make a small launch look retail-ready without committing to sewn-in branding before the product line is stable.
That matters because clothing packaging forces a lot of tradeoffs. A sewn label is permanent and tidy, but it locks in the garment before the merch plan is finished. A hang tag looks polished and gives more room for storytelling, yet it adds assembly labor. Heat transfers create a clean finish on the garment itself, but they are part of the apparel, not a separate packaging layer. Custom stickers sit in a useful middle ground: fast to apply, easy to revise, and flexible enough for samples, event inventory, retail packing, and short-run launches where speed matters as much as appearance.
In practice, the right sticker is often the one that saves labor rather than the one that looks busiest on a proof. If your team trims 15 to 20 seconds from each unit during kitting or pop-up fulfillment, that adds up fast. On a 1,000-unit run, the recovered time can be measured in hours, not minutes. That is a big reason custom stickers for clothing often win over fancier branding elements when the launch schedule is tight.
What custom stickers for clothing are and why buyers use them
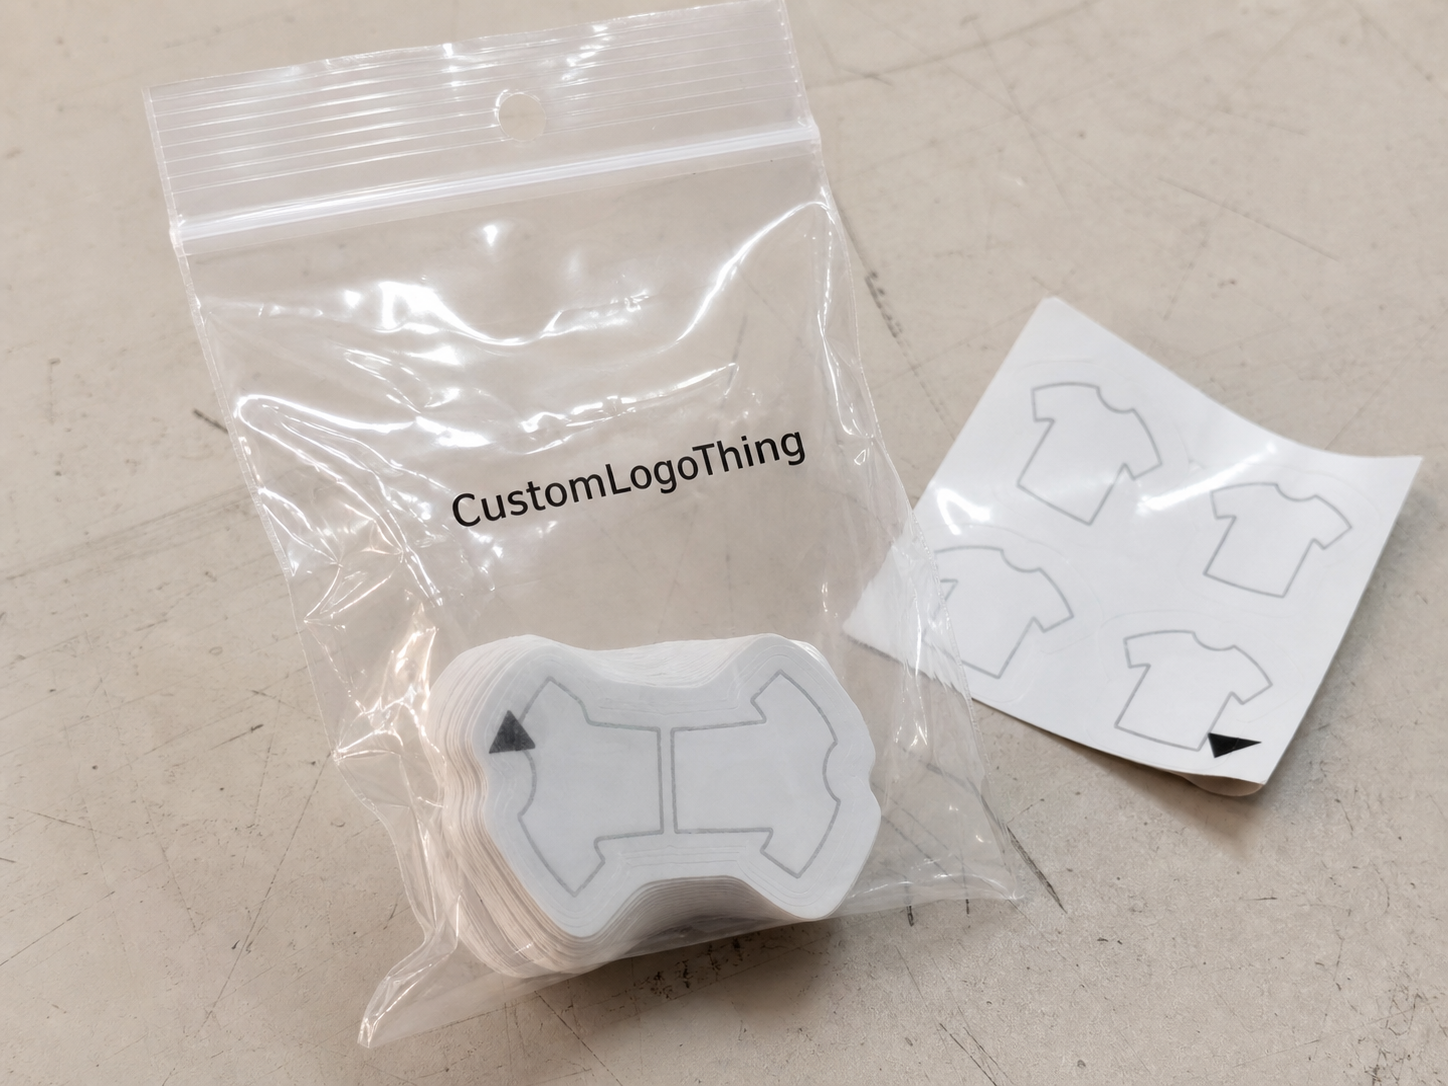
In plain terms, custom stickers for clothing are printed adhesive labels used to identify, brand, seal, or organize apparel. They may be applied to garment bags, folded shirts, poly mailers, tissue wrap, hang tags, insert cards, or storage bins. Sometimes they are placed directly on the garment itself, but that is the most sensitive use case and needs testing. A sticker that behaves well on packaging film may behave very differently on brushed fleece, rib knit, polyester jersey, or coated fabric.
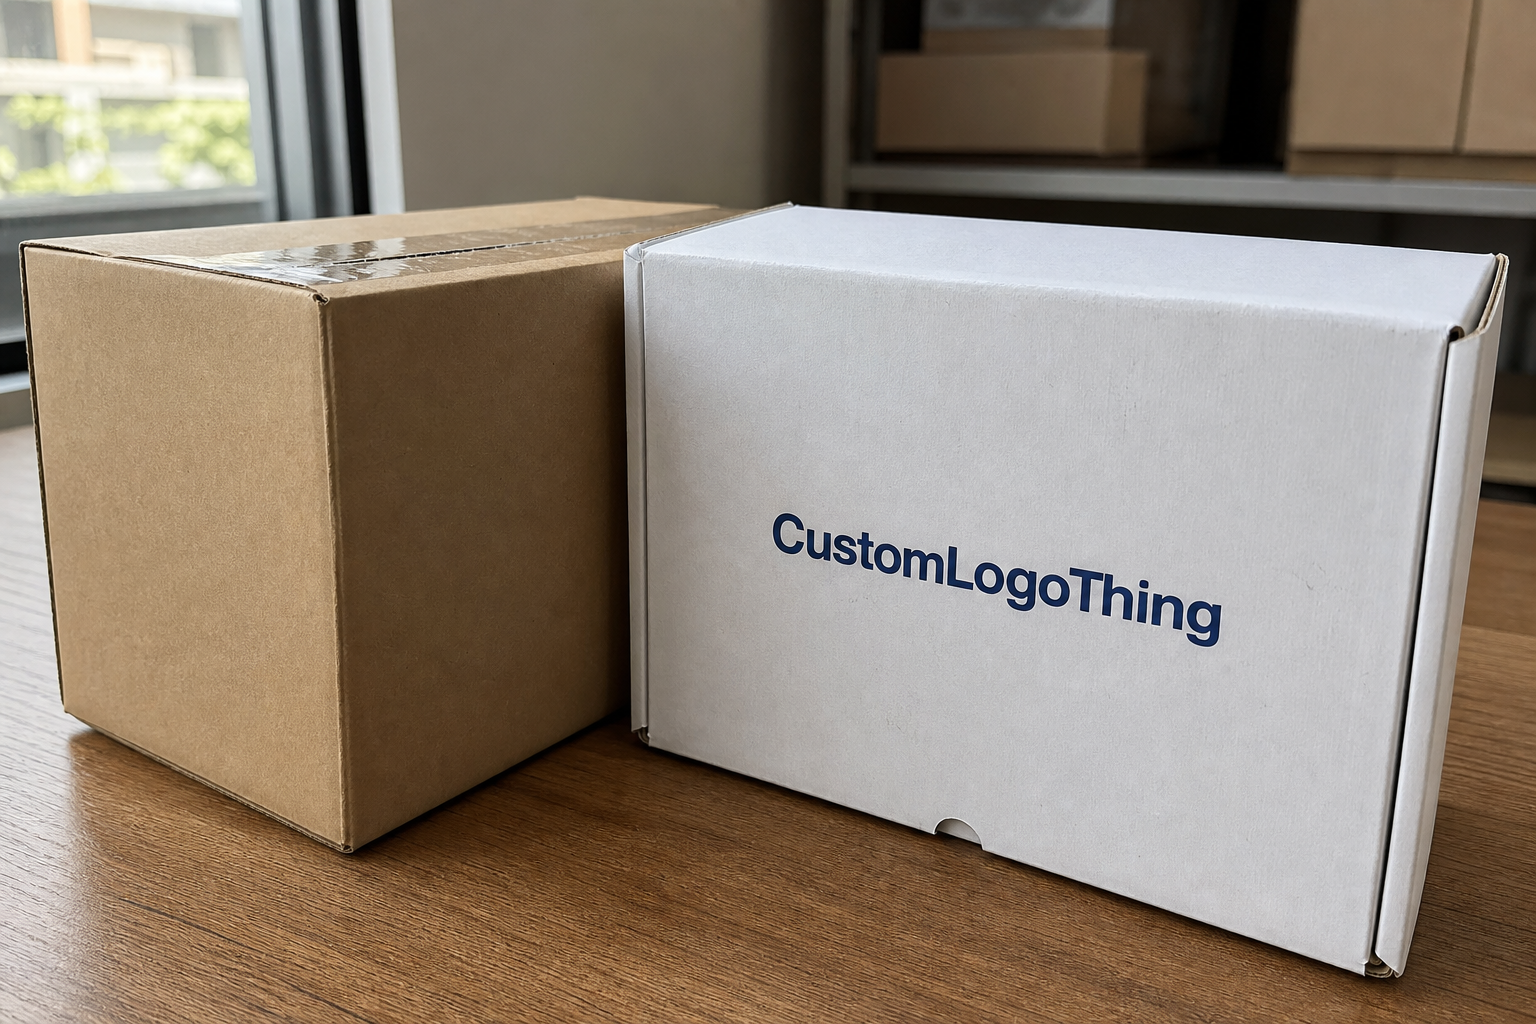
Buyers use them for a few different jobs. Some need simple size or SKU identification for warehouse sorting. Others need barcodes, batch numbers, or care references that help retail staff move quickly. Many use them for presentation: a seal on tissue, a branded mark on a folded tee, or a logo on an insert card can make retail packaging feel more finished without much added cost.
The best sticker choice is usually the one that fits the whole workflow. If a label speeds up pack-out, reduces mispicks, and avoids extra handling steps, it can be more valuable than a larger or more decorative option. That is why buyers often pair stickers with other packaging pieces such as Custom Labels & Tags and Custom Packaging Products to build a system that is visually consistent and operationally practical.
Here is the buyer logic in a simple split:
- Sewn-in labels: durable and permanent, but they have to be planned early and coordinated with garment production.
- Hang tags: strong for pricing and product storytelling, although they add assembly steps and usually need fasteners or strings.
- Heat transfers: good for a clean garment finish, but they are part of the apparel itself rather than a separate packaging layer.
- Packaging stickers and seals: fast, flexible, and useful for package branding, samples, and launch kits.
“The label that looks simplest on paper is often the one that saves the most time on the floor. Fewer handoffs, fewer mistakes, fewer reworks.”
How the materials and adhesive system actually work
Every sticker has three layers: the face material, the adhesive layer, and the liner. The face material carries the print and determines the look. The adhesive controls bond strength, removability, and surface compatibility. The liner protects the adhesive until application. If one layer is mismatched, the problem shows up quickly: edges lift, residue remains, small text blurs, or the label peels where it should stay put.
Paper is the lowest-cost face stock and can be fine for inserts, boxes, and short-life seals. It is less forgiving around moisture, abrasion, and cold storage. BOPP, which is a polypropylene film, is a common upgrade because it resists tearing and holds up better in humid environments. Vinyl is usually chosen when flexibility and wear resistance matter more. Specialty finishes such as matte, gloss, soft-touch, and clear can change both appearance and scuff resistance, but they also make proofing more important.
Adhesive choice matters more than most first-time buyers expect. A sticker that performs well on a coated mailer may fail on cotton, fleece, or textured synthetic fabric. Some surfaces are low-energy, which means the adhesive has a harder time forming a reliable bond. Other surfaces are porous or uneven, which can create patchy contact and lifting. Those are not theoretical issues; they are the reason some label runs look perfect in a mockup and disappointing in real packing conditions.
If the sticker touches the garment itself, ask a direct question: does it need to be removable, semi-permanent, or wash-resistant? Stronger is not automatically better. A high-tack adhesive may hold well, but it can also leave residue or pull fibers when removed. For temporary garment labeling, a lower-tack removable adhesive is often safer. For packaging seals, a stronger adhesive may be the right fit, especially if the label has to survive transit, handling, and temperature changes.
| Material | Best use | Durability | Typical buyer note |
|---|---|---|---|
| Paper | Short-run packaging, inserts, seals | Low to moderate | Lowest cost, but moisture is a weak point |
| BOPP | Mailers, poly bags, branded packaging | Moderate to high | Good balance of price, print clarity, and moisture resistance |
| Vinyl | Higher-wear labels, handling-heavy use | High | Useful when flexibility and abrasion resistance matter |
| Specialty clear or matte films | Premium package branding, design-led launches | Varies | Appearance improves, but proofing matters more |
If you are planning a full packaging system, material choice should be tied to the rest of the design. A label that looks elegant can still be the wrong fit if it clashes with the box stock, the tissue, or the garment surface. For sustainability-minded teams, organizations such as the FSC are useful reference points for paper sourcing, while the EPA provides general waste-reduction guidance that can inform packaging decisions.
One practical point gets overlooked often: print quality and adhesive performance are separate decisions. A design can be sharp and still fail if the adhesive is wrong. A label can stick perfectly and still be hard to read if the finish creates glare or the contrast is too weak. Buyers who test both the visual and physical side of the label usually avoid the most expensive surprises.
Cost, pricing, and MOQ tradeoffs to compare before ordering
Sticker pricing is shaped by size, shape complexity, material, finish, print coverage, and whether the order is sheeted or custom cut. A simple 2 x 3 inch BOPP sticker with one-color print will price very differently from a clear die-cut label with white ink, variable barcodes, and a soft-touch finish. The common mistake is looking only at the unit price and assuming that tells the whole story.
It usually does not. A quote of $0.18 per unit can end up costing more than a $0.24 option if the cheaper version requires multiple proof rounds, higher freight, or a more labor-heavy application process. Total landed cost matters, especially for smaller apparel brands that are trying to protect cash flow while still getting a professional result.
MOQ is the other lever that changes the math. A pilot order may start at 250 pieces to test artwork and adhesion. A scale-up order might begin at 5,000. Lower MOQ reduces risk, but it usually raises unit cost. Higher MOQ improves unit economics, but it increases exposure if the artwork changes, the season shifts, or the label spec turns out to be wrong for the product.
Requesting a quote becomes much easier if you ask for a clean breakdown instead of a single lump sum. That makes it possible to compare options without guessing what is hidden in the number.
| Order style | Typical unit range | Strength | Watch-out |
|---|---|---|---|
| Small pilot run | $0.28-$0.60 | Useful for testing art and adhesion | Higher unit cost and possible setup charges |
| Mid-volume order | $0.14-$0.30 | Better balance of price and flexibility | Still worth confirming freight and proof fees |
| Higher-volume order | $0.08-$0.18 | Lower unit economics | Risk if the design changes before stock is used |
The most useful quote usually separates setup, printing, finishing, and shipping. That makes it easier to compare suppliers and to see where the actual cost sits. For a buyer managing broader packaging programs, that transparency is valuable because the sticker is only one component of the final pack-out, not the whole budget.
There is also a practical pricing detail that gets missed often: a more efficient shape can reduce waste and improve sheet yield. Rectangles are usually cheaper to produce than complex die-cuts. Clear labels may need more careful print control because white ink or underprinting can affect both appearance and cost. Those choices are not only aesthetic. They affect production efficiency.
Production process and turnaround timeline from proof to delivery
Most sticker jobs follow the same sequence: artwork intake, digital proof, approval, production, finishing, packing, and shipment. The details change by material and finish, but the basic workflow stays the same. If you know where delays usually happen, you can avoid the kind that pushes a launch back for no good reason.
The most common delay is incomplete artwork. Files that are low-resolution, missing bleed, or built in the wrong color space often come back for revision. Slow proof approval is another source of delay. A label may be ready to run, but if the buyer takes several days to review the proof, the schedule slips. Specialty finishes can add time because they may require extra setup or separate processing steps.
For standard orders, a realistic range is often 7-12 business days from proof approval to shipment. More complex jobs, especially those with custom shapes, specialty inks, or multiple SKUs, can take 12-15 business days or longer. Rush options are sometimes available, but they usually cost more and should be treated as an exception rather than a baseline.
That timeline matters more when the order is tied to a trade show, seasonal drop, or influencer seeding schedule. A sensible plan includes one sample round and one revision buffer. For the first production run, that buffer is not luxury. It is insurance against a simple file issue or a surface compatibility problem that only shows up once the sticker is physically applied.
Packaging teams that care about transit performance often think beyond appearance and ask how labels hold up under handling, friction, and temperature shifts. That is where references like ISTA can help frame the conversation. A label does not need to survive a shipping test the same way a box does, but it does need to remain legible and attached after pack-out, transport, and retail handling.
Step-by-step: how to order the right sticker for each garment type
Start with the surface, not the artwork. Ask where the sticker is going to land: directly on the garment, on a poly bag, on a swing tag, or on an insert card. That one decision changes the adhesive, the finish, and sometimes the size. Direct-to-garment use is the most sensitive and should always be tested. Packaging use is easier and gives you more material flexibility.
- Define the placement surface. Cotton tee, fleece hoodie, polyester activewear, or packaging film all behave differently.
- Choose adhesion level. Removable, semi-permanent, or stronger hold for longer display time.
- Set size and shape. Rectangles are efficient; die-cuts can look better but may cost more.
- Select finish. Matte reduces glare, gloss boosts color, and clear can make the design feel more premium.
- Confirm print details. Barcodes, care information, logos, and small text should all remain readable at final size.
- Approve proof and sample. If possible, test one real piece before full production.
For multi-SKU launches, a single base template usually works better than a separate layout for every variant. Keep the structure consistent and vary the SKU, color code, or barcode field. That keeps fulfillment faster and reduces the chance that one style ships with another style’s label. It also helps maintain consistency across custom printed boxes, garment inserts, and other branded packaging components.
Use the proof stage carefully. Check contrast first. Then check trim accuracy, barcode scannability, and whether the smallest text stays legible at actual size. A file that reads well on a screen can become cramped after print scaling. Small type, thin strokes, and low-contrast elements deserve more scrutiny than logos usually do.
If you are ordering custom stickers for clothing for the first time, ask for sample materials or a short test run. A tactile test is usually more valuable than a polished product description, especially if the label has to work inside a larger retail packaging setup. One sticker may need to look premium, function in packing, and remove cleanly. Those are different requirements, and not every material handles all three equally well.
There is one more buyer habit that pays off: document the finished spec. Save the approved artwork, the proof, the material description, the adhesive type, the size, the color reference, and the packing format. Repeat orders are cleaner when those notes exist. That documentation also helps if the label later needs to be matched to other packaging assets or revised for a new season.
Common mistakes that cause peeling, residue, or low readability
The first mistake is choosing adhesive strength by instinct. “Stronger” sounds better, but that is not always true. On delicate fabrics, a high-tack adhesive can leave residue or pull fibers. On textured knits, it may bridge over the surface and lose contact in certain spots. The correct choice depends on the exact material, how long the sticker will stay in place, and how it will be removed.
The second mistake is low-contrast artwork. Tiny gray text on a white background can disappear once printed, especially if the material has any sheen. Barcodes are less forgiving still. If the code is supposed to support inventory control or point-of-sale use, it should be tested at production size, not just inspected in a design file.
Third, buyers often leave the spec too vague. “Make it durable” is not a production instruction. Neither is “premium finish.” Better instructions sound like this: 2.5 x 3 inches, matte BOPP, removable adhesive, black text on white, sheeted format, packed 500 per carton. That level of detail reduces error and keeps the quote honest.
Another hidden issue is ignoring temperature and handling. A label may perform well in a room-temperature office and fail in a cold storage area or under repeated friction from transit. If the apparel is being packed for retail distribution, ask how the sticker behaves after time, pressure, and movement. Appearance on day one is only part of the job.
The cost of skipping tests is not limited to the sticker line itself. One bad batch can trigger rework, delays, or a confusing presentation on the shelf. In apparel, that kind of inconsistency weakens trust quickly. Buyers notice when packaging feels improvised.
“If the label only survives the photo shoot, it is not doing its job. It has to hold up on the actual fabric, in the actual pack-out, under the actual handling conditions.”
Expert tips and next steps for a cleaner launch
Start with a small test matrix. Apply the sticker to the exact fabrics, folds, mailers, tissue, and hang tags you plan to use. Leave samples for 24 hours, then remove them. Repeat the test after a little heat, friction, and handling. That gives a much clearer picture than a spec sheet alone.
If the label is going into a new launch, pilot first. A 250- to 500-piece run can reveal whether the adhesive holds, whether the finish scuffs, and whether the typography still reads cleanly in real use. That is a modest cost compared with reprinting several thousand pieces after a preventable problem. For that reason, custom stickers for clothing work best when they are treated as a testable production component, not a one-shot design decision.
Once the proof is approved, archive everything. Save the artwork file, the approved proof, the color notes, the substrate details, and the supplier’s quoted spec. That makes repeat orders much cleaner. It also helps if the label needs to stay aligned with other branded packaging elements later, including Custom Labels & Tags or matching Custom Packaging Products.
For teams managing broader packaging design, consistency is usually the quiet win. The same visual logic that makes custom printed boxes feel intentional should carry into the sticker, insert, and seal. When those parts agree, the brand looks planned rather than assembled.
The simplest workflow is usually the strongest: shortlist two or three material options, request itemized quotes, ask for a sample, and test on the real garment or packaging surface before scaling. That takes a little longer up front. It usually saves time, money, and awkward surprises later.
For most apparel buyers, custom stickers for clothing are best treated as a production tool. The right version supports the product, survives the actual handling conditions, and keeps the apparel line moving without creating extra work for the team.
FAQ
Are custom stickers for clothing safe for delicate fabrics?
They can be, but the adhesive has to be tested on the exact fabric type first. Delicate knits, brushed surfaces, and stretch fabrics usually need a lower-tack or removable option. Check for residue and fiber pull after a short dwell time and removal test.
How long do clothing stickers usually last after washing?
That depends on whether the sticker is meant for direct garment use or packaging only. Wash exposure, temperature, detergent, and fabric texture all change durability. If the sticker must survive laundering, ask for a material and adhesive system designed for that use case.
What should I send when requesting a quote for custom clothing stickers?
Send dimensions, shape, quantity, artwork files, finish preference, and the garment surface or packaging surface. Include whether you need removable, permanent, or wash-resistant adhesion. Ask the supplier to separate setup, printing, finishing, and shipping in the quote.
Can I order a small MOQ for a new apparel launch?
Yes, many buyers start with a low MOQ to test artwork, adhesion, and customer feedback. A small run reduces risk when you are still deciding between materials or finishes. Ask whether the supplier offers tiered pricing so you can compare pilot and scale-up costs.
What file quality is best for printing custom stickers for clothing?
Vector files are best for logos, shapes, and text because they stay sharp at any size. If you are using raster art, provide a high-resolution file with clean contrast and minimal compression. Double-check small text, barcodes, and fine lines at final size before approval.