Why a custom wood box changes perceived value
A custom wood box is chosen for more than appearance. Buyers usually start with a practical problem: the product needs packaging that protects it, supports the brand, and feels credible the second it is picked up. Wood does that differently than folding carton or rigid paperboard. It adds weight, stiffness, and a more deliberate opening experience. Those three things sound simple, but they change how the product is read before anyone has seen the item inside.
That shift matters in categories where packaging is part of the product story. Jewelry, spirits, executive gifts, awards, knives, watches, medtech accessories, collector editions, and limited-run retail sets all benefit from a package that does not feel temporary. A wooden structure signals that the contents deserve a more serious presentation. It also tends to survive longer on a shelf or in a drawer, which is useful if the box itself is meant to be kept.
There is a commercial angle too. A premium package can help a product justify a higher shelf price, but only if the packaging and the item are in balance. A heavy box around a low-value product can feel wasteful. A weak box around a high-value product does the opposite. The right choice sits in the middle, where protection, presentation, and margin all still make sense.
That is why a wood box should be treated as a specification, not an aesthetic afterthought. Size, closure, internal fit, finish, and branding all affect cost and lead time. If those parts are vague, the quote will be vague. If they are clear, the production path is easier to control.
If you are comparing formats, it helps to review other Custom Packaging Products alongside wood so the tradeoffs are visible early. Not every product needs wood. Some need the stronger structure and premium feel; others are better served by a lighter, less expensive format.
Materials, structure, and finish details that matter
The outer shell is only the visible part of the build. A usable custom wood box depends on four decisions: substrate, structure, insert, and finish. Each one affects appearance, price, and how the package behaves in transit.
Material choice is the first fork. Solid wood has natural grain and a premium feel, but it can move with humidity and usually costs more. Plywood is often a better fit for dimensional stability and cost control, especially for clean rectangular shapes. Veneered engineered board gives a more controlled surface while keeping weight down. Bamboo can work well for a modern, linear look. Each option has different sanding behavior, edge quality, and response to stain or print. That is not cosmetic detail; it changes the final result.
Thickness matters more than many buyers expect. A panel that looks fine in a photo may feel too light in hand once the product is inserted. Thicker panels improve stiffness and perceived value, but they also raise material usage and freight weight. The same is true for joints. Mitered corners usually look cleaner and more refined. Butt joints can reduce cost and simplify assembly. Neither is automatically better. The right one depends on the product position and the scale of the run.
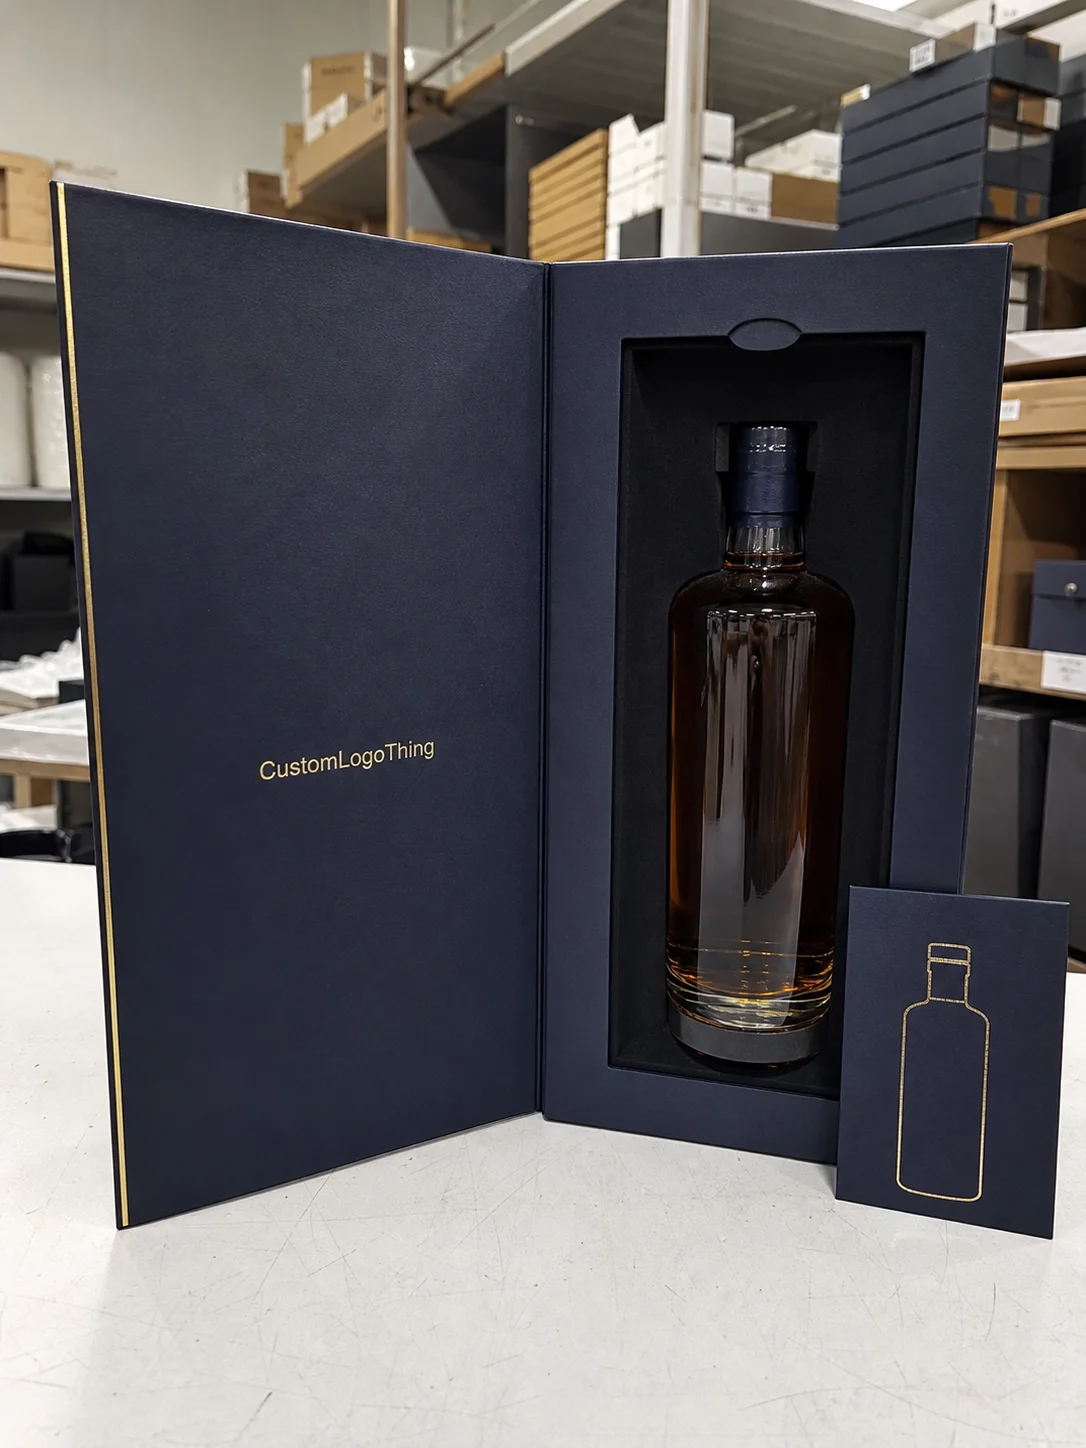
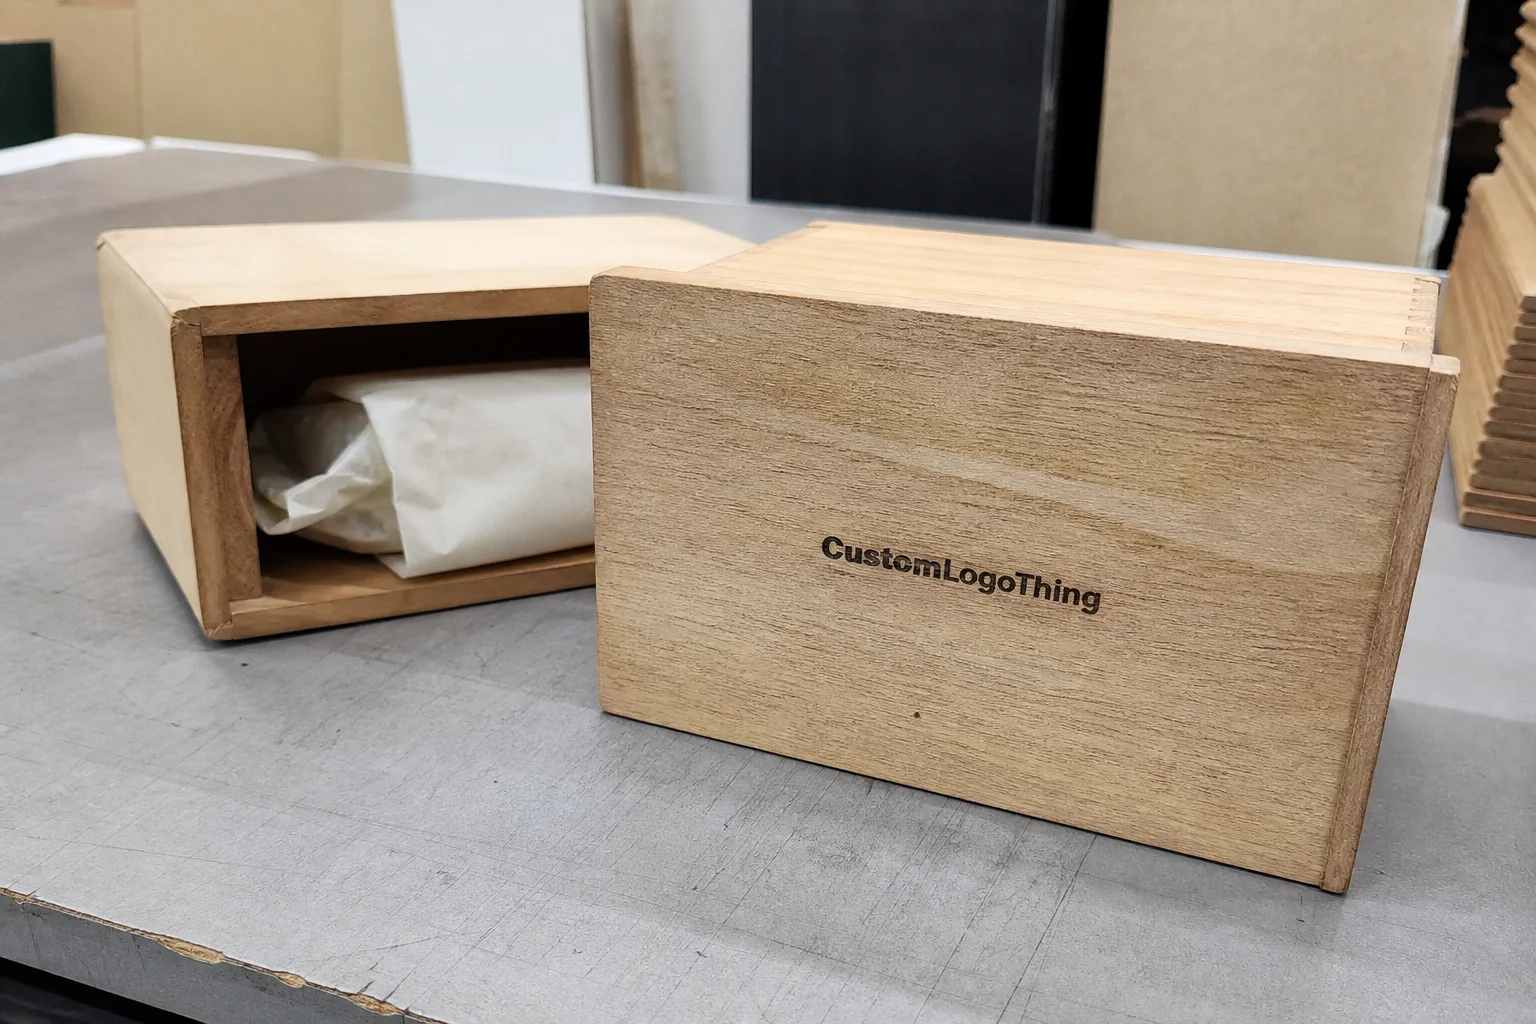
The closure style changes both the user experience and the labor pattern. Lift-off lids are straightforward and often the most economical premium option. Hinged lids feel more permanent and can support a keepsake feel, but they add hardware and assembly steps. Drawer or slide structures create a more ceremonial reveal, though they require tighter dimensional control. Magnetic closures are convenient and familiar, yet the hidden magnets, lining, and fit checks usually raise cost.
Finish is where the box starts to look like a brand decision instead of a generic container. A natural oil finish keeps the wood character visible. A clear matte coating offers more protection and a controlled surface. Stain can move the tone toward walnut, espresso, oak, or cherry. Painted surfaces give stronger brand color control, but they reduce visible grain. Soft-touch and satin topcoats can improve the hand feel, though they are not free; they add process steps and can complicate repair if a surface is marked during handling.
Internal fit is just as important. Foam, flocked lining, die-cut inserts, fabric trays, or paperboard nests all behave differently. Foam is practical for protection and repeatability. Fabric-lined trays feel more elevated, but they are harder to keep consistent across large runs. A tight cavity can look precise in a sample and fail in production if the product tolerance varies. A slightly forgiving fit often performs better than a perfect one on paper.
Here is a practical comparison of common styles and where they usually make the most sense:
| Box style | Best use | Typical cost direction | Production note |
|---|---|---|---|
| Lift-off lid | Gift sets, awards, presentation kits | Moderate | Straightforward build, good for inserts and simple branding |
| Hinged lid | Keepsake packaging, premium retail | Moderate to high | Adds hardware and assembly steps; feels more permanent |
| Drawer or slide box | Jewelry, collectibles, specialty products | Moderate to high | Strong reveal effect, but tolerances matter more |
| Magnetic closure | Executive gifts, luxury launches | Higher | Clean user experience; magnets and lining increase cost |
Sustainability needs to be addressed in the spec, not added later as a label. FSC-certified wood or veneer can support procurement requirements. Efficient panel nesting reduces waste. A durable finish makes sense if the box will be reused; a simpler finish may be better if the packaging is meant for a single lifecycle. For teams that need a broader materials reference, the EPA recycling and materials guidance is useful when deciding what happens after the packaging has served its first job.
How production moves from sample to shipping
Most projects begin with the same three inputs: product dimensions, quantity, and the presentation goal. That sounds basic, but it is where a lot of delays are prevented or created. A wood package is cut, assembled, sanded, finished, and often fitted with hardware or a lining. Each step adds time, and each step gives the project one more place to drift if the brief is incomplete.
The usual sequence is predictable. The buyer sends the product size, target style, branding file, and finish direction. The supplier confirms material availability and structure options, then prepares a sample or prototype. Once that sample is approved, the run moves into cutting, assembly, finishing, curing, inspection, packing, and shipment. If any part of the specification is still moving, the schedule slows down fast. A changed insert depth can affect the lid gap. A finish change can alter logo visibility. A hardware change can alter assembly time. Small edits ripple.
Lead time is longer than for flat-pack paperboard, and buyers should plan for that from the beginning. A sample may take 7 to 15 business days, depending on complexity and material sourcing. Production often lands in the 15 to 30 business day range after approval for standard runs. Larger quantities, unusual hardware, custom inserts, or multi-step finishes can extend that window. The reason is mostly labor and cure time. Sanding each unit, applying coatings, and allowing proper drying are not steps that can be compressed without consequences.
Buyer approvals are often the real bottleneck. A box can look correct until the actual product is inserted and the lid closes with too much pressure. A logo can look strong in artwork and too faint on a dark stain. A foam cavity can grip the item too tightly, which becomes a problem if the product varies slightly from unit to unit. These are normal issues, but they are cheaper to find in sampling than after the run is underway.
Shipping and storage also deserve attention. Wood packaging is heavier and bulkier than paperboard, so freight costs can materially change the landed price. Humidity can affect both surface appearance and dimensional stability. That does not mean wood is fragile. It means the packaging has to be treated as a real object, not a flat sheet product. For transit testing, many teams use ISTA test methods to check whether the package can handle the route it will actually travel.
Pricing, MOQ, and the cost drivers behind quotes
Pricing for a custom wood box is driven by a small set of variables: size, substrate, finish, insert complexity, branding method, and order quantity. Those factors show up in nearly every quote because they determine material use and labor. Labor is a major part of the cost in wood work. The package is not pressed out of a sheet and folded into shape. It is built.
For planning, simple builds often fall around $4 to $12 per unit at modest volumes. More complex presentation boxes, especially those with magnetic closures, multi-step finishes, foam inserts, or hardware, can move into the $12 to $25 range or higher. That is not a quote. It is a reasonable bracket for early budgeting. Once a project gets more specific, the spread can widen or narrow based on what is actually included.
MOQ exists because setup work is real. The factory has to prepare tooling or cutting plans, build or confirm the insert, set up artwork, and assemble the package in a way that is repeatable. At very low quantities, those fixed costs are spread across fewer units, so the unit price rises. That is why a luxury build for a tiny run often feels expensive: the package is carrying the setup burden almost by itself.
If the budget is tight, there are a few levers that matter more than the rest. Standardize the footprint across a product family. Use veneer or plywood instead of solid hardwood where the look still works. Keep the closure simple if a hinge or magnetic system is not essential. Reduce finish steps if a single clean coat will do the job. Each of those choices trims labor or material without turning the package into something generic.
For buyers comparing several packaging formats, reviewing custom packaging products side by side helps keep the pricing conversation grounded. A wood box may be right for the hero product while a less expensive structure handles secondary SKUs. That split is common in premium packaging programs because it preserves the high-end moment where it matters most.
Good quoting depends on precise input. Exact dimensions, insert needs, branding method, surface finish, and quantity all matter. Vague requests produce cautious quotes. Precise requests produce useful ones.
How to spec the right box with fewer revisions
Start with the product itself. Measure the item accurately, then add space for lining, foam, fabric, or protective wrap. If the box holds accessories, a pair of products, or a full kit, define the contents before discussing appearance. That order matters. Packaging design becomes much easier once the payload is fixed.
Next, decide how the box should open. Lift-off lid, hinged lid, drawer-style reveal, and slide construction all create different user experiences. A gift item may benefit from a slower, more ceremonial opening. A retail program may need a structure that stacks cleanly and closes without fuss. If the package will be reused, closure durability should matter more than novelty.
Then lock the internal fit before spending too much time on the exterior finish. A refined shell with a loose insert will disappoint the moment the product shifts in transit. A slightly forgiving cavity is often better than a rigid one, especially when the product itself has normal manufacturing variation. Real goods are not identical to the tenth decimal place. Packaging should account for that.
Branding should match the surface. Engraving tends to work well on natural wood and many veneers. Printing can be strong on sealed or painted panels, but the artwork needs the right contrast and tolerance. Foil-style effects, labels, and inlays each bring their own constraints. A finish that hides grain will not behave like raw wood under a laser or press, so the decoration method should follow the material, not fight it.
Sample approval is where the spec becomes real. Put the actual product inside the prototype. Test the lid gap. Test the closure tension. Check logo visibility under normal light, not only under studio lighting. If the box is for retail display, look at it from shelf distance. If it is a gift package, open and close it more than once. That catches weak points that are easy to miss in a single review.
One useful habit is to build tolerance into the insert rather than forcing the product into an exact cavity. Foam and formed linings can be designed with a little forgiveness. That helps with variation across production batches and reduces the chance of returns caused by an overly tight fit. In packaging, precision is valuable, but tolerance is usually what keeps the whole thing functioning in the real world.
Mistakes that create rework or delay
The most common errors are not exotic. They are assumptions. A buyer estimates dimensions instead of measuring them. The artwork is approved before the finish is finalized. The insert is designed with no allowance for product variation. Then the sample comes back and the build has to be revised in pieces. That is how a straightforward order becomes a schedule problem.
Finish should not be chosen before structure. Panel thickness, sanding quality, corner style, and substrate type all influence how a coating looks once it is applied. A stain on a rough board reads differently from the same stain on a smooth veneered panel. Paint will hide some variation, but it also removes grain character. If the finish is locked too early, the team ends up trying to make the material behave like something else.
Humidity is another practical risk. Wood is more sensitive to environmental change than paperboard. A box that looks perfect in a dry sample room may behave differently in a humid warehouse or during transit through warm conditions. That does not mean wood should be avoided. It means the storage and shipping assumptions should be realistic. Good buyers ask about them before production starts, not after a problem appears.
There is also a tendency to overbuild. Hidden magnets, thick foam, decorative corners, multilayer lining, and extra surface treatments can all add value. They can also add cost without improving the actual user experience. Sometimes the box becomes more complicated than the product it holds. That is not sophistication; it is noise. Every added feature should have a job.
The last mistake is commercial imbalance. A box can be beautifully made and still wrong if it consumes too much margin relative to the product inside. That problem shows up often in premium packaging programs that are trying to hold a retail target. The best packages feel worthy of the item without overwhelming the economics of the line.
Quality control checks that save money later
Quality control on wood packaging is mostly about fit, finish, and repeatability. A visual inspection is not enough. The box should be checked with the actual product inside, because that is where most issues show up. Lid alignment, closure strength, and insert behavior matter more than a clean surface photo.
Edge condition is one of the first things to inspect. Sharp corners, rough sanding, glue residue, and uneven stain absorption are all signs that the process needs adjustment. If the box includes a logo or surface print, check whether the mark is crisp at the chosen finish level. Dark stains can flatten detail. Painted surfaces can show dust or texture defects more easily than buyers expect.
Hardware should be tested as well. Hinges need to open at the right resistance. Magnets need to close with enough force to stay shut, but not so much that the user feels they are forcing the lid. Drawer boxes should slide smoothly without wobble. These checks sound minor until a box is packed and shipped, then they become expensive to correct.
Packaging the packaging is another overlooked step. Wood boxes are heavier than folding cartons, so outer cartons, dividers, and freight protection should match the load. If the product is fragile or expensive, transit packaging should be tested with the same seriousness as the box itself. A premium interior means little if the outer pack allows scuffing, corner damage, or finish marks before the customer ever sees it.
Buyers who want fewer surprises usually insist on one simple rule: approve the sample only when it contains the real product and the final finish. That eliminates a lot of false confidence. A prototype by itself is useful. A prototype with the actual item inside is useful in a different way. It shows whether the design works as a system, which is what the final customer experiences.
What information is needed for a custom wood box quote?
Provide exact product dimensions, quantity, desired structure, finish preference, branding method, and insert requirements. If the box needs to hold accessories, multiple items, or a specific retail presentation, include that too so the quote reflects the real build.
How long does production usually take?
Sampling often takes 7 to 15 business days, while production commonly runs 15 to 30 business days after approval for standard orders. Complex structures, specialty finishes, and larger quantities can extend that timeline.
What affects the unit cost the most?
Material choice, box style, finish steps, insert complexity, hardware, and order quantity are the main drivers. Low quantities and high-detail builds raise the price because they carry more setup and manual labor per unit.
Is a custom wood box better for gifting or retail?
It can work for both. Gifting usually benefits from a more theatrical opening and a durable keepsake feel, while retail usually needs repeatable dimensions, stacking efficiency, and branding that reads clearly on shelf.
What is the safest way to avoid fit problems?
Measure the actual product, approve the insert with the real item inside, and allow a little tolerance for normal product variation. A cavity that is slightly forgiving usually performs better than one that is perfectly tight on paper.