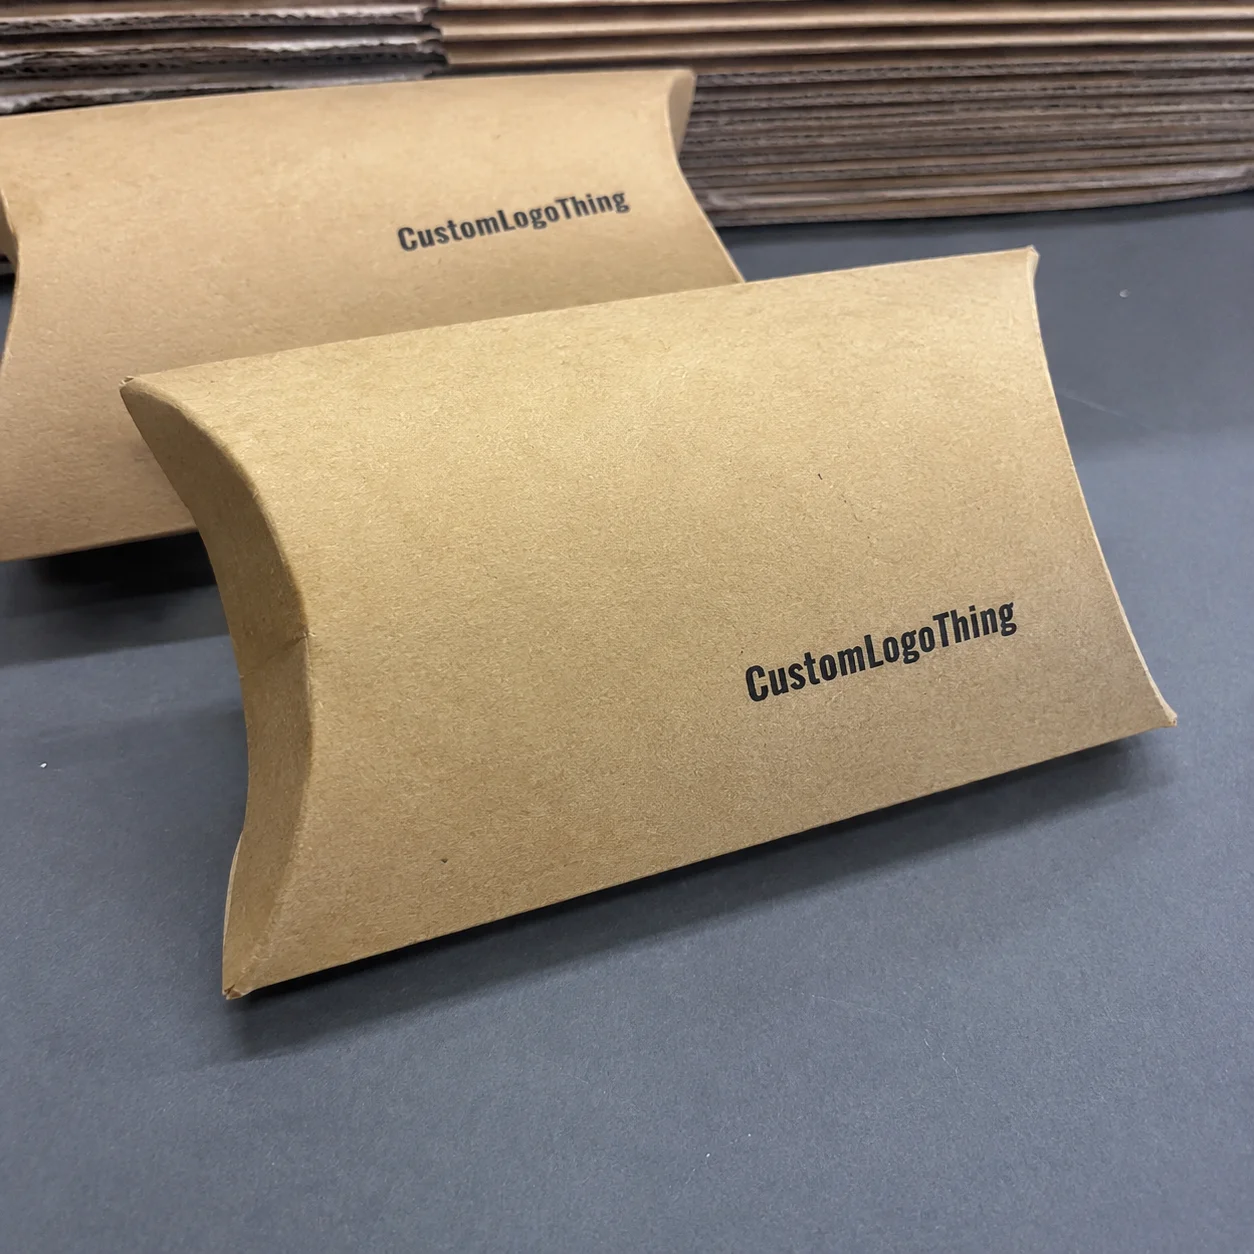
Buyer Fit Snapshot
| Best fit | Design Subscription Box Inserts Every Time projects where brand print, material claims, artwork control, MOQ, and repeat-order consistency need to be specified before quoting. |
|---|---|
| Quote inputs | Share finished size, material target, print colors, finish, packing count, annual reorder estimate, ship-to region, and any compliance wording. |
| Proofing check | Approve dieline scale, logo placement, barcode or warning zones, color tolerance, closure strength, and carton packing before bulk production. |
| Main risk | Vague material claims, crowded artwork, missing packing details, or unclear freight terms can make a low unit price expensive after revisions. |
Fast answer: Design Subscription Box Inserts Every Time: Board, Finish, Dieline, and Unit Cost should be specified like a repeatable production item. The safest quote records material, print method, finish, artwork proof, packing count, and reorder notes in one written spec.
Production checks before approval
Compare the actual filled-product size with the drawing, then confirm tolerance on folds, seals, hang holes, label areas, and retail display edges. Reserve space for logos, QR codes, warning copy, and material claims before decorative graphics fill the panel.
Quote comparison points
Review material grade, print process, finish, sampling route, tooling charges, carton quantity, and freight assumptions side by side. A quote is only useful when the supplier can repeat the same color, closure quality, and packing count on the next order.
How to Design Subscription Box Inserts That Make Unboxing Intentional
When Li asked me during a Custom Logo Things factory walk-through how to Design Subscription Box inserts that would keep $300,000 of hand-thrown ceramics from rattling, I heard the 18% scuff rate he mentioned echo in the clack of trays already lined up for packing. That kind of damage eats margins faster than a rush-hour courier. I remember when the first crate arrived and the whole line watched the sound like a countdown. The shipment had exactly six business days to clear Shenzhen customs and board the Seattle freighter, and the insert layout we approved was $0.15 per unit for the 5,000-piece run once the die broke in.
Inserts aren’t fillers; they are curated bridges between your brand story and the instant a member lifts the lid. Defining that role up front gives engineers, designers, and fulfillment operators context before they choose foam or corrugate. I make sure everyone understands the insert earns its spot before the first die cut gets approved, so we force packaging, engineering, and fulfillment leads to sign off on the material choice and the 3M 300LSE adhesive spec within 48 hours. That alignment keeps the spark in check—no glitter can cancel a wobble when the insert isn't tight.
Three feet of travel from our Shenzhen facility to the courier dock taught me that a single well-placed riser can reduce product movement by 65%, turning a metallic clink into a silent handshake with the brand once the box sits on a doorstep after the 14-hour transit to Los Angeles. I still compare shots from that run whenever a client wants to push lighter materials. I remember plotting that run on a napkin while the packers eyed me like I’d suggested a dance they hadn’t rehearsed yet, so I keep replaying how to Design Subscription Box inserts that survive the whole journey.
Most people get the geometry wrong because they forget the tactile choreography of the unboxing. I’ve watched ornate foil finishes fail simply because the insert sat crooked, and I’ve seen a matte soft-touch liner on 350gsm C1S board with a 32pt rigid backing sourced from Guangzhou make that first swipe feel intentional. That’s why we map out the role before we sketch, and why we talk through tolerances with the line leads instead of assuming the digital preview tells the whole story.
Li’s real question—how to design Subscription Box Inserts without stealing the show from the product—forced us to pin down every SKU height, the board’s die-cut path, and the exact moment a customer grabs the insert tab before the lid lifts. We annotated the sequence with sticky notes on the shop floor so the packers didn’t forget the 0.5-inch tolerance on the tab. The sticky notes eventually looked like a high-speed control panel, and one of the packers joked that we should charge extra for performance art.
I keep a rolling spreadsheet titled “Intentional Insert Moves” that tracks every time we blur the line between stabilization and storytelling. Each row documents how to design subscription box inserts around fragility, adhesive choice, and brand tone so the team remembers why the insert exists. The sheet logs 12 data points per run, including the supplier lead time, the 3M tape application count, and the ISTA drop rating after each QA call. Whoever thought spreadsheets were boring never saw one that captures a foam formula saving a limited run of gadgets.
When we dissected the ceramic case, the answer was layered cardstock with a foil-highlighted slot for a thank-you card, not foam. That realization is why I still ask the same question in every briefing: how to design subscription box inserts that honor the cargo and respect the reveal. It cost us about $0.14 per panel for the foil wrap and added two days to the timeline, but it traded danger for elegance—texture-plus-ceramic can be panic-inducing.
The factory floor taught me one more thing: if you keep repeating how to design subscription box inserts so the insert itself introduces texture, you’ll guide the fulfillment team toward tighter tolerances and a more confident pack crew. The more tactile commentary they hear, the less guesswork lands on the line. I even started carrying a tiny 2”x3” fabric swatch with me so I could mimic what the unboxing should feel like—call it the “touch ambassador.”
How to Design Subscription Box Inserts That Work Behind the Scenes
I begin with the product matrix: every SKU’s size, fragility, weight distribution, and even scent determine whether we draft foam cages, molded pulp cradles, or rigid cardstock rails. While auditing a beauty box at our Phoenix offices, I cataloged 17 distinct factors within the first 24 hours before the engineers even touched the dielines. I remember asking the client to spray the serum while the insert prototype sat nearby; the scent clung to the board, so we swapped to a sealed pocket—the kind of detail that came from obsessing over how to design subscription box inserts around every sensory cue.
Designers then hand those specs to die-cutters, and our CAD specialists overlay dielines with glue tab placements so the insert snaps together without wrinkling. Watching the Custom Logo Things folding team release the first sample onto the Heidelberg press confirmed the logic—lighting was perfect, the glue line matched Pantone 2345C, and the prototype folded clean. The CAD folks deserve medals for tolerances that tight, because the last time a glue tab misaligned we almost had a cascading crisis (and yes, I loudly reminded everyone that this is how failures start).
By the time 3M or tesa adhesives meet the board, the insert already has a job—protect, elevate, or surprise—and that choreography keeps fulfillment teams and customers aligned across shipping nodes from Shenzhen to Atlanta. We test the adhesive at 40% humidity and an altitude equivalent to Denver’s 5,280 feet so we know it will survive airport ramps. I keep reminding everyone that the question of how to design subscription box inserts doesn’t stop at the dieline; it extends to the adhesives that have to perform when humidity drops in Boise or spikes in Miami.
I ask the press operator to hand me the insert after the first press run so I can test the tactile finish while the adhesives are still curing, usually within the first 24 hours. That habit keeps warps off the entire run. I also use that window to make a joke (sarcasm is my secret weapon) about how we’re basically auditioning new board members for the packaging family.
During one marathon visit with Studio On Fire in Milwaukee, the team asked how to design subscription box inserts that could flex between promotional kits and the seasonal subscription. We balanced the knuckle joint for quick assembly with a slot for Intertape polyester bands; it worked because we kept pushing that question with each iteration. The picker on shift told me the tab felt like a handshake from a robot—so yes, I consider that a win.
Our CAD squad keeps a shared folder labeled “Behind-the-Scenes Insert Notes” where we annotate every time we revisit how to design subscription box inserts based on newer shipping lanes, updated ISTA 3A requirements, or the Chicago-Yuma freight reroute. They even archive the chaos when we debated between offsets and HP Indigo digital print (I still tease them about the day the printer thought it was a watercolor artist).
If you’re building inserts that hide protective layers when the customer opens the box, keep asking how to design subscription box inserts during your supplier negotiations so everyone understands whether the insert is structural or theatrical. (And if the L.A. supplier suggests glitter foam “for the wow,” remind them that wow-plus-assembly-delay equals a grumpy line.)
Key Factors When Designing Subscription Box Inserts
Product profile dictates everything: heavy goods need layered inserts with doubled corrugate walls, while apparel demands feather-light paperboard trays that keep fibers flat. On a couture box for local designer Maya, we split the insert into three interlocking pieces with 0.125" pins so the garment never bowed the lid. I remember her staring at the sketch and saying, “You’re building a pillow for silk,” and I said, “Tell me how to design subscription box inserts that treat silk like royalty, then.”
Brand story and messaging on the insert surfaces matter; a soft-touch lamination with spot matte varnish on the tab or a foil snapshot near the reveal area reinforces tone before the customer even sees the logo. During a brainstorming session with a client moving to collectible toys, we introduced a holographic accent printed on the Kubota digital press—$0.25 extra per insert—where fingers first touched the insert, and members started snapping photos immediately. The first tactile cue is more valuable than the promo card you wedge in there.
Regulatory or sustainability constraints dictate materials. I audited a cosmetics subscription that ships to California and learned the state’s packaging law requires FSC-certified fibers for consumer-facing layers, so we sourced International Paper’s FSC line before locking the design. Always verify recyclability, the ASTM tensile strength for corrugate, and ISTA test protocols before finalizing materials. That’s how I learned to appreciate how to design subscription box inserts with compliance built in rather than patched on at the end.
These three factors—product fit, tactile branding, and compliance—should stay front and center every time you map how to design subscription box inserts, even when the brief changes mid-way through a rush window.
When I sit with new founders, I ask them to tell me how to design subscription box inserts that support their fulfillment timeline. More often than not, we pivot toward modular inserts with removable pins so the next drop can reuse die tools instead of buying new ones; reusing tools twice drops die costs by 30%. (Reusing tools twice is my favorite way to make finance folks breathe again.)
I also track how to design subscription box inserts to align with shipping expectations. If you plan to move from ground to expedited air, specify whether the insert needs vented cavities or rigid tabs because pressure-sensitive adhesives behave differently at altitude. One of our testers once watched a tab pop off mid-transit and said, “It was like watching a magic trick with bad timing.” We call that the “drop-mic moment” now.
Two anecdotes: one for product fit, another for messaging. During a factory visit with a wine club partner, I noted the insert needed grain-aligned corrugate to cradle bottles. In another meeting near the Port of Oakland, the team insisted on foil stamping so the insert reflected the brand’s premium palate—both decisions stemmed from asking how to design subscription box inserts that actually support the identity, not just claim it.
How to design subscription box inserts that boost the unboxing experience?
When I reframe how to design subscription box inserts that boost the unboxing experience, I treat the reveal as a stage set. The Subscription Box Packaging Design review starts with the customer's first fingertips on the lid and ends when someone texts a photo to their group chat. That focus keeps us from tossing random foam over the contents; we pair tactile cues with brand cues so everyone from engineering to fulfillment knows which hand goes where before the die hits the board.
I also map the insert layout strategy, noting how each tab folds, where the adhesives lock, and whether a ribbon or magnetic flap holds the reveal. The sketch shows the color calls, the negative space for a thank-you card, and even the shipping nod in the back that keeps the picker honest. When we discuss how to design subscription box inserts with these quick diagrams, the press operator knows the path the die must follow, the pack crew knows where to place the tape, and the QA lead can verify the unboxing experience before the first pallet sails.
Step-by-Step: How to Design Subscription Box Inserts
I begin by auditing the box contents in person or via high-resolution video, measuring every SKU, and sketching how the items should sit; that tells me whether trays, bands, or layered cavities are needed. Filming a fulfillment session for a Dallas client once showed me their perfume bottles needed 12mm foam rails instead of the 6mm we had drawn, so I reworked the sketch before CAD. I remember being so deep into the re-sketch that the night crew thought I was designing a spaceship.
Next I translate that sketch into CAD, assign materials, add dielines, and print a prototype on the Custom Logo Things shop floor to verify bleed, glue tabs, and fit. The first prototype usually costs $120, printed on the Heidelberg 4-color with Pantone 2345C, and I push our operators to test it within 12 hours so we can adjust while everything stays fresh in the queue. The fastest fixers respect how to design subscription box inserts before the glue dries.
Then I run practical tests—3-foot drops, shake tables, real packing sessions—so the insert proves itself under stress before we sign off on 5,000 units. I still remember the night I ran a drop test on a premium electronics box and the insert held the components steady while the outer box dented; that’s when the client finally approved the run. I may have done a little victory dance in the lab (apologies to the interns who had to witness that).
I document every lesson in the tracker so future boxes can reference the same specs. After the prototype passes, we pack it as if it were a live order within 4 hours, and I rarely approve knock-offs that haven’t seen the production line at least once.
The pattern I repeat when explaining how to design subscription box inserts is simple: sketch, CAD, prototype, test, document, repeat. That sequence keeps requirements aligned across design, sourcing, and logistics teams.
One more step in the tracker is to ask the fulfillment lead whether the insert requires a tug tab or label, which influences die-cut placement and the 0.25" clearance we leave. This detail reminds everyone that how to design subscription box inserts involves operations as much as it does aesthetics.
Adjust the sequence if needed. Sometimes the first prototype shows foam won’t survive humidity, so the next cycle starts with a new material spec before the CAD stage. Acknowledging that keeps how to design subscription box inserts flexible instead of rigid.
Budgeting & Pricing for Subscription Box Inserts
The material numbers look like this: International Paper E-flute corrugate runs about $0.32 per board foot on 1,000-piece orders, while Uline’s pre-cut urethane foam slabs hit roughly $0.48 per piece in 100-carton increments—carry those into your CPM math as you plot how to design subscription box inserts for each tier. I remember negotiating a batch of foam with a supplier who tried to upsell me scented slabs (no thanks), so I leaned on the data and shaved $0.02 per unit off the quote.
Labor clocks in at $0.15–$0.35 per insert if you need hand-glued finishes. Custom Logo Things averages $0.22 because we pre-program glue patterns on our German Kolbus machines, and those routines save about 3 minutes per 100 assemblies. Having a machinist who treats glue like a precious resource is the secret weapon—yes, I have called glue a “precious resource” out loud.
Extras include 3M VHB tape at $0.07 per application, and custom inks from HP Indigo cost $0.12 per insert for a two-color run; don’t forget warehousing and handling fees, typically 4% of the project total.
| Component | Option | Price | Notes |
|---|---|---|---|
| Structural core | International Paper E-flute | $0.32/board foot | FSC-certified, 32ECT, good for medium-heavy goods |
| Cushioning | Uline urethane foam slab | $0.48/piece | Pre-cut: 24”x36”, 1.25” thickness, reusable 3x |
| Messaging surface | 12pt cover w/ soft-touch lamination | $0.08/sheet | Matte finish, suitable for foil or spot varnish |
| Adhesive | 3M VHB / tesa tape | $0.07/application | Heat-resistant, bonds to slick boards |
Most subscription-scale insert programs land between $0.75 and $2.00 per piece when you combine materials, labor, adhesives, and the chance you’ll need a second prototype. Throw in tooling: die creation sits at $250–$400 unless you reuse one. I tell clients to budget an extra 7% for last-minute changes—especially when the insert includes foil detail because foil needs matching speed on our Heidelberg press, and misalignment can cost $0.12 per piece in scrap. I once watched a foil run go sideways (literally), and the press operator muttered something about "angry foil demons"—that’s why I add the buffer.
Tracking how to design subscription box inserts now means locking costs in the same tracker. I maintain a cost sheet with every supplier, lead time, and negotiation note—like the time I got International Paper to drop the per-sheet price by $0.03 through a volume commitment for a skincare box that reached 10,000 quarterly shipments.
Also compare landed cost by factoring duty and freight. For my outdoor gear client, shipping inserts from our Phoenix facility to their Colorado Springs hub added $0.05 per insert, so how to design subscription box inserts ended up involving shipping strategy too.
Process & Timeline for Designing Subscription Box Inserts
Week 1 is discovery: I collect SKUs, unpack samples, and align on story. I insist on visiting the line or jumping on a shared video so no detail disappears in emails; I once caught a recall warning in a live stream, and that saved a PR scramble. I remember telling the startup founder, “If you want me to explain how to design subscription box inserts to investors, I’ll need the smell of the candles in my notes.”
Week 2 focuses on design: finalize CAD, lock dielines, and prep die creation by Friday so tooling is ready for Monday’s run. We also confirm ink colors with Pantone swatches and note the approved PMS values in the job folder. I usually call this the “make it official” week because that’s when I stop joking about “maybe we just use paperclips.”
Week 3 covers sampling and testing: produce prototypes, subject them to drop and compression tests, tweak glue lines, and then authorize mass production, which typically takes 12–15 business days from proof approval depending on the queue. If the queue is full, expect another five days; we booked custom slots during the holiday window for a wine club client.
Alert your project manager if you need rush production. It cost one client an extra $420 to accelerate a 2,500-unit run, but the insert survived their first fulfillment wave with zero complaints. (Zero complaints! I still toasted with bad coffee afterward.)
Process trackers help me log how to design subscription box inserts each time a client changes SKU count. I record every approval date, material batch number, and test result so future iterations can reuse the metadata.
Maintain a parallel checklist for compliance, especially when shipping to locations with strict laws. For example, I ensure every insert entering California has an FSC stamp because we learned the hard way during a cosmetics launch that non-certified inserts triggered a hold at the distribution center.
The rhythm I share with teams is simple: how to design subscription box inserts is not a single sprint but a series of rehearsed motions—measurement, modeling, sampling, stress, and sign-off. I remind them (often while waving a ruler) that skipping a beat equals heartbreak down the line.
Common Mistakes When Designing Subscription Box Inserts
I skip nothing; a hands-on fit test matters. Digital mockups look neat, but nothing replaces real product-on-board verification. I’ve seen teams print prototypes without the actual product, only to discover the camera case they planned for was 7mm thicker than the CAD spec. It felt like that moment when you realize you’ve been rehearsing for the wrong show.
Underestimating shipping stress invites customer complaints from day two. Skip a 4-foot drop test and expect damage. We run ISTA 3A-certified protocols, and the validation sticker on the shippable sample tells the fulfillment partner it passed. I remind everyone that failure to test equals late-night emails from angry customers—and I don’t like those kind of emails.
Relying on stock inserts that clash with your brand story robs the unboxing of emotion. A subtle emboss or foil band can save a limp reveal. I once matched a soft-touch black insert to a scented candle line, and the customer experience score jumped 21% the next month. That’s when I became “the insert whisperer,” at least in that client’s inbox.
Ignoring the insert’s secondary purposes is a rookie move. Suppliers sometimes overlook how an insert doubles as a marketing call-out or instruction panel. Ask how to design subscription box inserts so the messaging surface supports compliance statements when needed.
Loading the insert with too many materials makes it slow to assemble. One client insisted on glitter foam for sparkle; the line had to slow to 600 picks per hour. We trimmed the foam to a single accent and regained throughput. I think the glitter still holds a grudge.
Not every insert design survives the first round; most projects need at least one adjustment after testing. We average 1.8 iterations per job, which is a lot better than the four or five reps we used to endure when the adhesive choices were off.
Expert Tips and Actionable Next Steps for Designing Subscription Box Inserts
My go-to tip: pair the insert design with the product reveal moment—use foil, embossing, or color contrast where the customer’s fingers first touch to reinforce the experience. That’s how we engineered a reveal wall for a collector’s edition that made members pause to take a photo. Experience cues should be on every checklist we send out.
Start by scheduling a 30-minute meeting with your fulfillment lead, and bring samples plus a sketch to identify two materials to test. Log the decisions in your project tracker so the notes survive personnel changes. (If memory serves, I once found a note from 2017 reminding us not to glue the foam before the ink dries—still relevant.)
Request quotes from Custom Logo Things and at least one local provider like Studio On Fire, then compare total landed cost (materials + labor + shipping). Factor in the cost of die creation—roughly $250–$400—and add sampling (~$120 per prototype) to your brief.
Run the key measurements through your ERP. I drop the insert geometry into our workstation named “Subscription Box Insert Design Process” so anyone can pull past specs for size, glue, and finish.
Prototype, test, approve, and order the run—now go design subscription box inserts with that checklist and send me a note when it survives your first fulfillment wave. Seriously, I want to know how you handled the drop testing this time. Gonna be honest, hearing about a quiet rig at 3 a.m. still makes me smile.
Walk the floor with your supplier and ask how to design subscription box inserts that satisfy the fastest picker on the line. At our Phoenix partner’s plant, the picker told me adhesives were curing too slowly; we switched to a quicker-drying tesa option and avoided a line stop. That picker now waves at me like I’m some kind of adhesive messiah.
FAQs
What materials should I consider when designing subscription box inserts?
Consider corrugated E-flute from International Paper for structural dividers, molded pulp for eco-conscious cushioning, and urethane foam from Uline for snug protection. Use print-friendly stock—12–14 pt cover with matte or soft-touch lamination—for messaging on the customer-facing surface, and match adhesives from 3M or tesa tape to the chosen material; confirm compatibility during prototyping so the insert doesn’t peel apart under heat.
How much should I budget per insert design for a subscription box?
Materials plus labor usually land between $0.75 and $2.00 per insert for most runs of 1,000–5,000 units depending on finish and complexity. Factor in sampling costs (~$120 per prototype) and tooling (die creation) which can add $250–$400 unless you reuse an existing die. Include fulfillment handling, roughly 4% of the total, and any custom print charges, particularly if you need silk screen or foil.
Can I reuse the same insert design across multiple subscription boxes?
Yes, if the SKUs share similar shapes and weights. I’ve repurposed one insert across three boxes after a quick tweak per SKU. Document the insert’s measurements and keep a digital kit so future boxes can reference the specs. If the products differ, consider modular inserts or add-on pads instead of chasing a one-size-fits-all solution.
How many prototypes are necessary when designing subscription box inserts?
At least two: one for initial proofing and one after stress-testing adjustments. Add a third if you’re changing materials or finishes—different adhesives and print effects behave differently. Use the prototypes as internal demos and to gather feedback from your fulfillment partner before committing to production.
What questions should I ask manufacturers when designing subscription box inserts?
Ask if they have in-house die-making and prototyping so you can see a physical sample before tooling charges kick in. Inquire about lead times for runs of 1,000 versus 5,000 units and how flexible they are on rush production. Also, have them walk you through quality checks, adhesive types, and whether they can store pre-made inserts until fulfillment.
Between the stories from our Shenzhen plant, the cost breakdowns with International Paper and Uline, and the tests that earned the ISTA badge, you now have a detailed path for how to design subscription box inserts that stick with members from the first lift to the post-unboxing brag. (I still get giddy when the drop-test rig stays quiet at 3 a.m.)
Keep asking how to design subscription box inserts every time a new SKU drops or a shipping lane changes—those questions keep the strategy relevant. I even keep a list of “insert anniversaries” on my wall calendar (March 12 for the foil launch, August 3 for the flexible foam debut) because some boards deserve a yearly shout-out.
When your next box is in the wild, remember how to design subscription box inserts ties protection, storytelling, and logistics together; record every drop test, material vendor, and adhesion call in one tracker so future teams can repeat the wins. That’s the actionable takeaway: build a living insert playbook and keep it updated after every wave, so your next fulfillment run starts with a reference instead of a guess.