Die cut mylar bags custom can make a product feel premium quickly, but only if the shape, structure, and print are planned as one system. If those pieces are treated separately, the result is often a pouch that costs more, takes longer to produce, and still performs like an ordinary bag with a decorative outline. For buyers, the real goal is straightforward: protect the product, present it well on shelf, and avoid creating headaches in filling, sealing, or shipping.
That’s where a lot of packaging projects go off track. A custom die-cut bag is not just a shaped graphic exercise. The silhouette affects how the pouch hangs, fills, seals, stacks, and reads from a few feet away. In categories where shelf competition is intense, that shape can do real work for package branding, especially when the alternative is a wall of nearly identical rectangles.
What Custom Die-Cut Mylar Bags Actually Are
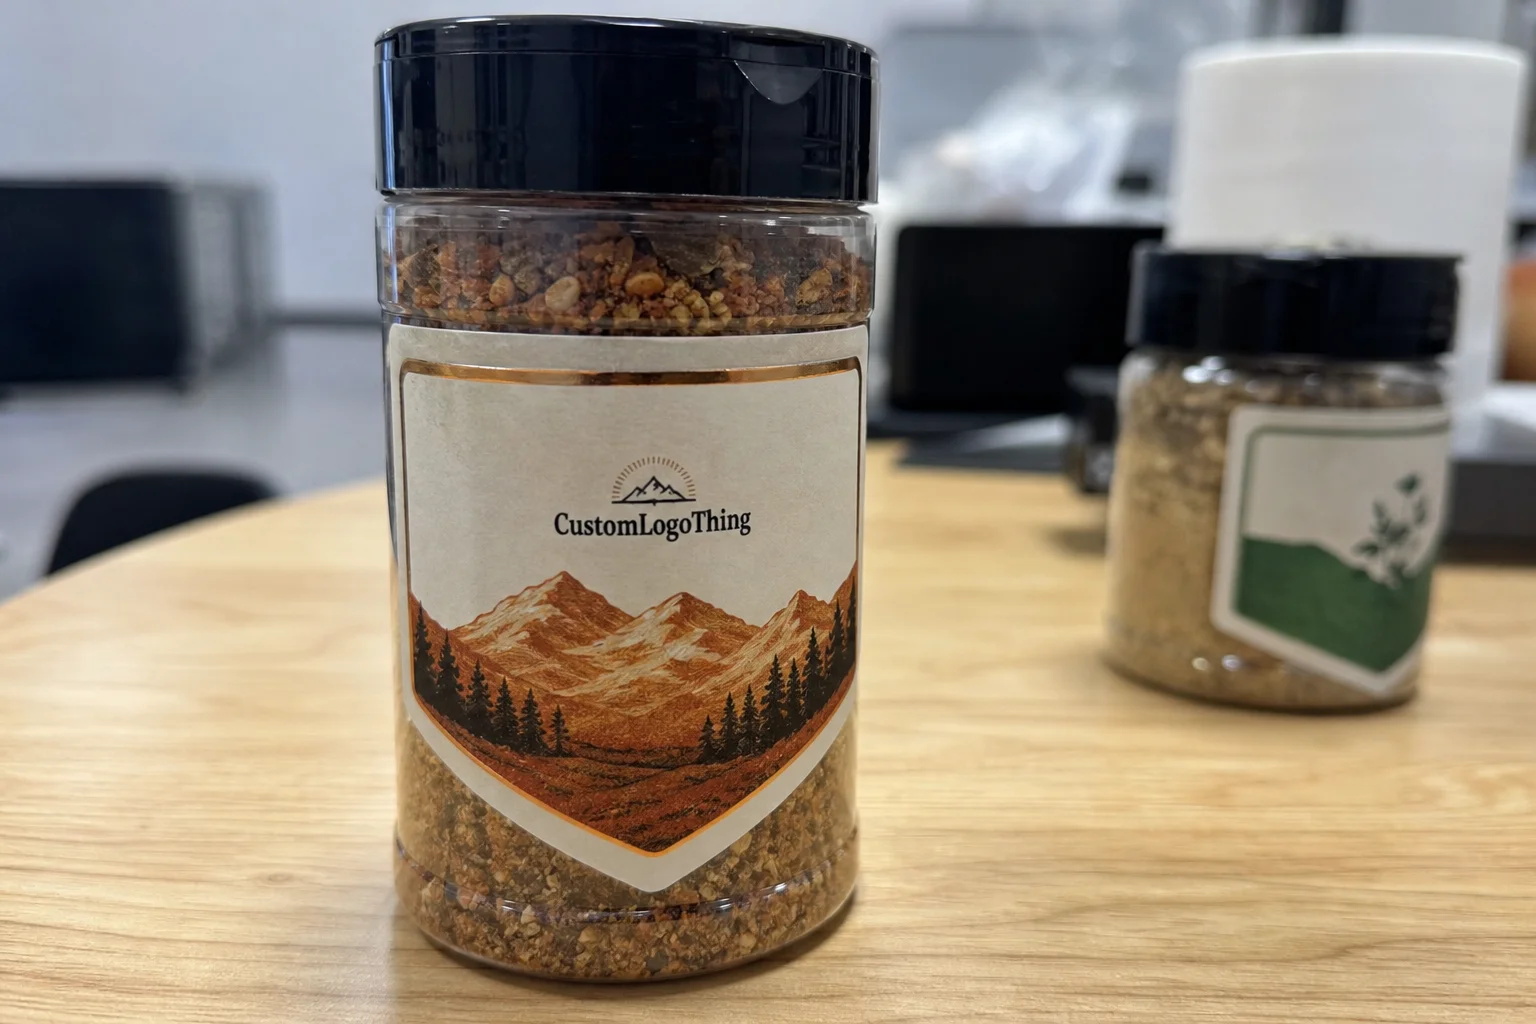
In practical terms, die cut mylar bags custom are laminated film pouches cut into a specific outline rather than the usual rectangle or standard stand-up format. “Mylar” gets used loosely in packaging conversations, though buyers are usually referring to a multi-layer flexible pouch with barrier films inside. A typical structure may include PET, BOPP, foil, and sealant layers, chosen to match the product’s shelf-life and handling requirements.
The cut line is only one part of the design. A die-cut silhouette can improve shelf presence, fit peg displays, or create a more memorable opening moment. That is one reason these bags are used in retail packaging, cannabis, supplements, cosmetics, snack samples, and smaller food runs where shelf space is limited and presentation matters.
It helps to separate the features people often lump together:
- Die-cut shape: the outer outline of the bag.
- Hang hole: for retail hooks or peg displays.
- Zipper: a reseal feature, usually press-to-close.
- Tear notch: helps the user open the pouch cleanly.
Those are different functions, and they do not automatically come bundled together. A shaped bag can be made without a zipper, and a zipper does not guarantee the pouch will hang correctly. Buyers often run into problems when style features are treated like structural features. The pouch may look impressive on a rendering and still be awkward in production if the closure, fill zone, or top seal was not planned around the shape.
“If the shape is custom but the layout is sloppy, the bag looks expensive for the wrong reasons.” That remains the cleanest way to describe it.
When the artwork, closure, barrier level, and cut outline are developed together, die cut mylar bags custom can feel more considered, more premium, and more ownable. That matters most when the pouch itself is part of the brand story rather than just a container.
How the Die-Cut Pouch Production Process Works
The first technical step is the dieline. This is the drawing that shows the cut line, seal area, fold areas, zipper position, and other boundaries. If artwork is built without respecting the dieline, the finished bag can look rushed very quickly. Text gets too close to edges, logos land in seal zones, and small details disappear once the pouch is cut and sealed.
After the dieline comes material selection and print method. Common print methods include digital printing for shorter runs and gravure or flexographic printing for larger volumes. Digital usually brings lower setup costs and more flexibility for artwork changes, while longer-run printing often lowers the unit price on larger quantities. The right choice depends on quantity, color count, artwork complexity, and how much tolerance there is for revision.
From there, the films are laminated to build the required strength and barrier. After printing and lamination, the material is cut into the custom shape, closures are added if needed, and the finished bags are inspected. Some projects also include perforations, windows, child-resistant features, or special tear structures. For packaging across more than one format, see Custom Packaging Products.
What sampling actually tells you
Sampling saves bad decisions. A digital proof checks layout and text. A flat proof verifies dimensions. A physical sample shows the real shape, feel, fold behavior, and closure placement. Each one catches different problems. A mockup can look perfect on a screen and still fail in hand if the pouch opens awkwardly, the zipper sits too close to the top, or the silhouette makes the front panel feel unbalanced.
That matters even more with custom cuts because the outline changes how the pouch behaves structurally. A small adjustment in the curve or shoulder can affect fill appearance, shelf balance, and how the packaging looks once it is standing next to other products. Buyers who skip samples often discover those issues after production starts, which is the most expensive moment to find them.
If you are comparing formats, custom printed boxes and custom pouches solve different problems. Boxes are stronger for stacking and rigid presentation. Die-cut pouches are lighter, ship more efficiently, and adapt better to shelf layouts where the goal is to maximize visual impact with less material. The best choice comes from product needs, not from whichever format looks more impressive in a rendering.
Key Specs That Affect Barrier, Finish, and Shelf Appeal
The material structure is where many projects are won or lost. A pouch can look beautiful and still be wrong for the product. Buyers sometimes choose the finish first, then discover the product needs stronger moisture, oxygen, or light protection. That is an expensive lesson, and it tends to show up after artwork approval, not before.
Here is a practical view of common structures and how they tend to perform:
| Material / Structure | Typical Strength | Best Use Case | Tradeoff |
|---|---|---|---|
| PET + sealant film | Good print clarity and moderate barrier | Dry foods, samples, lightweight retail items | Less protective than foil-based structures |
| Matte BOPP laminate | Clean surface, strong shelf appearance | Supplements, cosmetics, branded snack bags | Can show scuffs depending on coating |
| Foil laminate | High barrier to moisture, oxygen, and light | Coffee, cannabis, sensitive formulas | Usually costs more and hides product visibility |
| Kraft-look laminate | Natural visual style | Artisan or eco-positioned brands | Kraft look is often printed, not actual kraft paper |
Barrier performance matters more than many first-time buyers expect. Moisture resistance protects powders and snacks from clumping or staling. Oxygen barrier helps preserve flavor, aroma, and potency. UV protection matters for light-sensitive products, and odor barrier matters for categories where scent control is part of the value. If the bag is just decorative, those details may be less critical. If the product has a real shelf life, they are not optional.
Closures and add-ons also change the customer experience. A zipper gives reseal value. A tear notch helps with first opening. A hang hole supports peg display. Child-resistant options may be required in regulated categories. Window placement can help shoppers inspect the product, but every window reduces barrier in that area, so it should be used intentionally rather than as an automatic design flourish.
Finish influences perceived quality in a very direct way. Matte tends to feel softer and more modern. Gloss reflects retail lighting well and can make colors feel more energetic. Soft-touch adds a tactile premium feel, though it usually raises cost and can introduce scuff sensitivity depending on coating and handling. Spot UV can call attention to a logo or key panel, but it works best when the artwork has enough contrast to justify the effect.
Size is the subtle variable that catches people off guard. A custom silhouette may look generous while holding less product than expected if the pouch depth, gusset, or fill zone is limited. Always work from the actual fill weight and the product’s physical dimensions. “It looks about right” is not a sizing method. It is how packaging budgets get out of control.
Cost, Pricing, and MOQ: What Really Moves the Number
Pricing for die cut mylar bags custom usually comes down to size, shape complexity, print coverage, material stack, finishing, and quantity. There is no single formula that fits every supplier, but the pattern is predictable. Standard shapes with simpler print and fewer finishes cost less. Intricate outlines, higher barrier structures, special coatings, and dense artwork raise the number.
Lower quantities nearly always mean a higher unit price. That is not a markup trick; it is setup math. Press setup, lamination, cutting, and inspection all carry fixed labor and equipment time. Spread those costs over fewer bags and each unit costs more. Larger runs usually reduce the unit price, but they also raise inventory risk. If artwork changes or a product is reformulated, extra stock can become expensive shelf clutter.
For rough planning, a straightforward custom pouch becomes more economical as volume rises, while highly customized shapes with premium finishes can move into a noticeably higher price band. A buyer ordering 5,000 bags will usually pay more per unit than someone ordering 20,000, even before upgrades are added. That gap is normal and should be expected rather than treated as a surprise.
Common cost drivers buyers should expect
- Shape complexity: unusual cuts require more setup and more precise cutting.
- Print coverage: full-bleed artwork often costs more than minimal ink coverage.
- Material choice: foil and high-barrier laminates generally cost more than basic film stacks.
- Special finishes: soft-touch, spot UV, and metallic effects increase the price.
- MOQ: smaller orders typically push unit cost higher.
Tooling is another line item that should be clarified early. If the custom outline requires a dedicated cutting setup or special knife profile, that can add a one-time cost. It may not be dramatic, but it belongs in the budget. Buyers should also ask whether the quote includes plates, proofing, tooling, and freight. A vague quote often becomes a vague surprise invoice later, and nobody enjoys that kind of discovery.
| Scenario | Expected Cost Pressure | Why It Changes the Price |
|---|---|---|
| Standard shape, simple print | Lower | Less setup and fewer finishing steps |
| Custom outline, moderate print coverage | Medium | More cut precision and alignment work |
| Complex shape, premium finish, high barrier | Higher | More material cost, more setup, more quality control |
If you want a useful quote, send exact specs. Size, fill weight, closure type, finish, barrier needs, artwork, and quantity all affect pricing. “Need bags for snacks” is too vague for meaningful numbers. The more precise the brief, the less back-and-forth and the fewer pricing corrections later.
Process, Timeline, and Turnaround: From Proof to Shipment
The normal production flow starts with a brief, then quote, then dieline, then proofing, then revisions, then approval, then production, then QC, packing, and shipping. That sequence sounds simple because it is. The part that stretches the schedule is revision. Every change adds time, and every missing spec adds more.
Turnaround varies by supplier, print method, and the complexity of the bag. A clean proof stage may move in a few business days. Custom production generally takes longer than stock packaging because there is more setup, more alignment, and more inspection. If artwork is final, specs are clear, and approvals come back quickly, the project moves faster. If the design is still changing, the schedule usually slides.
Shipping also affects the calendar. Domestic freight is typically easier to plan than overseas freight, although route, carrier, and season matter. Air shipping is faster and more expensive. Sea freight is slower and better for larger volumes. If a launch depends on the bags arriving by a fixed date, build in buffer time. Packaging delays have a way of becoming launch delays, and those are rarely cheap.
If the package needs to meet sustainability claims or certification language, handle that before production is approved. Review requirements from the Forest Stewardship Council if certified materials are part of the plan, and check packaging guidance from the Institute of Packaging Professionals for general references on packaging systems and terminology. For handling and transit concerns, ISTA testing standards can be useful when products are likely to face rough shipping conditions.
Common Ordering Mistakes That Cost Time and Money
Wrong dimensions are the most common mistake. Buyers often estimate from an old pouch or from a rough fill amount, then find that the new shape does not hold the product cleanly. Measure the product, not the ideal version of it. Leave room for headspace if a zipper or top seal needs space to function properly.
Artwork placement is another easy way to create a problem. Custom shapes usually have more non-print zones, more trim risk, and more opportunities for clipped text. If the dieline is ignored, the finished pouch may look sloppy even when the printing is technically sharp. The issue is rarely the ink; it is usually the layout.
Material mismatch also causes unnecessary cost. A buyer may choose a matte finish because it looks premium, then discover the product needs better barrier protection. Or they may select a lower-cost structure for a formula that requires odor control. That is not savings. That is shifting the problem into the future.
Skipping samples can backfire in predictable ways:
- Color shifts from screen to print.
- Seal issues that only show up in hand.
- Shape balance problems after cutting.
- Unexpected zipper or tear-notch placement.
Compliance is another area that gets overlooked until the last minute. Ingredient panels, warning text, barcode placement, net weight, and category-specific labeling rules should be checked before approval. If the product has special legal or regulatory requirements, handle them early. Packaging is not the place to improvise copy or assume the label team will fix it later.
The same caution applies whether the order is for pouches, product packaging for shelf display, or a mixed line of bags and cartons. Consistency matters. Reprinting thousands of units because a legal line is in the wrong place is one of the most preventable expenses in packaging.
Expert Tips for Smarter Packaging Decisions and Next Steps
Start with product requirements, then choose the shape. That order saves money and reduces design mistakes. The bag should support the product, not force the product to adapt to a shape someone liked in a mockup.
Ask for a spec sheet before comparing suppliers. You want material structure, thickness, closure type, finish, MOQ, print method, and whether tooling is included. Without that information, comparisons become misleading fast. Two quotes can look similar and still describe very different bags.
If the shape is unusual or the artwork is dense, order a sample or prototype before full production. That one step can prevent a reprint and gives a better sense of how the pouch feels in hand, how the zipper works, and how the graphic layout reads under real lighting. Good packaging design has to work in the hand, on the shelf, and during fulfillment, not just in a presentation file.
For multi-SKU programs, use a common design system where possible. Shared layout rules across sizes make inventory easier to manage and help the line feel consistent on shelf. That kind of consistency strengthens branded packaging without adding unnecessary complexity to production.
A practical path usually looks like this:
- Measure the product and define fill weight.
- Decide whether barrier, odor control, or UV resistance matters.
- Choose the closure and display features you actually need.
- Prepare artwork with the dieline in mind.
- Request quotes using exact specs and quantity.
- Approve a sample before full production if the shape is custom.
That approach keeps die cut mylar bags custom focused on the real job: protecting the product, supporting the brand, and staying within a cost structure that makes sense. The best packaging choices are usually the ones that look obvious after the fact because the requirements were handled properly from the start.
How much do die cut mylar bags custom usually cost?
Cost depends on size, shape complexity, print coverage, finish, and order quantity. Lower MOQs usually raise unit cost, while larger runs reduce it. Custom tooling or a more intricate cut shape can also add setup cost, so exact specs are the fastest route to a real quote.
What is the typical turnaround for custom die-cut mylar bags?
Turnaround includes proofing, approval, production, QC, and shipping, not just printing. Simple jobs move faster than complex shapes or heavily revised artwork. If the packaging is tied to a launch date, build in extra time so one delayed proof does not push the whole schedule back.
Do die cut mylar bags custom need a minimum order quantity?
Yes, most custom runs have an MOQ because setup and production efficiency matter. The MOQ varies by size, print method, and structure complexity. Smaller quantities are possible in some cases, but unit pricing usually rises as the order gets smaller.
Which materials work best for custom die-cut mylar bags?
The best material depends on barrier needs, product weight, and shelf-life requirements. Common options include PET-based laminates, foil structures, and matte or gloss finishes. Barrier performance should come first, then the visual finish and tactile feel.
What should I send to get an accurate quote fast?
Send product dimensions, fill weight, desired bag shape, closure type, finish, artwork, and quantity. Include any compliance or labeling requirements if applicable. A clear brief reduces back-and-forth and usually leads to a more accurate quote.


